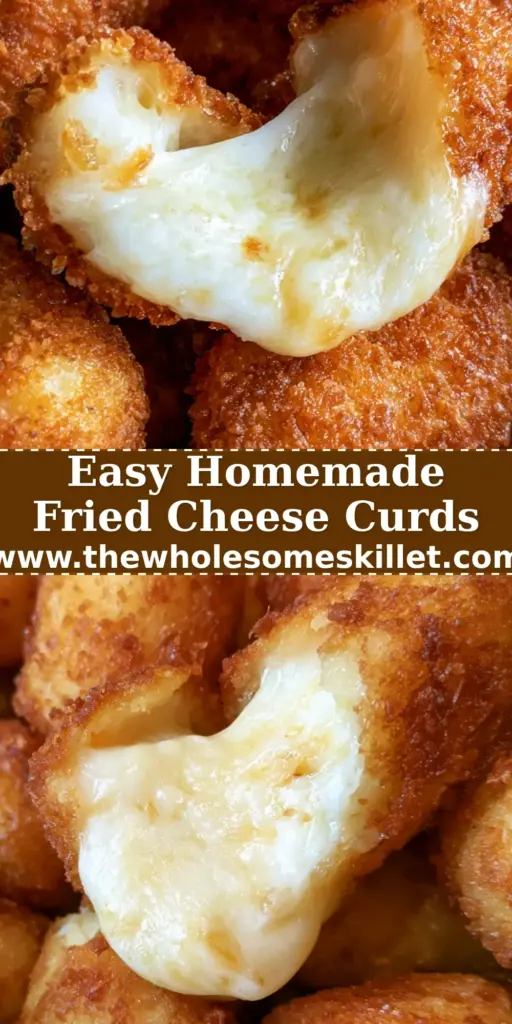
There is nothing quite like the experience of biting into perfectly prepared fried cheese curds. Imagine a handheld smartphone photo capturing that exact moment: a golden-brown, crunchy exterior giving way to a molten, stretchy center of pure white cheddar bliss. As you pull one apart, a gentle wisp of steam rises from the white ceramic bowl, signaling that these are fresh out of the fryer and ready for devouring.
This recipe is designed to recreate that specific, high-resolution texture found in the best gastropubs. We are moving beyond simple breading to a sophisticated double-coating method that ensures the cheese stays inside the crust until the very first bite. Whether you are hosting a game day or looking for the ultimate comfort snack, these curds deliver a sensory explosion of sound, sight, and flavor.
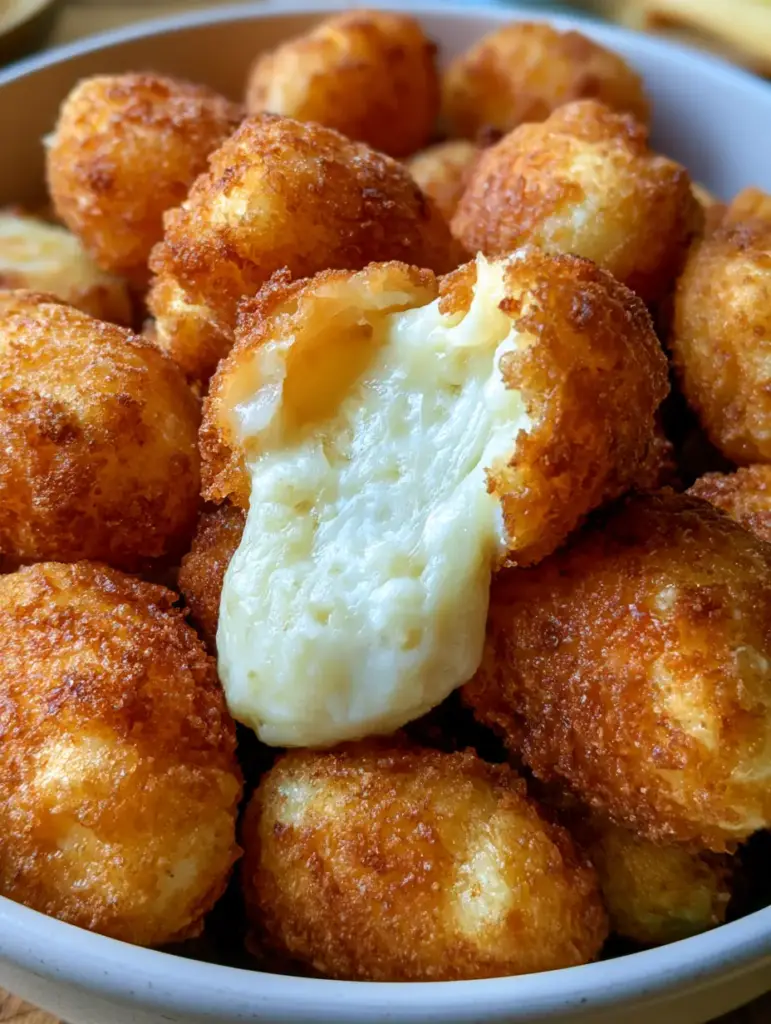
The Science of the Squeak: Why These Curds Are Superior
Achieving the perfect fried cheese curds requires more than just hot oil; it requires an understanding of moisture and temperature. Most home cooks fail because their cheese melts into a puddle before the breading browns, but our method solves that with a flash-freeze technique. Here is what makes this specific recipe stand out from the rest:
- The Molten Stretch: By using fresh white cheddar curds, we achieve that iconic, elastic pull that looks incredible in photos and feels even better to eat.
- Double-Layer Defense: A combination of a seasoned batter and a panko crust creates a structural “vault” that keeps the cheese contained.
- Extreme Crunch: The use of Japanese-style panko breadcrumbs provides a jagged, high-surface-area exterior that stays crispy for longer than traditional crumbs.
- Visual Appeal: Served in a white ceramic bowl against a rustic wooden background, the golden hues of the batter pop with professional-grade vibrancy.
If you love indulgent, crispy appetizers, you might also want to try our crispy crab cake egg rolls or a batch of savory prosciutto wrapped mozzarella bites. Both offer that same satisfying crunch and gooey center that makes for a perfect starter.
Essential Ingredients for the Perfect Golden Crust
To achieve the visual and textural results of our blueprint, every ingredient serves a specific culinary purpose. We aren’t just coating cheese; we are building a multi-textured masterpiece.
Fresh White Cheddar Cheese Curds (1 lb / 450g): You must use fresh curds for the best “squeak” and meltability; older cheese won’t provide the same stretchy molten center. Look for curds that are firm to the touch and roughly uniform in size.
All-Purpose Flour (1 cup / 125g): This serves as our “primer,” absorbing surface moisture from the cheese so the batter has a dry surface to cling to. Without this, the breading will simply slide off in the hot oil.
Panko Breadcrumbs (2 cups / 120g): These seasoned panko crumbs provide the “crunchy and golden” exterior described in our visual prompt. Their airy structure allows for maximum Maillard reaction without becoming heavy or greasy.
Cornstarch (1/4 cup / 30g): Mixed into the dry coating, cornstarch acts as a moisture barrier. It ensures the batter fries up brittle and light rather than doughy or soft.
Buttermilk (1/2 cup / 120ml): The acidity in buttermilk reacts with our leavening agents to create tiny air bubbles. This results in the “golden brown batter” that looks light and airy rather than dense.
Large Egg (1 unit): The egg provides protein structure to the liquid batter. It binds the flour and buttermilk together, ensuring the breading doesn’t shatter when you take a bite.
Garlic Powder & Smoked Paprika (1 tsp / 5g each): These “invisible” flavor enhancers provide a subtle warmth and a deep golden hue to the batter. They ensure the crust tastes as good as it looks.
Neutral Frying Oil (4 cups / 1L): Use an oil with a high smoke point, like canola or peanut oil. This allows you to reach 375°F (190°C) without the oil breaking down or imparting a burnt flavor.
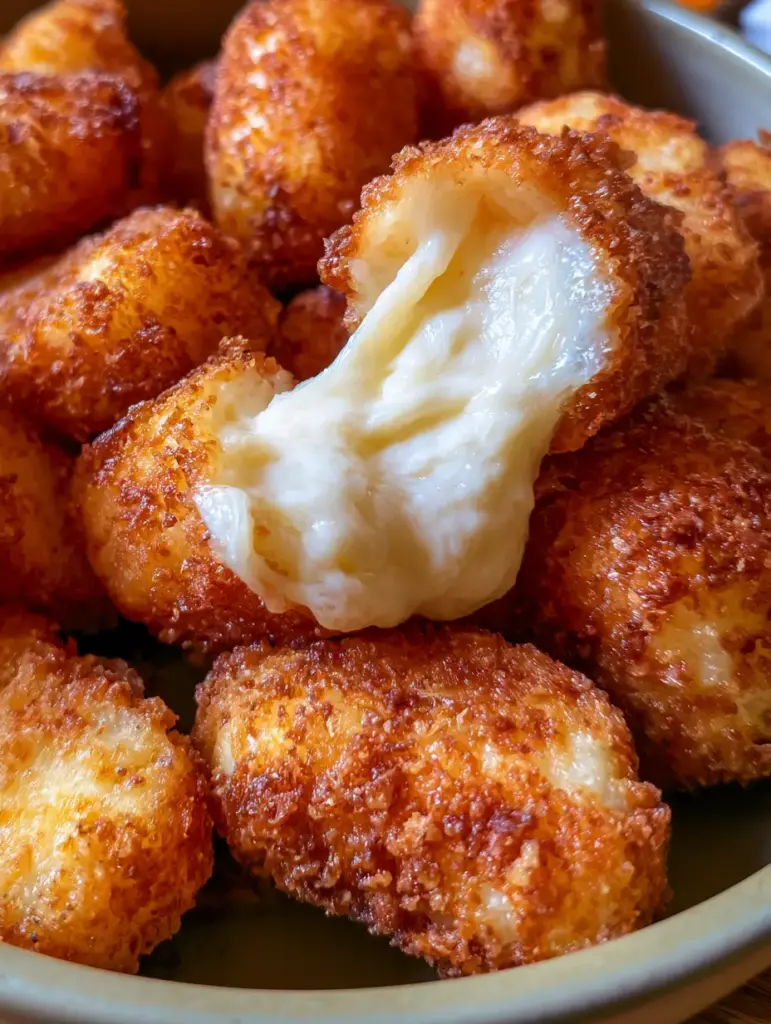
Must-Have Equipment for Professional Results
To capture that handheld amateur photography style with professional taste, you need the right tools for heat management. Frying cheese is a game of seconds, and precision is your best friend.
A Heavy-Bottomed Dutch Oven or deep fryer is essential for maintaining a steady oil temperature. Thinner pots lose heat rapidly when you add the cold cheese, leading to greasy, soggy curds.
An Instant-Read Thermometer is non-negotiable for this recipe. You must hit exactly 375°F (190°C) to sear the exterior instantly before the cheese center becomes too liquid and escapes.
Finally, a Wire Cooling Rack is better than paper towels for draining. It allows air to circulate around the entire curd, preventing the bottom from steaming and becoming soft while you plate your white ceramic bowl.
Step-by-Step Instructions: Engineering the Perfect Fry
Preparing the Cheese for Maximum Stretch
Start by spreading your white cheddar cheese curds on a baking sheet. Place them in the freezer for 15 to 20 minutes before you begin the breading process. This “tempering” ensures the cheese stays solid long enough for the batter to crisp up, preventing the dreaded “blowout” in the fryer.
Building the Multi-Stage Coating
Set up three shallow bowls for your dredging station. In the first bowl, whisk together the flour, cornstarch, and spices. In the second, whisk the buttermilk and egg until smooth. In the third, place your seasoned panko breadcrumbs. This assembly line is the secret to the thick, protective golden brown batter.
The Double-Dredge Technique
Take a chilled curd and coat it in the flour mixture, shaking off the excess. Dip it into the buttermilk wash, then back into the flour for a second light coating. Finally, dip it back into the buttermilk and press it firmly into the panko. This “double-dip” creates the extremely appetizing texture seen in the close-up photo.
Frying to Golden Perfection
Heat your oil to 375°F (190°C). Carefully drop 5-6 curds into the oil at a time; do not overcrowd the pot or the temperature will drop. Fry for 60 to 90 seconds. Look for the visual cue: the moment they turn a deep amber gold and you see the first tiny bubble of cheese trying to escape, they are done.
Plating and Serving
Immediately transfer the fried cheese curds to a wire rack and sprinkle with a pinch of fine sea salt. To match our visual blueprint, pile them high in a white ceramic bowl. Serve immediately while the steam is still rising and the cheese is at its peak molten elasticity.
Pro Tips for Gastropub-Quality Results
- Cold is Key: Never fry room-temperature cheese curds. The thermal gap between the frozen exterior and the hot oil is what creates the crunch-to-melt ratio.
- Small Batches: Frying more than a handful at once lowers the oil temperature. Low heat results in oil-soaked breading rather than a crisp shell.
- Season Every Layer: Add a pinch of salt to your flour, your egg wash, and your panko. This ensures the flavor is built from the inside out.
- Check for Steam: If your curds aren’t “steaming” when pulled apart, the oil wasn’t hot enough. That steam is the moisture in the cheese reaching the perfect temperature.
For a full spread, pair these curds with our honey garlic pork chops or keep the appetizers flowing with some salty feta olive dip.
Storage and Reheating for Continued Crunch
While these are best enjoyed immediately (to capture that “handheld smartphone photo” magic), you can store leftovers. Place them in an airtight container in the refrigerator for up to 2 days.
To reheat, avoid the microwave at all costs—it will turn the breading into a soggy mess. Instead, use an air fryer at 350°F (175°C) for 3-4 minutes or a toaster oven until the exterior sizzles. This restores the crunch and the molten center effectively.
What to Serve With Wisconsin Fried Cheese Curds
These curds are rich and salty, so they pair beautifully with acidic or sweet accompaniments. A classic spicy ranch or a raspberry chipotle sauce provides the perfect dipping contrast. If you are serving these as part of a larger meal, consider a side of honey balsamic brussels sprouts to cut through the richness.
For a cozy dinner, these make a great side for tender slow cooker chicken thighs or even a bowl of creamy beef stroganoff. The contrast between the crispy curds and a saucy main dish is a winner every time.
Frequently Asked Questions
While you can air fry them, they won’t have the same ‘molten stretch’ or ‘golden brown batter’ look as deep-fried curds. For an air fryer, ensure you spray them heavily with oil to achieve a golden color.
Absolutely! While white cheddar is traditional in Wisconsin for its sharp flavor and clean look, yellow cheddar curds will fry and melt exactly the same way.
Panko is highly recommended for the ‘extremely appetizing texture’ and crunch. Regular breadcrumbs are finer and denser, which won’t provide the same airy, jagged golden crust.
Look for a deep golden brown color and the first sign of a small cheese bubble emerging through the crust. This usually takes between 60 and 90 seconds at the correct temperature.
This usually happens because the cheese curds weren’t cold enough or the oil temperature was too low. Freezing the curds for 20 minutes before frying and maintaining 375°F (190°C) oil ensures the crust sets before the cheese escapes.
The Ultimate Fried Cheese Curds Recipe
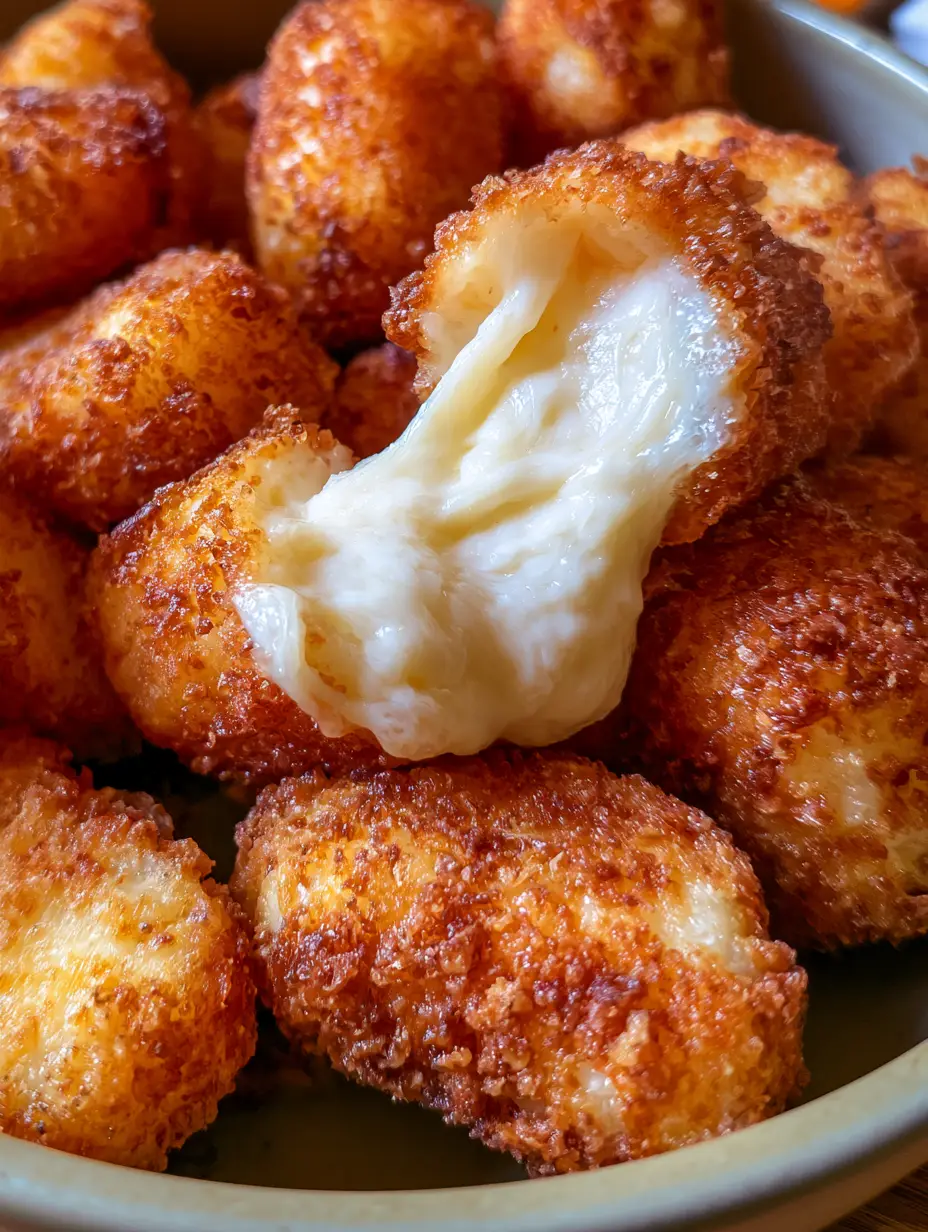
Fried Cheese Curds: The Ultimate Crispy Wisconsin Style Recipe
Ingredients
Equipment
Method
- Place white cheddar cheese curds on a baking sheet and freeze for 15-20 minutes. This prevents them from melting too quickly in the oil.
- Prepare three bowls: 1) Flour, cornstarch, and spices; 2) Buttermilk and egg; 3) Panko breadcrumbs.
- Coat curds in flour, dip in egg wash, coat in flour again, dip in egg wash, then press into panko for a thick, crunchy shell.
- Heat oil to 375°F (190°C) in a heavy Dutch oven.
- Fry in small batches for 60-90 seconds until golden brown. Drain on a wire rack.
Notes
Always use a thermometer; if the oil is too cold, the curds will be greasy.
Share Your Molten Cheese Masterpiece!
There is nothing quite as satisfying as mastering the art of the perfect cheese stretch. Once you have plated your golden-brown curds in that white ceramic bowl, take a photo and share your results! We love seeing how your home kitchen creations turn out.
Don’t forget to follow us on Pinterest for more indulgent appetizer inspiration. Pin this recipe to your “Game Day Snacks” board so you always have it on hand. If you enjoyed this recipe, leave a comment below and let us know—did you get that perfect molten squeak?