There is something inherently magical about bringing the celestial wonders of the night sky down to earth. These glowing moon rocks are not just a craft project; they are an immersive sensory experience that transforms ordinary river stones into radiant pieces of cosmic art. Whether you are looking to brighten up a moody bookshelf or create a stunning centerpiece for a space-themed gathering, these stones deliver an ethereal glow that captivates the imagination.
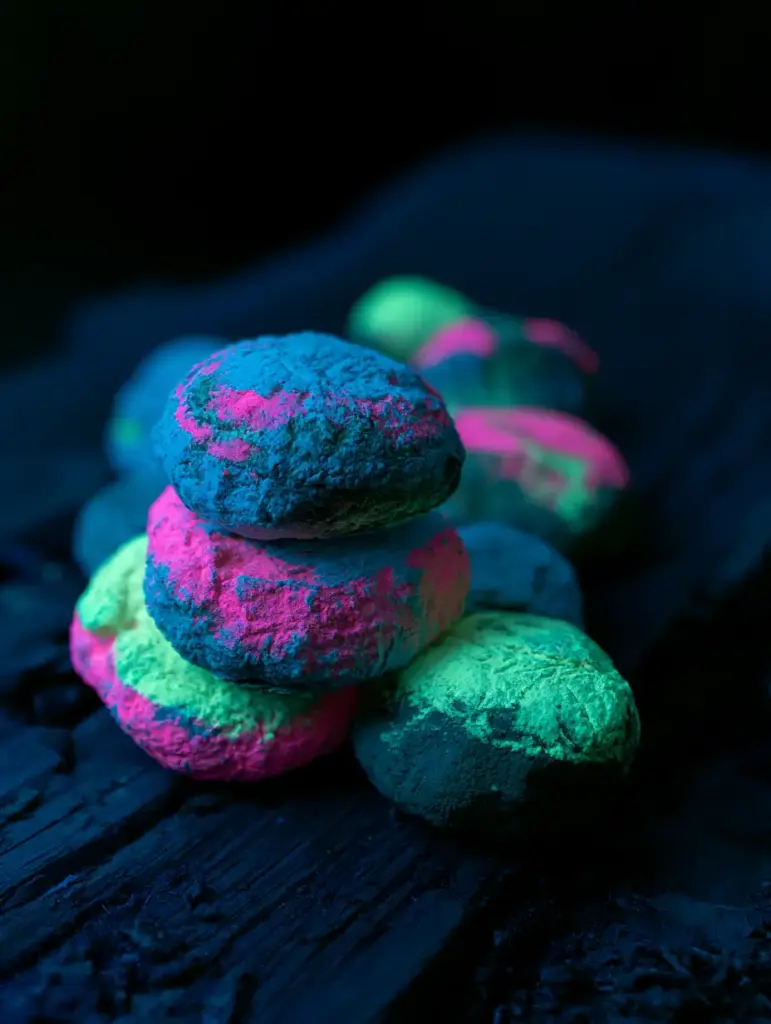
The visual appeal of these rocks lies in their high-contrast, textured layers. Imagine vibrant bursts of fluorescent pink, electric blue, and lime green set against a backdrop of deep shadows. When the lights go down, the glowing moon rocks come alive, emitting an intense radiance that mimics the mysterious energy of a distant nebula. This guide will walk you through the professional techniques required to achieve that gritty, authentic stone texture while maximizing the luminosity of your pigments.
Why You Will Love Crafting These Radiant Celestial Stones
- Unmatched Visual Impact: The combination of neon acrylics and glow-in-the-dark pigments creates a high-contrast aesthetic that looks professional and high-end.
- Tactile Sensory Experience: By using textured brush strokes, you create a “gritty” feel that mimics real lunar regolith, making the stones as interesting to touch as they are to see.
- Versatile Decor: These stones look stunning on weathered dark wood, in glass terrariums, or even as accent pieces in a modern minimalist setting.
- Atmospheric Ambience: In low-light conditions, the glowing moon rocks provide a soft, moody radiance that serves as the perfect conversation starter.
Essential Components for Your Galactic Transformation
To achieve the specific look of the glowing moon rocks seen in our visual blueprint, you need a combination of high-quality pigments and structural bases. Here is what you will need to gather.
Smooth River Stones: Choose stones approximately 2-3 inches (5-7cm) in diameter. The smooth surface provides the perfect “canvas” for the thick, textured paint layers to adhere to without chipping.
Neon Fluorescent Acrylic Paint: You will need 2 oz (59ml) each of electric blue, lime green, and hot pink. These specific colors offer the highest contrast against dark surfaces and react most intensely to UV or low-light environments.
Glow-in-the-Dark Pigment Powder or Medium: Use 1 tbsp (15g) of high-grade strontium aluminate powder. This is the “secret sauce” that ensures your glowing moon rocks remain luminous for hours after the lights go out.
Black Gesso or Matte Black Acrylic Paint: 4 oz (118ml) of a dark base coat is essential. A dark foundation makes the neon colors “pop” and hides the natural imperfections of the stone while providing a weathered look.
Texturizing Medium (Optional): 1 tbsp (15g) of fine sand or modeling paste. If your stones are too smooth, mixing this into your base coat will help achieve that “gritty stone texture” described in our visual guide.
Professional Tools for a Textured Finish
The secret to the “handheld smartphone photo” aesthetic is the depth of field and the texture of the paint. To get there, you need the right tools.
- Stiff Bristle Brushes: These are vital for creating “textured brush strokes” rather than smooth, flat color.
- Sea Sponge: A small sponge is used to dab on the neon layers, creating the organic, mottled look of a planet’s surface.
- UV Flashlight: This tool is used to “charge” the glowing moon rocks quickly and to check your pigment distribution as you work.
- Weathered Wooden Board: For the final display, a dark wood surface provides the necessary contrast to highlight the ethereal neon radiance.
Crafting the Cosmos: Step-by-Step Instructions
Phase 1: Preparing the Lunar Surface
Before you begin, ensure your river stones are scrubbed clean of any dirt or oils. This ensures the paint bonds permanently. Apply a thick, even layer of matte black acrylic or gesso to the entire stone. Visual Cue: The stone should look like a void of light, with no grey or brown peeking through. Let this dry completely for 30 minutes (0.5 hours) before proceeding.
Phase 2: Layering the Neon Nebula
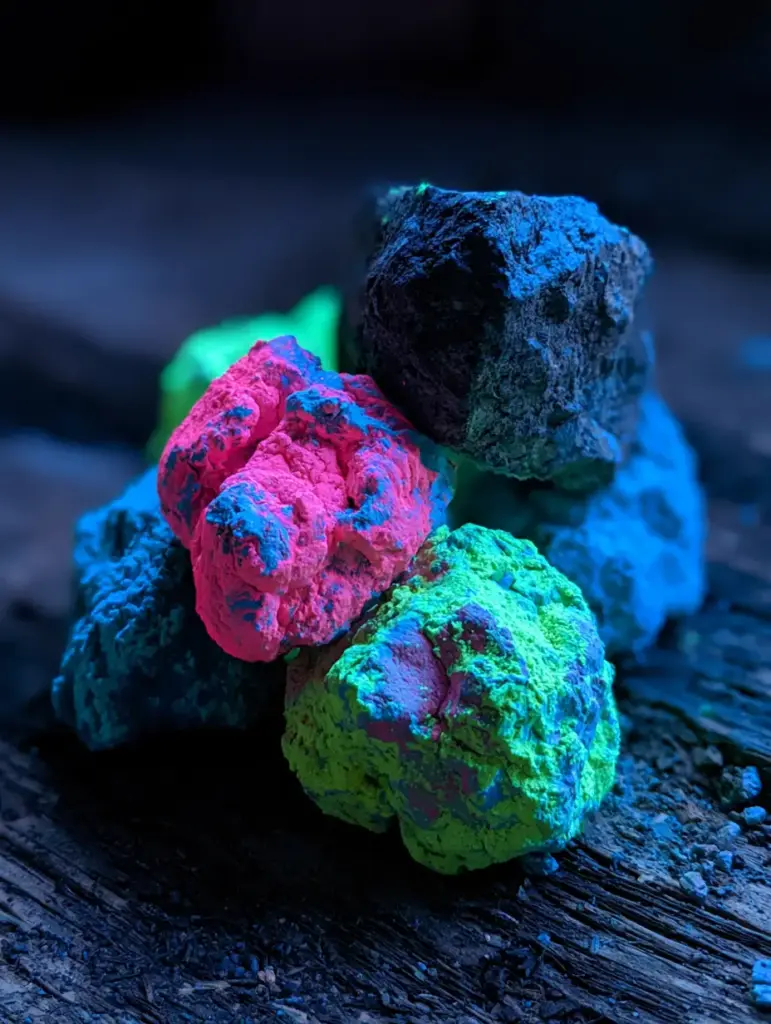
Mix your neon acrylics with a small amount of the glow-in-the-dark pigment. Using a stiff brush or a sponge, apply the electric blue in “islands” across the stone. While the blue is still slightly tacky, add the lime green and hot pink in overlapping sections. Visual Cue: Look for “thick, textured layers” where the paint stands up slightly from the surface. Avoid over-blending; you want distinct pops of fluorescent color to remain visible.
Phase 3: The Ethereal Highlight
Once the primary colors are set, take a dry brush with a tiny amount of pure glow pigment mixed with a clear medium. “Dry brush” the highest ridges of the paint texture. This technique ensures that when the lights dim, the glowing moon rocks highlight their own physical texture, creating that stunning “high contrast, sharp detail” look from our smartphone photo prompt.
Expert Tips for a Vibrant Glow
- The “Charge” Method: To get the most intense radiance for photos, “charge” your rocks under a bright UV light or direct sunlight for at least 15 minutes (0.25 hours).
- Avoid Over-Painting: If you cover the entire stone in neon, you lose the “weathered stone” aesthetic. Ensure some of the dark black base remains visible in the “craters” of the stone.
- Sealing the Stones: Use a matte spray sealer. A glossy sealer can create unwanted glares that distract from the ethereal glow in low-light photography.
- Texture is Key: If your paint looks too flat, use a toothpick to swirl the neon colors together right on the stone, creating small ridges that will catch the light.
Displaying and Storing Your Galactic Creations
The glowing moon rocks are remarkably durable once the acrylic has cured (usually 24 hours). Store them in a cool, dry place. For the best visual impact, arrange them artfully on a dark, weathered wooden surface with a shallow depth of field if you are taking photos. They make incredible additions to a room where you might enjoy a late-night snack, perhaps while waiting for a dark chocolate layer cake to cool in the kitchen.
What to Pair With Your Space-Themed Project
If you’re hosting a “Galaxy Night” or a DIY crafting party, you’ll need some equally impressive treats to keep the energy up. While your stones are drying, why not whip up some strawberry matcha cookies? The vibrant green and pink of the cookies perfectly mirror the neon palette of your glowing moon rocks.
For a more savory option during your crafting session, these garlic parmesan chicken and potatoes provide a hearty meal that’s easy to eat with one hand while you work. If you prefer something sweet and nostalgic to match the whimsical nature of your project, a bowl of banana pudding cheesecake is always a crowd-pleaser.
Frequently Asked Questions
No, standard acrylic paint and glow pigments are not typically aquarium-safe. These are intended for dry indoor decor purposes only.
While they will glow on their own in total darkness, a blacklight (UV light) will make the neon colors appear significantly more vibrant and ‘electric’.
Place the stones under direct sunlight or a bright LED lamp for 15-20 minutes to saturate the phosphorescent pigments.
If you use high-quality strontium aluminate glow pigment, they can emit a visible radiance for up to 8-10 hours after a full charge.
Heavy-body neon fluorescent acrylic paint is best because it provides the thick, textured layers needed for the visual ‘moon rock’ effect.
The Final Result: Your Radiant DIY Glowing Moon Rocks
Creating these stones is a rewarding process that combines artistic expression with a touch of science. The result is a set of glowing moon rocks that bring a sense of wonder to any room. Follow the instructions below for the summarized “recipe” for this craft project.
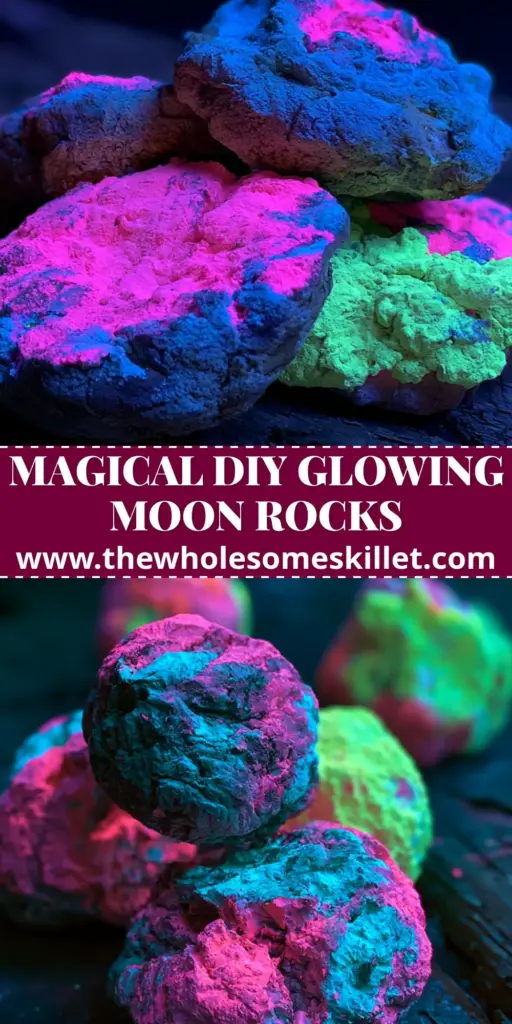
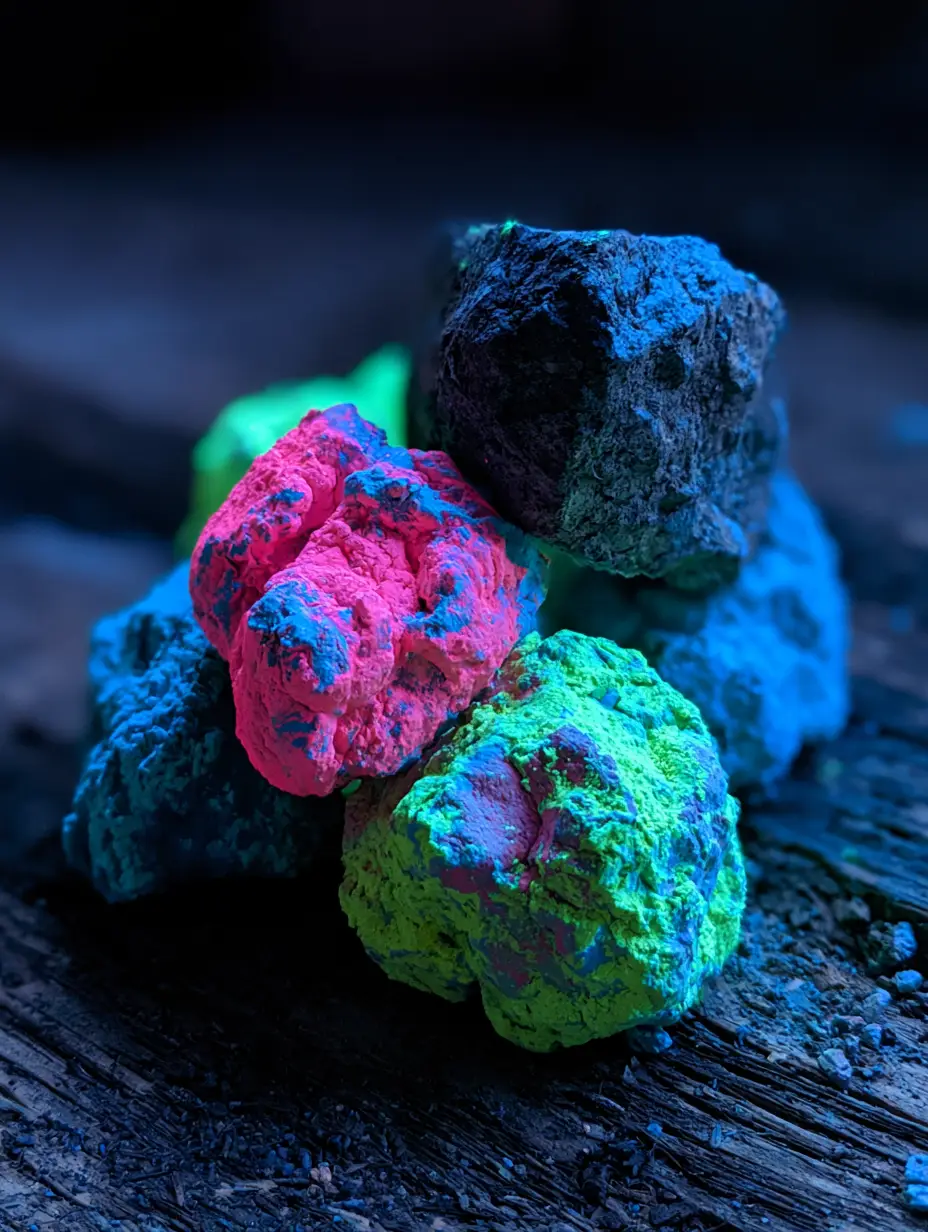
Glowing Moon Rocks: The Ultimate DIY Guide to Vibrant Neon Galactic Decor
Ingredients
Equipment
Method
- Clean the river stones thoroughly. Apply a thick layer of matte black acrylic paint to cover the entire surface. Let dry for 30 minutes.
- Using a sea sponge, dab neon pink, blue, and green paint onto the stones in overlapping patterns. Ensure the paint is thick enough to create visible texture.
- While neon paint is tacky, dust with glow-in-the-dark pigment or mix pigment into a clear medium and dry-brush onto the high ridges of the stones.
- Allow the glowing moon rocks to dry completely for at least 1 hour before handling. Charge under UV light for maximum glow.
Notes
Always work on a protected surface as neon pigments can stain.
Bring the Universe Home Today!
We hope this guide inspires you to create your own collection of glowing moon rocks. The combination of vibrant neon and atmospheric lighting makes this a project you’ll want to show off to everyone. If you enjoyed this DIY, please leave a comment below and let us know how your stones turned out! Don’t forget to share your photos with us on Pinterest and subscribe to our newsletter for more creative projects and delicious recipes.