When the nostalgic, comforting flavors of a classic Southern potluck meet the decadent, velvety texture of gourmet confectionery, you get this spectacular banana pudding fudge. It is a dessert that manages to be both whimsical and sophisticated, capturing the essence of a sun-drenched kitchen and the simple joy of a handheld treat.
This recipe isn’t just about mixing sugar and chocolate; it’s about recreating a sensory memory. Imagine the first bite of a thick, pale yellow square that melts into a smooth cream base, punctuated by the crunch of coarse golden vanilla wafer crumbs that have been toasted to perfection.
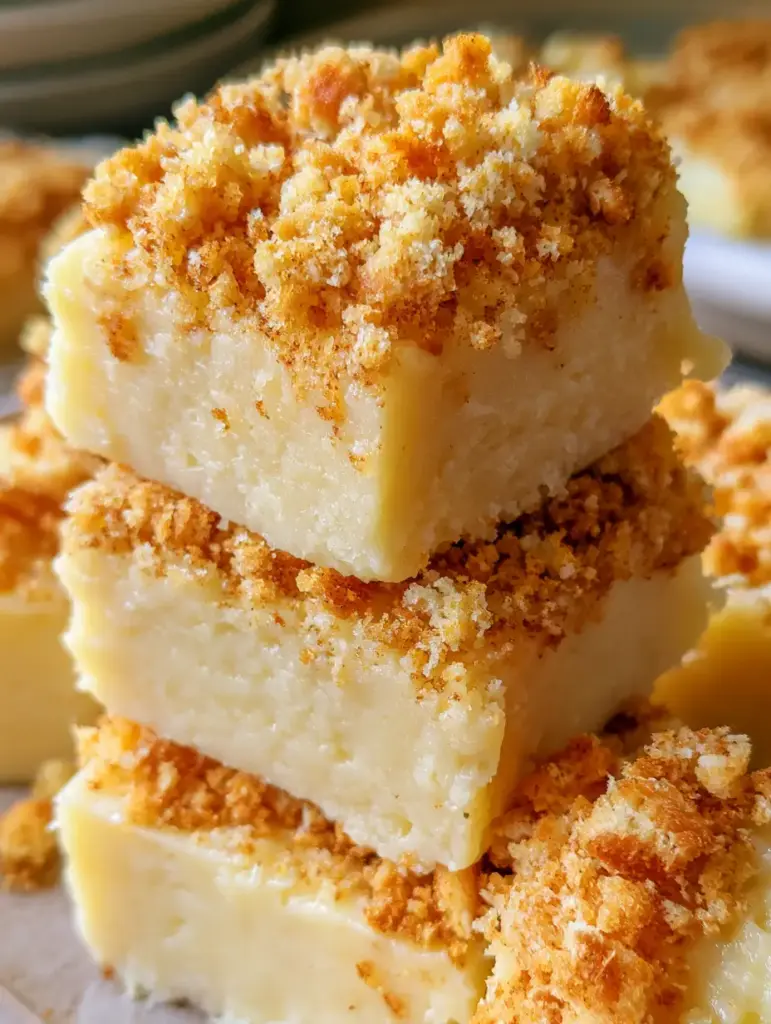
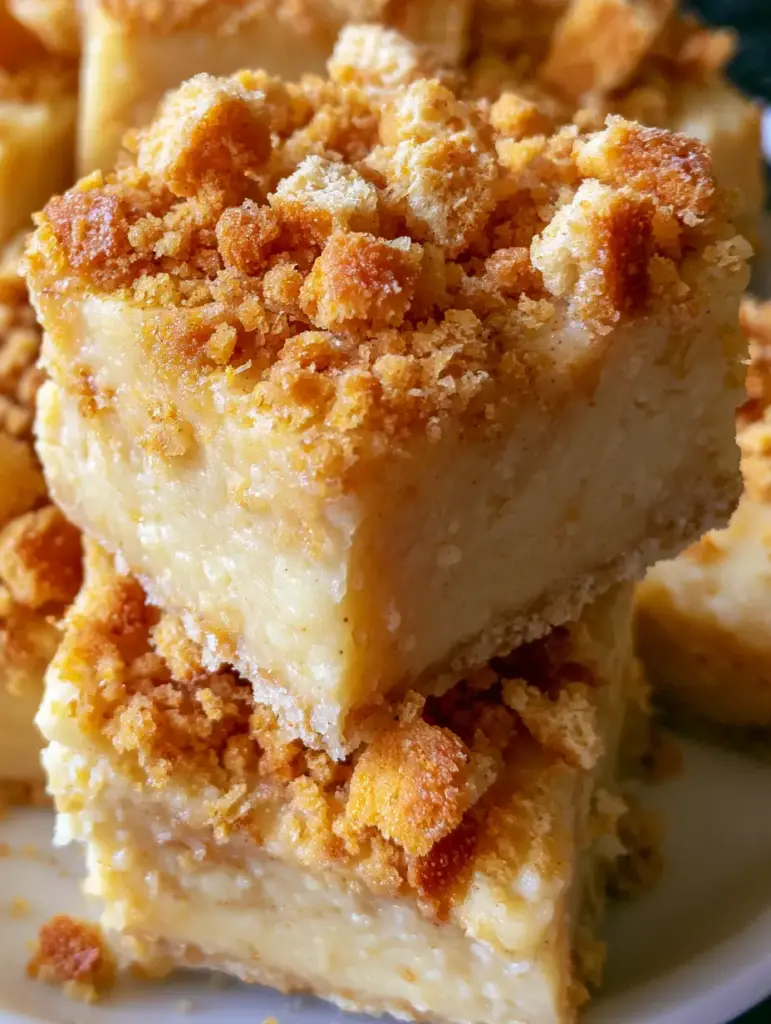
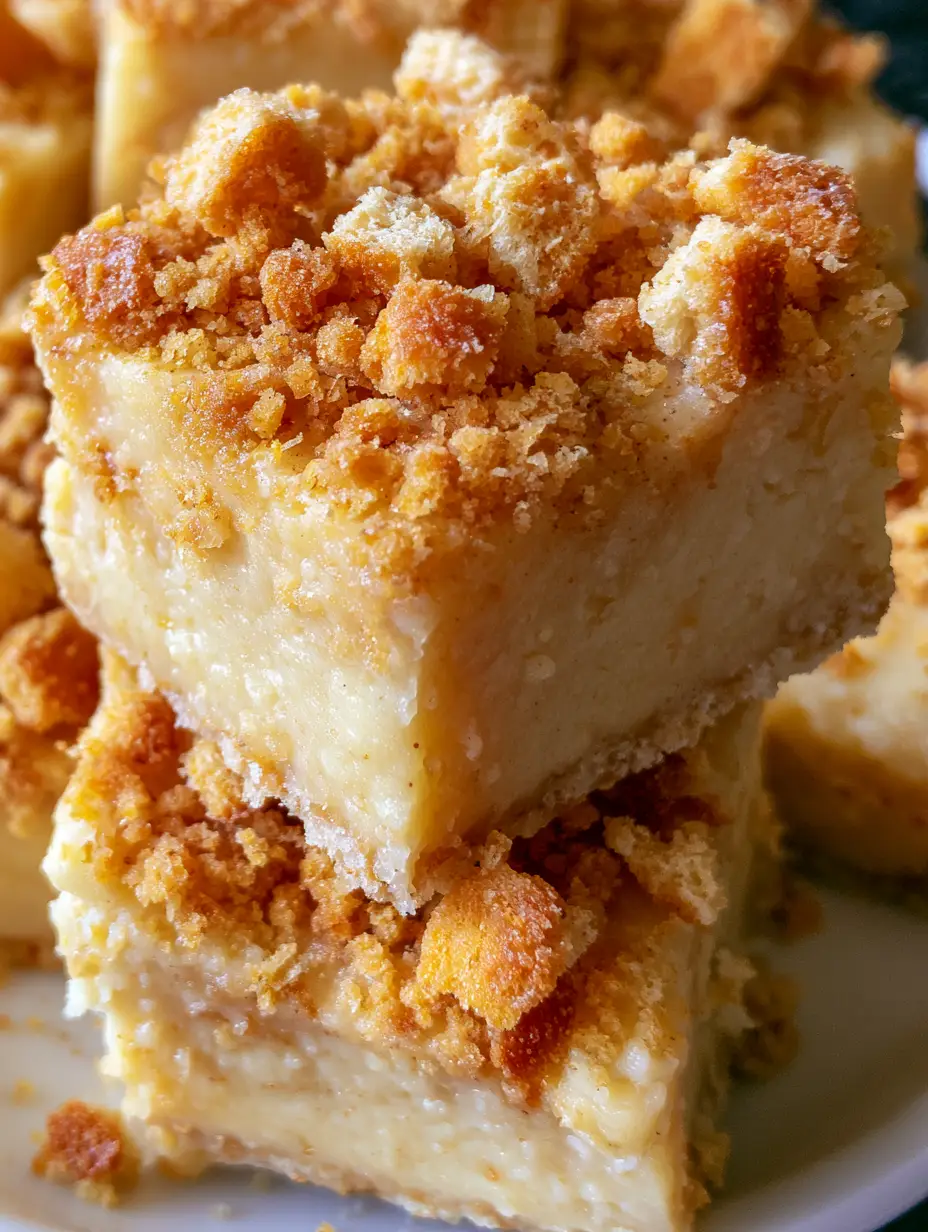
Whether you are a seasoned baker or a kitchen novice, this banana pudding fudge offers a high-reward experience with minimal effort. It is a visual masterpiece, as seen in our latest kitchen captures, featuring a stack of thick squares piled high with golden textures that catch the light beautifully.
Why This Velvety Banana Confection is a Total Game-Changer
- Structural Integrity: Unlike traditional pudding, these thick banana fudge squares are perfectly handheld and stable at room temperature, making them ideal for gifting or parties.
- The Perfect Texture Contrast: You get a dual-sensory experience with a smooth, velvety cream base paired against a generous mountain of crunchy, golden cookie crumbs.
- Authentic Flavor Profile: By utilizing high-quality white chocolate and instant pudding mix, we achieve that unmistakable “blue ribbon” banana flavor without the risk of real bananas browning.
- Visually Stunning Presentation: The pale yellow hue contrasted with the golden-brown edges of the crushed wafers makes this a Pinterest-worthy addition to any dessert spread.
If you find yourself obsessed with these flavors, you might also want to explore our classic homemade banana pudding or perhaps take it a step further with a decadent banana pudding cheesecake.
The Essential Pantry Haul for Creamy Banana Bliss
To achieve the specific visual and structural results of this banana pudding fudge, every ingredient serves a forensic purpose. We aren’t just adding sweetness; we are building a foundation of flavor and texture.
White Chocolate Chips (24 oz / 680g): This is the backbone of your fudge. It provides the “white chocolate texture” mentioned in our blueprint and ensures the squares are thick and sliceable once chilled.
Sweetened Condensed Milk (14 oz / 396g): This foundational “invisible” ingredient acts as the binder. It creates the smooth, velvety texture and provides the creamy sweetness that characterizes a traditional pudding base.
Instant Banana Cream Pudding Mix (3.4 oz / 96g): This is the secret to the pale yellow color and the concentrated banana flavor. It reacts with the milk to create a dense, fudge-like consistency that mimics the classic dessert.
Unsalted Butter (2 tbsp / 30g): Adding a small amount of fat ensures the fudge has a glossy finish and a melt-in-your-mouth quality that distinguishes professional fudge from homemade candy.
Vanilla Wafers (2 cups / 120g): These provide the “coarse golden crumbs.” We will use half inside the fudge for a surprise crunch and the remaining half as a generous topping to catch the natural window light.
Pure Vanilla Extract (1 tsp / 5ml): A splash of vanilla rounds out the banana flavor, making it taste more like a cooked custard and less like a candy shop, providing a sophisticated depth.
Fine Sea Salt (1/2 tsp / 3g): Never skip the salt! It cuts through the intense sweetness of the white chocolate and enhances the aromatic notes of the banana pudding mix.
Must-Have Tools for the Perfect Thick Squares
To recreate the extreme close-up look of our thick squares, you need the right equipment. A 8×8-inch (20x20cm) square baking pan is non-negotiable; using a larger pan will result in thin pieces that lack the “thick banana fudge” visual impact.
You will also need parchment paper with a slight overhang. This “sling” method allows you to lift the entire block of fudge out of the pan, ensuring clean, sharp edges when you slice into those velvety squares. A heavy-bottomed saucepan is also essential to prevent the white chocolate from scorching during the melting process.
If you love the combination of fruit and creamy textures, you should definitely check out our strawberry banana pudding cake for your next weekend baking project.
Mastering the Art of No-Bake Banana Fudge: Step-by-Step
1. Preparing the Golden Cookie Foundation
Before starting the fudge base, place your vanilla wafers in a large zip-top bag. Use a rolling pin to crush them into coarse crumbs—you want variety here, from fine dust to larger golden chunks with visible edges.
Set aside half of the crumbs for the topping. The visual blueprint requires “golden brown edges,” so ensure your wafers are fresh and have that deep toasted hue before crushing.
2. Melting the Velvety Cream Base
In a heavy-bottomed saucepan over low heat, combine the 24 oz (680g) of white chocolate chips, the sweetened condensed milk, and the butter. Stir constantly with a silicone spatula.
Visual & Sensory Cue: Watch for the chocolate to lose its shape and transform into a glossy, liquid pool. The mixture should be thick and smooth, smelling like warm cream and vanilla. Do not let it bubble; we want a gentle melt to maintain the pale yellow integrity.
3. Infusing the Banana Essence
Once the chocolate is fully melted and smooth, remove the pan from the heat. Immediately whisk in the instant banana pudding mix, vanilla extract, and sea salt. The mixture will begin to thicken rapidly as the pudding mix hydrates.
Continue to whisk until the powder is fully incorporated and no yellow streaks remain. The result should be a uniform, pale yellow cream base that looks incredibly dense and inviting.
4. Incorporating the Texture
Quickly fold in the first half of your crushed vanilla wafers. Use a folding motion rather than stirring to keep the crumbs from breaking down further. You want those internal pockets of crunch to be visible when the fudge is sliced.
5. The Setting Process and Final Topping
Pour the mixture into your prepared 8×8 pan. Use an offset spatula to smooth the top into an even layer. While the fudge is still “tacky” and warm, generously pile the remaining coarse golden vanilla wafer crumbs over the top.
Press the crumbs down very gently with the palm of your hand so they adhere to the fudge base. Chill in the refrigerator for at least 4 hours, or preferably overnight, until the fudge is firm and thick.
Expert Tips for Confectionery Success
- Quality of Chocolate Matters: Since white chocolate is the primary flavor, use a brand you enjoy eating on its own. Avoid “vanilla-flavored chips” which often contain no cocoa butter and won’t set with the same velvety texture.
- Avoid the Microwave: While tempting, the microwave can easily seize white chocolate. The stovetop method gives you much more control over the “velvety texture” described in our visual prompt.
- The Clean Cut: To get the sharp edges seen in our handheld smartphone photo, run a large chef’s knife under hot water, wipe it dry, and make a single clean slice. Repeat the heating/wiping process between every cut.
- Room Temperature Serving: While the fudge should be stored in the fridge, let the squares sit out for 15 minutes before serving. This allows the white chocolate to soften slightly, enhancing the “smooth velvety texture” on the palate.
For more banana-inspired treats, don’t miss our banana pudding buttercream which is perfect for topping cupcakes!
Storage, Reheating, and Shelf Life Advice
This banana pudding fudge is remarkably hardy. Because it is a no-bake dessert based on shelf-stable ingredients, it will stay fresh in an airtight container in the refrigerator for up to two weeks.
If you want to prepare this well in advance, you can freeze the fudge block. Wrap it tightly in plastic wrap and then aluminum foil. It will last for up to 3 months. When ready to eat, thaw it in the refrigerator overnight before slicing.
Note that the vanilla wafer crumbs on top may lose some of their “golden brown” crunch over time as they absorb moisture from the fudge. For the best visual and textural impact, serve within 48 hours of making.
Creative Pairings for Your Dessert Spread
This fudge is incredibly rich, so it pairs beautifully with items that offer a bit of acidity or a salty contrast. Consider serving it alongside a platter of fresh strawberries or a cup of dark roasted coffee.
If you are planning a full dessert board, this fudge looks amazing next to white chocolate coconut cake for a monochromatic “white and gold” theme. For those who love a bit of variety, serving it with warm banana cobbler provides a lovely temperature contrast between the cold fudge and the hot fruit.
Frequently Asked Questions
Yes! You can easily swap the standard vanilla wafers for gluten-free versions. Just ensure they are crushed to the same coarse consistency to maintain the visual appeal and crunch.
It is not recommended to use fresh bananas as they introduce too much moisture and will brown over time, ruining the pale yellow aesthetic. The pudding mix provides the perfect concentrated flavor and color.
You must use instant pudding mix. The chemistry of the instant version allows it to thicken and set the fudge without needing to be boiled, which is essential for this no-bake texture.
White chocolate has a very low scorched point. Always use the lowest heat setting on your stove and stir constantly. A heavy-bottomed pan or a double boiler is your best defense against grainy or burnt chocolate.
Fudge usually fails to set if the white chocolate isn’t melted correctly or if the ratio of liquid to solids is off. Ensure you use the exact measurements for condensed milk and chips, and avoid adding extra liquid flavorings.
The Ultimate Banana Pudding Fudge Recipe
Banana Pudding Fudge: The Ultimate No-Bake Creamy Dessert
Ingredients
Equipment
Method
- Line an 8x8-inch baking pan with parchment paper, leaving an overhang on two sides for easy removal.
- Crush vanilla wafers into coarse crumbs with golden edges; divide into two 1-cup portions.
- In a heavy saucepan over low heat, melt white chocolate chips, condensed milk, and butter until smooth and velvety.
- Remove from heat and whisk in the banana pudding mix, vanilla, and salt until the pale yellow base is uniform.
- Fold in half of the wafer crumbs. Pour into the pan, top with remaining crumbs, and chill for 4 hours until thick.
Notes
Serve at room temperature for the best velvety texture.
Final Thoughts: A Handheld Piece of Heaven
There is something undeniably magical about a dessert that looks this good and tastes even better. This banana pudding fudge captures the nostalgia of childhood snacks but elevates them into a gourmet experience that will have everyone asking for the recipe.
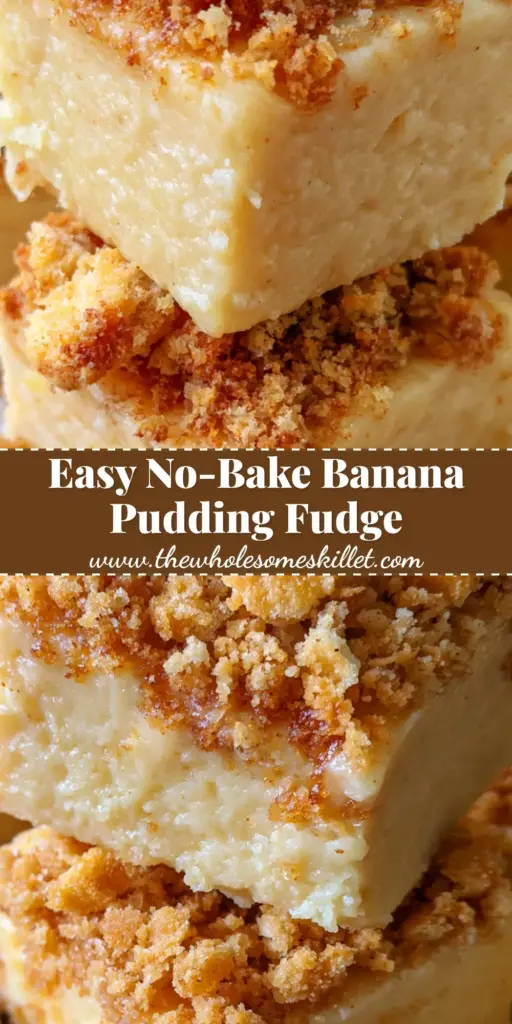
The thick squares, the pale yellow base, and that mountain of golden crumbs create a visual and culinary masterpiece that is as fun to make as it is to eat. It’s a testament to how simple ingredients, when treated with professional logic, can create something extraordinary.
If you made this recipe, we would love to hear from you! Leave a comment below or share your photos with us. Be sure to follow us on Pinterest for more inspired kitchen creations!