There is nothing quite like the sight of a decadent brownie cheesecake sitting on your kitchen counter, ready to be sliced. This isn’t just a dessert; it is a visual and textural masterpiece that bridges the gap between a classic bakery brownie and a high-end New York cheesecake.
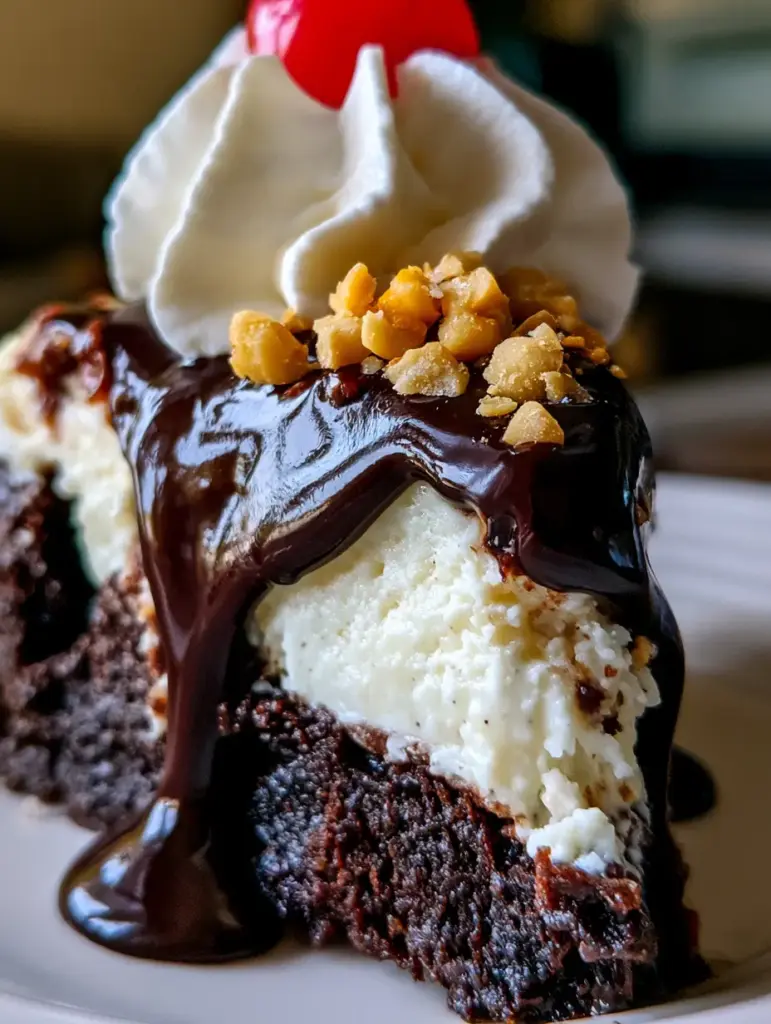
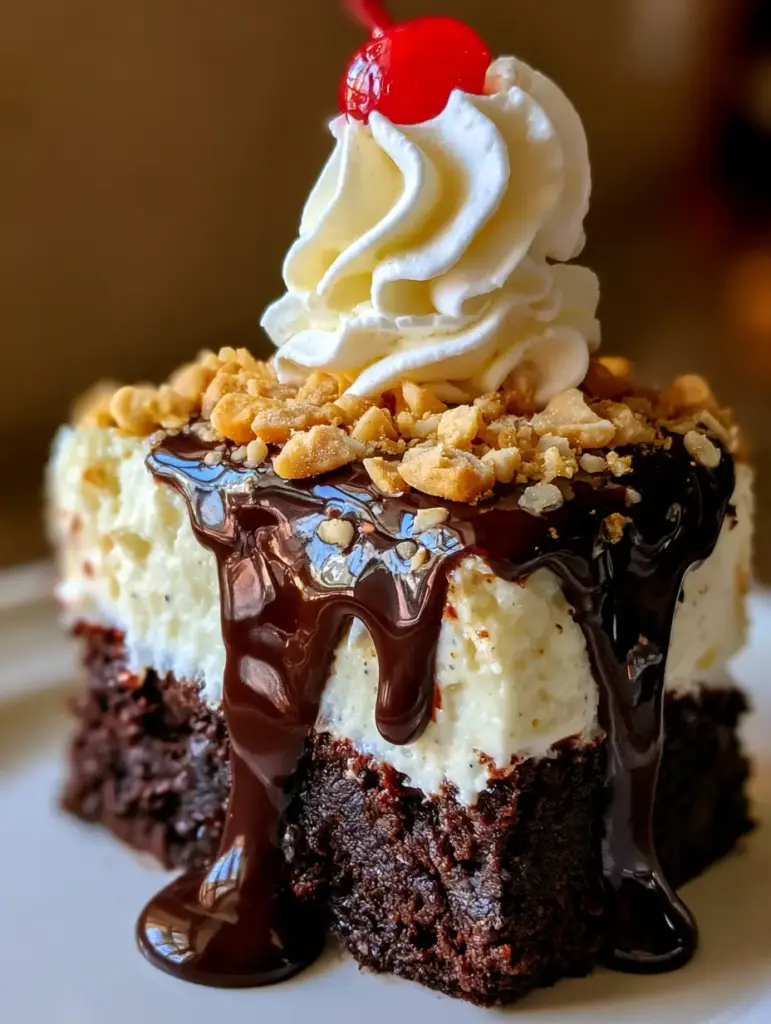
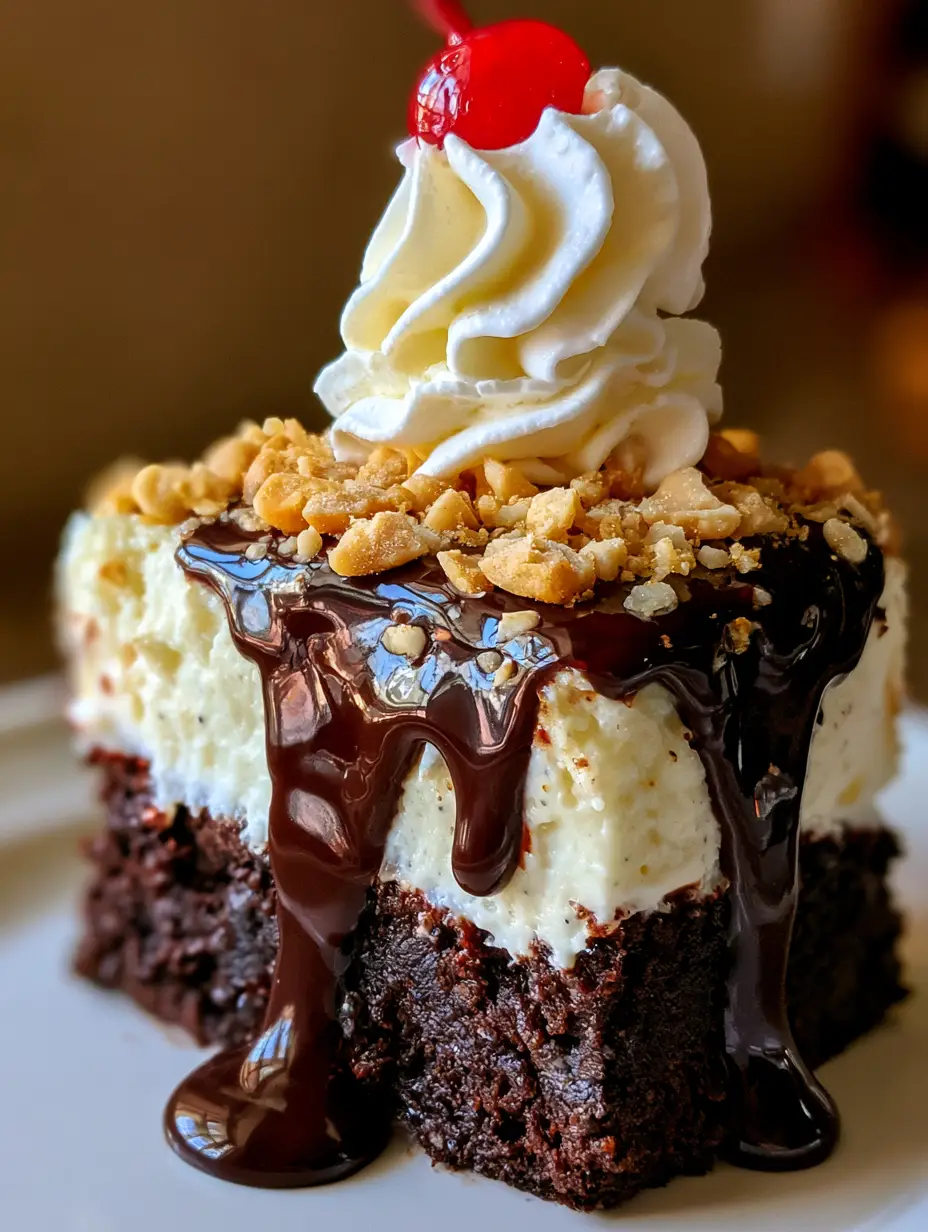
Inspired by the nostalgic flavors of a classic hot fudge sundae, this recipe features a dark, moist, and incredibly fudgy brownie foundation. Topped with a thick, creamy vanilla bean cheesecake and finished with glossy chocolate drips, it is a showstopper for any occasion.
Whether you are hosting a dinner party or simply satisfying a deep chocolate craving, this brownie cheesecake delivers on every promise. The contrast between the cold whipped cream and the rich chocolate fudge creates a sensory experience that keeps you coming back for more.
The Anatomy of an Indulgent Brownie Cheesecake
- The Ultra-Fudgy Base: Unlike a cakey brownie, this base is dense, moist, and deep in cocoa flavor to support the weight of the cheesecake.
- Velvety Vanilla Bean Layer: We use real vanilla bean paste to ensure those beautiful black specks are visible against the stark white cheesecake.
- The Signature Glossy Drip: A homemade chocolate fudge sauce that remains shiny and smooth, cascading perfectly down the sides of each slice.
- The Sundae Finish: A tall, fluffy swirl of stabilized whipped cream, a crunch of golden toasted peanuts, and the iconic bright red maraschino cherry.
Essential Ingredients for the Ultimate Fudgy Foundation
Unsalted Butter (225g / 1 cup): Melted butter provides the fat necessary for that signature fudgy texture and a rich, buttery mouthfeel. It also helps create the “crackly” top where the brownie meets the cheesecake.
High-Quality Cocoa Powder (60g / ¾ cup): Use Dutch-processed cocoa for a darker color and a smoother, less acidic chocolate flavor that mimics the “dark, moist” look of our visual blueprint.
Granulated Sugar (400g / 2 cups): Sugar does more than sweeten; it breaks down the protein in the flour to keep the brownie base incredibly tender and moist.
Full-Fat Cream Cheese (900g / 4 blocks of 8oz): Ensure your cream cheese is at room temperature to achieve a perfectly smooth, lump-free vanilla layer that looks like polished marble.
Vanilla Bean Paste (1 tbsp / 15ml): This provides a concentrated flavor and the distinct visual “dots” of real vanilla bean, elevating the cheesecake from basic to gourmet.
Heavy Whipping Cream (240ml / 1 cup): Used in both the glossy fudge sauce and the whipped cream topping to provide a luxurious, airy texture.
Toasted Peanuts (50g / ½ cup): Chopped and toasted until golden brown, these provide the essential saltiness and crunch to balance the sweetness of the chocolate.
Maraschino Cherries: The final bright red pop of color that completes the hot fudge sundae aesthetic described in our visual prompt.
Foundational Tools for Professional Results
To achieve the “Extreme close-up” quality seen in our photos, you will need a 9-inch (23cm) springform pan. This allows for the clean removal of the cheesecake, preserving those sharp, thick layers of brownie and cream.
An electric hand mixer or a stand mixer is vital for aerating the cheesecake batter without over-mixing, which can cause cracks. Additionally, a small offset spatula is the secret to creating those “glossy chocolate drips” that cascade slowly down the sides.
Crafting the Perfect Fudgy Brownie Base
Step 1: Melting and Mixing the Chocolate Base
Preheat your oven to 350°F (175°C) and grease your springform pan thoroughly. In a large bowl, whisk together the melted butter and sugar until the mixture looks like wet sand.
Add 3 large eggs and 1 tsp (5ml) of vanilla, whisking vigorously until the batter becomes slightly pale and glossy. This aeration is what creates the structure for the brownie cheesecake base.
Step 2: Sifting and Folding
Sift in your cocoa powder, ½ cup (65g) of all-purpose flour, and ½ tsp (3g) of salt. Fold these in gently with a spatula just until no streaks of flour remain; over-mixing here will result in a tough, bread-like base instead of a fudgy one.
Pour the batter into the prepared pan and bake for 20-22 minutes. The brownie should be set but still slightly underbaked in the center, as it will continue to cook with the cheesecake layer later.
Whisking Up the Velvety Vanilla Bean Layer
Step 3: Creating the Cheesecake Batter
While the brownie base cools slightly, beat the room-temperature cream cheese and 1 cup (200g) of sugar until completely smooth. This should take about 3 minutes on medium speed.
Add in 3 large eggs one at a time, followed by the vanilla bean paste and ¼ cup (60ml) of sour cream. The sour cream adds a subtle tang that cuts through the richness of the brownie cheesecake layers.
Step 4: The Water Bath Method
Pour the vanilla batter over the brownie base. Wrap the outside of the pan in heavy-duty foil and place it in a larger roasting pan filled with 1 inch (2.5cm) of hot water. This steam ensures a “creamy white” finish without any brown spots.
Bake at 325°F (160°C) for 50-60 minutes. Look for the “jiggle” cue: the edges should be set, but the center should still have a slight wobble like gelatin when the pan is gently shaken.
Mastering the Glossy Chocolate Drip
While the cheesecake chills for at least 6 hours (or overnight), prepare the fudge sauce. In a small saucepan, combine ½ cup (120ml) heavy cream, 4 oz (115g) chopped dark chocolate, and 1 tbsp (15ml) light corn syrup.
The corn syrup is the “invisible” ingredient that ensures the sauce remains “glossy” and doesn’t turn matte as it cools. Stir over low heat until melted and smooth, then let it cool until it reaches a thick, pourable consistency.
The Art of the Sundae Finish
Once the cheesecake is cold and set, remove the sides of the springform pan. Slowly pour the fudge sauce over the top, using your spatula to nudge it over the edges so it “drips slowly down the side.”
Whip 1 cup (240ml) of heavy cream with 2 tbsp (30g) of powdered sugar until stiff peaks form. Pipe a “tall, fluffy swirl” onto each slice, then sprinkle with the “golden toasted crushed peanuts.” Top each swirl with a bright red maraschino cherry.
Chef’s Secrets for a Crack-Free Finish
- The Temperature Rule: Always use room temperature eggs and cream cheese. Cold ingredients will cause the batter to clump, leading to over-mixing and air bubbles that burst into cracks.
- The Slow Cool: After the timer goes off, turn the oven off and crack the door open. Let the cheesecake sit inside for an hour to prevent a sudden temperature drop.
- Knife Trick: For those “macro shot” perfect slices, dip your knife in hot water and wipe it clean between every single cut.
- Toasting Peanuts: Toast your peanuts in a dry skillet over medium heat for 3-5 minutes until they smell nutty and turn golden; this depth of flavor is essential for the sundae vibe.
Preserving Every Decadent Bite
This brownie cheesecake is a labor of love, so store it properly! Keep it in an airtight container in the refrigerator for up to 5 days. The brownie base actually becomes fudgier after a day in the fridge as the moisture redistributes.
You can also freeze individual slices (without the whipped cream and cherry) by wrapping them tightly in plastic wrap and foil. They will stay fresh for up to 2 months. Thaw overnight in the refrigerator before serving.
Perfect Pairings for Your Dessert Board
If you love the combination of chocolate and fruit found in this brownie cheesecake, you might also enjoy our Cheesecake Fruit Salad for a lighter alternative. For those who prefer a cookie-inspired treat, these Strawberry Cheesecake Cookies offer a similar creamy-meets-chewy texture.
Looking for a seasonal twist? Our Pumpkin Cheesecake is a fall favorite, while the Pecan Pie Cheesecake Bars provide a wonderful nutty crunch that mirrors the toasted peanuts in this recipe.
Frequently Asked Questions
Absolutely! In fact, it’s better if made 24 hours in advance. This allows the cheesecake flavors to meld and the texture to fully set for the perfect slice.
You can, but you may need to reduce the baking time for the base. However, a scratch-made fudgy base provides better structural support for the heavy cheesecake layer.
Yes, a water bath (bain-marie) is essential. It provides a humid environment and gentle heat, ensuring the vanilla layer remains ‘creamy white’ and prevents the top from cracking or browning.
The secret is adding a tablespoon of light corn syrup. This prevents sugar crystallization and keeps the sauce shiny even after it has cooled on the cake.
A hard base usually results from over-baking the brownie layer before adding the cheesecake, or over-mixing the flour into the brownie batter which develops too much gluten.
The Ultimate Brownie Cheesecake Recipe
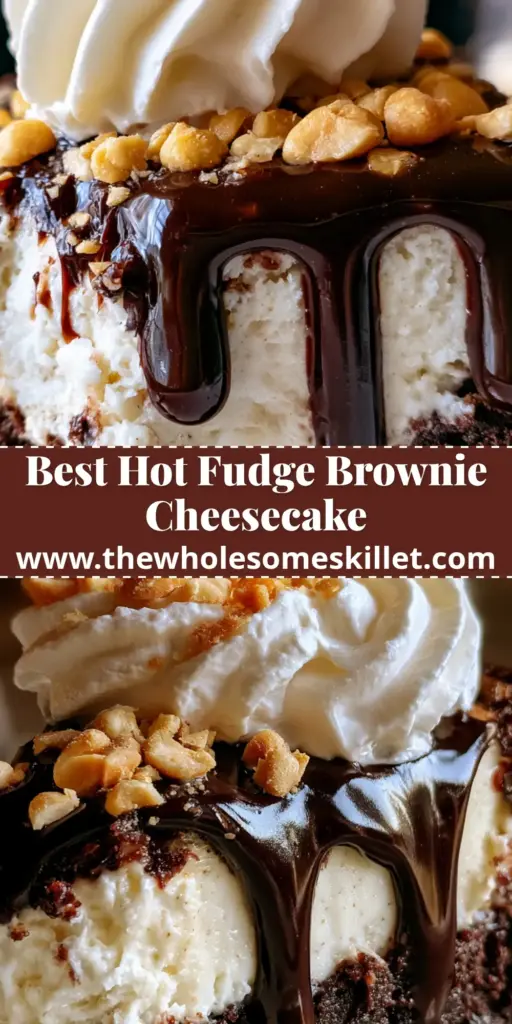
Brownie Cheesecake with Hot Fudge Sundae Toppings
Ingredients
Equipment
Method
- Whisk melted butter, sugar, and eggs. Fold in cocoa and flour until just combined.
- Pour into a 9-inch springform pan and bake at 350°F (175°C) for 20-22 minutes. Let cool slightly.
- Beat cream cheese and sugar until smooth. Add eggs and vanilla bean paste, mixing on low to avoid air bubbles.
- Pour over brownie base. Place pan in a water bath. Bake at 325°F (160°C) for 50-60 minutes until the center slightly jiggles.
- Chill the cheesecake for at least 6 hours in the refrigerator.
- Pour glossy fudge sauce over the top, letting it drip. Pipe whipped cream swirls, sprinkle toasted peanuts, and top with a cherry.
Notes
Use a hot knife to cut clean slices through the fudgy base.
Bring the Hot Fudge Sundae Home
This brownie cheesecake is more than just a dessert—it’s a celebration of textures and flavors. From the dark, fudgy base to the bright red cherry on top, every element is designed to impress and satisfy.
We would love to see your creations! If you make this recipe, please leave a comment below and share your photos with us on Pinterest. Don’t forget to sign up for our newsletter for more decadent dessert inspiration!