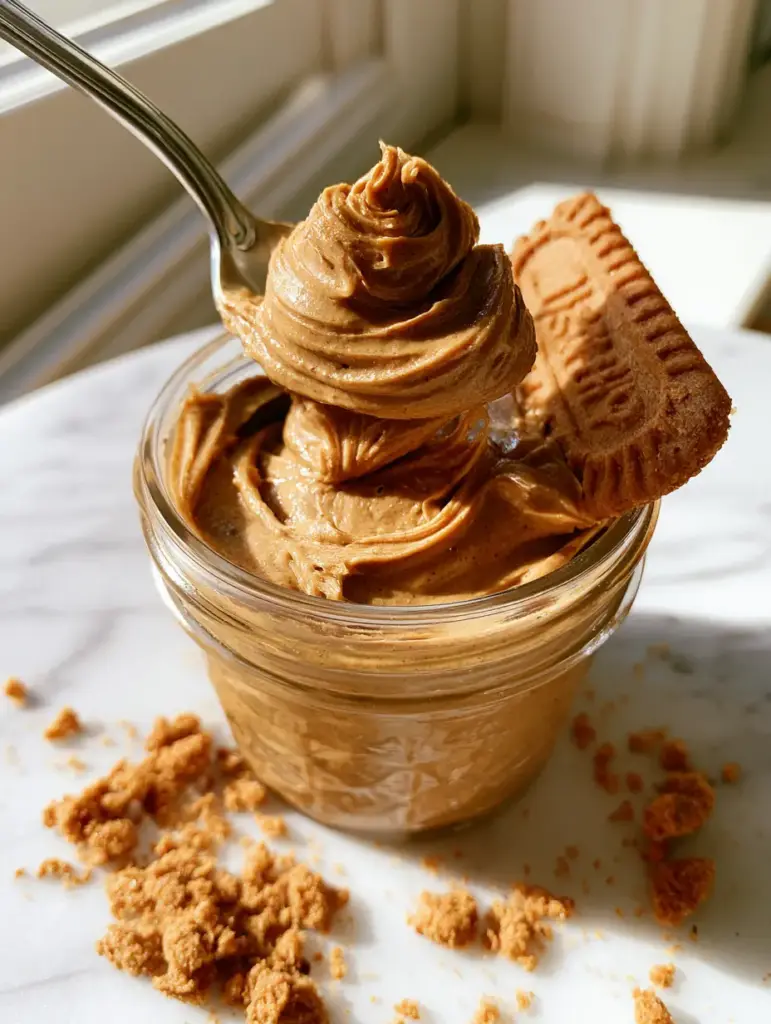
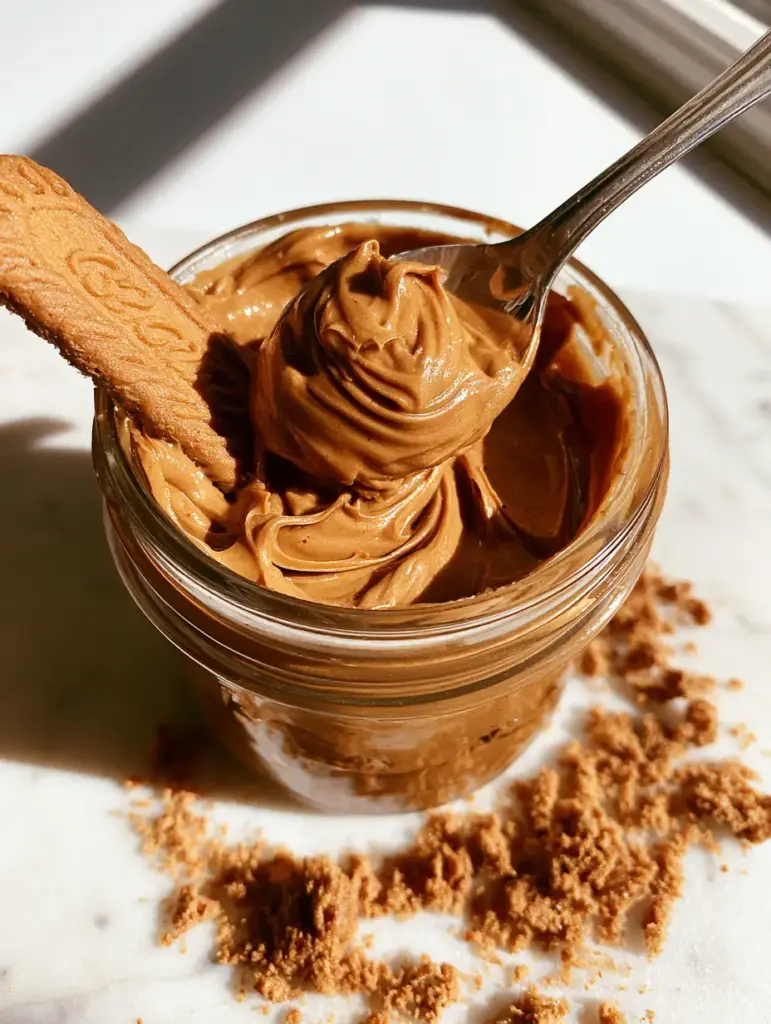
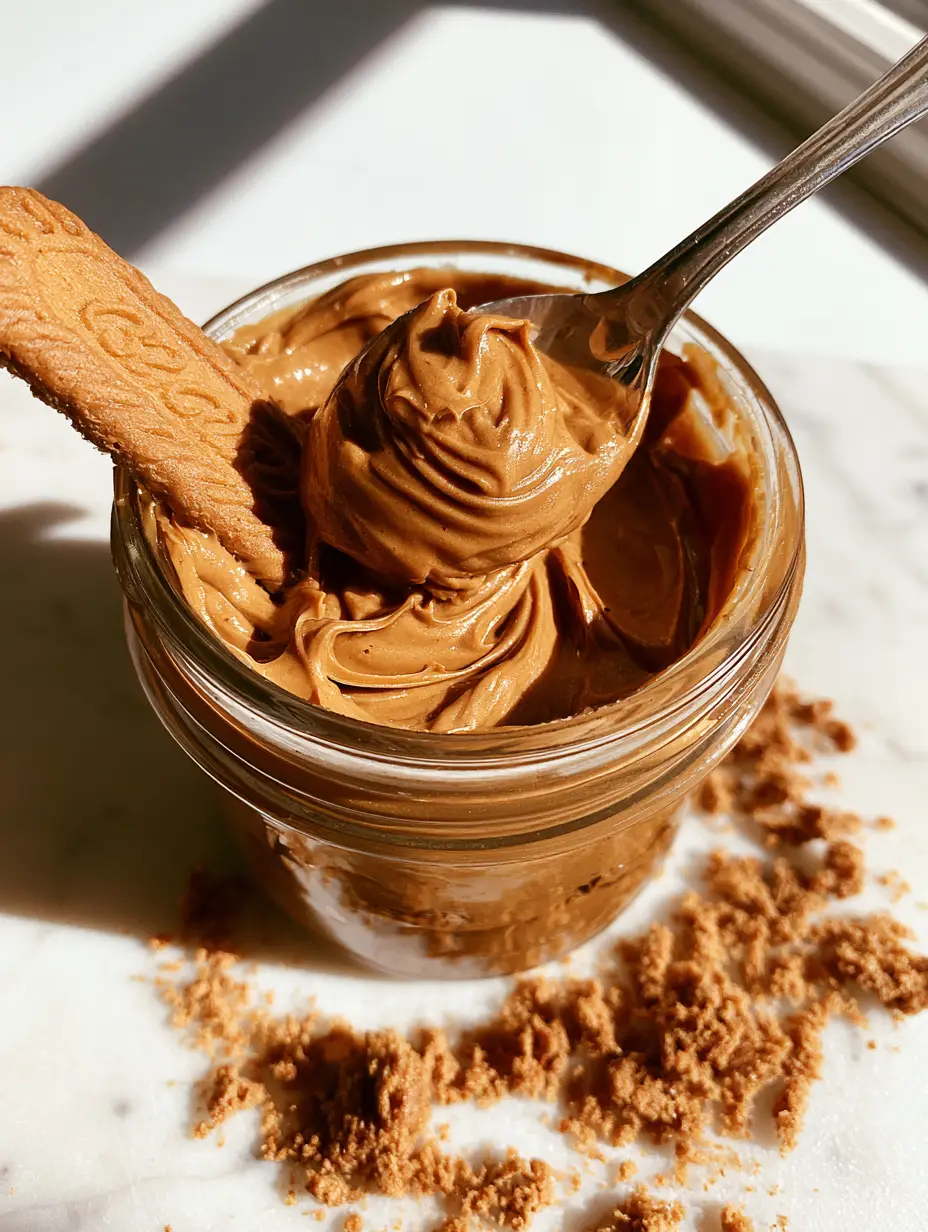
There is something undeniably hypnotic about a thick, velvety swirl of biscoff spread catching the light on a silver spoon. If you have ever opened a jar of store-bought cookie butter and found yourself dipping a crisp biscuit straight into that creamy depths, you know exactly why this treat has a global cult following. The deep caramel notes, the warmth of cinnamon, and that signature speculoos spice profile create a flavor experience that is both nostalgic and sophisticated.
Making your own homemade version allows you to control the texture and intensity of the spices while achieving that identical handheld smartphone photo-worthy finish. Imagine a glass jar filled with luscious, golden-brown cream, artfully placed on a white marble countertop with fine biscuit crumbs scattered like edible gold dust. This recipe isn’t just about recreating a product; it is about mastering the art of the speculoos emulsion to achieve a spread so smooth it looks unedited in the soft, natural sunlight of your kitchen.
Whether you are looking to swirl it into a morning latte or use it as a decadent base for your next dessert, this guide will walk you through the culinary science of turning crunchy biscuits into a spreadable masterpiece. Let’s dive into the chemistry of speculoos and the steps required to get that perfect, spoonable consistency.
Why This Homemade Speculoos Spread Outshines the Jar
- Unmatched Texture: By controlling the processing time, you can achieve a thick, velvety swirl that holds its shape on a silver spoon, perfect for that authentic handheld photo look.
- Pure Flavor Profile: Without the need for industrial stabilizers, the natural caramel and cinnamon notes of the Biscoff biscuits shine through with more clarity.
- Customizable Consistency: Whether you prefer a slightly grainy, rustic spread or a mirror-smooth finish, you are in total control of the final mouthfeel.
- Visually Stunning: The rich, golden-brown hue against a white marble surface makes this the centerpiece of any dessert spread or brunch table.
The Anatomy of the Perfect Cookie Butter: Ingredients and Substitutions
To achieve the specific visual and structural results described in our blueprint, every ingredient serves a forensic culinary purpose. We are building an emulsion that must remain stable at room temperature while staying soft enough for dipping a crisp Biscoff biscuit.
Biscoff Biscuits (Speculoos): 8.8 oz (250g). These are the foundation of the recipe, providing the distinct caramelized sugar and spice flavor that defines a true biscoff spread.
Evaporated Milk: 1/2 cup (120ml). Evaporated milk provides a rich, concentrated creaminess without the excess water found in regular milk, which helps prevent the spread from becoming too thin.
Unsalted Butter: 1/3 cup (75g). The butter acts as the primary fat source, ensuring the spread remains solid yet pliable, giving it that characteristic “swirl” capability.
Brown Sugar: 1 tbsp (15g). A small addition of extra brown sugar enhances the molasses undertones and helps achieve the deep golden color seen in the soft natural light.
Lemon Juice: 1 tsp (5ml). The acidity in the lemon juice acts as a flavor brightener, cutting through the heavy fats and sugars to make the spices pop on the palate.
Ground Cinnamon: 1/2 tsp (1g). While the biscuits are already spiced, a touch of extra cinnamon reinforces the aromatic profile that greets you the moment the jar is opened.
Salt: 1 pinch. A foundational invisible ingredient, salt balances the sweetness and enhances the perception of the caramelized biscuit notes.
Essential Equipment for a Smooth Emulsion
To transform solid biscuits into a liquid-gold spread, you need tools that can handle high-speed friction and fine particle reduction. Achieving the “fine biscuit crumbs” look requires specific mechanical intervention.
- High-Speed Food Processor or Blender: This is non-negotiable for breaking down the biscuits into a dust-like consistency before adding liquids.
- Rubber Spatula: Necessary for scraping down the sides to ensure every crumb is incorporated into the emulsion.
- Glass Jar with Lid: For authentic storage and that classic aesthetic appeal on your marble countertop.
- Small Saucepan: Used to gently melt the butter and sugars, ensuring they integrate seamlessly into the biscuit base.
Step-by-Step Instructions for the Perfect Biscoff Spread
Step 1: The Biscuit Pulverization
Begin by placing 8.8 oz (250g) of Biscoff biscuits into your food processor. Pulse the biscuits until they reach the consistency of very fine sand; there should be no large chunks remaining. Reserve a tablespoon of these crumbs to artfully scatter around your white marble surface later for that professional visual finish.
Step 2: Preparing the Liquid Gold
In a small saucepan over low heat, combine 1/3 cup (75g) of butter, 1/2 cup (120ml) of evaporated milk, and 1 tbsp (15g) of brown sugar. Stir constantly until the butter is completely melted and the sugar has dissolved. Do not let the mixture boil; you only want it warm enough to be fluid and homogenous.
Step 3: Creating the Speculoos Emulsion
With the food processor running on low, slowly stream the warm liquid mixture into the biscuit crumbs. You will see the texture shift from dry powder to a thick, gritty paste. Add the lemon juice, extra cinnamon, and a pinch of salt during the final seconds of blending.
Step 4: Achieving the Velvety Swirl
Turn the processor to high speed and blend for 1-2 minutes. The friction will help emulsify the fats and liquids into the fine biscuit particles. Stop once the spread looks glossy and smooth. Test the texture with a silver spoon; it should create a thick, velvety swirl that holds its shape momentarily before slowly settling.
Step 5: The Cooling and Setting Phase
Transfer the warm biscoff spread into a clean glass jar. At this stage, it will look slightly thinner than store-bought versions, but it will thicken significantly as it cools. Allow it to sit at room temperature for 30 minutes before sealing and refrigerating. The soft, natural light of your kitchen will highlight the beautiful, consistent color as it sets.
Expert Tips for Culinary Success
- Temperature Control: Ensure your evaporated milk is at room temperature before adding it to the warm butter to prevent the mixture from seizing.
- Sifting for Perfection: If your processor isn’t high-powered, sift the biscuit crumbs through a fine-mesh strainer before adding liquids to ensure no grit remains.
- Consistency Adjustments: If you prefer a thinner spread for drizzling, add an extra tablespoon (15ml) of evaporated milk. For a thicker dip, reduce the milk by the same amount.
- The “Bloom” Effect: Let the spread rest in the fridge for at least 4 hours. This allows the spices to “bloom” and the fats to crystallize into that iconic spreadable texture.
Storage, Reheating, and Shelf Life
Homemade biscoff spread does not contain the same preservatives as commercial jars, so proper storage is key to maintaining freshness. Store your jar in the refrigerator for up to two weeks. The butter content will cause the spread to firm up when cold.
To regain that “dippable” consistency for your Biscoff biscuits, simply take the jar out of the fridge 20 minutes before serving. If you need a pourable sauce for a German chocolate poke cake, you can microwave a small portion in 10-second intervals until it reaches the desired fluidity.
Creative Ways to Use Your Speculoos Spread
This spread is incredibly versatile and pairs beautifully with a variety of textures and flavors. For a sophisticated dessert, use it as a filling for homemade cream puffs or swirl it into the base of Biscoff mini cheesecakes for a double hit of speculoos flavor.
If you enjoy fruit-based treats, try drizzling warmed cookie butter over air fryer bananas or use it as a dip for apple slices alongside apple custard puff pastries. For those who love a salty-sweet combo, it makes an excellent topping for chocolate peanut butter cookies.
Frequently Asked Questions
While a food processor is best for a smooth texture, you can crush the biscuits in a sealed bag with a rolling pin until they are a fine powder, then whisk vigorously with the warm liquids. The result will be slightly more rustic and ‘crunchy’.
Simply fold in 1/4 cup of roughly crushed biscuit pieces after you have finished blending the smooth base. Do not blend after adding the chunks to maintain the texture.
Because it contains dairy (milk and butter), it should be stored in the refrigerator. It will stay fresh and delicious for up to 2 weeks in an airtight glass jar.
Standard Biscoff biscuits are vegan, but this recipe uses butter and evaporated milk. To make it vegan, substitute the butter with a neutral oil or vegan butter and use coconut milk or soy-based evaporated milk.
Graininess usually occurs if the biscuits weren’t pulsed into a fine enough powder before adding the liquids, or if the blending time wasn’t long enough to emulsify the fats. Ensure you blend for at least 60-90 seconds on high speed.
How to Make Homemade Biscoff Spread
Biscoff Spread: The Ultimate Homemade Speculoos Cookie Butter Recipe
Ingredients
Equipment
Method
- Place Biscoff biscuits in a food processor and pulse until they form fine biscuit crumbs. Reserve a small amount for garnish.
- In a small saucepan, combine butter, evaporated milk, and brown sugar over low heat until melted and smooth.
- Stream the warm liquid into the food processor while running. Add lemon juice, cinnamon, and salt.
- High-speed blend for 1-2 minutes until a velvety swirl forms and the texture is completely smooth.
Notes
Use a high-speed blender if you want an ultra-glossy, commercial-style finish.
Bring the Spiced Magic to Your Kitchen
Mastering this biscoff spread recipe is a gateway to elevating your entire dessert repertoire. The combination of caramelized biscuits and a perfectly balanced emulsion creates a topping that is as visually stunning as it is delicious. From the thick swirl on a silver spoon to the final dusting of crumbs on a marble counter, every element of this recipe is designed for maximum sensory impact.
We would love to see how your homemade cookie butter turned out! Did you achieve that perfect velvety texture? Leave a comment below and let us know your favorite way to use this spread. Don’t forget to share your photos and tag us, and be sure to pin this recipe to your favorite dessert boards on Pinterest for later!