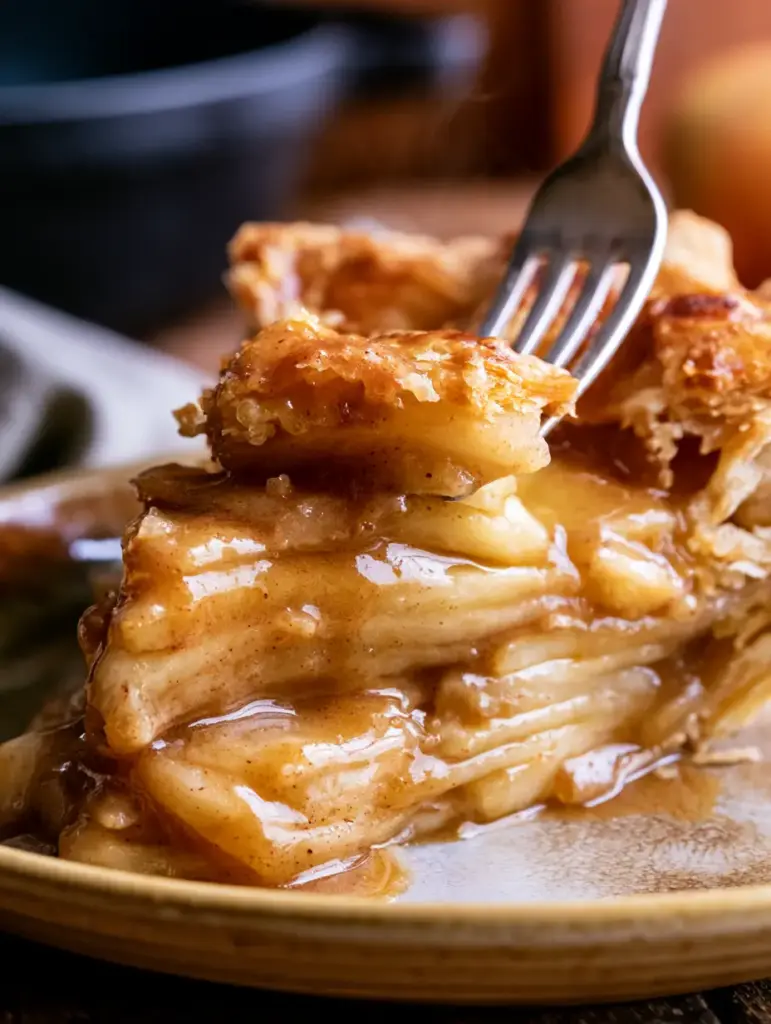
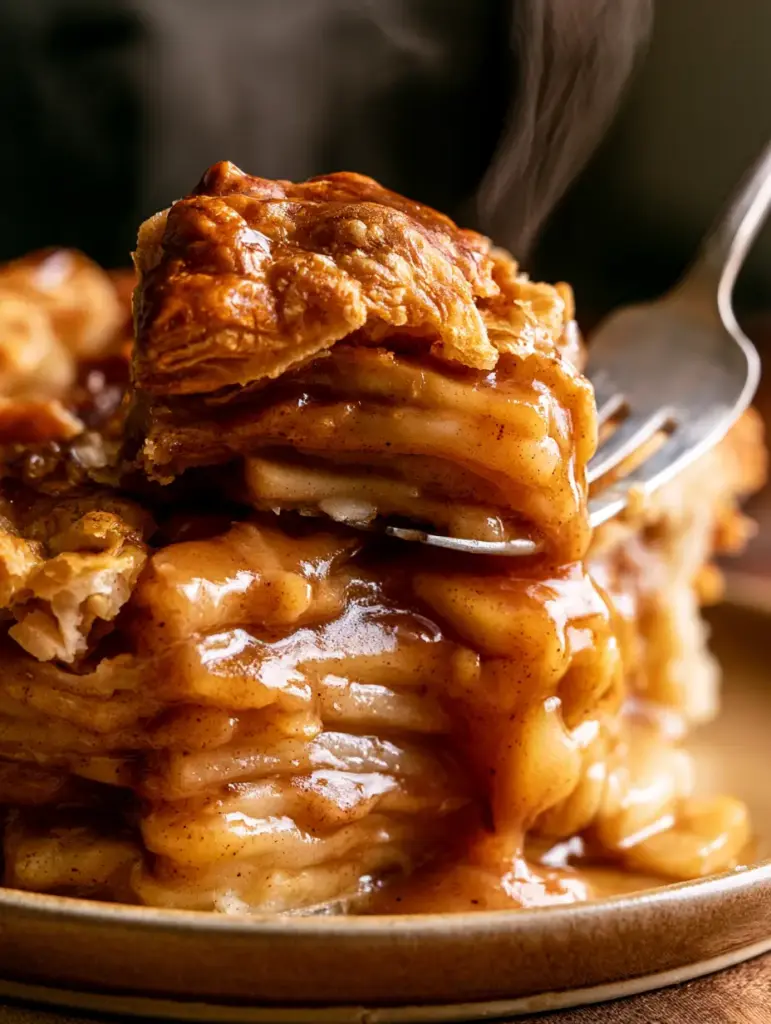
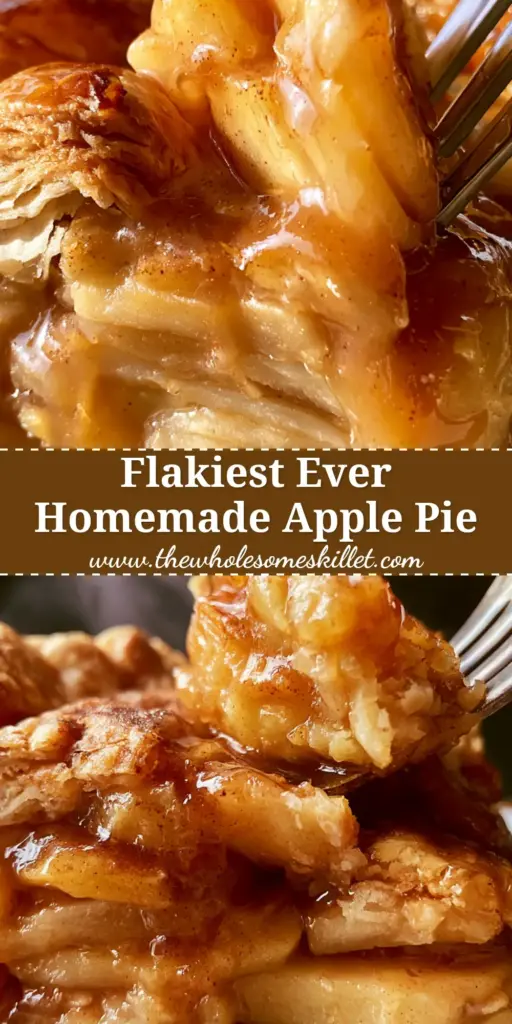
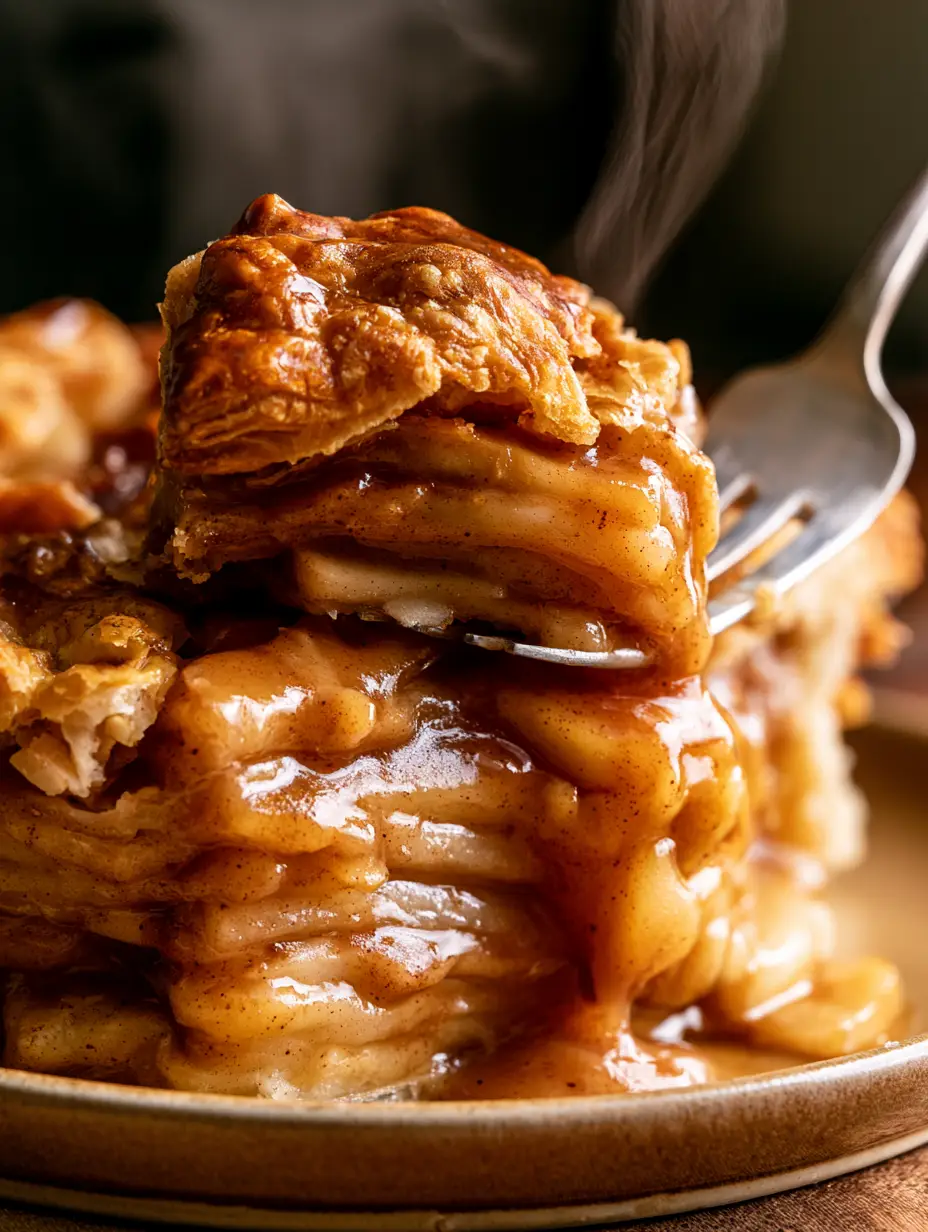
There is nothing quite like the aroma of a homemade apple pie wafting through a sun-drenched kitchen. As you press a silver fork into a warm, deep-dish slice, the sound of the shatteringly flaky golden crust giving way is pure culinary music. The internal texture reveals multiple layers of thinly sliced apples, perfectly tender yet holding their shape, all bathed in a thick, mahogany-hued cinnamon glaze that drips invitingly onto a clean ceramic plate.
This isn’t just a dessert; it is a masterclass in texture and temperature. The contrast between the cold, crisp air of a kitchen and the soft steam rising from a hot filling makes this the ultimate comfort food. Whether you are preparing for a holiday gathering or a simple Sunday dinner, mastering this recipe ensures you are the hero of the dessert table every single time.
The Science of the Perfect Deep-Dish Slice
- Visual Texture: A high-domed, deep-dish profile that showcases the abundance of fruit inside every slice.
- Shatter-Factor Crust: Achieved through an all-butter dough that creates distinct, visible layers of pastry.
- Lustrous Glaze: A thick, spiced syrup created by macerating apples in brown sugar and cinnamon, ensuring no “soupy” bottom.
- Sensory Contrast: The crunch of coarse sanding sugar against the soft, pillowy layers of tart Granny Smith apples.
Essential Ingredients for a Professional Results
To achieve the visual and structural excellence seen in our blueprint, every ingredient serves a forensic purpose. We don’t just add sugar for sweetness; we add it to draw out the moisture needed for that iconic glaze.
For the All-Butter Crust:
2 1/2 cups (312g) all-purpose flour provides the structural framework for the pastry. 1 cup (227g) unsalted butter, kept ice-cold, is the key to those visible flakes. 1 tsp (6g) fine sea salt enhances the buttery flavor, while 1/2 cup (120ml) ice water binds the dough without melting the fat. For an even easier start, you can reference our guide on how to master the perfect pie crust.
For the Deep-Dish Apple Filling:
6 to 7 large (approx. 1.4kg) Granny Smith apples are essential for their tartness and ability to hold shape under high heat. 3/4 cup (150g) packed light brown sugar creates the deep, caramelized color for the glaze. 2 tbsp (16g) all-purpose flour or cornstarch acts as the thickening agent for the juices. 1 1/2 tsp (4g) ground cinnamon and 1/4 tsp (1g) ground nutmeg provide the warm, aromatic profile characteristic of a classic homemade apple pie.
For the Signature Finishing Touches:
1 large egg beaten with 1 tbsp (15ml) water creates the egg wash responsible for the golden-brown shine. 2 tbsp (25g) coarse sanding sugar provides the visual sparkle and a satisfying crunch. A small squeeze of lemon juice (approx. 1 tbsp) prevents the apples from oxidizing and balances the sugar.
Must-Have Tools for the Enthusiastic Baker
To replicate the extreme close-up detail of our visual prompt, you need tools that prioritize precision. A sharp mandoline or a steady chef’s knife is required for the thinly sliced apples that stack so beautifully. A deep-dish ceramic pie plate ensures even heat distribution, while a pastry brush is vital for applying the egg wash that gives the crust its “unedited, realistic food texture.”
Step-by-Step Instructions to Baking Perfection
Crafting the Flaky Pastry Foundation
Start by whisking your flour and salt in a large bowl. Cut the cold butter into 1/2-inch cubes and toss them into the flour. Using your fingers or a pastry cutter, press the butter into the flour until you have shards ranging from pea-sized to almond-sized. This variety in fat size is what creates the “shatteringly flaky” result. Drizzle in the ice water one tablespoon at a time, mixing until the dough just holds together. Wrap and chill for at least 1 hour; this allows the gluten to relax and the butter to re-harden.
Preparing the Signature Apple Layers
Peel and core your Granny Smith apples. Slice them into very thin, uniform crescents (about 1/8 inch or 3mm thick). In a large bowl, toss the slices with the brown sugar, cinnamon, nutmeg, lemon juice, and flour. Let this mixture sit for 20 minutes. You will see a thick, syrupy liquid begin to form at the bottom of the bowl—this is the base of your thick cinnamon glaze. Do not discard this liquid!
Assembling the Deep-Dish Masterpiece
Roll out your bottom crust to about 12 inches (30cm) and drape it over your pie plate. Pile the apples high in the center, stacking the thin slices tightly to prevent large air gaps. Pour the remaining syrupy juices over the fruit. Roll out the top crust and place it over the apples. Trim the edges and crimp tightly to seal in the steam. Cut four generous vents in the top to allow the soft steam to rise during baking.
Baking for Golden-Brown Visual Excellence
Brush the entire top surface with the egg wash, ensuring you get into the crevices of the crimping. Sprinkle generously with the coarse sanding sugar. Bake at 425°F (220°C) for the first 20 minutes to set the crust, then reduce the heat to 375°F (190°C) and bake for another 40-50 minutes. You are looking for a deep golden-brown color and juices that bubble slowly through the vents. If the edges brown too quickly, protect them with a foil ring.
Expert Tips for Bakery-Quality Pie
- Keep it Cold: If the dough feels warm at any point, put it back in the fridge for 10 minutes. Cold butter equals flaky layers.
- The Rest Period: You must let the pie cool for at least 3 hours before slicing. This allows the cinnamon glaze to thicken into the “dripping” consistency seen in the photos.
- Apple Choice: While Granny Smiths are visual perfection, you can mix in one or two Honeycrisp apples for a touch of extra sweetness, similar to the balance found in an apple grape salad.
- Steam Control: Ensure your vents are large enough. If the steam can’t escape, the bottom crust will become soggy rather than crisp.
How to Store and Revive Your Leftovers
A homemade apple pie can be kept at room temperature, covered loosely, for up to 2 days. For longer storage, refrigerate for up to 5 days. To recapture the “warm slice” experience, reheat individual pieces in a 350°F (175°C) oven for 10 minutes. This restores the crunch to the crust that a microwave would turn to mush.
Delightful Pairings for Your Pie
While a slice of this pie is a star on its own, it pairs beautifully with other textures. Serve it alongside a dollop of whipped cream or a scoop of vanilla bean ice cream. If you are hosting a larger dessert spread, consider adding some pecan pie cheesecake or even apple custard puff pastries for a variety of orchard-inspired treats. For those who love a bit of crunch, a sprinkle of buttery crumble topping on the side adds even more dimension.
Frequently Asked Questions
Yes! You can freeze the pie unbaked for up to 3 months. Bake directly from frozen, adding about 15-20 minutes to the total baking time.
Pre-heating your baking sheet, using a ceramic pie dish, and ensuring you thicken your apple juices with flour or cornstarch are the best ways to ensure a crisp bottom crust.
Granny Smith apples are the industry standard because they are tart and hold their structure during baking. For a more complex flavor, you can mix them with Honeycrisp or Braeburn apples.
This happens when the apples shrink as they bake. To avoid this, slice your apples very thinly and pack them tightly, or pre-cook the apple filling slightly to reduce their volume before assembly.
The Ultimate Homemade Apple Pie Recipe
Homemade Apple Pie with a Shatteringly Flaky All-Butter Crust
Ingredients
Equipment
Method
- Combine flour and salt. Cut in cold butter until pea-sized crumbs form. Add ice water 1 tbsp at a time until dough forms. Chill for 1 hour.
- Toss thinly sliced apples with brown sugar, spices, lemon juice, and flour. Let sit for 20 minutes until a syrupy glaze forms.
- Roll bottom crust into a 9-inch plate. Pile apples and juices inside. Top with second crust, crimp edges, and cut steam vents.
- Brush with egg wash and sprinkle with sanding sugar. Bake at 425°F (220°C) for 20 mins, then at 375°F (190°C) for 45-50 mins until golden and bubbling.
Notes
Let the pie cool for at least 3 hours to allow the glaze to set properly.
Bring the Magic of Baking into Your Kitchen
Baking a homemade apple pie is more than just following a recipe; it is an act of love and a sensory journey. From the first sight of the golden, sugar-dusted crust to the last bite of the cinnamon-glazed filling, this dish represents the pinnacle of home baking. We would love to see your results! Leave a comment below and share your baking journey with us on Pinterest.