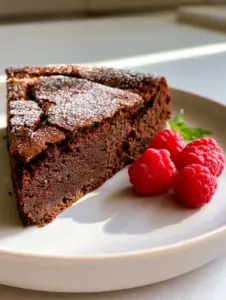
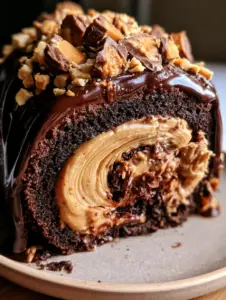
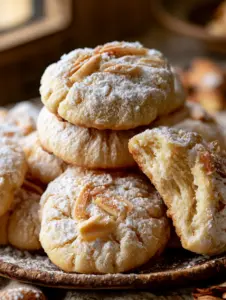
There is nothing quite like the sensory experience of pulling apart a warm, freshly baked pastry, and these honey buns deliver that satisfaction in every single bite. Imagine a handheld treat so soft that the airy dough layers practically melt on your tongue, revealing a hidden, sticky cinnamon-honey center that balances warmth with floral sweetness. This recipe isn’t just about recreating a store-bought classic; it’s about elevating the honey bun into a gourmet experience using real vanilla beans and a glistening amber honey drizzle.
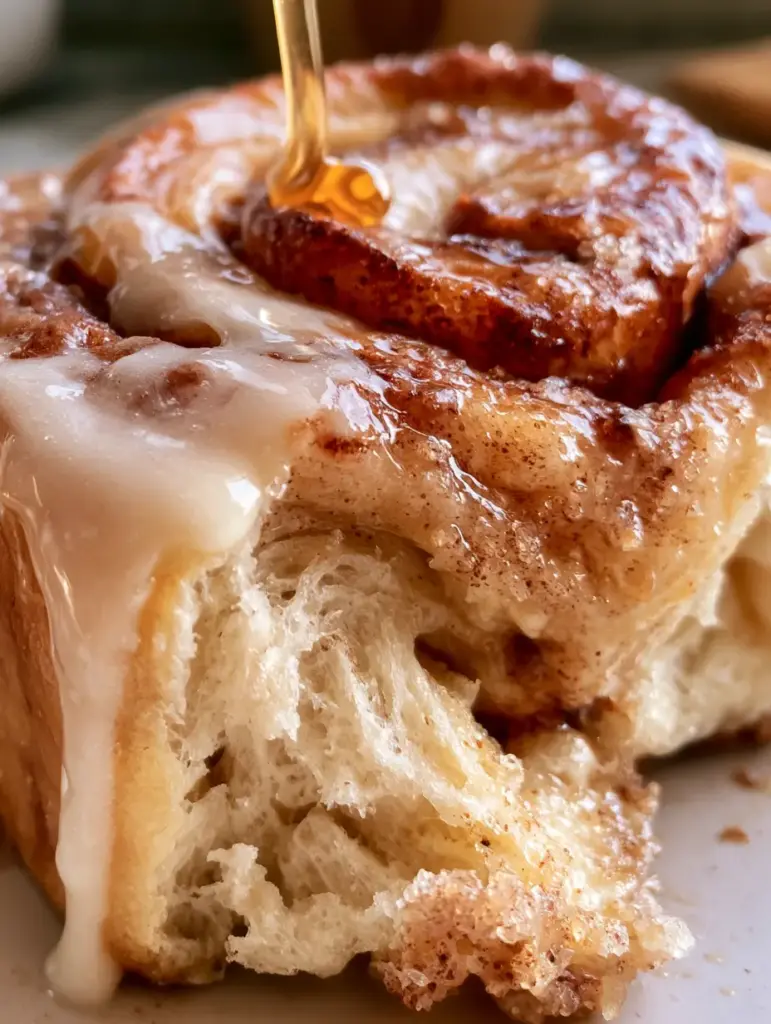
When you hold one of these buns, the weight of the thick, opaque white glaze and the shimmer of the honey under natural light tell you everything you need to know about the quality of the ingredients. Whether you are serving these for a decadent weekend brunch or a special dessert, the combination of a butter-brushed golden crust and scattered sugar crystals creates a professional bakery finish right in your own kitchen. If you have enjoyed our Earl Grey Panna Cotta, you will appreciate the refined sweetness found in this dough.
Why These Are the Best Homemade Honey Buns You Will Ever Bake
- Visual Masterpiece: The contrast between the snowy-white vanilla bean glaze and the deep amber honey drizzle makes these a showstopper on any table.
- Textural Perfection: We utilize a high-hydration yeast-leavened dough to ensure those soft, airy layers described in our visual blueprint.
- Dual-Sweetness Profile: By using both a cinnamon-honey filling and a vanilla glaze, we create layers of flavor that evolve as you eat.
- Professional Crust: A final brush of melted butter before the glaze sets ensures a rich, golden-brown exterior that stays tender for days.
Essential Ingredients for the Perfect Honey Bun Dough
Bread Flour: 4 cups (500g). Using bread flour instead of all-purpose provides the necessary protein to create the strong gluten network required for airy dough layers. This ensures the bun holds its spiral shape without becoming dense.
Whole Milk: 1 cup (240ml). The fats in whole milk tenderize the crumb, resulting in that “gently pulled apart” texture seen in professional food photography. Ensure it is warmed to exactly 110°F (43°C) to activate the yeast without killing it.
Active Dry Yeast: 2 ¼ tsp (7g). This is the engine of our recipe, providing the lift and the distinct fermented aroma that defines a true yeast-leavened pastry. If you are also a fan of yeast-based treats, you might recognize this process from our classic cream puffs.
Wildflower Honey: ½ cup (170g) total. We use honey in three stages: within the dough for moisture, in the filling for stickiness, and as a final drizzle for that glistening amber finish. Honey acts as a natural humectant, keeping your buns fresh longer than sugar alone.
Unsalted Butter: 6 tbsp (85g), softened. Quality butter is integrated into the dough for richness and brushed onto the crust for that signature golden sheen. For a different buttery treat, check out our Butter Pecan Pound Cake.
Vanilla Bean Paste: 1 tsp (5ml). The tiny black specks in the opaque glaze come from real vanilla beans, offering a sophisticated flavor that mimics high-end patisseries.
Powdered Sugar: 2 cups (240g). This forms the base of our thick glaze, providing a clean, white canvas for the honey drizzle and helping to lock in the bun’s moisture.
Must-Have Tools for Bakery-Quality Results
To achieve the precise textures of our visual blueprint, you will need a few key pieces of equipment. A stand mixer with a dough hook is highly recommended to reach the level of gluten development needed for an “airy crumb.” You will also need a heavy-duty rolling pin to flatten the dough evenly, ensuring the cinnamon-honey filling is distributed in every spiral.
A pastry brush is non-negotiable for applying the butter-brushed crust and the final glaze. Finally, a digital kitchen scale is the best way to ensure your flour measurements are exact, which is the secret to consistent, fluffy results every time you bake.
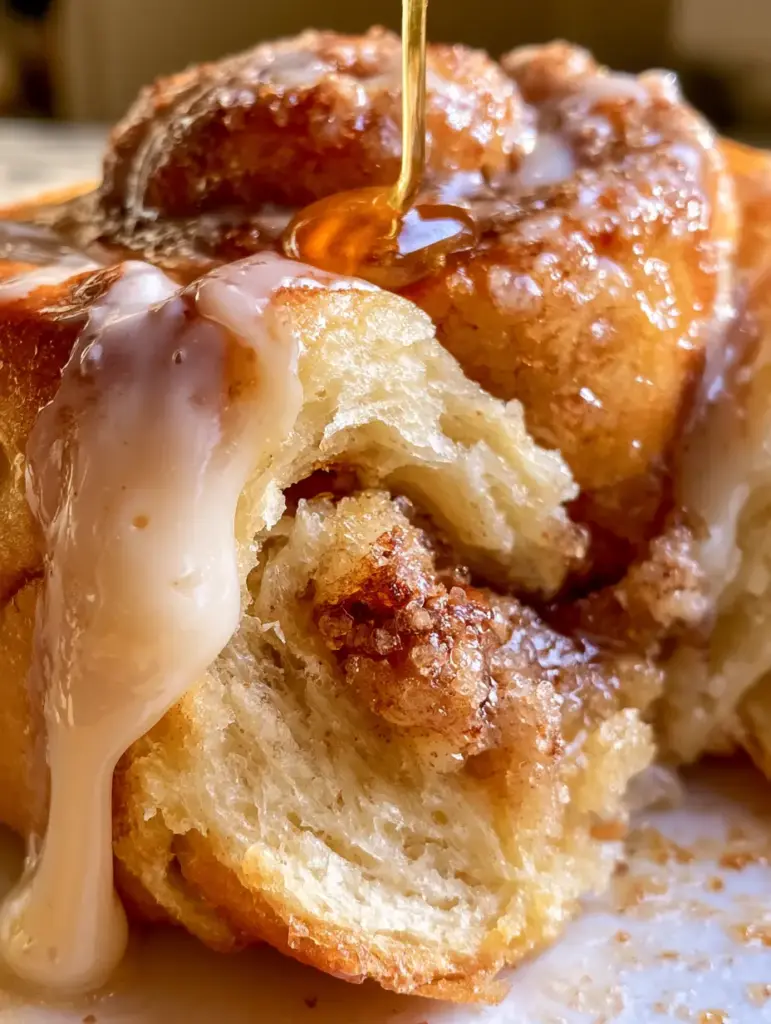
Step-by-Step Guide to Crafting Fluffy Honey Buns
1. Activating the Yeast and Mixing the Dough
In the bowl of your stand mixer, combine the warm milk (1 cup / 240ml) with 1 tablespoon (21g) of the honey and the yeast. Let it sit for 5-10 minutes until a thick foam forms on the surface—this is your first sensory cue that the yeast is alive and ready to work. Add the remaining dough honey, softened butter, and half the flour, mixing on low speed until a shaggy mass forms.
2. The Kneading Process for Airy Layers
Gradually add the remaining flour and knead on medium speed for 8-10 minutes. You are looking for the “windowpane test” cue: the dough should be smooth, elastic, and translucent when stretched thin. This development is what allows the honey buns to be pulled apart into delicate, soft layers later.
3. The First Rise: Building Flavor
Place the dough in a lightly oiled bowl, cover with a damp cloth, and let it rise in a warm, draft-free spot for 60-90 minutes. It should double in size. This fermentation period is crucial for developing the complex flavors that pair so well with our homemade Biscoff spread if you choose to use it as a side dip.
4. Rolling and Filling the Honey-Cinnamon Center
Punch down the dough and roll it into a large rectangle, roughly 12×18 inches (30x45cm). Spread a mixture of softened butter, cinnamon, and honey across the surface. Roll the dough tightly into a log and slice into 12 even rounds. Place them on a parchment-lined baking sheet, ensuring they have room to expand.
5. The Second Proof and The Bake
Cover the sliced buns and let them rise again for 45 minutes until they look puffy and touch each other slightly. Bake at 350°F (175°C) for 20-25 minutes. Watch for the visual cue: the crust should be a deep golden-brown. Immediately upon removing from the oven, brush the tops with melted butter to create that signature soft, butter-brushed crust.
6. Glazing and the Amber Honey Drizzle
Whisk together the powdered sugar, vanilla bean paste, and a splash of milk to create a thick, opaque white glaze. While the buns are still slightly warm, pour the glaze over them, allowing it to drip down the sides. Finally, take a spoonful of honey and create a thin, glistening stream over the top. Sprinkle a few sugar crystals over the glaze for added texture before serving.
Expert Tips for the Ultimate Honey Bun Success
- Temperature Control: Ensure your eggs and butter are at room temperature before starting. Cold ingredients can shock the yeast and slow down the rise, resulting in a dense bun.
- Don’t Over-Flour: It is tempting to add more flour if the dough feels sticky, but rely on the kneading process instead. A slightly tacky dough leads to the fluffiest crumb.
- The Warm Glaze Technique: Apply the glaze while the buns are warm, but not hot. If they are too hot, the glaze will melt into the bun; if they are cold, it won’t drip beautifully down the sides.
- Honey Selection: Use a high-quality amber honey for the drizzle. The flavor profile of the honey will be very prominent, so choose one you enjoy eating plain.
Preserving Freshness: Storage and Reheating
To keep your honey buns tasting like they just came out of the oven, store them in an airtight container at room temperature for up to 2 days. For longer storage, you can refrigerate them for up to a week, though the glaze may soften slightly.
When you are ready for another round, reheat a single bun in the microwave for 10-15 seconds. This softens the yeast-leavened dough and makes the cinnamon-honey center gooey again. You can also freeze unglazed buns for up to 3 months; simply thaw at room temperature and apply fresh glaze and honey drizzle before serving.
Sweet and Savory Pairings for Your Brunch Table
These buns are an indulgence on their own, but they also pair beautifully with other breakfast favorites. For a balanced brunch, serve them alongside a savory dish like our Garlic Honey Butter Chicken for a “chicken and waffles” style flavor profile. If you prefer a full dessert spread, they look stunning next to Raspberry Pistachio Bars or a plate of Almond Ricotta Cookies. The floral notes of the honey also complement the tropical sweetness of Air Fryer Bananas.
Common Questions About Baking Honey Buns
Absolutely. You can perform the first rise in the refrigerator overnight. This cold fermentation actually develops a deeper flavor in the yeast dough.
Yes, you can, but the texture will be slightly less ‘chewy’ and airy. Bread flour provides more gluten structure, which is essential for those distinct pull-apart layers.
The key is the ratio of powdered sugar to liquid. Add your milk half a tablespoon at a time until the glaze is thick enough to coat a spoon without being transparent.
Let the white vanilla glaze set for about 5-10 minutes before adding the honey drizzle. This prevents the honey from bleeding into the glaze.
The most common reasons are expired yeast or milk that was too hot (killing the yeast) or too cold (not activating it). Ensure your milk is between 105-115°F.
The Complete Fluffy Homemade Honey Bun Recipe
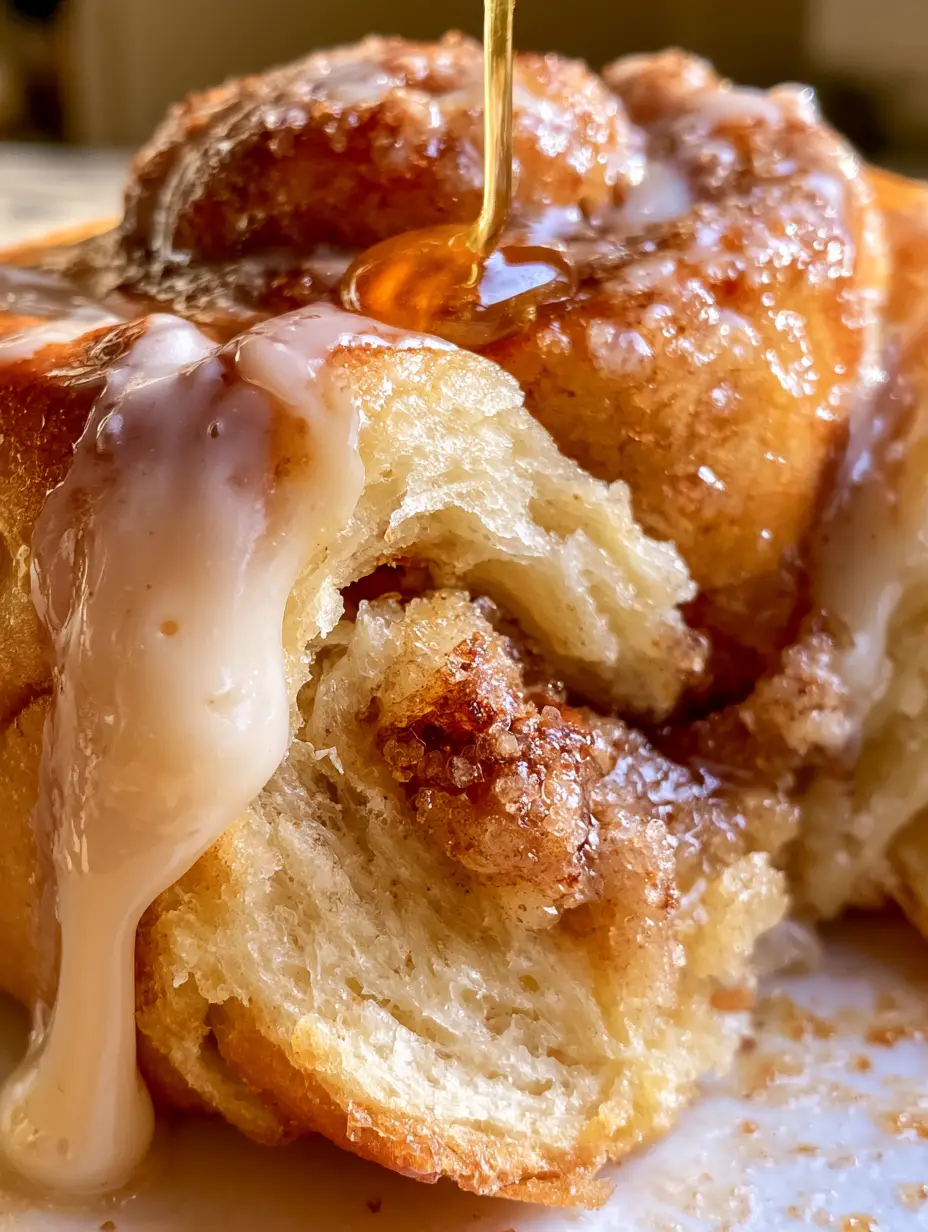
Honey Buns: The Ultimate Fluffy Homemade Bakery Recipe
Ingredients
Equipment
Method
- Combine warm milk, 1 tbsp honey, and yeast in a mixer bowl. Let stand for 5-10 minutes until foamy.
- Add remaining dough honey, butter, and flour. Knead with a dough hook for 8-10 minutes until smooth and elastic.
- Place in an oiled bowl, cover, and let rise in a warm spot for 60-90 minutes until doubled.
- Roll dough into a 12x18 inch rectangle. Spread with soft butter, then honey and cinnamon. Roll tightly into a log.
- Cut into 12 buns. Place on a baking sheet and let rise for 45 minutes.
- Bake at 350F (175C) for 20-25 minutes until golden brown. Brush with melted butter immediately.
- Whisk powdered sugar, vanilla bean paste, and milk. Pour over warm buns.
- Stream amber honey over the glaze and scatter sugar crystals.
Notes
Apply the honey drizzle only after the white glaze has slightly set for the best visual contrast.
Bake Your Way to Sweet Perfection
Mastering the art of the homemade honey bun is a rewarding journey for any home cook. From the first moment you see the yeast bubble to the final glistening stream of amber honey, every step is designed to create a professional-grade pastry. These buns are more than just food; they are an invitation to slow down and enjoy the simple luxury of a warm, handmade treat. If you enjoyed this recipe, please leave a comment below and share your photos with us on Pinterest!