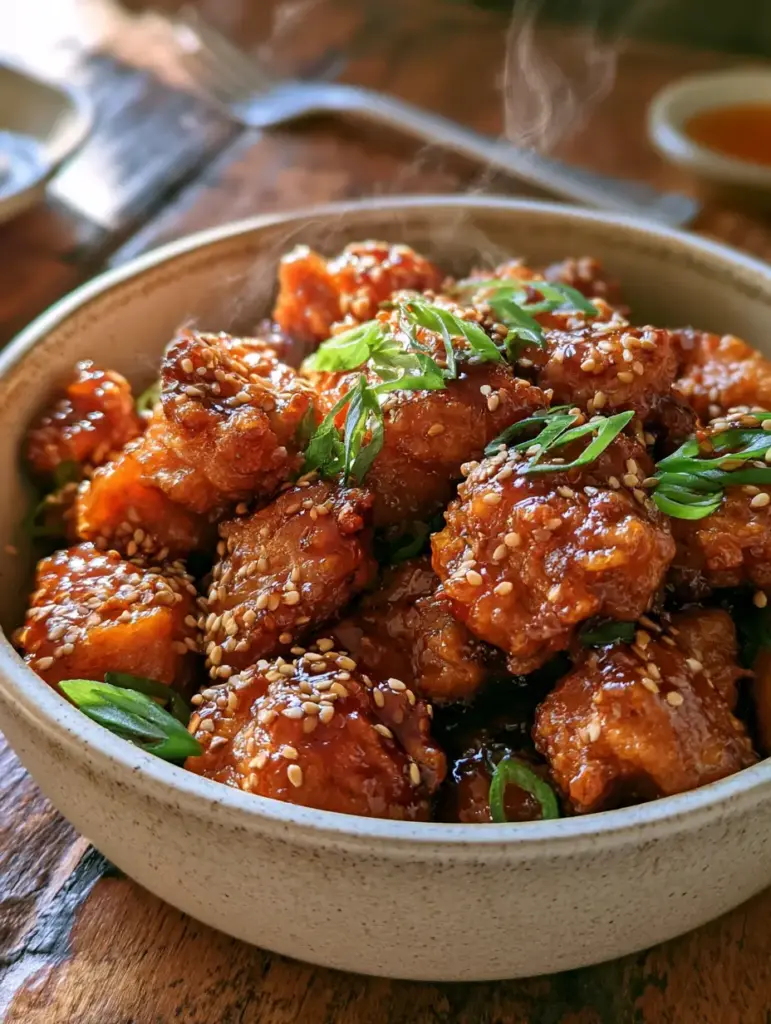
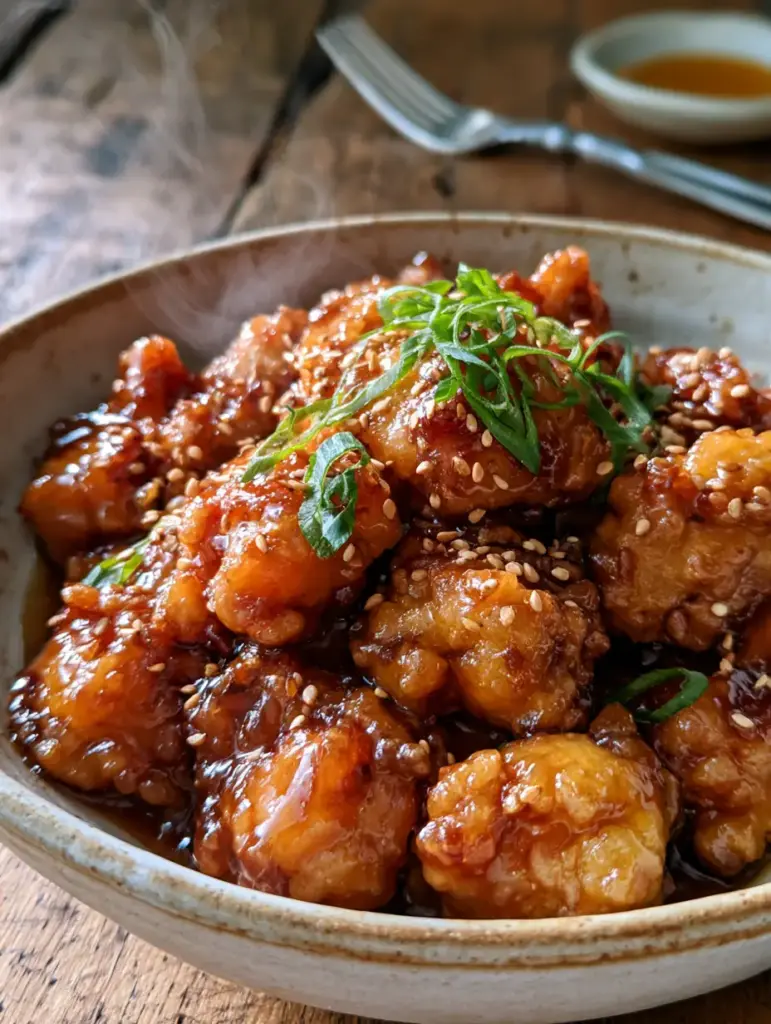
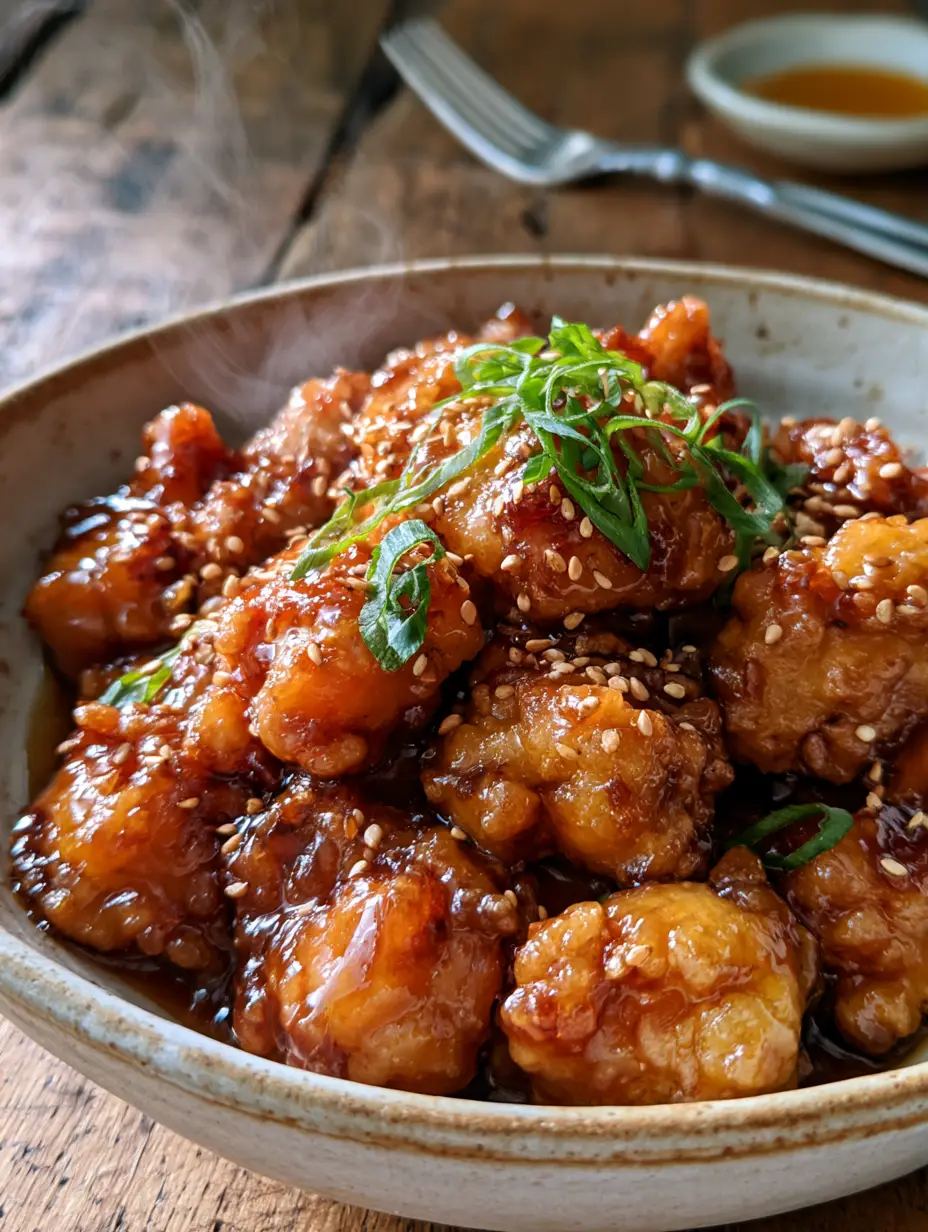
Imagine a handheld smartphone photo capturing the perfect weeknight meal: a close-up shot of a sleek black ceramic bowl filled to the brim with glistening garlic honey butter chicken bites. The steam rises lightly from the dish, carrying the intoxicating aroma of toasted garlic and sweet nectar directly to your senses.
This isn’t just a meal; it is a textural masterpiece. Each piece of chicken is perfectly golden brown and crispy, coated in a thick, sticky amber sauce that catches the light like liquid gold. The rustic wooden table background, a silver fork at the ready, and a small dish of extra honey for drizzling create a scene of pure culinary comfort.
If you have been searching for a recipe that balances the savory bite of garlic with the velvet smoothness of butter and the floral sweetness of honey, you have found it. This dish delivers a restaurant-quality experience in the comfort of your own kitchen, satisfying every craving for crunch and caramelization.
Why This Garlic Honey Butter Chicken Recipe Works Every Single Time
- The Perfect Crunch: By using a specific cornstarch dredge, we achieve a shatteringly crisp exterior that stands up to the heavy glaze without becoming soggy.
- Aromatic Depth: We don’t just use garlic; we infuse the butter with minced garlic at a specific temperature to ensure mellow sweetness rather than bitter burnt notes.
- Visual Brilliance: The contrast of the bright green scallions and toasted white sesame seeds against the amber-glazed chicken makes this a showstopper for any dinner party.
- Balanced Flavor Profile: The salt from the soy sauce cuts through the honey’s sugar, while the butter provides a luxurious mouthfeel that lingers.
The Anatomy of Ingredients for Sticky Garlic Chicken
Creating the perfect garlic honey butter chicken requires a blend of high-quality proteins and foundational pantry staples. Each ingredient serves a scientific purpose in achieving the visual and textural goals outlined in our culinary blueprint.
Chicken Thighs (2 lbs / 900g): We prefer boneless, skinless thighs cut into 1-inch chunks because they remain juicy under high heat and provide more surface area for the crispy coating. If you are a fan of rich, doughy textures, you might find this chicken as comforting as a batch of fresh honey buns.
Cornstarch (1 cup / 125g): This is the secret to that “golden brown and crispy” visual. Unlike flour, cornstarch creates a thin, glass-like crust that stays crunchy even when tossed in a thick sauce.
Unsalted Butter (4 tbsp / 60g): Butter is the carrier for flavor. It creates the “velvety” texture of the sauce and adds a richness that oil alone cannot provide.
Raw Honey (1/3 cup / 80ml): This provides the “sticky amber sauce” seen in our visual prompt. It caramelizes quickly in the pan, creating that beautiful glisten.
Fresh Garlic (6 cloves): Minced finely, these cloves provide the savory backbone. Garlic is essential for cutting through the sweetness of the honey glaze.
Soy Sauce (2 tbsp / 30ml): Added for umami and to deepen the color of the sauce to that perfect amber hue. It also provides the necessary salt for the dish.
Toasted White Sesame Seeds (1 tbsp / 9g): These provide a nutty crunch and a visual pop against the dark ceramic bowl. Much like the topping on buttery crumble topping, they add essential texture.
Green Onions (2 stalks): Thinly sliced on a bias, these bright green scallions provide a fresh, sharp contrast to the rich, heavy sauce.
Neutral Frying Oil: Essential for the searing process. We need an oil with a high smoke point to achieve the deep golden crust without burning the chicken.
Essential Kitchen Tools for Professional Results
To replicate the high-resolution textures of our recipe blueprint, you need the right tools. A heavy-bottomed skillet or a cast-iron pan is preferred for even heat distribution during the frying phase.
A stainless steel spider strainer or slotted spoon is crucial for removing the chicken from the hot oil while leaving the excess fat behind. You will also need a medium-sized whisk to emulsify the honey and butter into a cohesive, glistening glaze.
Finally, serve this in a black ceramic bowl to make the colors pop. The dark background emphasizes the amber tones of the sauce and the vibrant green of the scallions, just like in a professional food photograph.
Step-by-Step Instructions to Golden Perfection
Preparing the Crispy Chicken Foundation
Start by patting your chicken chunks completely dry with paper towels. Any moisture on the surface will create steam, preventing that “perfectly golden brown” crust we are aiming for. Season the chicken generously with kosher salt and cracked black pepper.
Place the cornstarch in a large bowl and toss the chicken chunks in small batches. Press the starch into the meat to ensure every nook and cranny is covered. Shake off the excess; a thin, even coating is better than a thick, clumpy one.
The Art of the Shallow Fry
Heat about half an inch (1.25cm) of neutral oil in your skillet over medium-high heat. You will know the oil is ready when a small pinch of starch sizzles immediately upon contact. Carefully add the chicken chunks, ensuring you do not crowd the pan.
Listen for the aggressive sizzle—this is the sound of moisture leaving the crust. Fry for 3-4 minutes per side until the chicken is deeply golden and feels firm to the touch. Remove and drain on a wire rack to keep the bottom from getting soggy.
Crafting the Glistening Honey Butter Glaze
Wipe out your skillet and return it to medium-low heat. Add the butter and let it melt until it begins to foam. Add the minced garlic and sauté for only 30-60 seconds. You are looking for a fragrant aroma and a pale gold color—do not let the garlic turn dark brown.
Whisk in the honey and soy sauce. The mixture will begin to bubble and thicken. This is the “thick, sticky amber sauce” stage. Let it reduce for 2 minutes until it coats the back of a spoon. If you enjoy this level of caramelization, you would likely love the deep flavors of a Danish butter cookie.
The Final Toss and Garnish
Add the crispy chicken back into the skillet. Toss rapidly to ensure every piece is shellacked in the garlic honey butter glaze. The heat will help the sauce adhere to the cornstarch crust, creating a shiny, glistening finish.
Immediately transfer the chicken to your black ceramic bowl. Sprinkle the toasted white sesame seeds over the top while the sauce is still tacky. Finish with a generous handful of thinly sliced green onions for that essential pop of color and freshness.
Expert Tips for the Ultimate Garlic Honey Butter Chicken
- Double Fry for Extra Crunch: For a truly restaurant-style crunch, fry the chicken once at a lower temp, let it rest, then flash-fry it at a higher temp for 60 seconds right before saucing.
- Honey Quality Matters: Use a floral honey like Clover or Wildflower to add complexity to the sweetness. The aroma of the honey should be present even after cooking.
- Garlic Management: If you find the garlic taste too sharp, you can use a microplane to grate the garlic into a paste, which blends more seamlessly into the butter.
- Maintain the Glaze: If the sauce becomes too thick or “tacky,” whisk in a teaspoon of hot water to loosen the emulsion and restore the glisten.
Storage, Reheating, and Meal Prep Advice
While this garlic honey butter chicken is best served immediately to preserve the crunch, you can store leftovers in an airtight container for up to 3 days. The sauce will thicken significantly in the fridge, turning into a delicious jelly-like coating.
To reheat, avoid the microwave, as it will make the chicken rubbery and the crust soggy. Instead, use an air fryer at 350°F (175°C) for 4-5 minutes, or a dry skillet over medium heat until the sauce melts and the chicken is warmed through.
We do not recommend freezing the fully assembled dish, as the cornstarch crust will lose its structural integrity. However, you can freeze the fried chicken chunks (before saucing) and make a fresh batch of glaze when ready to serve.
Complementary Sides and Flavor Pairings
This rich and savory chicken pairs beautifully with steamed jasmine rice or fluffy quinoa to soak up the extra garlic honey butter sauce. For a lower-carb option, try cauliflower rice or a crisp cucumber salad with rice vinegar dressing.
If you are looking for a sweet ending to this meal, the buttery notes in the chicken transition perfectly to a dessert like homemade fruit pie or even a few smooth butter mints to cleanse the palate. The contrast between the savory garlic and a sweet, buttery dessert is a classic culinary pairing.
Frequently Asked Questions
Yes! Coat the chicken in cornstarch and spray with oil. Air fry at 400°F (200°C) for 12-15 minutes, shaking halfway, then toss in the prepared sauce.
Yes, you can use chicken breast, but be careful not to overcook them as they can become dry. Thighs are recommended for their higher fat content and juiciness.
The secret is using cornstarch instead of flour and ensuring the oil is hot (350°F/175°C) before frying. For maximum crunch, try a double-fry technique.
Add the minced garlic to the butter over medium-low heat and only sauté until fragrant (about 30-60 seconds) before adding the liquid honey.
Maple syrup or agave nectar can be used as a 1:1 substitute, though the flavor profile will shift slightly and the sauce may be less sticky.
The Complete Garlic Honey Butter Chicken Recipe
Garlic Honey Butter Chicken: The Ultimate Crispy and Sticky Dinner
Ingredients
Equipment
Method
- Pat chicken chunks dry. Season with salt and pepper, then toss in cornstarch until fully coated. Shake off excess.
- Heat oil in a skillet. Fry chicken chunks in batches for 3-4 minutes per side until perfectly golden brown and crispy.
- Melt butter in a clean skillet. Sauté garlic until fragrant. Whisk in honey and soy sauce until a thick sticky amber sauce forms.
- Add chicken to the skillet and toss to coat. Serve in a bowl topped with toasted sesame seeds and green onions.
Notes
Double fry the chicken for an extra crispy texture that lasts.
Join The Wholesome Skillet Community
We hope this garlic honey butter chicken becomes a new staple in your home. There is nothing quite like the satisfaction of a perfectly glazed, crispy bite of chicken that you made yourself! The combination of fresh garlic and golden honey is a timeless winner.
If you enjoyed this recipe, please leave a comment below and let us know how yours turned out! Don’t forget to follow us on Pinterest for more visually stunning and delicious recipes. Pin this recipe to your “Easy Dinners” board so you never lose it!