When the holiday season arrives, few treats capture the festive spirit quite like these peppermint brownies. Imagine sinking your teeth into a decadent, dark chocolate base that is so fudgy it practically melts, followed by a cool, pale green peppermint cream and a silky dark chocolate ganache. It is a symphony of textures and flavors that looks just as incredible as it tastes.
In this guide, we are going for forensic visual perfection. Every bite is designed to mirror the professional aesthetic of a high-end bakery, featuring distinct, sharp layers that look stunning on a minimalist white ceramic plate. Whether you are hosting a holiday party or looking for the ultimate addition to your Christmas brownie collection, this recipe delivers.
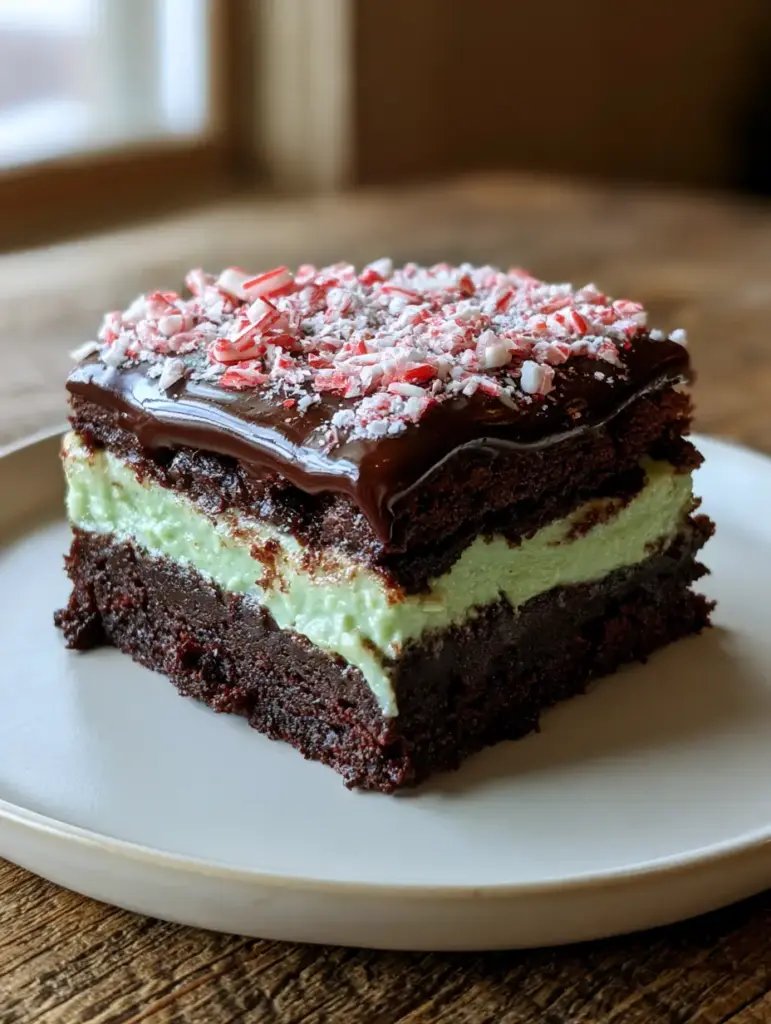
The Anatomy of the Perfect Three-Layer Holiday Brownie
To achieve the result seen in our visual blueprint, we focus on structural integrity and flavor contrast. These aren’t just your standard boxed treats; they are a multi-dimensional dessert experience.
- The Fudgy Foundation: A dense, dark chocolate brownie base that provides a sturdy yet moist anchor for the toppings.
- The Minty Core: A smooth, pale green peppermint filling that offers a refreshing counterpoint to the rich cocoa.
- The Glossy Finish: A dark chocolate ganache that provides a professional, high-sheen topping that catches the light beautifully.
- The Festive Crunch: Hand-crushed red and white candy canes and a snowy dusting of powdered sugar for that final holiday touch.
Essential Elements for Ultra-Fudgy Peppermint Brownies
Creating these peppermint brownies requires a specific set of ingredients to ensure the layers stay distinct and the texture remains decadent. We use professional-grade techniques to ensure the brownie doesn’t crumble under the weight of the ganache.
Unsalted Butter: 1 cup (225g) of melted butter provides the fat necessary for a chewy, fudgy crumb. It also carries the flavor of the cocoa more effectively than oil.
Granulated Sugar: 2 cups (400g) of sugar do more than sweeten; they react with the eggs to create that sought-after crackly top on the base layer. This ensures a stable surface for our mint cream.
Dutch-Processed Cocoa Powder: 3/4 cup (75g) gives us that deep, dark chocolate color required by our visual blueprint. It is less acidic than natural cocoa, resulting in a smoother chocolate profile.
Large Eggs: 4 room-temperature eggs act as the primary binder. They provide the structure needed to hold up the heavy peppermint and ganache layers without collapsing.
Peppermint Extract: 2 tsp (10ml) divided between the brownie and the filling. This ensures a consistent “cool” flavor throughout every level of the dessert.
All-Purpose Flour: 1 cup (125g) provides just enough gluten to hold the brownie together while keeping it dense. Over-measuring flour is the number one cause of “cakey” brownies, so use a scale if possible.
Heavy Cream: 1/2 cup (120ml) for the ganache. When combined with dark chocolate, it creates a pourable, glossy finish that stays soft enough to bite through easily.
Candy Canes: 4-5 standard canes, finely crushed. These provide the essential red and white visual pop that defines this holiday classic.
The Gear You Need for Professional Results
To get those perfectly straight edges seen in our smartphone-style photography, you need the right tools. A standard 9×9 inch (23x23cm) metal baking pan is superior to glass for brownies because it conducts heat more evenly, preventing overcooked edges.
You will also want high-quality parchment paper to create a “sling.” This allows you to lift the entire block of brownies out of the pan, making it much easier to cut them into those perfect squares without scratching your pan or ruining the ganache.
Lastly, an offset spatula is your best friend. It is the only way to get that pale green peppermint filling perfectly level, which is critical for achieving the distinct layers shown in the visual prompt.
The Step-by-Step Blueprint for Flawless Layers
Phase 1: Crafting the Dark Chocolate Base
Preheat your oven to 350°F (175°C). Line your pan with parchment paper, leaving an overhang on two sides. In a large bowl, whisk your melted butter and sugar until well combined and slightly pale.
Add the eggs one at a time, whisking vigorously after each addition. This creates the emulsification necessary for a fudgy texture. Stir in the vanilla and peppermint extracts, then gently fold in the cocoa powder and flour until just combined. You want to see a thick, glossy batter that looks like dark obsidian.
Pour the batter into the pan and bake for 25-30 minutes. The key sensory cue here is the “jiggle test”—the center should be set but still have a very slight movement. Let the base cool completely; this is non-negotiable for the next step.
Phase 2: The Smooth Peppermint Cream Filling
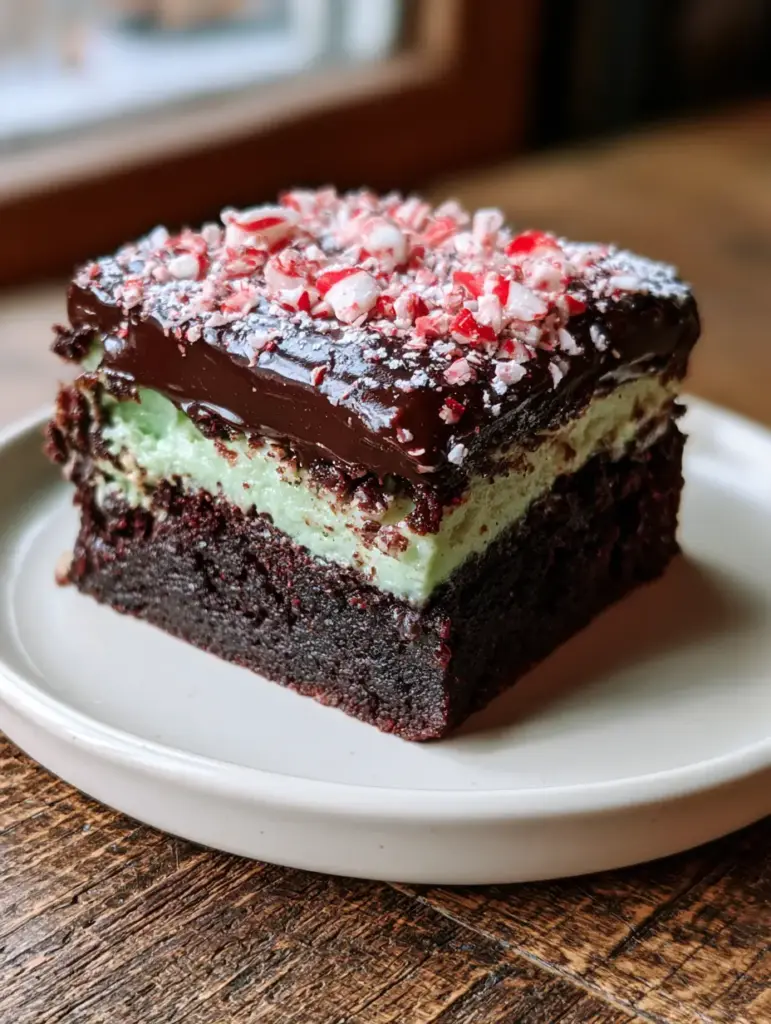
While the base cools, beat 1/2 cup (115g) of softened butter with 2 cups (240g) of powdered sugar and 1 tbsp (15ml) of heavy cream. Add a tiny drop of green food coloring to achieve that specific pale green peppermint hue mentioned in our blueprint.
Once the brownies are stone-cold, use your offset spatula to spread the mint cream in an even, smooth layer. You are looking for a thickness of about 1/4 inch (0.6cm). Place the pan in the refrigerator for at least 30 minutes to set this layer before adding the ganache.
Phase 3: The Glossy Ganache and Festive Finish
Heat your heavy cream until it just begins to simmer, then pour it over 1 cup (175g) of dark chocolate chips. Let it sit for 5 minutes, then stir gently until it becomes a glossy, dark liquid. Pour this over the chilled mint layer, tilting the pan to ensure full coverage.
Immediately sprinkle your crushed red and white candy canes over the wet ganache. This ensures they stick. Finally, just before serving, use a fine-mesh sieve to add a light dusting of powdered sugar, mimicking a fresh snowfall. This contrast against the dark chocolate ganache creates a professional, high-end look.
Expert Tips for Success
- The Hot Knife Trick: For the “perfectly cut” look in the prompt, run a large chef’s knife under hot water, wipe it dry, and make one clean slice. Wipe and reheat the knife between every single cut.
- Avoid Soggy Candy Canes: Only add the candy cane pieces once the ganache has cooled slightly, but is still tacky. If the ganache is too hot, the sugar in the candy canes will melt and bleed.
- Color Theory: Use “leaf green” or “mint green” gel coloring rather than liquid drops for the filling. Gels are more concentrated and won’t thin out your frosting.
- Leveling the Base: If your brownie base has a slight dome, gently press it down with a piece of parchment paper while it’s still warm to create a flat surface for your layers.
Storage, Reheating, and Make-Ahead Advice
These peppermint brownies actually taste better the next day as the peppermint flavor matures. Store them in an airtight container in the refrigerator for up to 5 days. The cold temperature helps keep the peppermint cream and ganache layers firm and distinct.
If you want to freeze them, do so before adding the powdered sugar dusting. Wrap individual squares in plastic wrap and store in a freezer bag for up to 3 months. Thaw them in the fridge overnight before serving.
What to Serve With This Holiday Treat
While these brownies are a star on their own, they pair beautifully with other seasonal delights. If you’re building a dessert board, consider adding some soft peppermint cookies for a variety of minty textures.
For those who love the “brookie” style, you could serve these alongside our signature brookie cookies. If you want to lean into the rich chocolate theme, a side of zucchini fudge brownies offers a surprisingly healthy but equally rich alternative.
Frequently Asked Questions
Yes, you can double the recipe for a 9×13 pan. However, keep in mind that the baking time for the base layer may increase by 5-10 minutes. Ensure the base is fully set before layering.
Use a small drop of green gel food coloring rather than liquid drops. Gels provide a more concentrated, vibrant ‘pale green’ hue without thinning out the consistency of the filling.
The secret is chilling the brownies completely and using a hot, clean knife. Dip your chef’s knife in hot water and wipe it dry between every single cut you make.
This usually happens if the ganache is too hot when you sprinkle them. Let the ganache cool for 2-3 minutes so it is tacky but not runny before adding the crushed candy canes.
The Ultimate Three-Layer Peppermint Brownie Recipe
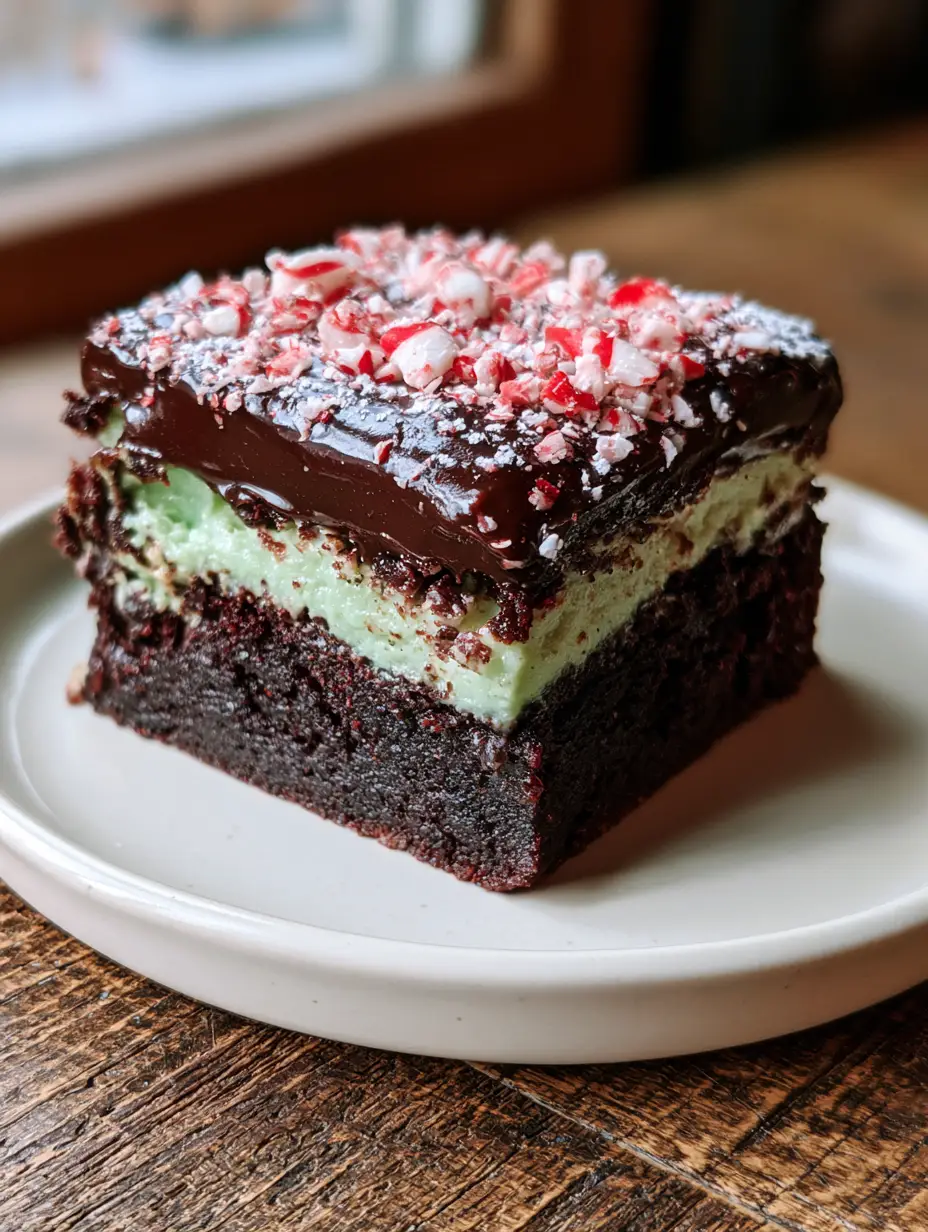
Peppermint Brownies with Fudgy Ganache and Creamy Mint Layers
Ingredients
Equipment
Method
- Preheat oven to 350°F (175°C) and line a 9x9 inch pan with parchment paper.
- Whisk melted butter and sugar. Add eggs and peppermint extract, whisking until smooth. Fold in cocoa powder and flour.
- Spread batter into the pan and bake for 25-30 minutes until set. Cool completely.
- Cream together softened butter, powdered sugar, cream, peppermint, and food coloring until smooth.
- Using an offset spatula, spread the pale green cream evenly over the cooled brownies. Chill for 30 minutes.
- Heat cream and pour over chocolate chips. Stir until glossy. Pour over the chilled mint layer.
- Top with crushed candy canes and a dusting of powdered sugar. Chill until set, then cut with a warm knife.
Notes
Chill layers thoroughly between steps to keep them distinct.
Closing & Call to Action
These peppermint brownies are the quintessential holiday dessert, offering a perfect balance of rich chocolate and refreshing mint. With their striking green and dark chocolate layers, they are guaranteed to be the most photographed item at your next gathering. If you enjoyed this recipe, please leave a comment below and share your photos with us!
Don’t forget to follow us on Pinterest for more festive baking inspiration and save this recipe to your “Holiday Desserts” board so you can find it every year!