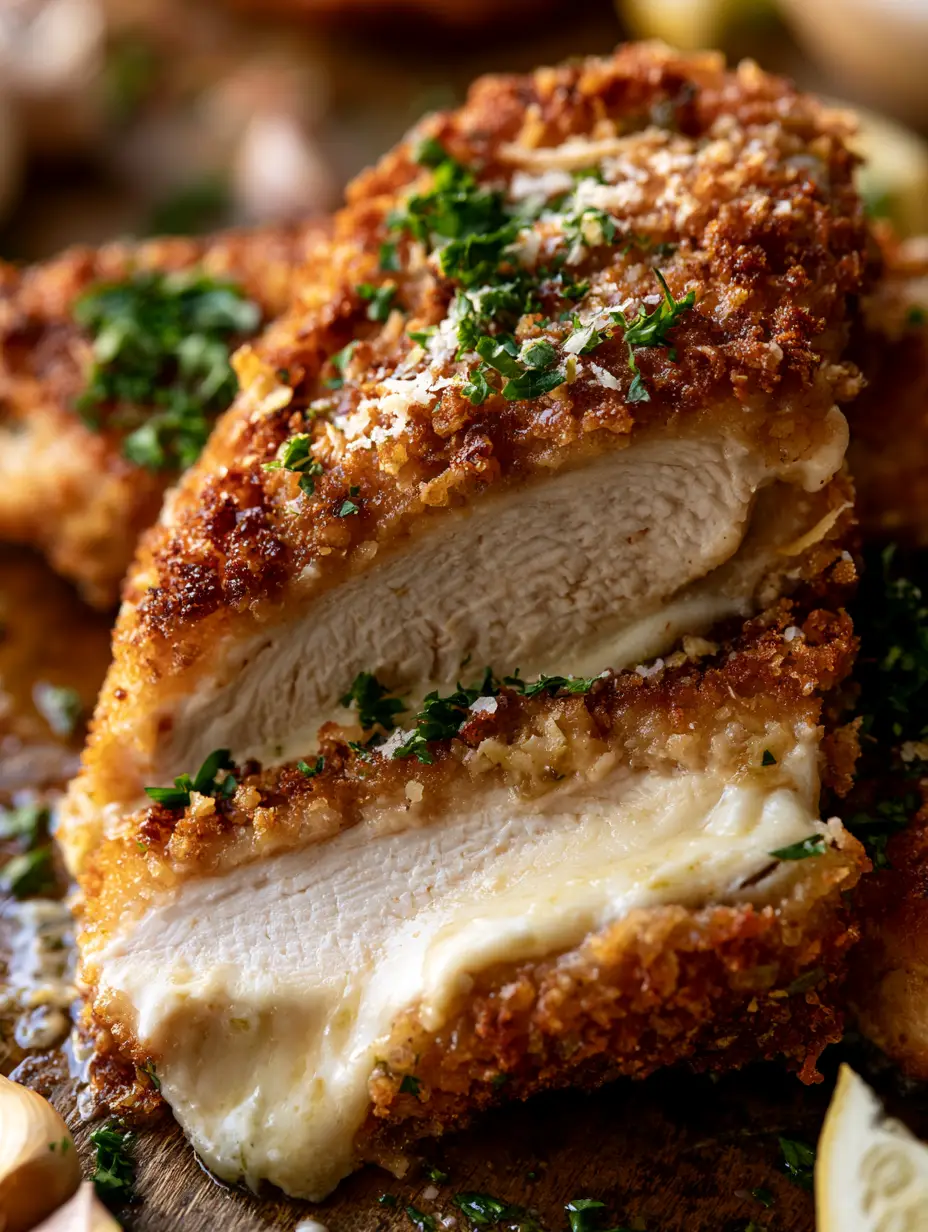
There is a specific culinary magic that happens when a succulent, juicy white meat interior meets a crunchy garlic-breadcrumb crust. This parmesan crusted chicken isn’t just another weeknight dinner; it is a masterclass in textural contrast. Imagine slicing diagonally through a golden-brown exterior to reveal a rich, creamy, melted parmesan-ranch cheese layer that oozes slightly with every bite.
Achieving that perfect “handheld smartphone photo” quality at home requires more than just luck. It requires an understanding of how to balance high-heat searing with a gentle finish in the oven. The result is a dish that glows with a golden hour hue, garnished with vibrant fresh chopped parsley and a sprinkle of finely grated parmesan cheese that catches the light.
Whether you are looking for a Longhorn copycat version or simply the best chicken you’ve ever tasted, this recipe delivers. We are diving deep into the science of the crust, the secret to the creamy binder, and the aromatics that make this dish a household favorite.
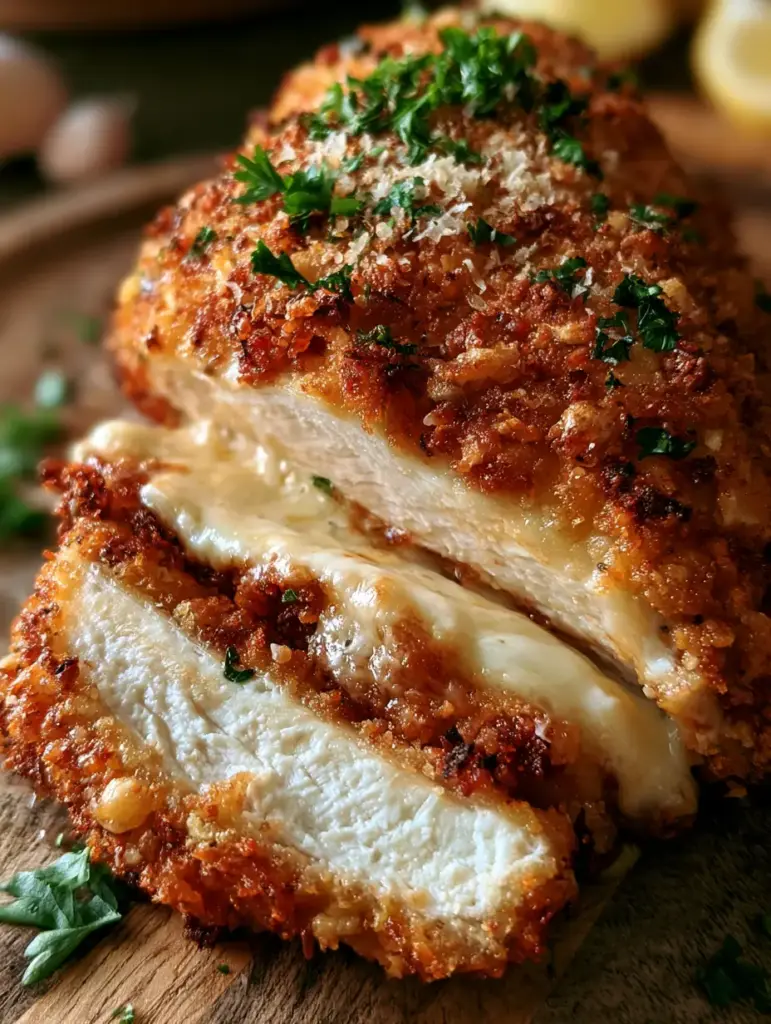
The Anatomy of a Perfect Parmesan Crusted Chicken Breast
- The Multi-Textural Crust: A combination of Panko breadcrumbs and melted butter creates a high-definition, crunchy garlic-breadcrumb crust that stays crisp even under a layer of cheese.
- The Creamy “Ooze” Factor: A proprietary blend of ranch seasoning and parmesan cheese creates a melted cheese spread that acts as a moisture barrier for the meat.
- Succulent White Meat: By using specific searing techniques, we ensure the chicken breast remains tender and white, never dry or stringy.
- Bright Finishing Notes: Fresh lemon wedges and chopped parsley provide the essential acid and herbal lift to cut through the richness of the parmesan.
The Essential Pantry Staples for Your Crispy Chicken Masterpiece
To achieve the visual and flavorful heights described in our blueprint, every ingredient must serve a specific culinary purpose. We don’t just add cheese; we architect a flavor profile designed for maximum impact.
Boneless Skinless Chicken Breasts: Look for 2 lbs (900g) of high-quality poultry. The meat should be firm and pale pink, providing the “succulent, juicy white meat interior” seen in professional food photography.
Panko Breadcrumbs: You will need 1.5 cups (90g) of these Japanese-style crumbs. Unlike traditional breadcrumbs, Panko has a larger surface area, which is critical for that “highly detailed and textural” crust we are aiming for.
Grated Parmesan Cheese: Use 1 cup (100g) of finely grated cheese for the spread and an extra sprinkle for the garnish. The salty, nutty profile of the parmesan is the backbone of the entire flavor profile.
Fresh Garlic Cloves: 4 cloves (approx. 20g), finely minced. Garlic provides the aromatic base that infuses the breadcrumbs during the browning process, creating a savory depth that salt alone cannot achieve.
Ranch Dressing or Spread: 0.5 cups (120ml) acts as the “glue” and the source of the “melted creamy parmesan cheese spread.” It introduces buttermilk and herb notes that complement the cheese perfectly.
Unsalted Butter: 4 tbsp (56g), melted. Butter is the invisible vehicle for heat, ensuring the breadcrumbs turn that specific “golden-brown” color rather than just drying out in the oven.
Fresh Parsley & Lemon: One bunch of parsley and 2 lemons. The green chopped parsley adds the visual “vibrancy” required by the blueprint, while the lemon wedges provide a necessary citrus hit.
Professional Tools for Culinary Precision
You cannot achieve professional results with subpar equipment. To get the “extreme appetizing detail” we want, you need tools that manage heat distribution effectively.
A heavy-bottomed cast iron or stainless steel skillet is non-negotiable for the initial sear. This provides the deep shadows and highlights on the crust. You will also need a meat mallet to ensure the chicken breasts are of uniform thickness, which is the secret to even cooking.
Finally, a wire rack set over a baking sheet is a pro-tip for keeping the bottom of your parmesan-crusted items crispy. It allows air to circulate entirely around the chicken, preventing a soggy base.
Architecting the Perfect Crunch: Step-by-Step Instructions
Preparation and Uniformity
Start by trimming any excess fat from your chicken breasts. Place the meat between two sheets of plastic wrap and use a meat mallet to pound them to a uniform 0.5-inch (1.25cm) thickness. This ensures that the exterior doesn’t burn before the interior reaches its succulent, juicy peak.
Season both sides generously with 1 tsp (6g) of kosher salt and 0.5 tsp (3g) of cracked black pepper. Let the meat sit for 10 minutes; this allows the salt to penetrate the fibers, ensuring the interior is as flavorful as the crust.
The Golden-Hour Sear
Heat 2 tbsp (30ml) of neutral oil in your skillet over medium-high heat. Once the oil shimmers, add the chicken. Sear for 3-4 minutes per side until a light golden-brown color begins to develop.
Do not crowd the pan. If necessary, work in batches. We are looking for a foundational sear that locks in juices, not a full cook-through at this stage. Remove the chicken and place it on your prepared baking sheet.
The Creamy Parmesan Ranch Layer
In a small bowl, whisk together the ranch dressing, 0.5 cups (50g) of the grated parmesan, and 2 minced garlic cloves. This mixture should be thick and spreadable. Use a spoon to apply a generous layer over the top of each seared chicken breast.
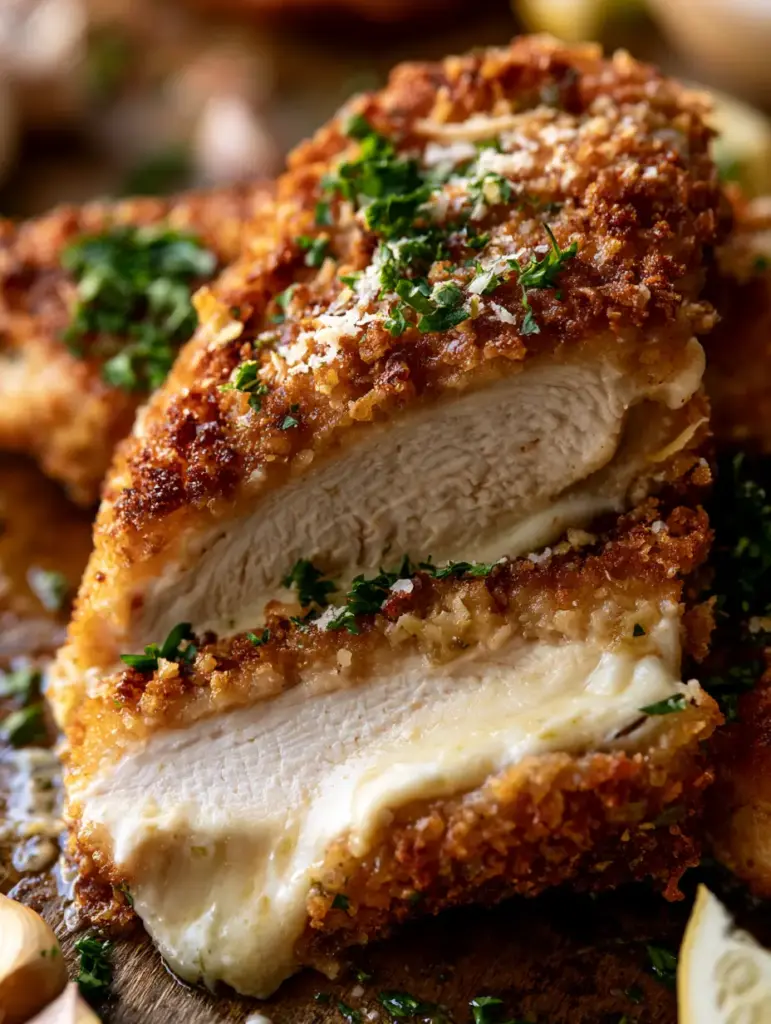
This layer is the “bridge” between the meat and the crust. It provides the “ooze” factor that makes the diagonal slice so mouth-watering in our visual blueprint.
The Textural Breadcrumb Topping
In another bowl, toss the Panko breadcrumbs with the remaining parmesan, melted butter, and the rest of the minced garlic. The crumbs should look like wet sand. Press the breadcrumb mixture firmly into the ranch layer on each chicken breast.
The butter in the crumbs will react with the oven’s heat to create that “highly detailed and textural” garlic-breadcrumb crust. Ensure the coating is thick and covers the entire top surface.
The Final Bake and Garnish
Place the chicken in a preheated oven at 400°F (200°C). Bake for 10-12 minutes. For the ultimate visual result, turn on the broiler for the last 60 seconds to achieve that dramatic golden-brown finish.
Remove from the oven and let rest for 5 minutes. This is critical—resting allows the juices to redistribute and the cheese spread to set slightly. Garnish with a heavy sprinkle of fresh chopped parsley and finely grated parmesan. Serve with fresh lemon wedges on the side for squeezing.
Expert Tips for a Fail-Proof Crust
- Dry the Meat: Use paper towels to pat the chicken completely dry before searing. Moisture is the enemy of a golden-brown crust.
- Cold Ranch: Use cold ranch dressing for the spread; it stays in place better when it first hits the warm chicken, preventing it from sliding off before the breadcrumbs are applied.
- The Resting Period: If you cut the chicken too early, the “melted creamy parmesan cheese spread” will run out completely. Give it 5 minutes to achieve the perfect “ooze.”
- Fresh vs. Canned Cheese: Use high-quality freshly grated parmesan. The canned stuff contains anti-caking agents that prevent it from melting into that luxurious layer we want.
Storage and Reheating for Longevity
While this parmesan crusted chicken is best enjoyed fresh, you can store leftovers in an airtight container in the refrigerator for up to 3 days. To maintain the crispy garlic-breadcrumb crust, avoid the microwave.
To reheat, place the chicken in an air fryer at 350°F (175°C) for 4-5 minutes, or in a toaster oven. This restores the crunch of the breadcrumbs while keeping the interior juicy. If you enjoy this flavor profile, you might also love our stuffed chicken breast for a different take on cheesy poultry.
Perfect Pairings for a Complete Dinner
To balance the richness of the parmesan and the crunch of the crust, serve this dish alongside light, vibrant sides. A simple arugula salad with a lemon vinaigrette mirrors the lemon wedges served with the chicken.
For a heartier meal, this chicken pairs beautifully with creamy pasta dishes or a roasted vegetable medley. The acidity of the lemon and the freshness of the parsley make it a versatile centerpiece for any table setting.
Frequently Asked Questions
Yes! Cook the chicken at 375°F (190°C) for about 12-15 minutes. The air fryer is excellent for achieving that highly detailed textural crunch.
The secret is the ‘glue.’ By using a creamy ranch and parmesan spread before applying the breadcrumbs, and pressing the crumbs firmly into the chicken, the crust adheres perfectly during the bake.
Avoid the microwave, which makes the crust rubbery. Reheat in a 350°F (175°C) oven or air fryer until the breadcrumbs are recrisped and the cheese is melted.
Sogginess occurs when the chicken sits in its own juices. To prevent this, bake the chicken on a wire rack set over a baking sheet to allow air to circulate underneath.
The Ultimate Recipe for Parmesan Crusted Chicken
Parmesan Crusted Chicken: The Ultimate Restaurant-Style Golden Crispy Recipe
Ingredients
Equipment
Method
- Pound chicken breasts to a uniform 0.5-inch (1.25cm) thickness using a meat mallet.
- Season both sides with salt and pepper and let rest for 10 minutes.
- Sear chicken in a skillet with oil for 3-4 minutes per side until golden. Move to a baking sheet.
- Mix ranch, half the parmesan, and half the garlic; spread over the chicken.
- Combine breadcrumbs, remaining parmesan, butter, and garlic. Press onto the ranch layer.
- Bake at 400°F (200°C) for 10-12 minutes until the crust is highly detailed and crunchy.
- Sprinkle with parsley and extra parmesan. Serve with lemon wedges.
Notes
Ensure the chicken is patted dry before searing to get a better crust.
Closing & Call to Action
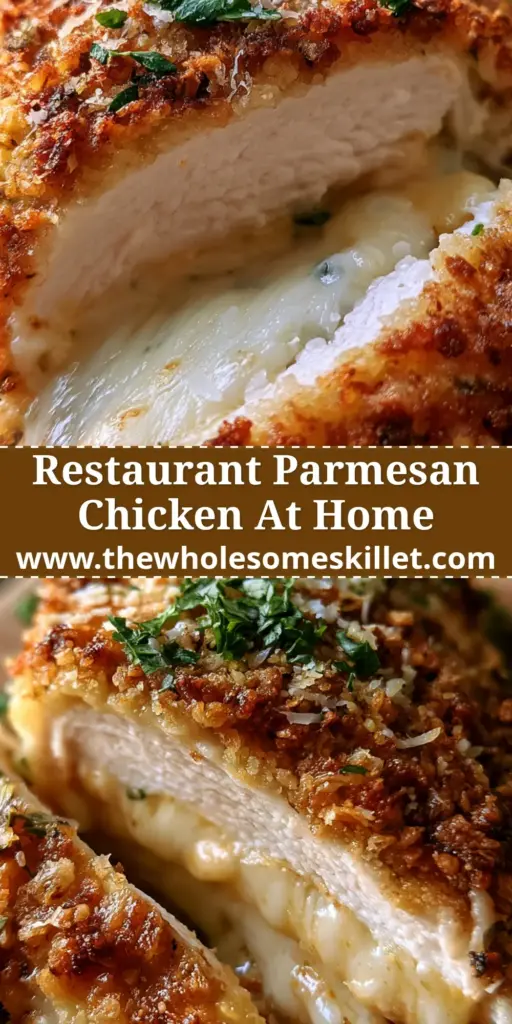
Mastering the parmesan crusted chicken is a milestone for any home cook. With its restaurant-quality crunch and succulent interior, it’s a dish that looks just as good as it tastes. The contrast between the dramatic golden-hour lighting of the crust and the vibrant green parsley makes it a visual feast.
If you enjoyed this recipe, please leave a comment below and tell us how your crust turned out! Don’t forget to share your photos and follow us on Pinterest for more mouth-watering inspiration. Happy cooking!