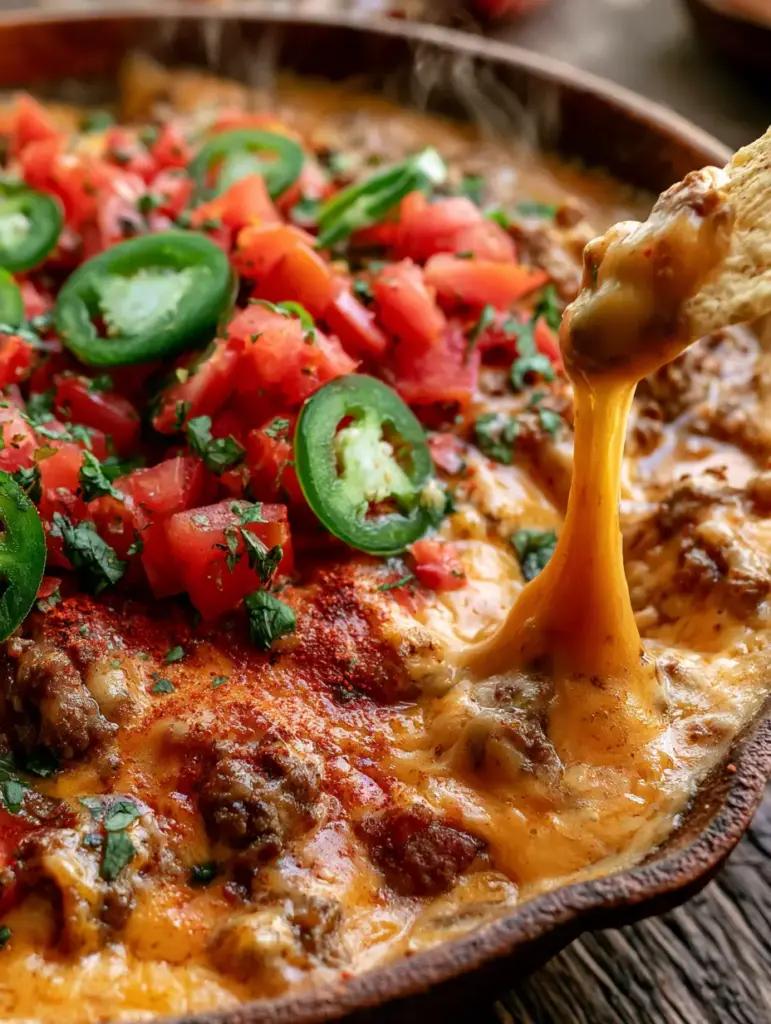
There is nothing quite like the sight of a bubbling, molten queso dip arriving at the center of the table in a rustic cast iron skillet. The way the steam rises in gentle curls, carrying the scent of toasted cumin and seared proteins, instantly signals that the party has started. This isn’t just a snack; it is a centerpiece designed for those who appreciate the finer details of Tex-Mex comfort food.
Imagine a thick, golden-orange landscape of creamy melted cheese, punctuated by the rich textures of perfectly browned ground beef and morsels of spicy crumbled sausage. Each scoop reveals a tantalizing cheese string stretching from a crisp tortilla chip, a visual promise of the decadence within. Whether it is the vibrant pop of diced red tomatoes or the artful arrangement of bright green jalapeños, every element of this queso dip is crafted for maximum flavor and visual impact.
Creating this masterpiece requires more than just melting cheese; it involves layering flavors and mastering the science of emulsification. By following this guide, you will transform simple ingredients into a professional-grade dip that maintains its silky texture from the first bite to the last. Let’s dive into the culinary secrets that make this the ultimate appetizer for your next gathering.

Why This Skillet Queso Dip Dominates the Appetizer Table
- Dual-Protein Complexity: By combining 80/20 ground beef with spicy crumbled sausage, we achieve a depth of savory flavor that single-meat dips simply cannot match.
- Visual Masterpiece: The contrast of vibrant red tomatoes, emerald jalapeños, and a delicate dusting of smoked paprika makes this dish as beautiful as it is delicious.
- Superior Heat Retention: Utilizing a cast iron skillet ensures your queso dip stays in its molten, bubbling state for significantly longer than a ceramic bowl.
- Perfect Emulsification: Our specific cheese blend and foundational liquids prevent the common pitfall of greasy separation, resulting in a smooth, thick consistency.
The Anatomy of Flavor: Essential Ingredients for Your Queso Dip
The Protein Powerhouse
1 lb (454g) Lean Ground Beef (80/20): The fat content in 80/20 beef provides the necessary richness and flavor that carries the spices throughout the entire dip. Ensure you sear it until a deep brown crust forms to maximize the Maillard reaction.
1/2 lb (227g) Spicy Italian or Chorizo Sausage: The crumbled sausage introduces a complex profile of fennel, garlic, and chili heat. Removing the casings and breaking it into small bits ensures every bite of the queso dip has a spicy kick.
The Molten Cheese Foundation
1 lb (454g) High-Quality Sharp Cheddar: Hand-grating your cheese is vital because pre-shredded varieties are coated in potato starch, which can make your dip grainy. Cheddar provides the sharp, classic flavor profile expected in a premium queso.
8 oz (227g) White American Cheese or Monterey Jack: American cheese acts as a natural emulsifier, helping the cheddar stay smooth and molten. If using Monterey Jack, it adds a mild creaminess and excellent “pull” factor.
1 cup (240ml) Whole Milk or Evaporated Milk: Evaporated milk is a “secret” foundational ingredient that adds stability to the cheese sauce. It prevents the proteins from tightening up and separating into an oily mess.
Aromatics and Invisible Foundations
2 tbsp (30g) Unsalted Butter: This provides a fat base for sautéing aromatics and helps create a silky mouthfeel. It also prevents the meat from sticking during the initial browning phase.
1 small Yellow Onion, finely diced: The onion melts into the sauce during the simmering process, providing a subtle sweetness that balances the spicy sausage. It should be cooked until translucent and soft.
3 cloves Garlic, minced: Garlic adds an essential aromatic layer that bridges the gap between the savory beef and the creamy cheese. Add it late in the browning process to avoid burning and bitterness.
The Vibrant Toppings
2 medium Roma Tomatoes, seeded and diced: These provide a fresh, acidic contrast to the heavy, molten cheese. Seeding them is crucial to prevent the queso dip from becoming watery.
2 fresh Jalapeños, thinly sliced into rounds: The bright green slices offer both a visual pop and a crisp, spicy bite. Keep the seeds if you prefer a higher heat level.
1/4 cup (15g) Fresh Cilantro, chopped: Cilantro adds a necessary herbal brightness that lightens the overall profile of the dish. Sprinkle it on just before serving to maintain its vibrant color.
1 tsp (2g) Smoked Paprika: A final dusting of smoked paprika provides a subtle earthiness and an alluring red tint to the surface of the golden cheese.
Essential Equipment for a Perfect Skillet Presentation
The star of the show is undoubtedly the 10-inch (25cm) Cast Iron Skillet. This heavy-duty tool is essential for achieving the rustic look described in our visual blueprint, but its purpose is also functional. Cast iron holds heat exceptionally well, which is critical for keeping a thick cheese dip in its liquid state while guests linger around the table.
Additionally, you will need a sturdy wooden spoon or meat masher. This tool allows you to break the ground beef and sausage into very fine crumbles. Small crumbles are better for “dippability,” ensuring that the meat integrates with the cheese rather than sitting in large, heavy chunks that break your tortilla chips. A high-quality box grater is also non-negotiable for processing the blocks of cheese into melt-ready shreds.
Step-by-Step Culinary Instructions for Maximum Visual Appeal
Phase 1: Searing the Savory Proteins
Place your cast iron skillet over medium-high heat and add the butter. Once the butter is foaming, add the ground beef and crumbled spicy sausage. Use your wooden spoon to break the meat into small, uniform pieces, ensuring no large chunks remain.
Cook the meat undisturbed for 3-4 minutes to allow a deep, golden-brown crust to form on the bottom. This searing process creates the “rich, visible chunks” mentioned in our visual prompt. Once browned, stir in the diced onions and cook for another 5 minutes until the onions are soft and the meat is fully cooked. Drain about 75% of the rendered fat, leaving just enough to coat the pan for flavor.
Phase 2: Building the Aromatic Base
Reduce the heat to medium-low. Add the minced garlic to the skillet, stirring constantly for about 60 seconds. You should smell the garlic immediately, but do not let it turn brown. Add a pinch of salt and black pepper to season the meat directly.
At this stage, if you enjoy variety in your meat-heavy appetizers, you might find inspiration in our hearty beef queso variants which explore different seasoning blends. For this recipe, we are focusing on the synergy between the beef and the sausage.
Phase 3: Crafting the Molten Cheese Texture
Slowly pour in the milk (240ml), scraping the bottom of the skillet to release any browned bits (fond) from the meat. Bring the liquid to a very gentle simmer. Do not let it boil, as high heat can cause cheese to become stringy and tough rather than molten.
Add the shredded American cheese first, whisking or stirring until it is completely melted. Once smooth, add the shredded sharp cheddar one handful at a time. Wait for each addition to melt fully before adding the next. This patience results in the “thick, golden-orange, creamy melted cheese” that defines a world-class queso dip.
Phase 4: Artful Garnishing and Presentation
Once the cheese is thick and bubbling, turn the heat to the lowest setting. Now, we follow our visual blueprint for the final presentation. Gently fold in half of the diced tomatoes and a few jalapeño slices to ensure flavor throughout.
On the surface, artfully arrange the remaining diced red tomatoes in small clusters. Lay the thin slices of bright green jalapeños in a decorative pattern across the top. Finely sprinkle the fresh green cilantro over the center, and finish with a light, even dusting of smoked paprika across the entire surface. Serve immediately while steam is still rising from the hot dip.
Expert Tips for a Perfectly Smooth Skillet Queso
- Temperature Control: Never rush the melting process. Low and slow heat is the secret to preventing the cheese from “breaking” and becoming oily.
- The Flour Trick: If your dip feels a bit too thin, you can toss the shredded cheese in 1 tablespoon of cornstarch before adding it to the skillet to provide extra body.
- Keep it Moving: Stir the dip occasionally while serving to prevent a “skin” from forming on the surface as the cheese begins to cool.
- Sodium Citrate: For the ultimate science-based smooth dip, a tiny pinch of sodium citrate added to the milk will ensure the cheese never separates, even if it gets cold.
Storage, Reheating, and Make-Ahead Advice
While this queso dip is best enjoyed fresh from the skillet, leftovers can be stored in an airtight container in the refrigerator for up to 3 days. Because of the high fat content in the beef and sausage, the dip will solidify significantly when cold.
To reheat, return the dip to a small saucepan or the cast iron skillet over low heat. Add a splash of milk or water to help loosen the proteins and stir constantly. Avoid the microwave if possible, as it often heats unevenly and can cause the cheese to become rubbery. Freezing is not recommended for this dairy-based dip, as the texture will become grainy upon thawing.
Perfect Pairings for Your Skillet Masterpiece
While standard tortilla chips are the classic choice, this thick and hearty dip can handle more substantial pairings. Consider serving it alongside warm flour tortillas or even toasted baguette slices for a fusion twist. The robust flavors also complement other party favorites like classic sausage cheese dip or our baked sausage variants for a full appetizer spread.
If you are looking for a main course to follow this appetizer, the savory beef notes in this dip pair beautifully with our comforting beef and cheese bakes. For those who love the combination of meat and melted cheese in every meal, even our sausage-stuffed breakfast rolls offer a similar flavor profile for the next morning.
Frequently Asked Questions
Yes! Brown the meat and sauté the aromatics in a skillet first, then transfer everything to a slow cooker on the ‘Low’ setting. Stir in the cheese and milk, and cook until melted, usually about 1-2 hours.
A skin forms when the surface of the cheese cools and dries out. To prevent this, stir the dip every 10-15 minutes, or keep it covered with a lid when not being actively dipped.
Absolutely! In fact, it’s preferred. Cast iron retains heat better than ceramic, keeping your dip in a molten state for much longer. Just be sure to place a trivet under the hot skillet.
A combination of a high-flavor cheese (like sharp cheddar) and a high-melt cheese (like American or Monterey Jack) is best. American cheese contains emulsifiers that help keep the entire dip smooth and molten.
Graininess usually comes from using pre-shredded cheese, which is coated in anti-clumping starches. Always grate your cheese from a block. It can also happen if the cheese is heated too quickly; always use low, gentle heat.
The Ultimate Skillet Queso Dip Recipe
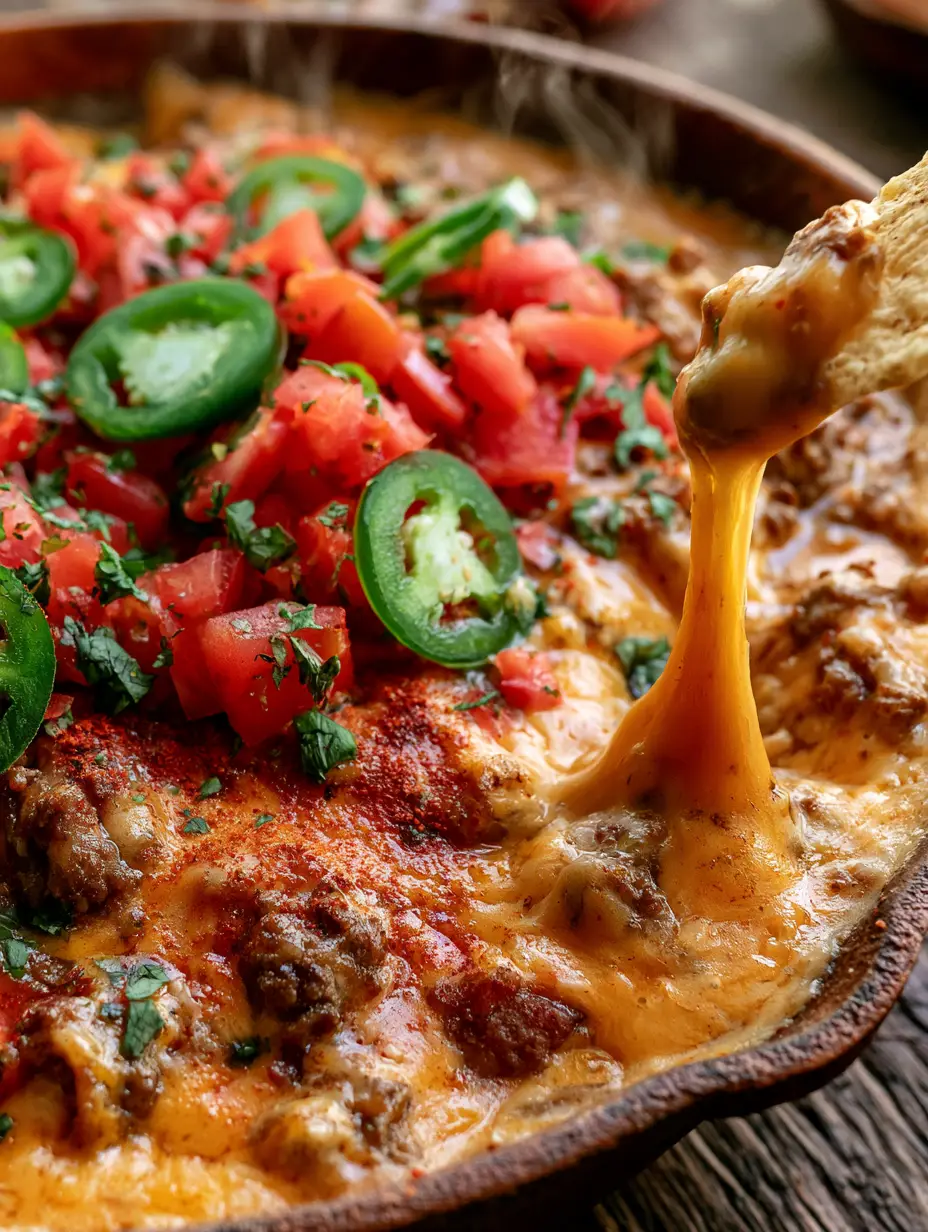
Queso Dip with Browned Beef and Crumbled Spicy Sausage
Ingredients
Equipment
Method
- In a 10-inch (25cm) cast iron skillet over medium-high heat, melt the butter. Add the ground beef and spicy sausage, breaking them into small crumbles. Sear until a deep golden-brown crust forms and the meat is fully cooked.
- Add the diced onion and cook for 5 minutes until translucent. Add the minced garlic and cook for 1 minute until fragrant. Drain the excess fat, leaving a small amount for flavor.
- Reduce heat to medium-low and pour in the milk (240ml). Scrape the bottom of the pan to deglaze.
- Add the American cheese and stir until smooth. Slowly add the sharp cheddar one handful at a time, stirring constantly until the dip is thick, molten, and golden-orange.
- Fold in half of the tomatoes. Top the dip with the remaining diced tomatoes, sliced jalapeños, and fresh cilantro. Finish with a dusting of smoked paprika.
- Serve hot immediately in the skillet with tortilla chips for that perfect cheese pull.
Notes
If the dip becomes too thick, stir in an extra tablespoon of warm milk.

Join the Wholesome Skillet Community!
We hope this queso dip brings as much joy to your table as it does to ours! The combination of bubbling cheese and savory meats is a guaranteed crowd-pleaser. If you made this recipe, please leave a comment below and tell us how it turned out! Don’t forget to share your photos and tag us on Pinterest so we can see your beautiful skillet creations.