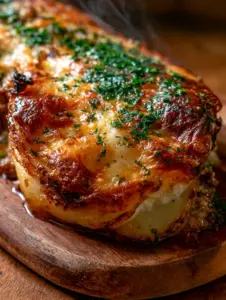
There is nothing quite like the comforting aroma of a fresh chicken biscuit bake emerging from the oven. Imagine a ceramic baking dish filled with tender, shredded chicken enveloped in a rich, velvety white sauce. As you lift the first serving, a subtle plume of steam rises, carrying the scent of savory herbs and toasted butter.
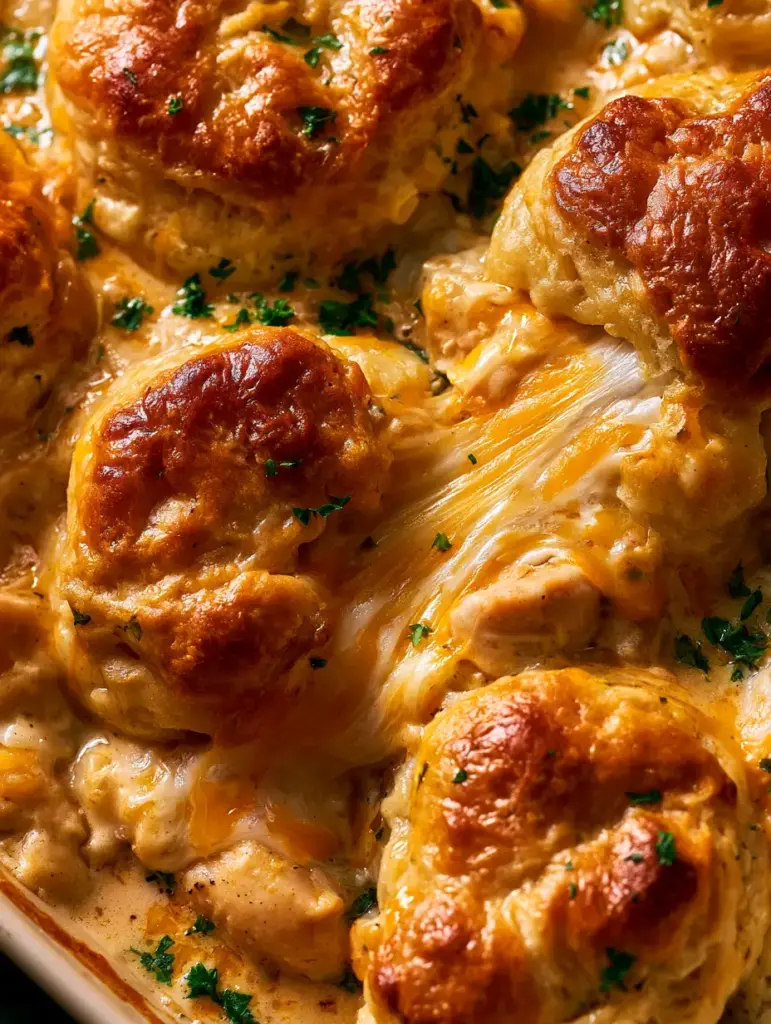
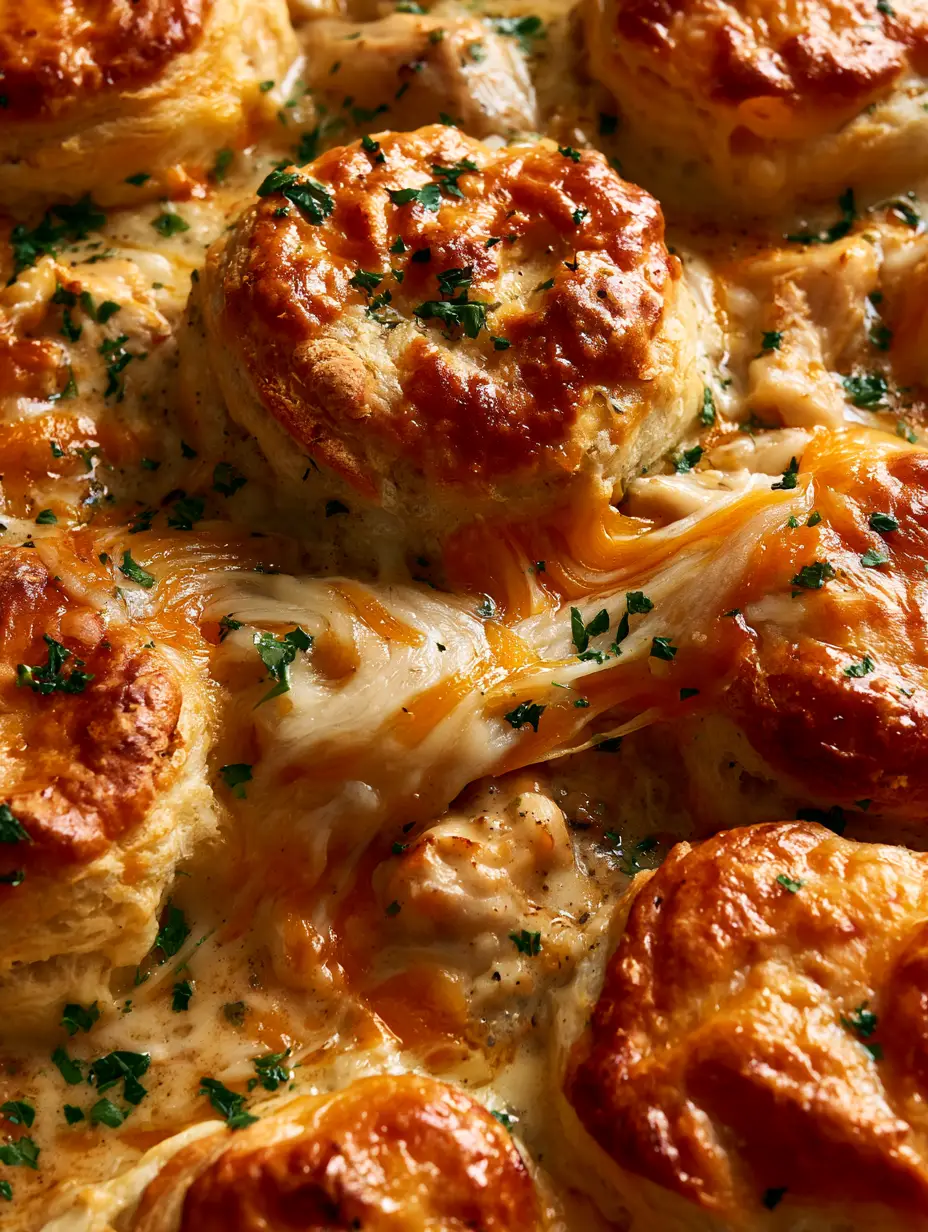
This isn’t just a casserole; it is a masterclass in textures. You have the deeply golden-brown biscuits with their signature crisp edges and cloud-like soft centers, resting atop a bubbling sea of melted cheddar and mozzarella. Each bite delivers a generous, gooey cheese stretch that anchors the dish in pure culinary decadence.
Whether you are hosting a cozy family dinner or looking for the ultimate weeknight meal, this recipe delivers visual and sensory perfection. The bright green pop of freshly chopped parsley finishes the dish, providing a sharp contrast to the warm, amber tones of the perfectly puffed biscuits.
Why This Cheesy Casserole is a Weeknight Game Changer
- Textural Contrast: The combination of the “crunch” from the biscuit tops and the “gooeyness” of the dual-cheese blend creates a sophisticated mouthfeel.
- Rich White Sauce Foundation: Unlike watered-down versions, our roux-based sauce ensures a thick, creamy consistency that doesn’t soak into the biscuits and make them soggy.
- Dual-Cheese Dynamic: By using both sharp cheddar for flavor and low-moisture mozzarella for that iconic cheese pull, we achieve the perfect balance of taste and stretch.
- One-Dish Elegance: Prepared in a beautiful ceramic baking dish, it transitions seamlessly from the oven to the center of your table.
The Anatomy of an Authentic Chicken Biscuit Bake
To achieve the visual and structural results seen in our professional kitchen, you need specific ingredients that play both flavor and functional roles. Every component has been selected to ensure the dish remains stable and delicious.
1. Tender Shredded Chicken: Use 3 cups (approx. 450g) of cooked chicken. Rotisserie chicken is excellent here, providing moisture and a tender texture that shreds easily into visible chunks.
2. Refrigerated or Homemade Biscuits: You will need 1 can (16.3 oz / 460g) of flaky layers biscuits. These are engineered to puff significantly, creating those deeply golden-brown, crisp edges described in our visual blueprint.
3. The Dual-Cheese Blend: 1 cup (113g) of sharp cheddar and 1 cup (113g) of mozzarella. The cheddar provides the vibrant orange highlights, while the mozzarella ensures the gooey stretch between the biscuits.
4. Foundational Fat (Unsalted Butter): 4 tbsp (56g) of butter. This is the base for our roux, providing the richness necessary for a professional-grade white sauce.
5. All-Purpose Flour: 1/4 cup (30g) of flour. This is the invisible scientist of the recipe, thickening the liquids into a rich, creamy sauce that won’t run thin under the heat of the oven.
6. Whole Milk and Chicken Stock: 1.5 cups (360ml) of milk and 1 cup (240ml) of stock. This combination creates a sauce that is both creamy and deeply savory.
7. Fresh Chopped Parsley: 2 tbsp (8g) of fresh parsley. This is non-negotiable for the garnish, providing the bright green contrast that breaks up the monochromatic golden tones of the bake.
8. Aromatics and Seasoning: 1/2 tsp (3g) of fine sea salt, 1/4 tsp (1g) of cracked black pepper, and 1/2 tsp (1g) of garlic powder. These enhance the natural flavors of the chicken without overpowering the buttery biscuits.
Essential Tools for Casserole Perfection
To recreate the exact look of our chicken biscuit bake, the right equipment is vital. A 9×13 inch (23×33 cm) ceramic baking dish is the best choice because ceramic retains heat evenly, ensuring the bottom of the biscuits cook at the same rate as the tops.
You will also need a large saucepan to develop the white sauce. A silicone whisk is helpful for ensuring no flour clumps remain in your roux, resulting in that perfectly smooth, bubbling mixture that peeks through the biscuits in the final image.

Developing the Rich White Sauce Base
Creating the Roux and Liquid Integration
In a large saucepan over medium heat, melt the 4 tbsp (56g) of butter. Once the butter is bubbling and the foam subsides, whisk in the 1/4 cup (30g) of flour. Cook this mixture for about 2 minutes, whisking constantly.
You are looking for a “blonde” roux—it should smell slightly nutty but not turn brown. Gradually pour in the chicken stock followed by the milk, whisking vigorously. Continue to cook until the sauce thickens enough to coat the back of a spoon.
Seasoning and Flavor Fortification
Stir in your salt, pepper, and garlic powder. This is the moment to taste the sauce. It should be rich and creamy. If you enjoy a bit more depth, a pinch of dried thyme can be added here, though the fresh parsley at the end provides the primary herbal note.
Assembling for the Ultimate Cheese Stretch
Layering the Chicken and Sauce
In your ceramic baking dish, combine the shredded chicken with the white sauce. Stir gently to ensure every chunk of chicken is well-coated. This prevents the meat from drying out during the baking process.
The Art of Biscuit Placement
Take your biscuits and cut them into halves or quarters. Arrange them over the chicken mixture. Do not crowd them too tightly; leaving small gaps allows the “subtle steam” to escape and the “rich, creamy sauce” to bubble up through the layers, just like in the visual prompt.
Executing the Dual-Cheese Topping
Generously sprinkle the cheddar and mozzarella over the biscuits, making sure plenty of cheese falls into the crevices. This is the secret to achieving that “gooey stretch” when the dish is served. The cheese should be visible both on top of the biscuits and tucked between them.
Achieving the Signature Deeply Golden-Brown Finish
Preheat your oven to 375°F (190°C). Slide the dish onto the center rack. Bake for 20-25 minutes. During the final 5 minutes, keep a close eye on the oven. You are looking for the biscuits to become perfectly puffed with deep golden-brown, crisp edges.
The sauce should be bubbling actively around the sides of the ceramic dish. Once the cheese is melted and slightly blistered in spots, remove the bake from the oven. Let it sit for 5 minutes; this allows the sauce to set slightly, ensuring a clean serve while maintaining that inviting warmth.
Expert Secrets for Casserole Success
- Cold Biscuits are Key: Keep your biscuit dough in the refrigerator until the exact moment you are ready to top the casserole. Cold fat in the dough creates more steam, leading to a fluffier, taller biscuit.
- Avoid Over-Stirring: When mixing the chicken and sauce in the dish, be gentle. You want visible chunks of chicken peeking through, not a homogenized paste.
- Fresh Herb Timing: Only add the chopped parsley *after* baking. Heat will dull the bright green color, and we want that vibrant contrast against the golden biscuits.
- Check for Doneness: Use a toothpick to check the center of a biscuit. If it comes out clean, the dough is fully cooked through to a soft center.
Flavor Pairings and Internal Link Opportunities
This chicken biscuit bake is a hearty meal on its own, but it pairs beautifully with light, acidic sides that cut through the richness of the white sauce. A simple green salad or roasted broccoli works wonders.
If you love this style of comforting, oven-baked goodness, you must try our ultimate cheesy chicken bacon casserole for an extra smoky flavor profile. For those who prefer a different starch base, our creamy cheesy chicken broccoli rice bake offers a similar velvety texture with the addition of fresh greens.
On busy nights where you want the same flavor profile but less prep, consider the one-pan cheesy chicken biscuit bake (coming soon) which streamlines the process even further. For a beefy twist on this biscuit-topped classic, the savory John Wayne style beef biscuit bake is a family favorite that never disappoints.
Safe Storage and Reheating Guidelines
If you have leftovers, store them in an airtight container in the refrigerator for up to 3 days. To reheat, I recommend using the oven at 350°F (175°C) rather than the microwave. This helps the biscuits regain some of their crisp edges, whereas the microwave can make the dough somewhat rubbery.
This dish does not freeze particularly well once baked, as the biscuits can become soggy upon thawing. However, you can prep the chicken and sauce mixture in advance and freeze that separately, adding fresh biscuits just before you are ready to bake.
Frequently Asked Questions
Absolutely! You can stir in 1 cup of frozen peas and carrots to the chicken and sauce mixture before adding the biscuit topping for extra nutrition and color.
Yes, you can use frozen biscuits, but they may require a slightly longer baking time. Ensure they are thawed enough to cut into smaller pieces for even coverage.
The key is using a preheated oven and a ceramic dish. Also, cutting the biscuits into smaller pieces allows the heat to circulate better, ensuring the centers cook through.
Cheddar provides the sharp, salty flavor and the classic orange look, while mozzarella provides the structural ‘melt’ and the long, gooey cheese stretch seen in the photos.
The Ultimate Chicken Biscuit Bake Recipe
Chicken Biscuit Bake with Gooey Cheese and Golden Crust
Ingredients
Equipment
Method
- Melt butter in a saucepan. Whisk in flour and cook for 2 minutes until it smells nutty.
- Slowly whisk in chicken stock and milk. Simmer until thickened enough to coat a spoon.
- Combine shredded chicken and sauce in a ceramic baking dish.
- Quarter the biscuits and place them on top of the chicken mixture.
- Generously sprinkle cheddar and mozzarella over and between the biscuit pieces.
- Bake at 375°F (190°C) for 20-25 minutes until biscuits are puffed and deeply golden-brown.
- Sprinkle with fresh parsley and serve while steaming.
Notes
Use a ceramic dish for the most even crust development.

Bring Comfort to Your Table Today
This recipe is designed to be the ultimate comfort food, providing a visually stunning and incredibly delicious centerpiece for your dinner table. The contrast of the golden biscuits and the gooey cheese is sure to make this a recurring request in your household.
Did you make this recipe? We would love to hear about your results! Leave a comment below and let us know how your cheese stretch turned out. Don’t forget to follow us on Pinterest and share your photos with the community!