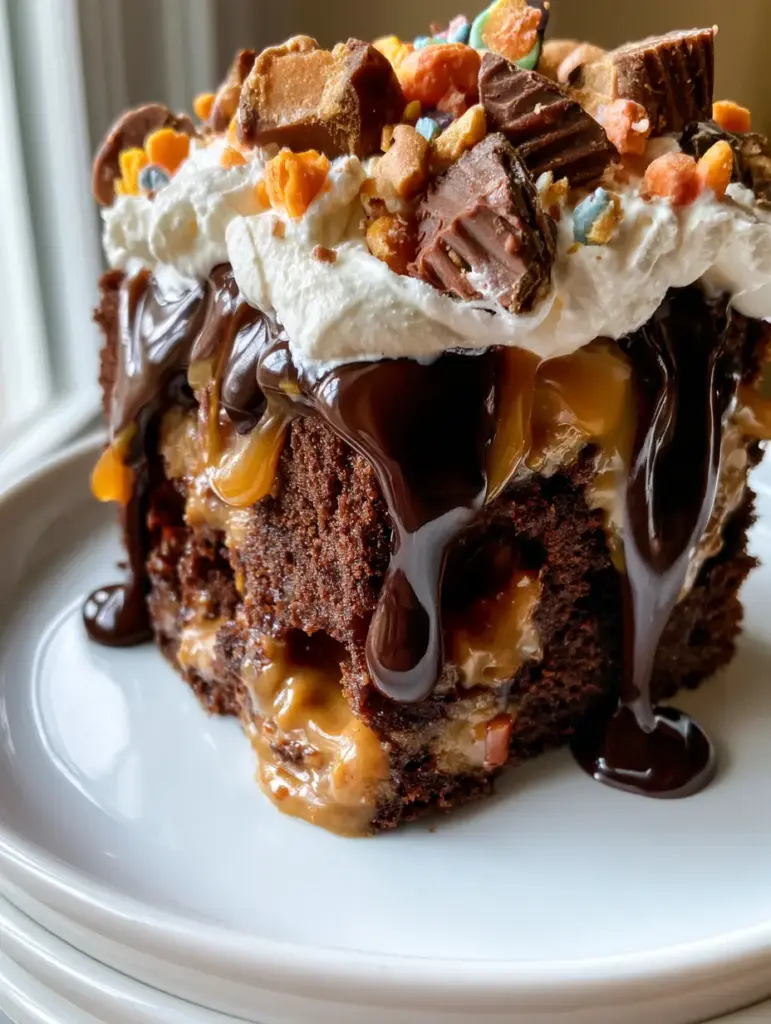
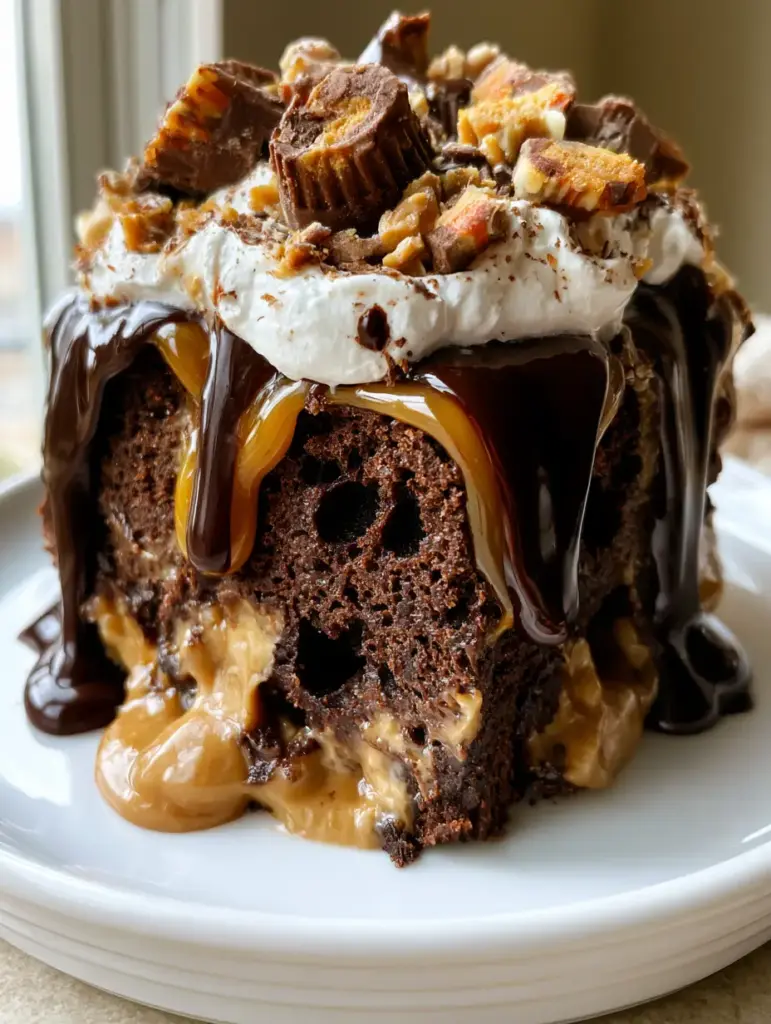
This peanut butter poke cake is the ultimate indulgence for anyone who believes that chocolate and peanut butter are the world’s most perfect pairing. Imagine a moist, dark chocolate sponge, saturated with a luscious, oozing creamy peanut butter sauce that seeps into every single crumb. It is topped with a cloud-like layer of white whipped topping and a mountain of chopped peanut butter cups and crunchy orange and yellow candy shells.
What sets this recipe apart is the forensic attention to texture and contrast. You get the deep, slightly bitter notes of the cocoa sponge against the salty-sweet richness of the peanut butter filling. Each bite is finished with a glossy double-drizzle of dark chocolate syrup and golden caramel sauce, creating a visual and sensory masterpiece that looks exactly like a high-end food blogger’s dream shot.
Whether you are hosting a backyard barbecue or looking for the perfect birthday treat, this cake delivers high-impact results with surprisingly simple techniques. If you have enjoyed my German chocolate poke cake, you know how transformative the “poke” method is for keeping cakes incredibly moist for days.
The Science of the Perfect Chocolate Peanut Butter Symphony
- Moist Dark Chocolate Base: A cocoa-heavy sponge designed to be sturdy enough to hold the filling but soft enough to melt in your mouth.
- Oozing Peanut Butter Core: A custom blend of creamy peanut butter and sweetened condensed milk that creates a “molten” effect inside the cake.
- Textural Contrast: The crunch of chopped peanut butter cups and candy shells provides a necessary break from the creamy whipped topping.
- Glossy Double Drizzle: The combination of chocolate and caramel sauces adds a professional, decadent finish that clings to the sides of each slice.
Essential Pantry Staples for a Decadent Poke Cake
All-Purpose Flour: 2 cups (250g). This provides the essential structure for our dark chocolate sponge, ensuring it doesn’t collapse when we poke holes into it.
Granulated Sugar: 2 cups (400g). Essential not just for sweetness, but for moisture retention and creating that tender crumb we see in the visual blueprint.
Unsweetened Cocoa Powder: 3/4 cup (75g). Use a high-quality Dutch-processed cocoa to achieve that signature “dark chocolate” visual described in the blueprint.
Baking Powder & Baking Soda: 1.5 tsp (6g) each. These leavening agents react with the acidity in the cocoa and buttermilk to create a light, airy lift.
Buttermilk: 1 cup (240ml). The acidity in buttermilk tenderizes the gluten in the flour, resulting in a cake that is remarkably moist even after refrigeration.
Boiling Water: 1 cup (240ml). Adding boiling water at the end “blooms” the cocoa powder, intensifying the chocolate flavor and thinning the batter for a level bake.
Creamy Peanut Butter: 1 cup (250g) for the filling. We use creamy rather than crunchy to ensure the sauce flows perfectly into the poked holes for that “oozing” effect.
Sweetened Condensed Milk: 1 can (14 oz / 396g). This acts as the carrier for the peanut butter, creating a silky, fudge-like consistency inside the cake.
Whipped Topping: 8 oz (225g). A stabilized white whipped topping provides the clean, bright white contrast seen in the handheld smartphone photo aesthetic.
Toppings: 1 cup (150g) chopped peanut butter cups and 1/2 cup (100g) orange and yellow peanut butter candy shells. These provide the iconic visual markers and a satisfying crunch.
Drizzles: 1/4 cup (60ml) each of dark chocolate syrup and golden caramel sauce. These should be room temperature to achieve the perfect “glossy drip” down the sides of the cake.
Must-Have Tools for the Enthusiastic Home Baker
To achieve the specific “blog-ready” look of this peanut butter poke cake, you will need a 9×13 inch (23x33cm) baking pan. A light-colored metal pan is preferred for even heat distribution, preventing the edges from over-baking while the center remains moist.
You will also need a wooden spoon with a rounded handle. The diameter of a wooden spoon handle is the “Goldilocks” size for poking holes—large enough for the peanut butter sauce to pool, but small enough to keep the cake structurally sound. For the perfect drips, a squeeze bottle or a steady-handed spoon will help you replicate the authentic aesthetic.
Step-By-Step Mastery: Building Your Chocolate Masterpiece
Crafting the Dark Chocolate Sponge
Start by preheating your oven to 350°F (175°C). In a large mixing bowl, whisk together the flour, sugar, cocoa, baking powder, and baking soda. In a separate bowl, combine the buttermilk, oil, eggs, and vanilla. Slowly incorporate the wet ingredients into the dry, then carefully stir in the boiling water—the batter will be thin, but this is the secret to a moist result.
Pour the batter into your prepared pan and bake for 30-35 minutes. You are looking for a sensory cue: the cake should spring back slightly when touched, and a toothpick inserted into the center should come out with just a few moist crumbs. Do not overbake, as we want that “moist chocolate” texture captured in the close-up shot.
The Poking and Filling Process
While the cake is still warm (but not hot), use the handle of a wooden spoon to poke holes across the entire surface, spaced about an inch apart. This is the foundation of the peanut butter poke cake. In a small microwave-safe bowl, whisk together the peanut butter and sweetened condensed milk, warming slightly if needed to achieve a pourable consistency.
Pour the creamy peanut butter sauce over the warm cake, using a spatula to gently nudge the mixture into the holes. You want to see the sauce “oozing” into the sponge, just like in the Midjourney prompt. Allow the cake to cool completely at room temperature, then refrigerate for at least 2 hours to let the filling set.
Finishing with Toppings and Drizzles
Once the cake is chilled, spread the white whipped topping in a thick, even layer over the surface. Use a small offset spatula to create slight swirls for an authentic, unedited look. Sprinkle the chopped peanut butter cups and the orange and yellow candy shells generously over the top, ensuring even coverage.
Finally, perform the double-drizzle. Using a spoon or squeeze bottle, zig-zag the dark chocolate syrup across the cake, followed by the golden caramel sauce. For the best “glossy drips,” serve the cake immediately after drizzling, or chill until you are ready to plate a single, perfect slice.
Expert Tips for Poke Cake Perfection
- Temperature Matters: Poke the holes while the cake is warm so the sponge is more absorbent, but wait until it is completely cold before adding the whipped topping to prevent melting.
- The Drip Technique: If your caramel sauce is too thick, warm it for 5-10 seconds in the microwave to get that “dripping down the sides” look from the photo.
- Clean Slices: For the professional blogger aesthetic, wipe your knife with a warm, damp cloth between every single cut.
- Candy Placement: Don’t just dump the candies; place some of the orange and yellow shells intentionally to ensure the colors pop against the white cream.
Storage, Reheating, and Make-Ahead Advice
This cake is a fantastic make-ahead dessert because the flavors actually improve after a day in the fridge. The peanut butter sauce continues to hydrate the chocolate sponge, making it even more decadent. Keep the cake covered in the refrigerator for up to 4 days.
We do not recommend freezing this cake once the whipped topping and candy shells are added, as the candies can bleed color and the whipped topping may lose its texture. However, you can freeze the “poked” and filled chocolate sponge for up to a month, adding the topping and drizzles just before serving.
Indulgent Pairings and Serving Suggestions
Since this peanut butter poke cake is incredibly rich, it pairs beautifully with a glass of cold milk or a sharp espresso. If you are hosting a dessert party, consider serving it alongside my homemade peanut butter truffles (coming soon) for a full-on peanut butter experience.
For those who prefer a variety of textures, this cake also goes well with salted butter cookies on the side to provide a crisp, buttery contrast to the soft sponge. If you’re looking for something lighter to balance the table, a side of fresh berries or a slice of peach cake can offer a bright, fruity counterpoint.
Frequently Asked Questions
It is not recommended. Natural peanut butter often separates and has a grittier texture. For the smooth, ‘oozing’ effect seen in the photos, use a standard creamy peanut butter like Jif or Skippy.
Poke the holes while the cake is still warm. This allows the sponge to be more pliable and absorbent, ensuring the peanut butter filling soaks deep into the crumbs.
A wooden spoon handle is the ideal tool. It creates holes that are about 1/2 inch wide, which is large enough to allow the thick peanut butter sauce to flow in without compromising the cake’s structure.
Sogginess usually happens if you add too much liquid filling or if the cake wasn’t baked long enough. Ensure the cake is fully baked and allow it to chill completely so the filling can set properly.
The Ultimate Peanut Butter Poke Cake Recipe
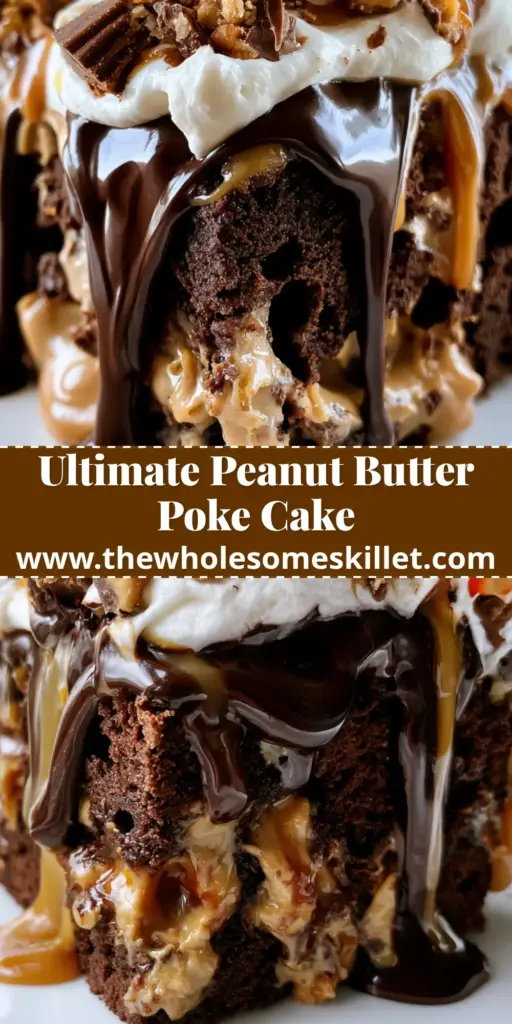
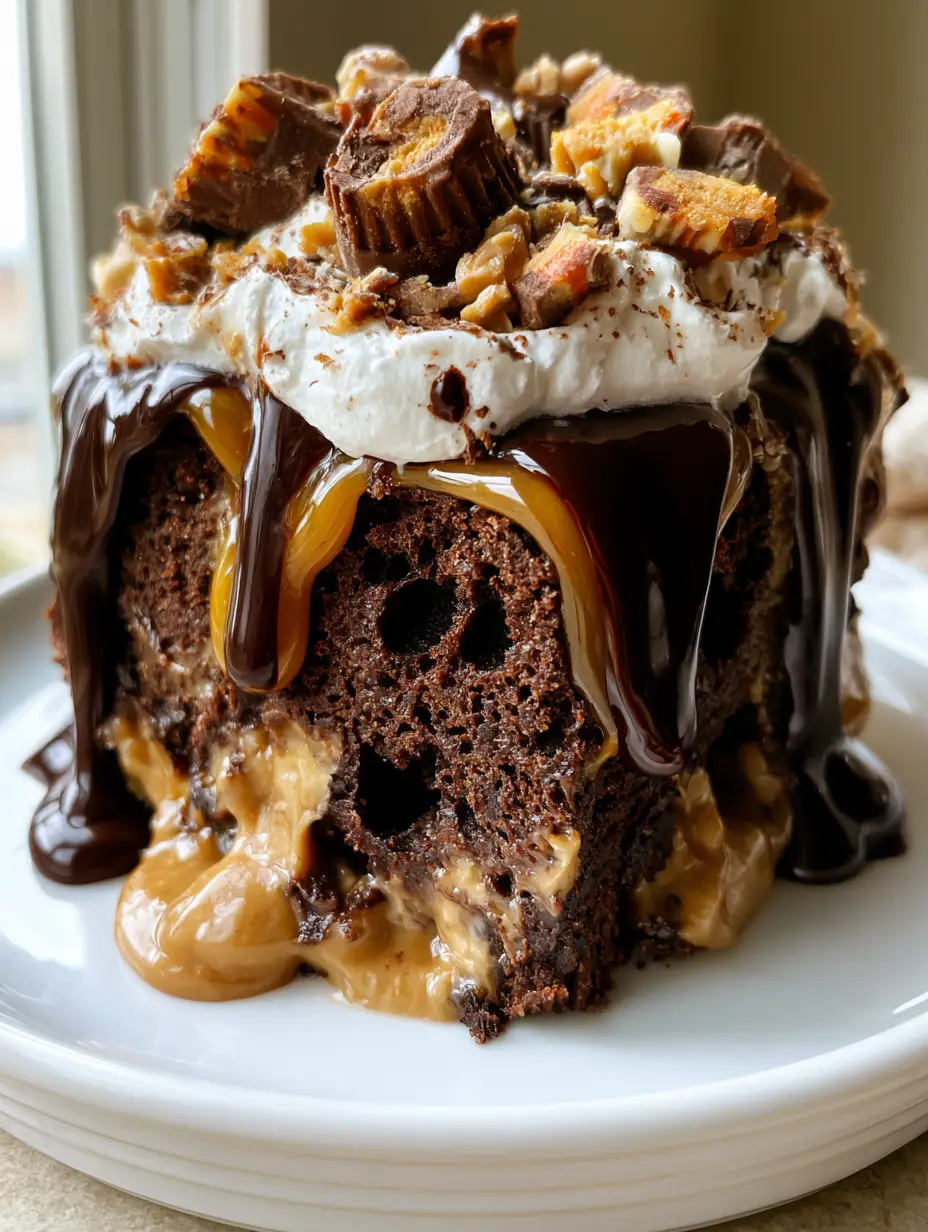
Peanut Butter Poke Cake with Dark Chocolate and Caramel Drizzle
Ingredients
Equipment
Method
- Whisk flour, sugar, cocoa, baking powder, and baking soda in a large bowl.
- Add buttermilk, oil, eggs, and vanilla. Mix until combined, then stir in boiling water carefully.
- Pour into a 9x13 pan and bake at 350°F (175°C) for 30-35 minutes until a toothpick comes out clean.
- While the cake is warm, use a wooden spoon handle to poke holes throughout the cake.
- Whisk peanut butter and condensed milk. Pour over the cake and spread into the holes.
- Chill cake, spread whipped topping, and sprinkle with chopped PB cups and candy shells.
- Apply chocolate and caramel sauce in a zig-zag pattern down the sides of each slice.
Notes
Use Dutch-processed cocoa for the darkest chocolate color.
Bring the Bakery Home
This peanut butter poke cake is more than just a dessert; it’s a show-stopping centerpiece that looks just as good as it tastes. The combination of the moist chocolate sponge, the oozing peanut butter filling, and the crunchy candy toppings creates a nostalgic yet elevated treat that your family will request again and again.
If you made this recipe, I would love to see your glossy drips! Tag me on Instagram or head over to Pinterest to save this recipe for your next celebration. Don’t forget to leave a comment below and let me know how yours turned out!