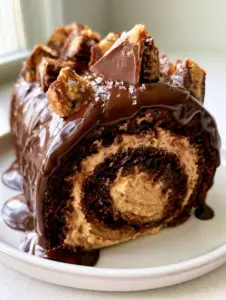
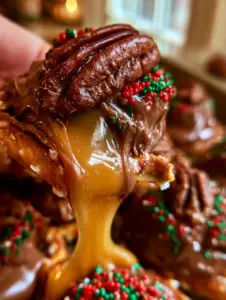
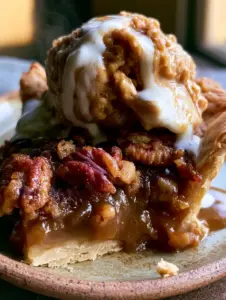
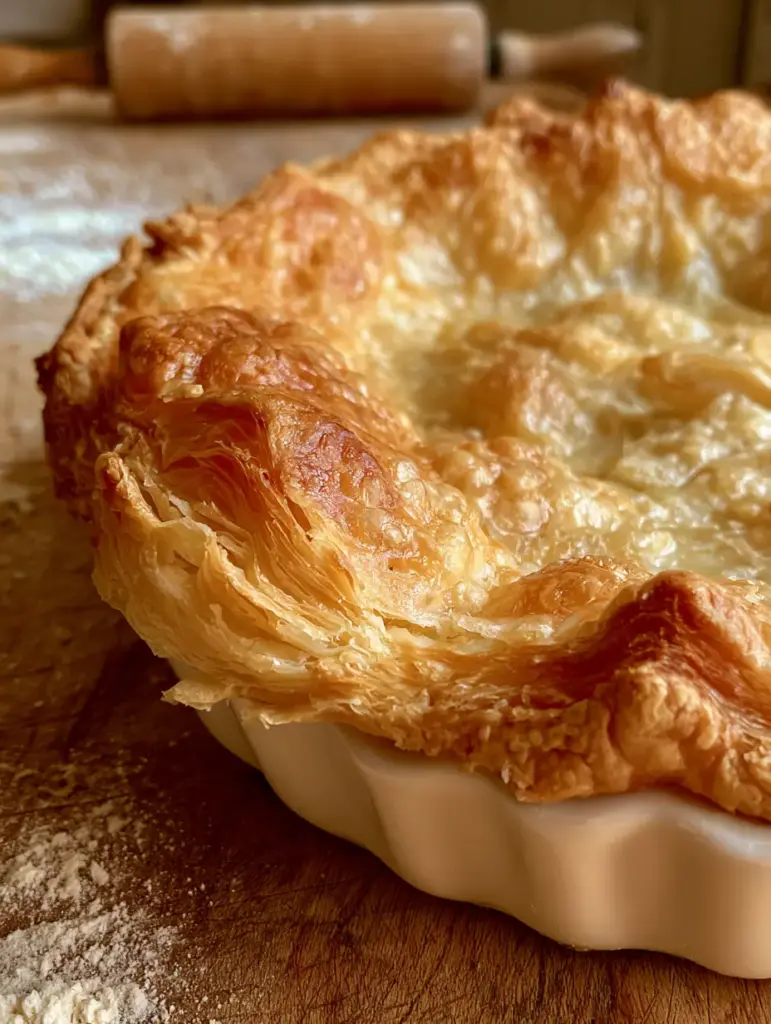
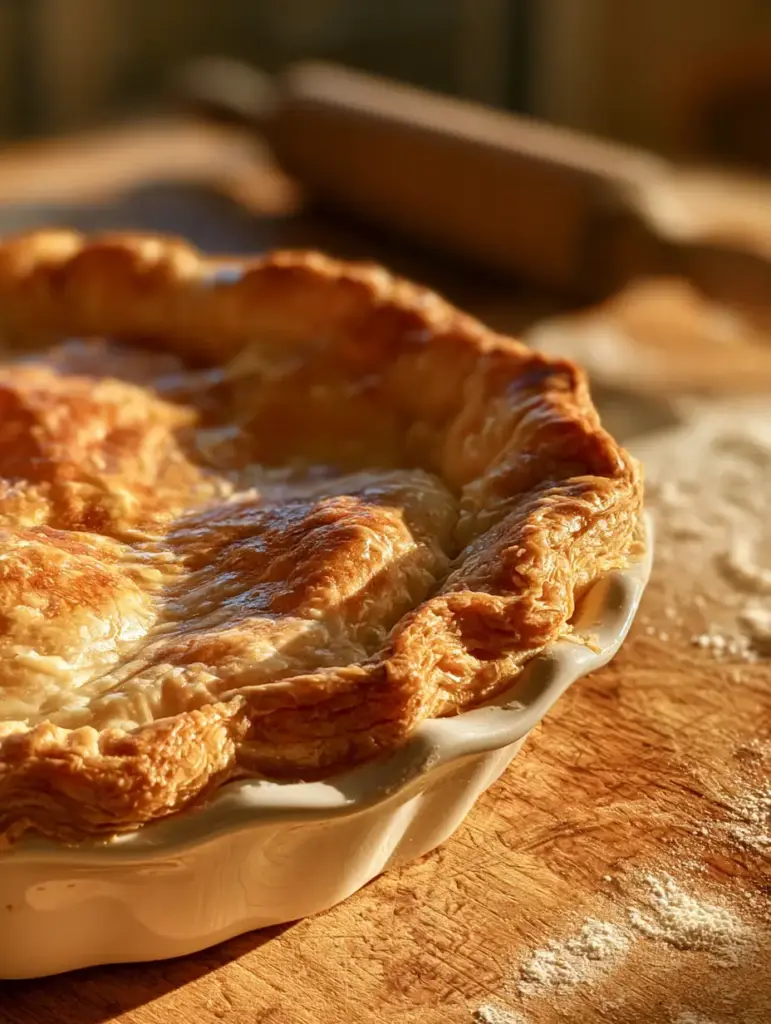
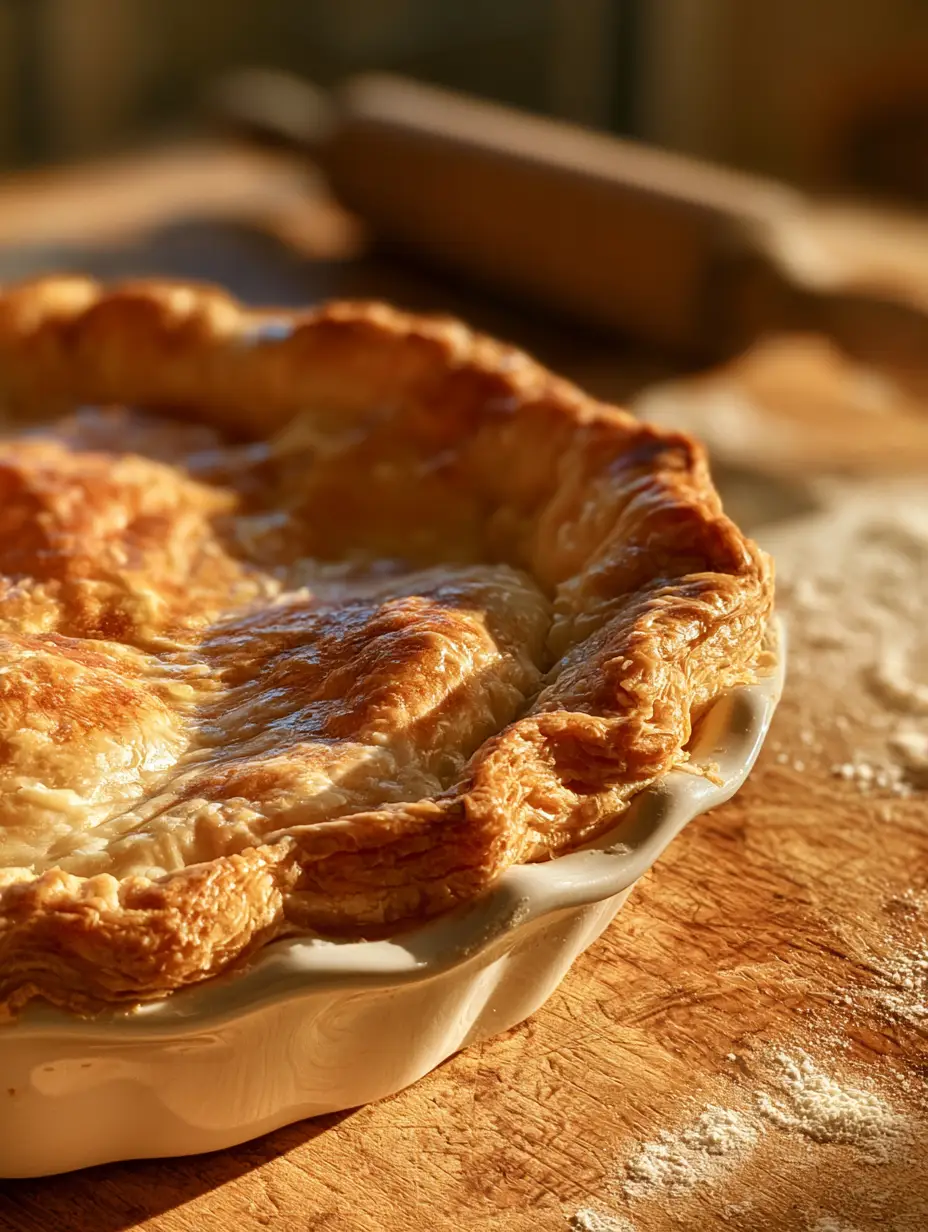
There is nothing quite like the sight of a homemade all-butter pie crust fresh out of the oven, boasting those incredible visible flaky layers and tiny bubbles of buttery pastry. Imagine a warm morning kitchen, light streaming across a rustic wooden island, where a ceramic white ruffled pie dish holds a crust so crisp it shatters at the touch of a fork. This isn’t just a base for a filling; it is the star of the show.
Achieving that professional, handheld smartphone photo aesthetic requires more than just luck. It requires an understanding of how cold fats interact with flour to create those signature pockets of steam. Whether you are prepping for a homemade apple pie or a savory quiche, this recipe provides the structural integrity and rich flavor that only pure butter can deliver.
Why This All-Butter Pie Crust Technique Works Every Time
- Extreme Flakiness: By maintaining large, visible chunks of butter, we ensure the creation of steam pockets that lift the dough into delicate layers.
- Golden-Brown Finish: The inclusion of granulated sugar and high-quality butter guarantees a deep, caramelized color that looks stunning in a white ceramic dish.
- Structural Integrity: This dough is sturdy enough to hold heavy fillings, like those found in a pecan pie cheesecake, without becoming soggy.
- Authentic Flavor: Unlike shortening-based crusts, this recipe relies on the rich, creamy profile of unsalted dairy.
The Science of Your Ingredients
To achieve the visual result seen in our blueprint—specifically those delicate, crisp edges—every ingredient must serve a functional purpose. We aren’t just mixing; we are engineering a pastry lattice.
All-Purpose Flour: 2 ½ cups (312g)
This provides the necessary protein content to form gluten, giving the crust enough strength to be rolled out with a wooden rolling pin without tearing. It acts as the “dry wall” of our pastry structure.
Unsalted Butter (Chilled & Cubed): 1 cup (226g)
The butter must be ice-cold to prevent it from melting into the flour. These chilled cubes are the secret to the “bubbles” of pastry seen in the final bake, as they release steam in the hot oven.
Ice-Cold Water: ½ cup (120ml)
Water binds the dough together, but it must be near freezing. Warm water would melt the butter, resulting in a greasy, tough crust rather than a flaky one.
Granulated Sugar: 1 tbsp (12g)
Beyond adding a hint of sweetness, sugar aids in the Maillard reaction. This is what gives our pastry that “golden brown” morning-light glow.
Sea Salt: 1 tsp (6g)
Salt is a flavor enhancer that sharpens the buttery notes. Without it, the pastry tastes flat and floury.
Essential Equipment for a Ruffled Ceramic Finish
To mimic the handheld photo aesthetic, you need the right tools on your rustic wooden kitchen island. A wooden rolling pin is essential for applying even pressure while keeping the dough cool. A white ceramic pie dish (specifically one with ruffled edges) provides even heat distribution and a beautiful contrast to the golden pastry.
You will also need a linen kitchen towel to keep your work surface clean and to wrap the dough during its mandatory rest in the refrigerator. Finally, ensure you have a dusting of flour nearby to prevent sticking, as seen in the scattered flour details of our visual blueprint.
Step-by-Step Mastery: Achieving Visible Buttery Layers
1. The Dry Mix and Butter Integration
In a large chilled bowl, whisk together your all-purpose flour, granulated sugar, and sea salt. Add the cubes of chilled unsalted butter. Use your fingers or a pastry cutter to work the butter into the flour until the mixture resembles coarse crumbs, but—crucially—ensure there are still pea-sized chunks of butter visible.
2. Hydrating the Dough
Drizzle in the ice-cold water one tablespoon at a time. Use a spatula to toss the flour until the dough just begins to clump together. It should feel slightly shaggy and not overly wet. If you press a handful together, it should hold its shape without crumbling.
3. The First Rest
Turn the dough out onto a surface with a light dusting of flour. Gently press it into two flat discs. Wrap each disc tightly in plastic wrap or a linen kitchen towel and refrigerate for at least one hour. This allows the gluten to relax and the butter to re-chill, which is vital for those shatteringly flaky edges.
4. Rolling and Shaping
Take your wooden rolling pin and roll the dough from the center outward, rotating it frequently. Aim for a thickness of about 1/8 inch (3mm). Carefully drape the dough over your white ceramic pie dish, pressing it into the ruffled edges. Trim any excess, leaving enough to crimp the borders for that authentic, home-kitchen look.
5. The Final Bake to Golden Brown
Preheat your oven to 400°F (200°C). For a blind bake, line the crust with parchment and fill with pie weights. Bake until the edges are set, then remove the weights and bake until the entire surface is golden brown and you see those characteristic bubbles of buttery pastry forming on the surface.
Expert Tips for Success
- Keep it Cold: If at any point the butter feels soft, put the entire bowl or rolled dough back in the fridge for 15 minutes. Cold butter is non-negotiable for flakiness.
- Don’t Overwork: The more you handle the dough, the tougher it becomes. Stop mixing the moment it holds together to ensure a tender bite.
- Visual Cues: Look for a “shatter” when you poke the edge of the baked crust with a knife. If it flakes off in thin sheets, you’ve succeeded.
- Flour Dusting: Use just enough flour to prevent sticking. Too much extra flour will make the crust dry and gray instead of golden.
Storage, Reheating, and Freezing
This all-butter pie crust is incredibly versatile. You can store the raw dough discs in the refrigerator for up to 3 days, or wrap them in foil and freeze them for up to 3 months. If freezing, thaw the dough overnight in the fridge before rolling.
For a pre-baked crust, keep it at room temperature for up to 24 hours. To crisp it back up after adding a filling, a quick 10-minute stint in a 350°F (175°C) oven will revive those buttery layers.
What to Serve With This Flaky Pastry
This crust is the perfect foundation for a variety of desserts and savory dishes. Use it as a base for a pecan pie cobbler or create mini versions for pumpkin pie thumbprint cookies.
If you have leftover dough scraps, sprinkle them with cinnamon and sugar and bake them alongside the pie for a quick treat. The richness of the butter also pairs beautifully with a decadent pecan pie lush.
Frequently Asked Questions
You can, but you should omit the additional sea salt in the recipe to prevent the pastry from becoming overly salty. Unsalted butter is preferred for total flavor control.
Blind baking is essential for pies with wet fillings (like custard or fruit) to ensure a crisp bottom. Bake with weights first, then remove them to finish the golden browning.
Shrinking occurs when the gluten is overworked or not rested. Ensure you rest the dough in the fridge for at least an hour to allow the gluten to relax before rolling.
Flakiness comes from cold butter chunks releasing steam. If your butter melts into the flour before baking (due to warm hands or room temperature), the crust will be crumbly or tough rather than flaky.
The Perfect All-Butter Pie Crust Recipe
All-Butter Pie Crust: The Ultimate Guide to Shatteringly Flaky Pastry
Ingredients
Equipment
Method
- Whisk flour, sugar, and sea salt in a chilled bowl.
- Add chilled butter cubes, working them until pea-sized chunks remain.
- Add ice-cold water 1 tbsp at a time until dough just clumps.
- Form into two discs, wrap in a linen towel, and refrigerate for 1 hour.
- Roll to 1/8 inch thickness, place in ceramic dish, and bake at 400°F (200°C) until golden brown.
Notes
Use a light dusting of flour to prevent the dough from sticking to your wooden rolling pin.

Conclusion: Bring the Aesthetic Home
Mastering the all-butter pie crust is a rite of passage for any home cook. With its shatteringly flaky edges and rich, golden-brown hue, it elevates any meal into a gourmet experience. Don’t forget to capture your own handheld smartphone photo of your creation and share it with us!
If you loved this recipe, please leave a comment below and follow us on Pinterest for more culinary inspiration. Happy baking!