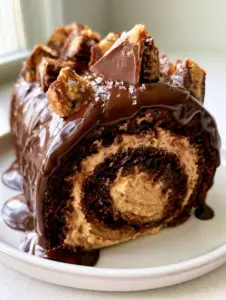
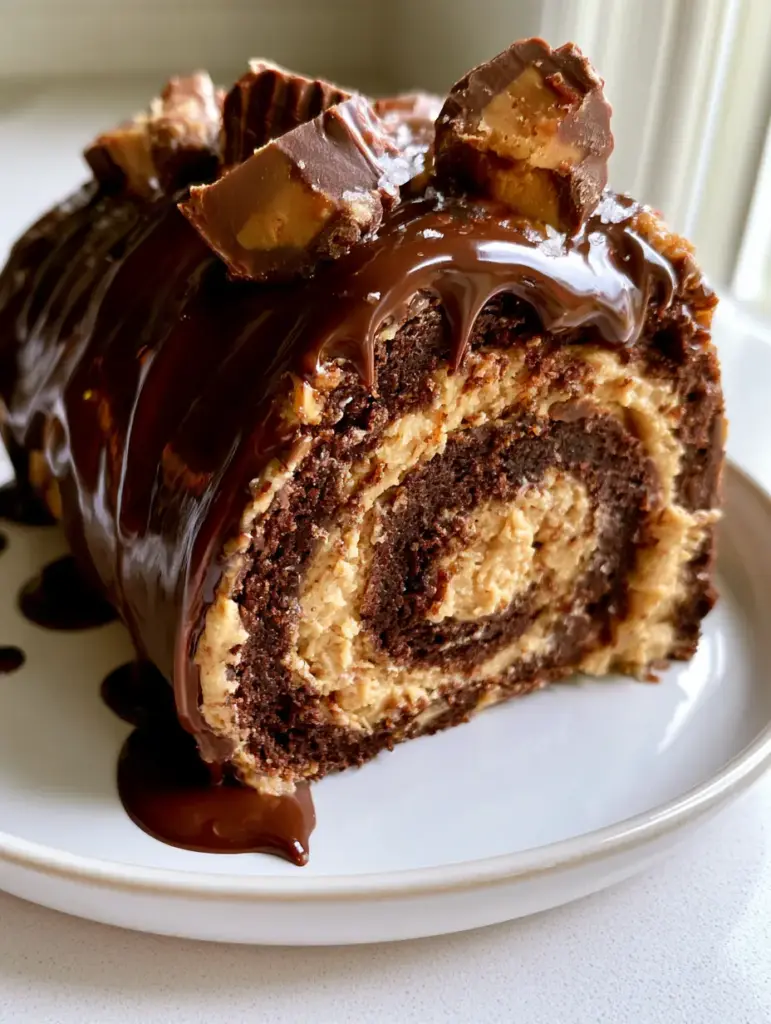
The chocolate swiss roll cake is a masterpiece of culinary geometry, combining a light-as-air cocoa sponge with a rich, decadent filling. This version takes that classic silhouette and elevates it with the iconic pairing of dark chocolate and roasted peanuts. Imagine a thick, decadent slice sitting on a white ceramic plate, its perfectly tight spiral revealing a generous layer of creamy peanut butter mousse.
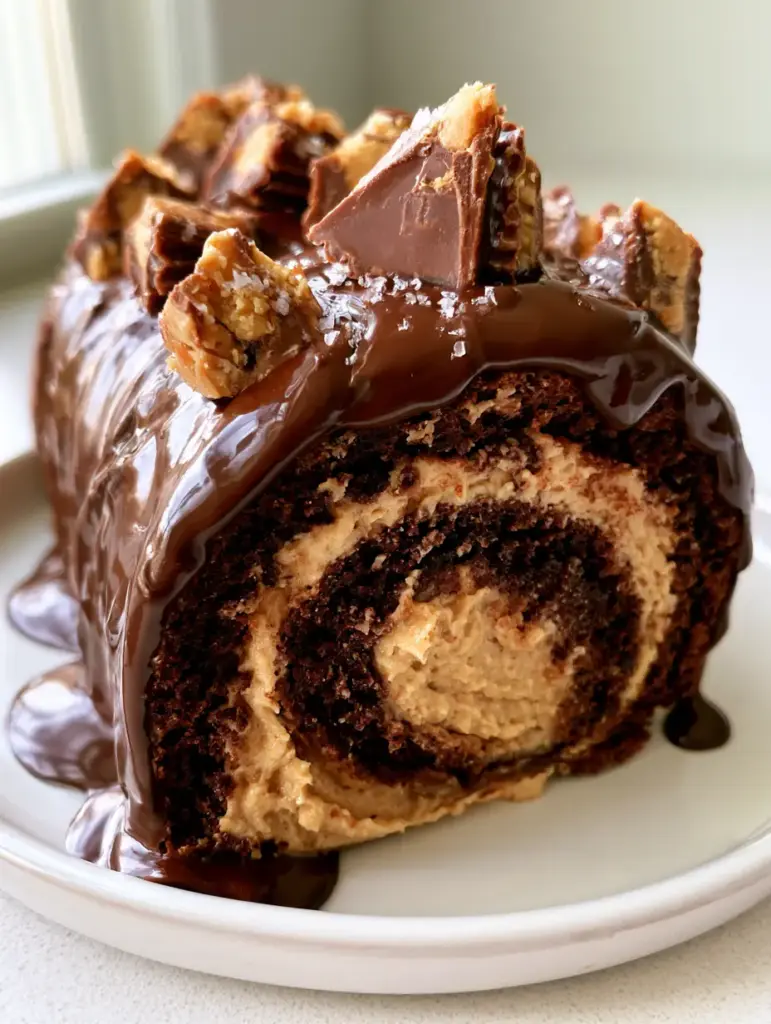
Every bite of this cake offers a symphony of textures: the soft bite of the sponge, the cloud-like mousse, and the crunch of chopped peanut butter cups. The exterior is draped in a glossy, melting dark chocolate ganache that drips slightly down the sides, inviting you to dive in. A final sprinkle of roasted peanuts and flaky sea salt balances the sweetness, creating a dessert that is as visually stunning as it is delicious.
Whether you are hosting a formal dinner or simply satisfying a deep craving for classic peanut butter and chocolate pairing, this recipe provides the blueprint for success. We will walk through the professional techniques required to prevent cracking and achieve that signature handheld smartphone photo look. Let’s master the art of the roll together.
Why This Chocolate Swiss Roll Recipe Works
- Perfect Spiral Integrity: Our method ensures a tight, beautiful swirl without the dreaded sponge cracking.
- Textural Contrast: The combination of silky ganache, fluffy mousse, and crunchy Reese’s cups provides a multi-sensory experience.
- Balanced Sweetness: The use of dark chocolate and flaky sea salt cuts through the richness of the peanut butter.
- Professional Finish: The melting ganache technique creates a high-end bakery aesthetic right in your home kitchen.
The Anatomy of an Elite Chocolate Swiss Roll Cake
Creating a professional-grade chocolate swiss roll cake requires understanding the role of each specific component. We aren’t just baking a cake; we are building a structural dessert that must hold its shape while remaining tender.
Dutch-Processed Cocoa Powder: We use 1/3 cup (30g) of high-quality cocoa to provide a deep, intense color and a smooth chocolate flavor. This ensures the sponge has the deep cocoa notes necessary to stand up to the bold peanut butter filling.
Large Room-Temperature Eggs: You will need 4 large eggs (approx. 200g). These are the primary leavening agent; beating them with sugar creates the stable foam structure that allows the cake to roll without snapping.
Granulated White Sugar: 3/4 cup (150g) of sugar does more than sweeten; it tenderizes the crumb and helps retain moisture. Moisture is your best friend when attempting a tight spiral.
Neutral Vegetable Oil: 1/4 cup (60ml) of oil provides the necessary fat to keep the sponge flexible. Unlike butter, oil remains liquid at room temperature, which prevents the cake from becoming brittle when chilled.
All-Purpose Flour: 1/2 cup (60g) of flour provides just enough gluten to give the cake structure. We keep this amount low to ensure the sponge remains delicate and light.
Creamy Peanut Butter: 1 cup (250g) of high-quality creamy peanut butter forms the base of our mousse. Avoid “natural” varieties that separate, as the excess oil can break the mousse.
Heavy Whipping Cream: You will need 2 cups (480ml) total—half for the mousse and half for the glossy ganache. Look for a fat content of at least 36% for the best stability.
Dark Chocolate Bars: 4 oz (115g) of dark chocolate (60-70% cacao) creates a sophisticated rich chocolate glaze. Chopping your own chocolate from a bar results in a smoother melt than using chips.
The Toppings: 1/2 cup (75g) of chopped Reese’s peanut butter cups and 2 tbsp (20g) of crushed roasted peanuts provide the visual “chunky” appeal. The final touch of 1 tsp (5g) flaky sea salt is non-negotiable for flavor depth.
Essential Tools for a Flawless Roll
To achieve the look of a professional pastry chef, you need the right gear. A 10×15 inch (25x38cm) jelly roll pan is the standard for this recipe, providing the perfect thickness for rolling.
You will also need parchment paper, which is essential for both baking and the initial hot-roll process. A clean kitchen towel dusted with cocoa powder prevents the cake from sticking to itself during the cooling phase. Finally, an offset spatula is the best tool for spreading a perfectly even layer of fluffy mousse texture across the sponge.
Step-by-Step: The Perfect Cocoa Sponge
Preparing the Aerated Batter
Preheat your oven to 350°F (175°C) and line your jelly roll pan with parchment paper, leaving an inch of overhang. In a large bowl, beat the 4 eggs and 3/4 cup (150g) sugar on high speed for about 5-7 minutes. You are looking for the “ribbon stage,” where the mixture is pale, thick, and leaves a trail when the beater is lifted.
Gently whisk in the 1/4 cup (60ml) oil and 1 tsp (5ml) vanilla extract. Sift together the 1/2 cup (60g) flour, 1/3 cup (30g) cocoa, 1 tsp (5g) baking powder, and 1/4 tsp (1.5g) salt. Carefully fold the dry ingredients into the egg mixture using a spatula, being mindful not to deflate the air you’ve worked so hard to incorporate.
Baking and the Critical Hot-Roll
Spread the batter evenly into the prepared pan. Bake for 10-12 minutes until the top springs back when lightly touched. Do not overbake, or the sponge will lose its flexibility.
While the cake is hot, immediately turn it out onto a clean kitchen towel dusted with cocoa powder. Peel off the parchment paper. Starting from the short end, gently roll the warm cake and the towel together into a tight log. Let it cool completely in this rolled position; this “trains” the cake fibers to hold the spiral shape without cracking.
Crafting the Peanut Butter Mousse Filling
In a medium bowl, beat 1 cup (250g) of creamy peanut butter with 1/2 cup (60g) of powdered sugar until smooth. In a separate chilled bowl, whip 1 cup (240ml) of heavy cream until stiff peaks form. The cream should look like thick, fluffy clouds.
Gently fold the whipped cream into the peanut butter mixture in three additions. The goal is a light, airy mousse that still has enough body to hold the weight of the cake. Once combined, chill the mousse for 15 minutes to firm up slightly before assembly.
Assembly: Achieving the Signature Spiral
Gently unroll the cooled cake log. It’s okay if it stays slightly curved. Using your offset spatula, spread the peanut butter mousse in an even layer, leaving a 1/2-inch border at the edges. This prevents the filling from squishing out as you roll.
Carefully re-roll the cake, this time without the towel. Wrap the cake tightly in plastic wrap to maintain its cylindrical shape and refrigerate for at least 1 hour. This setting time is crucial for obtaining those clean, thick slices seen in our blueprint.
The Finishing Touch: Melting Ganache and Toppings
Place 4 oz (115g) of chopped dark chocolate and 1 tbsp (14g) of butter in a heat-proof bowl. Heat 1/2 cup (120ml) of heavy cream until it just begins to simmer, then pour it over the chocolate. Let it sit for 5 minutes, then whisk until you have a glossy, dark, and smooth ganache.
Place the chilled cake on a wire rack over a sheet of parchment. Pour the ganache over the center, letting it flow naturally down the sides. While the ganache is still wet and “melting,” generously top with the chopped Reese’s peanut butter cups and crushed roasted peanuts. Finish with a dramatic sprinkle of flaky sea salt.
Expert Tips for Success
- The Temperature Rule: Ensure your eggs are truly at room temperature. Cold eggs will not achieve the volume needed for a flexible sponge.
- Sift Your Cocoa: Cocoa powder is notoriously lumpy. Sifting ensures a smooth batter and prevents unsightly dark spots in your golden-brown crumb.
- Don’t Scrimp on the Cooling: If you try to fill a warm cake, the mousse will melt into a liquid mess. Patience is the key to a tight spiral.
- The Clean Cut: For those perfect smartphone-ready slices, use a sharp chef’s knife dipped in hot water and wiped clean between every single cut.
Storage and Serving Suggestions
This chocolate swiss roll cake should be stored in the refrigerator due to the dairy-based mousse. It will stay fresh and moist for up to 3 days if kept in an airtight container. For the best flavor, let a slice sit at room temperature for 10 minutes before serving; this softens the ganache and allows the peanut butter aroma to bloom.
If you have leftovers, this cake freezes surprisingly well. Wrap individual slices in plastic wrap and store in a freezer bag for up to a month. Thaw in the fridge overnight before enjoying. This cake pairs beautifully with a glass of cold milk or a strong espresso to balance the richness.
What to Serve With This Decadent Treat
While this cake is a star on its own, you can create a full dessert spread. Consider serving it alongside a tray of chewy chocolate chip cookies for a variety of textures. If you are hosting a party, a side of bright lemon custard cake provides a citrusy counterpoint to the deep chocolate and peanut butter flavors.
It is not recommended. Natural peanut butter often separates, which can make the mousse greasy or cause it to collapse. Use a stabilized commercial creamy peanut butter for the best results.
The key is to roll the cake while it is still steaming hot from the oven. This ‘trains’ the sponge to hold its shape. Additionally, using oil instead of butter in the batter keeps the cake flexible.
The cake will stay fresh and moist for up to 3 days. Because of the heavy cream in the mousse and ganache, it must be kept refrigerated in an airtight container.
Yes, you can bake and roll the sponge a day in advance. You can also assemble the full cake up to 24 hours before serving, though it is best to add the ganache and toppings on the day of.
A dull ganache is usually caused by the chocolate getting too hot or not enough fat. Adding a tablespoon of butter at the end and whisking gently creates that professional-looking, melting glossy shine.
The Ultimate Chocolate Swiss Roll Recipe
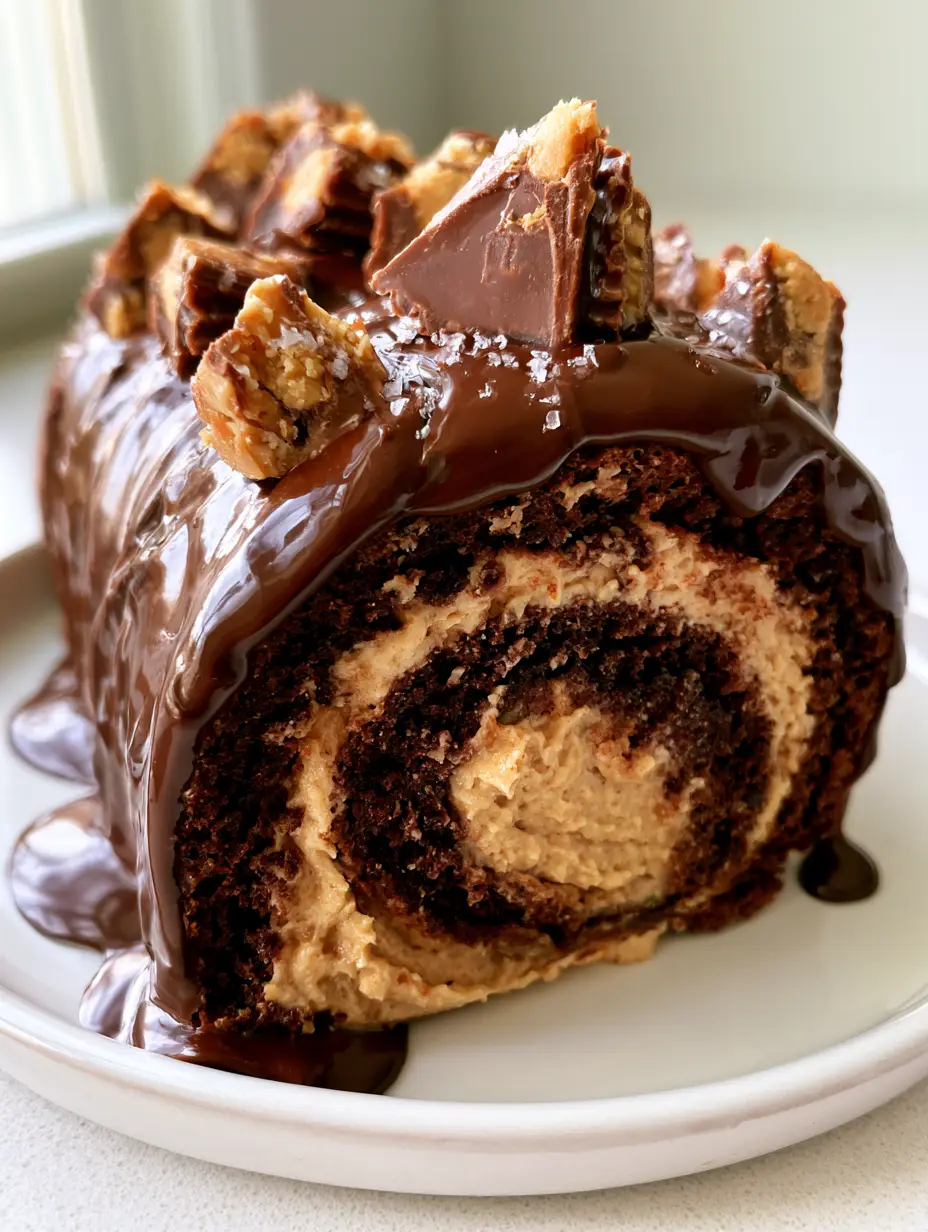
Chocolate Swiss Roll Cake with Fluffy Peanut Butter Mousse and Glossy Ganache
Ingredients
Equipment
Method
- Beat eggs and sugar for 5-7 minutes until thick and pale ribbon stage.
- Sift in dry ingredients and gently fold into the egg mixture.
- Bake in a 10x15 pan at 350°F (175°C) for 10-12 minutes.
- Turn hot cake onto a towel dusted with cocoa and roll tightly; cool completely.
- Fold whipped cream into the peanut butter and powdered sugar mixture.
- Unroll cake, spread mousse, re-roll, and chill for 1 hour.
- Pour warm chocolate ganache over the chilled roll.
- Top with chopped Reese's, peanuts, and sea salt while ganache is wet.
Notes
Use a warm knife for clean slices of the chilled roll.

Closing & Call to Action
Mastering the chocolate swiss roll cake is a rite of passage for every home baker. With its glossy ganache, fluffy peanut butter mousse, and that perfect tight spiral, it is a recipe that never fails to impress. The combination of salty and sweet, crunchy and soft, makes it a perennial favorite.
Did you manage to get that perfect drip? We would love to see your creations! Leave a comment below with your results or any questions you have. Don’t forget to share your photos and follow us on Pinterest for more decadent dessert inspiration!