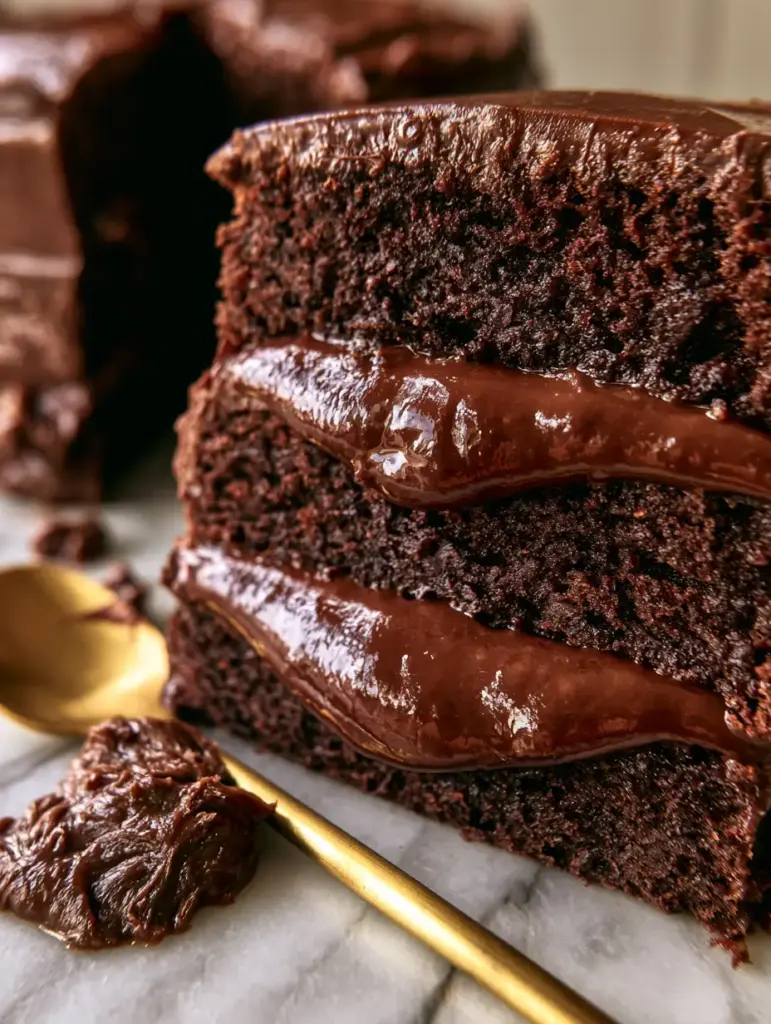
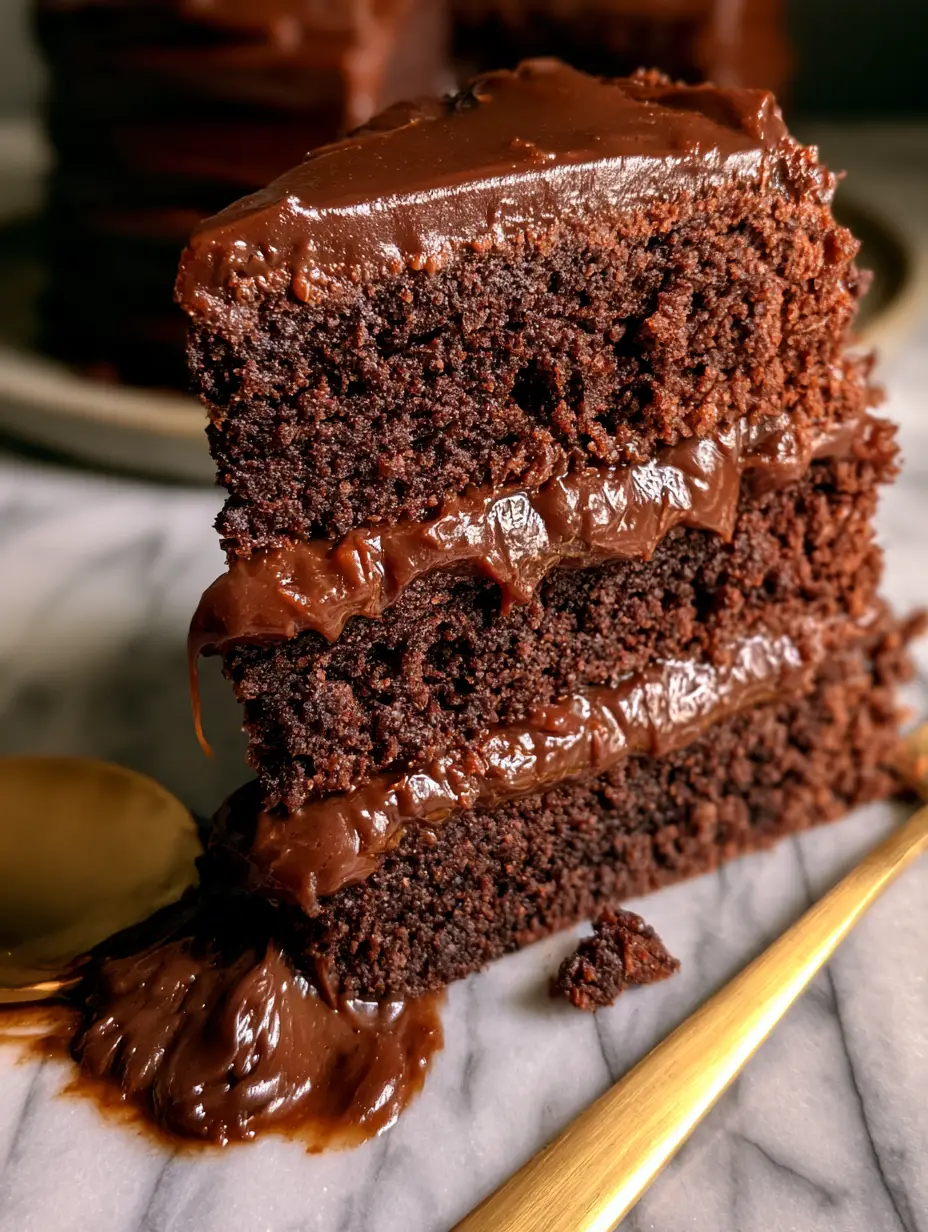
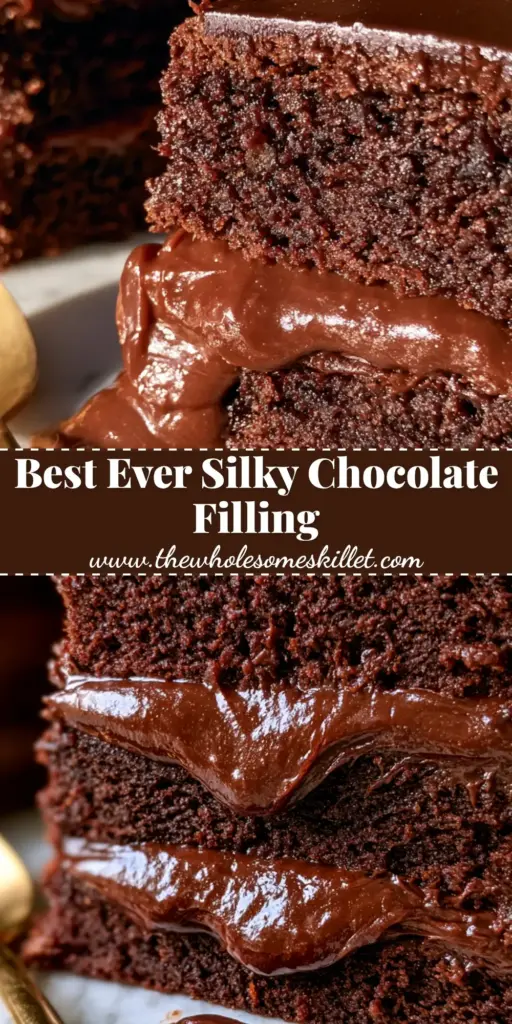
There is a specific moment in professional baking that separates a standard dessert from a high-end patisserie masterpiece. It is the visual of a thick, glossy, and velvety chocolate ganache cake filling slowly oozing between three layers of ultra-moist chocolate cake. This isn’t just a recipe; it is a study in culinary texture and deep, dark chocolate indulgence.
Imagine a golden spoon resting against a marble surface, next to a rich smudge of chocolate cream that catches the soft natural light. To achieve this level of luxury, you need more than just chocolate and cream; you need the right technique to create an emulsion that is stable enough to hold weight yet soft enough to provide that signature “ooze.”
In this guide, we are diving deep into the forensics of the perfect chocolate ganache cake filling. We will explore why dark chocolate chunks outperform chips, how vanilla bean transforms the aroma, and the secret role of unsalted butter in achieving a mirror-like sheen that looks stunning under macro photography.
The Anatomy of a Professional-Grade Chocolate Filling
- The “Ooze” Factor: Achieving a viscosity that is thick enough to stay between layers but soft enough to yield to a fork requires a precise 1:1 ratio of fat to solids.
- Visual Gloss: By incorporating room-temperature unsalted butter at the end of the emulsion process, we create a light-reflective surface that looks velvety and high-end.
- Layer Stability: This filling is specifically designed for multi-layer cakes, ensuring that the weight of the top layers doesn’t cause the filling to blow out the sides.
- Flavor Depth: Using a combination of high-percentage dark chocolate chunks and Dutch-processed cocoa powder creates a multi-dimensional chocolate experience.
The Essential Elements of a Velvety Filling
High-Quality Dark Chocolate Chunks: Avoid standard chocolate chips, which contain stabilizers that prevent a smooth melt. Use 60% to 70% dark chocolate chunks (about 12 oz or 340g) for a sophisticated flavor profile that isn’t overly sweet.
Heavy Whipping Cream (36% Fat): You need 1.5 cups (360ml) of high-fat cream to provide the necessary richness. The fat in the cream acts as the primary emulsifier, binding the chocolate solids into a cohesive, spreadable liquid.
Unsalted Butter: Adding 4 tablespoons (56g) of unsalted butter at the final stage of mixing is the secret to that professional shine. It adds a “velvety” mouthfeel that cream alone cannot achieve.
Fresh Vanilla Bean: One whole vanilla bean, split and scraped, provides those tiny black specks and a floral aroma. This is a significant upgrade from extract, offering a more complex scent that cuts through the richness of the cocoa.
Dutch-Processed Cocoa Powder: Adding 2 tablespoons (15g) of sifted cocoa powder intensifies the dark color. It ensures the filling looks as deep and moody as the moist chocolate cake layers it sits between.
The Foundational Moist Chocolate Cake Layers: A ganache is only as good as the cake it accompanies. You need three layers of a high-moisture sponge to balance the density of the chocolate ganache cake filling.
A Pinch of Flaky Sea Salt: While not a primary visual ingredient, a 1/4 teaspoon (1.5g) of salt is scientifically required to sharpen the flavor of the dark chocolate and balance the sugar levels.
Tools for a High-End Kitchen Aesthetic
To recreate the macro-photography look of a professional kitchen, you will need a heavy-bottomed saucepan to prevent the cream from scorching. A glass or stainless steel mixing bowl is essential for the chocolate chunks, as plastic can retain odors that interfere with the vanilla bean’s delicate profile.
A silicone spatula is preferred over a whisk to avoid incorporating too much air; we want a dense, velvety texture, not a creamy chocolate mousse. Finally, an offset spatula is the key tool for spreading the filling evenly to the edges of the cake layers to get that perfect, slight ooze.
Mastering the Ganache Emulsion: Step-by-Step
Preparing the Chocolate Base
Start by finely chopping your dark chocolate chunks. Even if they come in chunks, smaller pieces melt more evenly, preventing the ganache from breaking or becoming grainy.
Place the chopped chocolate and the sifted cocoa powder into a heat-proof bowl. Sifting the cocoa powder is a non-negotiable step to ensure there are no lumps in your final glossy filling.
Infusing the Cream and Vanilla
In your saucepan, combine the heavy whipping cream and the seeds scraped from the vanilla bean. Toss the empty bean pod into the cream as well to extract every bit of flavor.
Heat the cream over medium heat until it just begins to simmer—look for small bubbles forming around the edges (this is the “scald” stage). Do not let it reach a rolling boil, as this can break the fat molecules and lead to a greasy chocolate ganache cake filling.
The Perfect Pour and Rest
Remove the vanilla pod and pour the hot cream directly over the chocolate and cocoa powder. Use a small plate to cover the bowl, trapping the heat inside for exactly five minutes.
This resting period allows the chocolate to soften to its core. If you stir too early, the temperature will drop too fast, and you’ll end up with unmelted bits of chocolate that ruin the velvety texture.
Achieving the Velvety Gloss
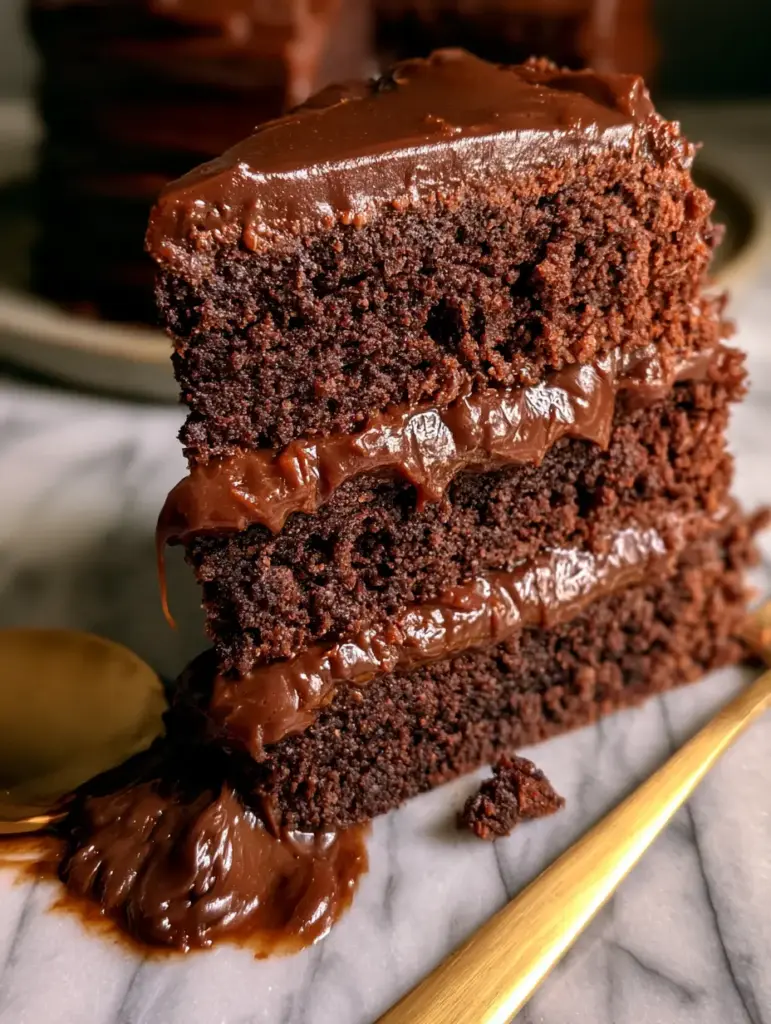
Starting from the center of the bowl, use your spatula to make small circular motions. You will see the mixture transform from a milky brown to a deep, dark, and shiny liquid.
Once the mixture is smooth, add the room-temperature unsalted butter one tablespoon at a time. Stir gently until the butter is fully incorporated and the ganache looks like liquid silk. This is the stage where the “high-end kitchen aesthetic” truly comes to life.
Cooling to the “Ooze” Viscosity
Let the ganache sit at room temperature for about 1 to 2 hours. Do not rush this in the fridge, or it will lose its shine. You are looking for a texture similar to peanut butter—thick enough to hold its shape but soft enough to flow under slight pressure.
Expert Tips for a Flawless Finish
- Avoid the Whisk: Using a whisk introduces air bubbles. For that ultra-detailed, smooth macro look, always use a spatula and keep it submerged in the chocolate.
- Fixing a Broken Ganache: If your filling looks oily or grainy, the emulsion has broken. Whisk in a teaspoon of room-temperature milk or cream to bring it back together.
- Temperature Matters: Ensure your cake layers are completely cold. If you apply this filling to a warm cake, it will turn into a runny mess rather than a thick, oozing layer.
- The Crumb Coat: Always apply a thin layer of ganache to the entire cake first to lock in crumbs before doing the final thick filling layers.
Storage and Make-Ahead Advice
This chocolate ganache cake filling can be made up to three days in advance. Store it in an airtight container with a piece of plastic wrap pressed directly against the surface to prevent a skin from forming.
When you are ready to assemble your cake, let it come to room temperature naturally. If it is too firm, microwave it in 5-second bursts, stirring between each, until it reaches the desired spreadable consistency.
Elevating Your Dessert Table
This rich ganache is versatile enough to be used beyond just a 3-layer cake. It pairs beautifully with a flourless chocolate cake for an ultra-decadent gluten-free option, or as a dip for chewy chocolate chip cookies.
If you have leftover filling, consider thinning it out with a little extra cream to create a professional homemade chocolate syrup or using it as a base for a dark chocolate raspberry ganache tart. The deep shadows and rich textures of this filling make it the perfect centerpiece for any dessert spread.
Frequently Asked Questions
While possible, chocolate chips contain stabilizers that prevent them from melting as smoothly as chunks or bars. For a truly velvety and glossy finish, high-quality dark chocolate chunks are highly recommended.
Because it contains heavy cream, the cake should be refrigerated if not consumed within 2 hours. However, always serve the cake at room temperature to ensure the ganache has that signature soft ‘ooze’.
To increase stability for very tall cakes, increase the ratio of chocolate to cream (e.g., 2 parts chocolate to 1 part cream) or allow the ganache to set longer at room temperature before spreading.
The secret to the gloss is the addition of room-temperature unsalted butter at the end of the stirring process. The butter adds a reflective quality and a richer mouthfeel.
Graininess usually occurs if the chocolate is overheated or if the cream was boiling too vigorously. To fix it, gently stir in a small amount of warm cream until the emulsion becomes smooth again.
The Ultimate Chocolate Ganache Cake Filling Recipe
Chocolate Ganache Cake Filling: The Ultimate Glossy and Velvety Secret
Ingredients
Equipment
Method
- Finely chop the dark chocolate chunks and place them in a heat-proof bowl with the sifted cocoa powder and salt.
- Heat the heavy whipping cream (360ml) and vanilla bean seeds/pod in a saucepan over medium heat until it reaches a simmer (small bubbles at the edges).
- Remove the vanilla pod and pour the hot cream over the chocolate. Cover the bowl for 5 minutes to allow the chocolate to melt completely.
- Using a spatula, stir gently in circles from the center until smooth. Add the room-temperature butter (56g) one tablespoon at a time, stirring until glossy and velvety.
- Let the ganache cool at room temperature for 1-2 hours until it reaches a spreadable, peanut butter-like consistency.
- Spread a thick layer of ganache onto the first moist chocolate cake layer. Repeat with the second and third layers, allowing the filling to ooze slightly at the edges.
Notes
Ensure cake layers are completely cold before filling to prevent the ganache from running.
Closing and Call to Action
Creating the perfect chocolate ganache cake filling is an act of culinary love. It requires patience and high-quality ingredients, but the result—a thick, glossy, and velvety masterpiece—is worth every second. Whether you are baking for a special occasion or just practicing your food photography skills on a marble surface, this recipe will never fail to impress.
If you enjoyed this deep dive into the science of ganache, please leave a comment below and let us know how your cake turned out! Don’t forget to follow us on Pinterest and share your creations with the community.