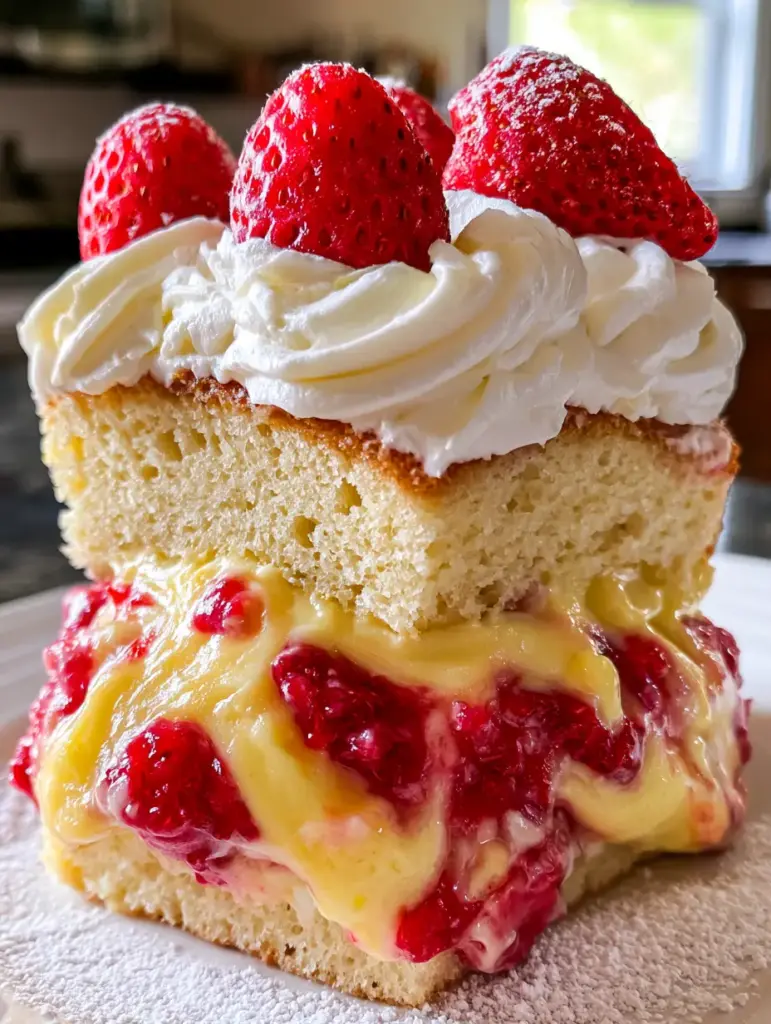
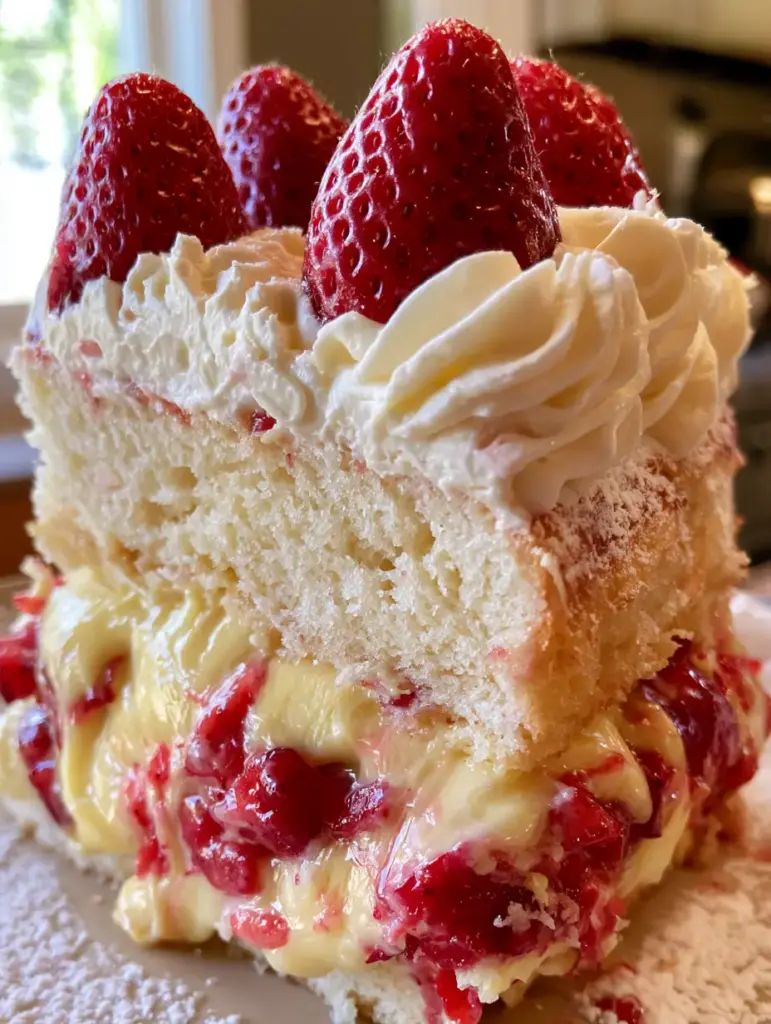
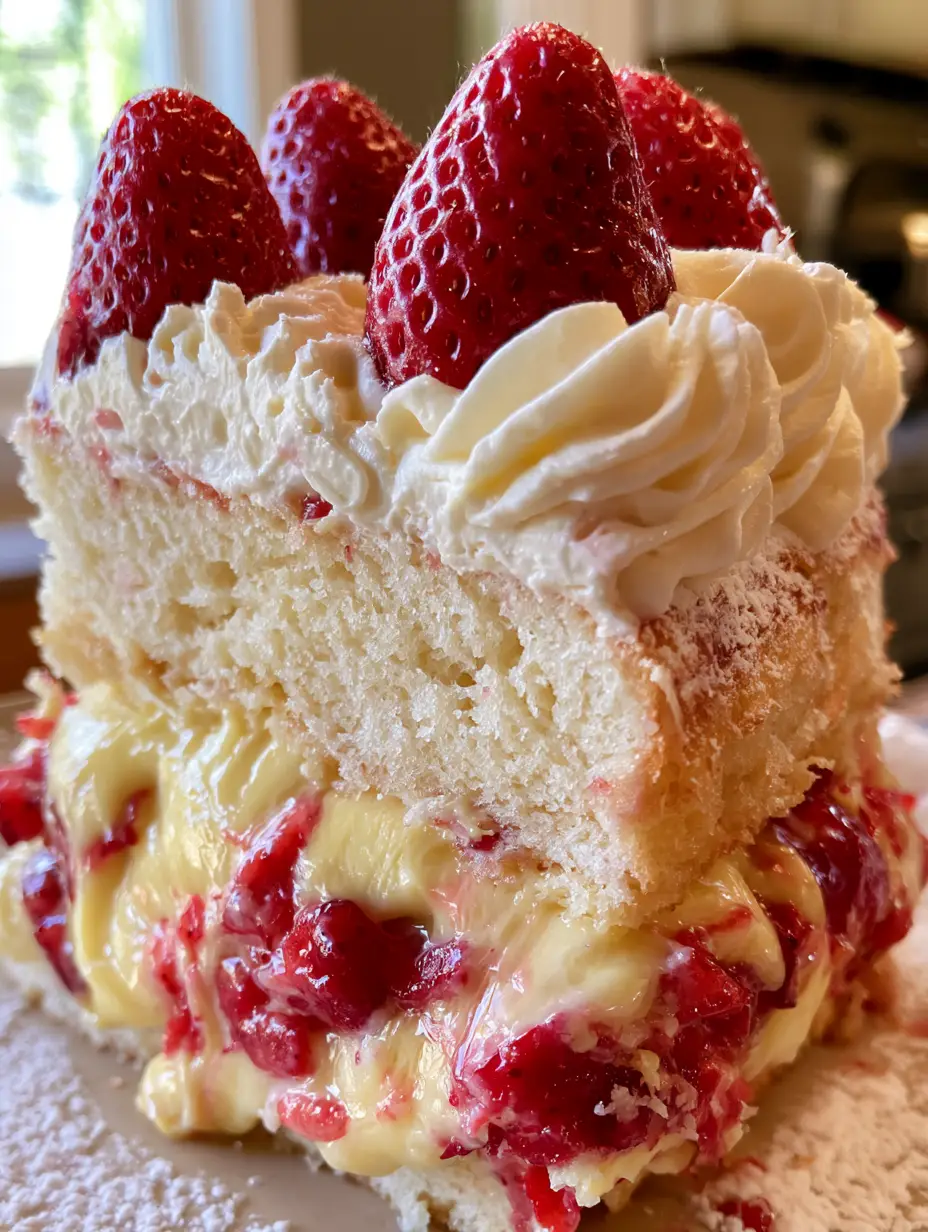
There is something undeniably nostalgic about a tall, handheld slice of strawberry custard cake. Imagine sinking your fork through two moist layers of golden vanilla sponge, only to hit a thick, oozing center of rich yellow pastry cream and bright red macerated strawberries. The natural light from a kitchen window catches the shimmer of powdered sugar and the vibrant red of fresh fruit, making this the kind of dessert that stops a scroll mid-feed.
This recipe isn’t just about looks; it is a masterclass in textures. From the airy crumb of the cake to the velvet-smooth egg-yolk custard, every component is designed to harmonize. Whether you are hosting a summer garden party or simply craving a bakery-quality treat at home, this strawberry custard cake delivers a sophisticated flavor profile that feels both classic and fresh.
Why This Layered Strawberry Custard Cake is the Ultimate Showstopper
- The Iconic “Ooze”: Unlike stiff buttercream fillings, our rich egg-yolk custard provides a luxurious, flowing center that mimics the best artisanal pastries.
- Double Strawberry Impact: We use both macerated strawberry pieces for deep flavor and fresh halves for a crisp, juicy finish.
- Moisture-Locked Sponge: The addition of a concentrated strawberry syrup ensures the vanilla sponge stays tender for days.
- Professional Aesthetics: Delicate whipped cream swirls and a snowy dusting of powdered sugar create a stunning, photo-ready presentation.
The Anatomy of a Perfect Strawberry Custard Cake: Ingredients and Science
To achieve the specific visual and structural results of this strawberry custard cake, each ingredient serves a scientific purpose. We are building layers of flavor and stability from the ground up.
The Golden Vanilla Sponge Layers
Cake Flour (375g / 3 cups): Using cake flour instead of all-purpose ensures a fine, tight crumb that can support the weight of the heavy custard without collapsing. The lower protein content leads to a melt-in-your-mouth texture.
Granulated Sugar (300g / 1.5 cups): Beyond sweetness, sugar aids in aeration during the creaming process and keeps the cake moist by retaining water.
Unsalted Butter (225g / 1 cup): Room temperature butter is essential for creating a stable emulsion with the eggs, resulting in a rich, buttery flavor profile.
Whole Milk (240ml / 1 cup): Provides the liquid base for the batter, contributing to the soft, tender crumb seen in the visual blueprint.
Baking Powder (1 tbsp / 15g): This foundational invisible ingredient provides the necessary lift to create two distinct, tall layers.
The Rich Egg-Yolk Custard (Pastry Cream)
Egg Yolks (6 large): These provide the characteristic deep yellow color and the fat content needed for a “rich” mouthfeel. Yolks act as a natural emulsifier for the cream.
Whole Milk (500ml / 2.1 cups): The base of our pastry cream; using whole milk ensures the custard is creamy rather than watery.
Cornstarch (40g / 5 tbsp): This is the thickening agent that allows the custard to hold its shape while remaining “oozing” and soft.
Vanilla Bean Paste (1 tbsp / 15g): We use paste instead of extract to provide those beautiful dark specks that signal high-quality craftsmanship.
The Strawberry Elements
Fresh Strawberries (500g / 1.1 lbs): Split into two portions—one for macerating into the filling and one for the fresh topping. Look for vibrant red berries for the best visual contrast.
Granulated Sugar (50g / 0.25 cup): Used to draw out the juices from the berries, creating the signature strawberry syrup used to soak the sponge.
The Whipped Topping & Garnish
Heavy Whipping Cream (480ml / 2 cups): Must be very cold to achieve the stiff peaks required for the piped swirls on top. If you enjoy this texture, you might also love our strawberry marshmallow buttercream for other cake projects.
Powdered Sugar (30g / 0.25 cup): Used both to stabilize the whipped cream and for that final “light dusting” mentioned in the visual prompt.
Essential Equipment for Bakery-Style Results
Achieving the tall, clean slice of a strawberry custard cake requires a few specific tools to ensure structural integrity.
- Two 8-inch (20cm) Round Cake Pans: Essential for creating the two distinct vanilla sponge layers.
- Heavy-Bottomed Saucepan: To prevent the egg-yolk custard from scorching during the thickening process.
- Fine-Mesh Strainer: To ensure the custard is perfectly smooth and free of any accidentally cooked egg bits.
- Piping Bag with Large Star Tip: Necessary to recreate the “white whipped cream swirls” crowning the cake.
- Offset Spatula: To spread the custard evenly while leaving enough “ooze” near the edges for that appetizing look.
Step-by-Step Evolution of the Strawberry Custard Cake
Phase 1: Crafting the Rich Egg-Yolk Custard
Start with the custard as it needs time to chill. In a saucepan, heat the milk and vanilla bean paste until simmering. In a separate bowl, whisk the egg yolks, sugar, and cornstarch until pale and thick.
Slowly temper the hot milk into the egg mixture, whisking constantly to prevent curdling. Return the mixture to the heat and cook, stirring vigorously, until the custard thickens and large bubbles pop on the surface. Remove from heat, stir in a knob of butter for shine, and strain through a fine-mesh sieve. Cover with plastic wrap directly touching the surface and chill until cold but still viscous.
Phase 2: The Macerated Strawberry Filling
Hull and chop half of your strawberries into small pieces. Toss them with 2 tablespoons of sugar and a teaspoon of lemon juice. Let them sit for at least 30 minutes.
As the sugar draws out the moisture, a bright red strawberry syrup will form. Do not discard this! This liquid gold is the secret to a moist cake. If you enjoy fruit-forward fillings, you may also find our chocolate mousse cake filling a great contrast for future bakes.
Phase 3: Baking the Vanilla Sponge
Preheat your oven to 350°F (175°C). Cream the butter and sugar until light and fluffy—this should take about 3-5 minutes. Add the eggs one at a time, followed by the vanilla.
Alternate adding the dry ingredients and the milk, starting and ending with the flour. Divide the batter between two greased pans and bake for 25-30 minutes. The cakes are done when they are golden brown and a skewer comes out clean. Allow them to cool completely before assembly.
Phase 4: The Assembly and Visual Cues
Place the first sponge layer on a plate. Brush it generously with the reserved strawberry syrup. Spread the thick, yellow custard over the layer, leaving a small border at the edge to allow for that “oozing” effect when the second layer is placed.
Top the custard with the macerated strawberry pieces. Place the second sponge layer on top. The weight will naturally push the custard slightly toward the edges, creating the realistic, appetizing food blogger aesthetic we are aiming for. For a different flavor profile, check out our brazilian coconut custard cake.
Phase 5: Piping and Final Flourishes
Whip the cold heavy cream and powdered sugar to stiff peaks. Using a piping bag, create large, generous swirls around the top perimeter of the cake. Place fresh strawberry halves inside the swirls and in the center. Finally, give the entire cake a light dusting of powdered sugar for that soft, window-lit glow.
Expert Tips for the Perfect Strawberry Custard Cake
- Temperature Control: Ensure your sponge layers are completely cold before adding the custard. If the cake is warm, the custard will melt and run off the sides rather than “oozing” beautifully.
- The Custard Test: Your pastry cream should be thick enough to hold a line when you run your finger across the back of a coated spoon, but still soft enough to flow under the weight of the sponge.
- Stable Whipped Cream: If you are serving this outdoors, consider adding a tablespoon of instant pudding mix or gelatin to the whipped cream to keep those swirls sharp.
- Syrup Soaking: Don’t be afraid to use all the strawberry syrup. The sponge is designed to absorb it, which prevents the cake from tasting dry against the creamy filling.
How to Store and Preserve Your Cake
Because of the fresh dairy and fruit, this cake must be kept refrigerated. Store it in a tall cake dome to protect the whipped cream swirls and prevent the cake from absorbing fridge odors.
This strawberry custard cake is best enjoyed within 24-48 hours. After this point, the macerated berries may release too much moisture into the custard. We do not recommend freezing this cake, as the custard texture will break and become grainy upon thawing.
What to Serve With This Strawberry Masterpiece
This cake is a rich dessert that pairs beautifully with light, acidic, or contrasting textures. For a complete dessert table, consider these pairings:
A hot cup of strawberry hot cocoa provides a decadent double-strawberry experience. If you prefer a citrus contrast, a slice of lemon custard cake offers a zesty counterpoint to the sweet vanilla sponge. For those who love a variety of fruit textures, serving this alongside apple custard puff pastries adds a delightful crunch to your spread.
Frequently Asked Questions
You can bake the sponge and make the custard 24 hours ahead. However, for the best visual ‘ooze’ and to prevent the sponge from becoming too soggy, we recommend assembling the cake no more than 4-6 hours before serving.
The key is using the right amount of cornstarch and ensuring the custard is fully chilled. Once it’s cold, it will be viscous enough to stay between the layers while providing a soft, flowing texture when cut.
While both use strawberries and cream, a strawberry custard cake uses a moist vanilla sponge and a cooked egg-yolk pastry cream, whereas shortcakes typically use a biscuit-like base and only whipped cream.
Macerating draws out the juices to create a concentrated strawberry syrup. This syrup is used to soak the cake layers, ensuring every bite is infused with intense fruit flavor and stays incredibly moist.
The Ultimate Strawberry Custard Cake Recipe Card
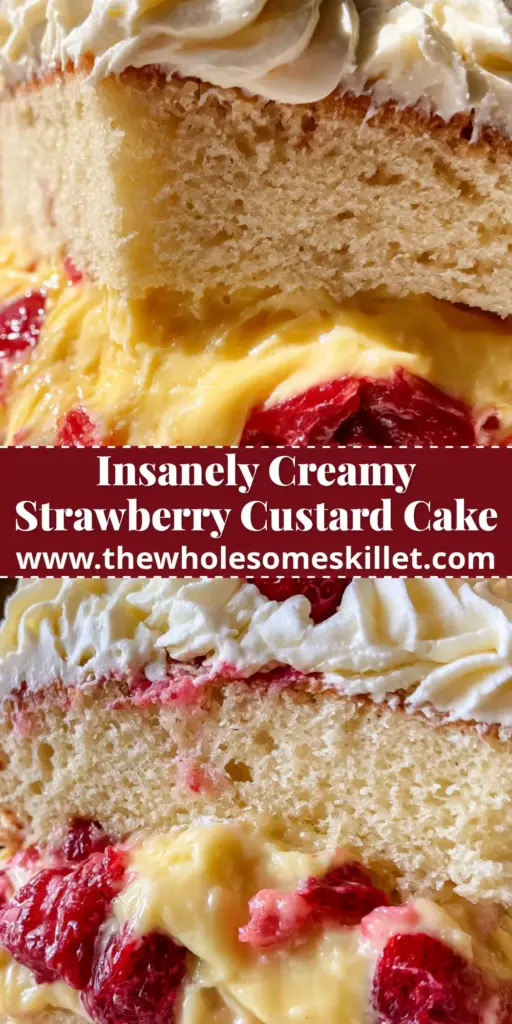
Strawberry Custard Cake: The Ultimate Vanilla Layer Cake with Pastry Cream
Ingredients
Equipment
Method
- Heat milk and vanilla paste in a saucepan until simmering.
- Whisk yolks, sugar, and cornstarch. Temper with hot milk, then cook until thick and bubbling. Strain and chill.
- Toss chopped berries with sugar. Let sit for 30 minutes until a red strawberry syrup forms.
- Cream butter and sugar, add eggs, then alternate dry ingredients and milk.
- Bake in two 8-inch pans at 350°F (175°C) for 25-30 minutes. Cool completely.
- Soak sponge with syrup, top with custard and macerated berries. Place second sponge on top.
- Pipe whipped cream swirls, top with fresh strawberry halves, and dust with powdered sugar.
Notes
Use cold heavy cream for the most stable piped swirls.
Join The Wholesome Skillet Community!
We hope this strawberry custard cake brings a bit of bakery-style magic to your kitchen! The combination of moist sponge and oozing pastry cream is a guaranteed crowd-pleaser. If you make this recipe, we would love to see your results. Please leave a comment below and let us know how your custard turned out!
Don’t forget to follow us on Pinterest for more decadent dessert inspiration and step-by-step baking guides. Sharing this recipe with a friend is the highest compliment you can give—happy baking!