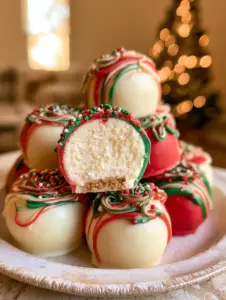
There is nothing quite like the magic of the holiday season, and these cheesecake truffles capture that festive spirit in a single, decadent bite. Imagine a dense, silky-smooth cheesecake interior that melts on your tongue, encased in a thick, snappy chocolate shell that provides the perfect textural contrast. Whether you are hosting a grand Christmas gala or looking for a cozy kitchen project, these handheld treats are the gold standard for holiday indulgence.
When you take that first bite, you will notice the precise balance of tangy cream cheese and sweet, buttery graham cracker crumbs. The visual appeal is just as striking as the flavor; with vibrant red and green coatings, delicate white chocolate drizzles, and a dusting of powdered sugar, they look like edible ornaments plucked straight from a rustic holiday board. The warm glow of Christmas lights reflecting off the festive sprinkles makes these the star of any dessert spread.
Creating these truffles is an exercise in culinary simplicity meeting gourmet results. Because this is a no-bake recipe, the focus is entirely on the quality of your ingredients and the technique of your chocolate temper. By following this guide, you will master the art of the perfect “snap” and the ultra-creamy center that makes these festive holiday treats so addictive.
Why These Festive Bites Are the Star of the Season
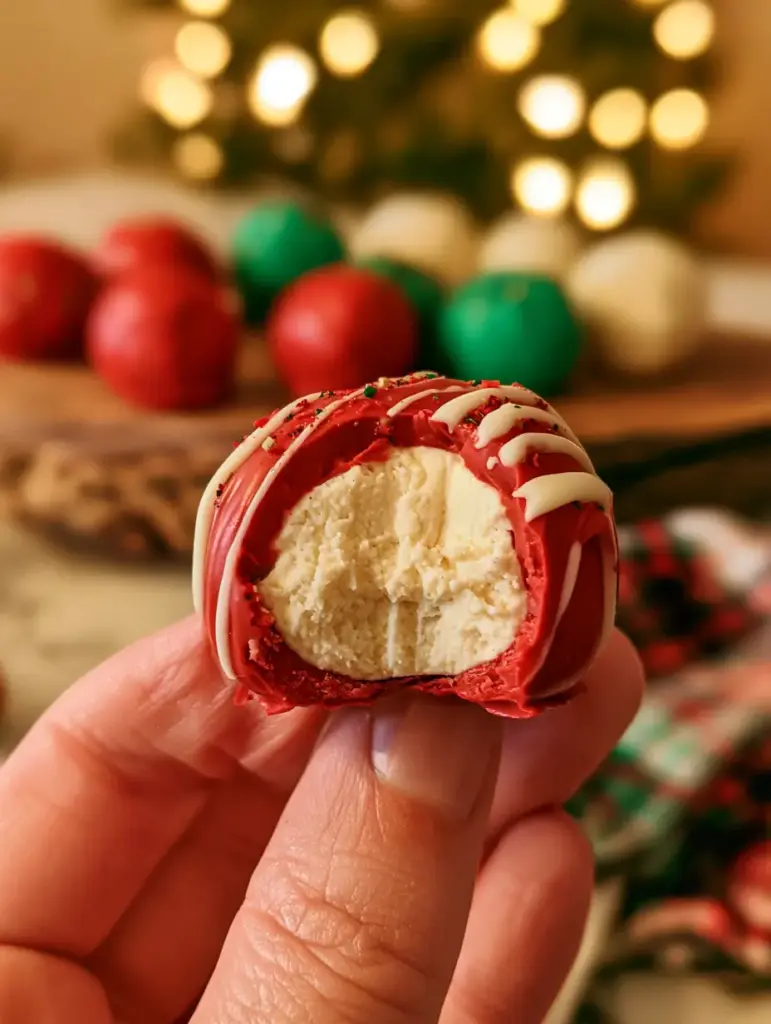
- Dense and Creamy Interior: Unlike cake pops which can be airy, these truffles feature a concentrated cheesecake base that mimics a professional-grade creamy cheesecake texture.
- Vibrant Holiday Palette: The combination of red, green, and white chocolate dips ensures a visually stunning presentation that requires no advanced decorating skills.
- Professional Snap: The thick chocolate coating, achieved through proper melting techniques, provides a satisfying crunch that gives way to a soft center.
- Make-Ahead Convenience: These truffles actually improve with a bit of time in the fridge, making them the perfect stress-free dessert for busy hosts.
The Anatomy of a Perfect Cheesecake Truffle
To achieve the visual and textural results seen in our blueprint, we must use specific foundational ingredients. The fat content and moisture levels are critical for structural integrity.
Full-Fat Cream Cheese: Use 8 oz (226g) of brick-style cream cheese. Do not use the spreadable tubs, as they contain too much air and moisture, which will prevent your truffles from setting firmly.
Finely Crushed Graham Crackers: You will need 1.5 cups (150g) of crumbs. These provide the “body” of the truffle and act as a binder, absorbing just enough moisture from the cheese to create that characteristic cheesecake flavor.
Confectioner’s Sugar: Use 0.5 cup (60g) of powdered sugar. This not only adds sweetness but the cornstarch typically found in powdered sugar helps stabilize the filling.
Pure Vanilla Extract: 1 tsp (5ml) is essential for that nostalgic, warm aroma that cuts through the tang of the cheese.
High-Quality Melting Chocolate: You will need 12 oz (340g) of white chocolate for the base coating, plus red and green oil-based candy melts for the festive dipping layers. Using oil-based melts ensures a smooth, glossy finish without the risk of seizing.
Invisible Foundations: A pinch of fine sea salt (1.5g) to enhance the chocolate and a teaspoon of coconut oil (5ml) mixed into the chocolate to provide that professional sheen and easier dipping consistency.
Essential Tools for Professional Results
Achieving that handheld smartphone photo-perfect look requires a few key pieces of equipment. First, a stand mixer or hand mixer is vital for aerating the cream cheese until it is completely lump-free. A small cookie scoop (1 tbsp capacity) ensures that every truffle is uniform in size, which is critical for even chilling and dipping.
You will also need parchment paper or a silicone baking mat to prevent sticking. For the dipping process, a dedicated chocolate dipping fork or a simple plastic fork with the two middle tines removed will allow excess chocolate to drain away, preventing those unsightly “feet” at the bottom of your truffles. Finally, a rustic wooden board is the perfect backdrop for serving, especially when paired with warm holiday lighting.
Step-by-Step Guide to Crafting Cheesecake Truffles
Preparing the Signature Filling
Start by beating your room-temperature cream cheese until it is smooth and billowy. This should take about 2-3 minutes on medium speed. Sensory cue: The cheese should look like thick whipped cream and show no visible lumps.
Gradually add the powdered sugar, vanilla extract, and salt. Once combined, fold in the graham cracker crumbs by hand or on the lowest mixer setting. The mixture should be thick, slightly tacky, and hold its shape when pressed between your fingers. If it feels too soft, chill the bowl for 15 minutes before scooping.
Scooping and The Initial Chill
Line a baking sheet with parchment paper. Scoop rounded tablespoons of the mixture and roll them between your palms to form smooth spheres. You are aiming for about 1 inch (2.5cm) in diameter. Place them on the sheet and chill in the freezer for at least 30-60 minutes.
Pro Tip: Do not skip this freezing step. If the centers are not cold and firm, they will melt or lose their shape when they hit the warm chocolate dip, ruining that “dense and creamy white cheesecake interior” we are looking for.
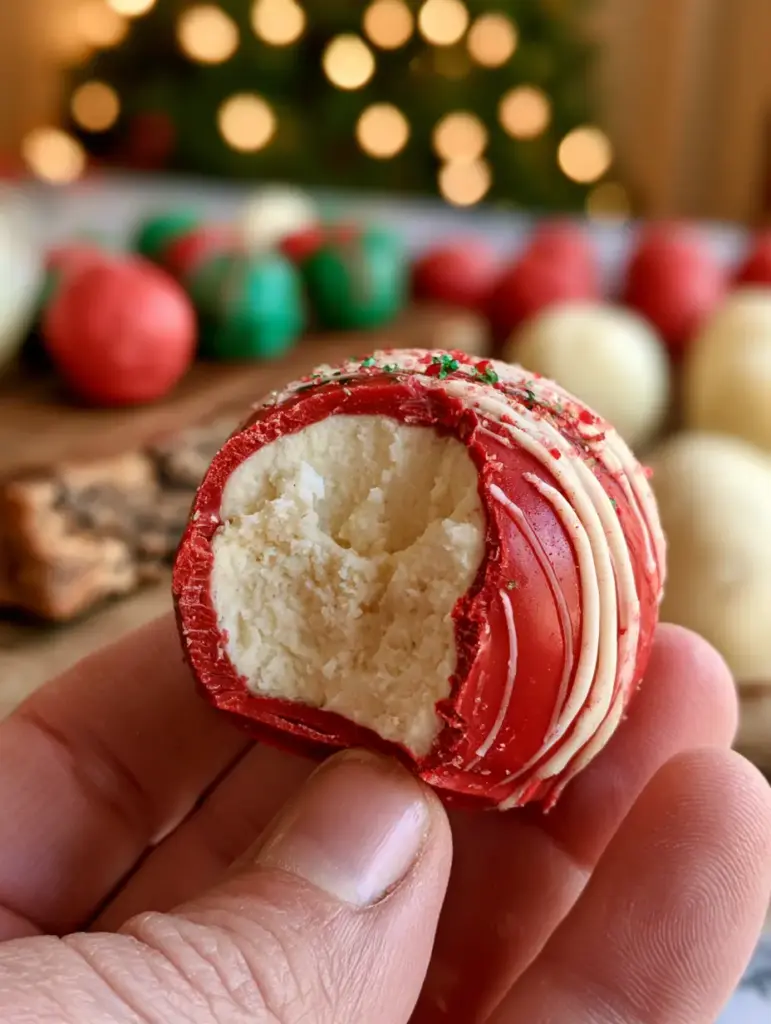
Mastering the Triple-Color Chocolate Dip
Melt your white chocolate, red candy melts, and green candy melts in three separate microwave-safe bowls. Heat in 30-second intervals, stirring vigorously between each, until the chocolate is fluid and drips off the spoon in a continuous ribbon. Add a tiny drop of coconut oil to each to improve the flow.
Remove only 3-4 truffles from the freezer at a time to keep them cold. Drop a truffle into the red chocolate, roll it to coat, and lift it out with your dipping tool. Tap the tool against the side of the bowl to remove excess. Place it back on the parchment. Repeat this process with the green and white chocolates to create a variety of colors as seen on our rustic wooden board.
The Final Decorative Touches
While the chocolate is still wet, immediately add your festive holiday sprinkles. The contrast of the tiny colorful dots against the thick red chocolate is a classic Christmas visual. Once the base coat has set (about 5-10 minutes), use a spoon or a piping bag to create a delicate white chocolate drizzle over the red and green truffles.
For the finishing touch, lightly dust the entire platter with powdered sugar to simulate a fresh snowfall. This adds another layer of texture and sweetness that complements the rich chocolate coating.
Expert Tips for Truffle Success
- Room Temp vs. Cold: Your cream cheese must be at room temperature for mixing to avoid lumps, but the rolled balls must be ice-cold for dipping.
- The Crumb Factor: For a smoother interior, pulse your graham crackers in a food processor until they are a fine flour. For more texture, leave a few tiny bits of cracker intact.
- Avoid Water: Ensure all your bowls and tools are bone-dry. Even a single drop of water will cause your chocolate to seize into a grainy mess.
- Consistency Check: If your chocolate is too thick, add a half-teaspoon of vegetable shortening or coconut oil. If it’s too thin, let it sit for a minute to cool and thicken naturally.
Storage and Serving Suggestions
Store your cheesecake truffles in an airtight container in the refrigerator for up to 5 days. Because of the dairy content, they should not be left at room temperature for more than 2 hours. For longer storage, these truffles freeze beautifully for up to 3 months. Simply thaw them in the fridge overnight before serving.
These truffles are a fantastic alternative to traditional cereal-based treats and offer a more sophisticated flavor profile. They also make wonderful gifts when packed in a decorative tin lined with parchment paper.
What to Serve With Holiday Truffles
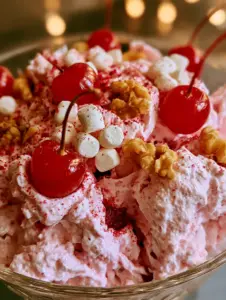
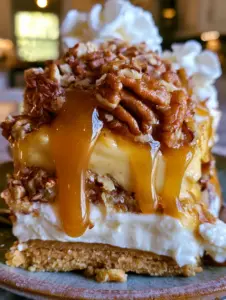
These rich truffles pair perfectly with a cup of dark roast coffee or a glass of cold milk. If you are building a full dessert dessert spread, consider contrasting the creamy cheesecake flavor with something fruity or nutty. We recommend serving them alongside cookie butter dipped fruit or even a few tangy berry pastries to balance the richness of the white chocolate coating.
It is not recommended. Full-fat brick cream cheese provides the necessary density and structure. Low-fat versions have higher water content, which can make the truffles mushy and difficult to dip.
Yes, freezing is a critical step. If the cheesecake centers are not very firm, they will soften and lose their round shape when submerged in the warm melted chocolate.
Due to the cream cheese content, they should not be left out for more than 2 hours. Keep them refrigerated until you are ready to serve for the best texture and food safety.
Chocolate usually seizes if a drop of water gets into the bowl or if it is overheated. Ensure all tools are dry and use 30-second microwave intervals, stirring well between each.
The Complete Festive Cheesecake Truffles Recipe
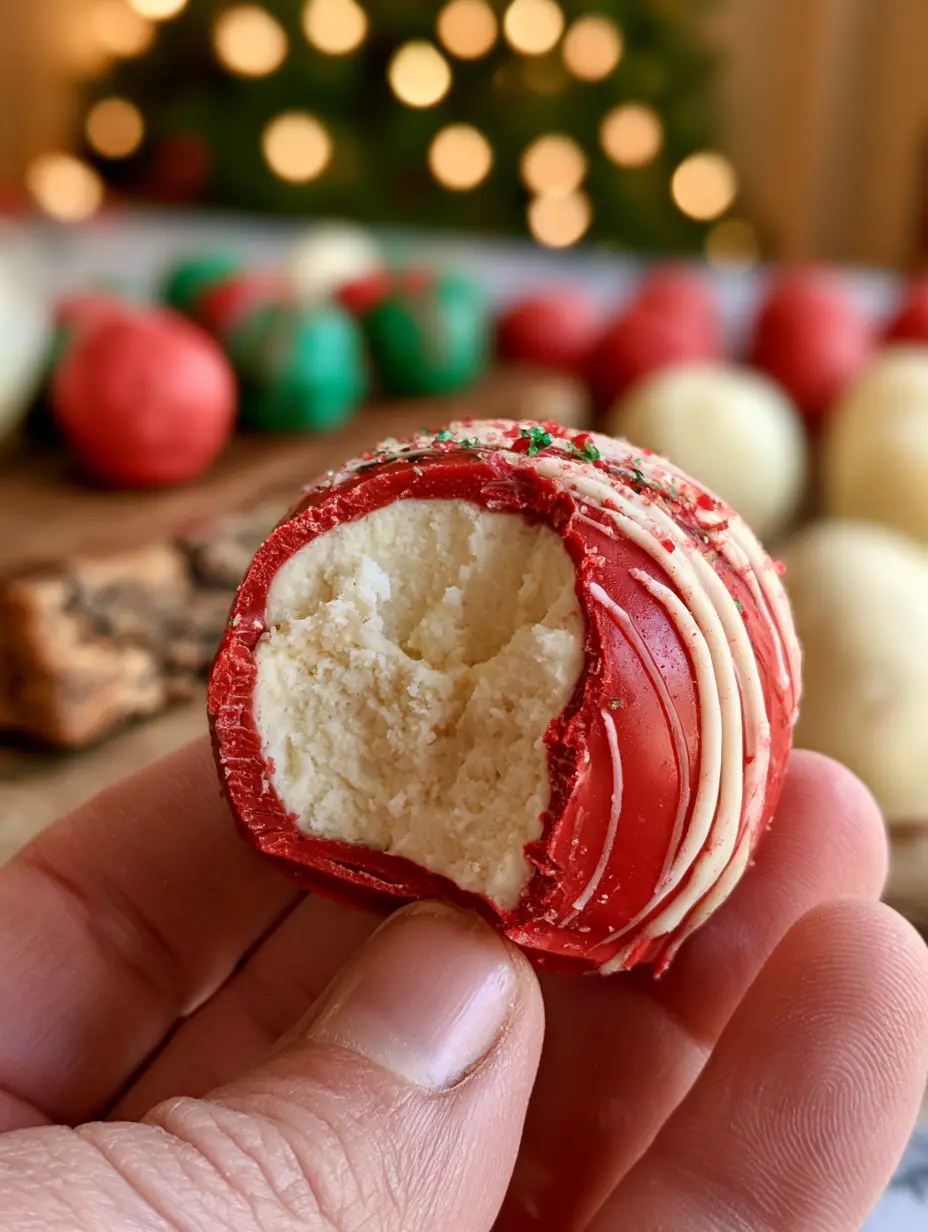
Cheesecake Truffles: The Ultimate No-Bake Holiday Dessert Recipe
Ingredients
Equipment
Method
- In a large bowl, beat the softened cream cheese, powdered sugar, vanilla, and salt until smooth and aerated.
- Fold in the graham cracker crumbs until a thick dough forms that holds its shape.
- Using a cookie scoop, portion the dough and roll into 1-inch balls.
- Place balls on a parchment-lined tray and freeze for at least 30 minutes until very firm.
- Melt white, red, and green chocolates in separate bowls in 30-second bursts until fluid.
- Use a fork to dip frozen balls into the various chocolates. Tap off excess and return to parchment.
- Immediately top with sprinkles. Once set, drizzle with contrasting white chocolate and a final dust of powdered sugar.
Notes
Use oil-based food coloring if you are tinting white chocolate yourself to avoid seizing.
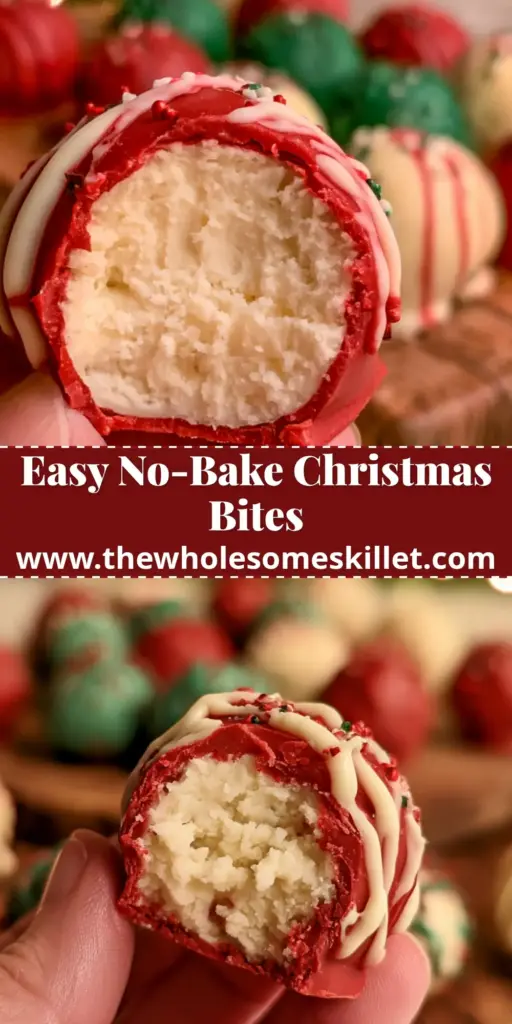
Sharing the Holiday Joy
These cheesecake truffles are more than just a dessert; they are a festive experience shared with friends and family. The dense, creamy interior and the colorful, snappy shells are guaranteed to make these a recurring request every December. If you enjoyed making these, please leave a comment below and share your photos with us! Don’t forget to follow thewholesomeskillet on Pinterest for more holiday inspiration and no-bake magic.