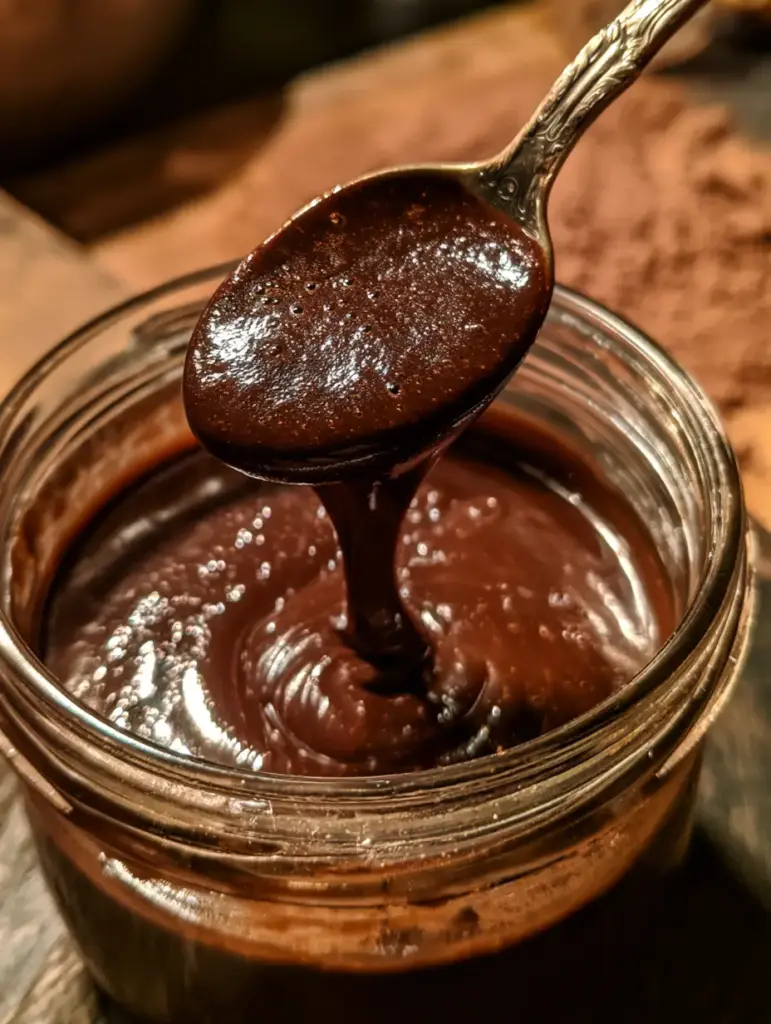
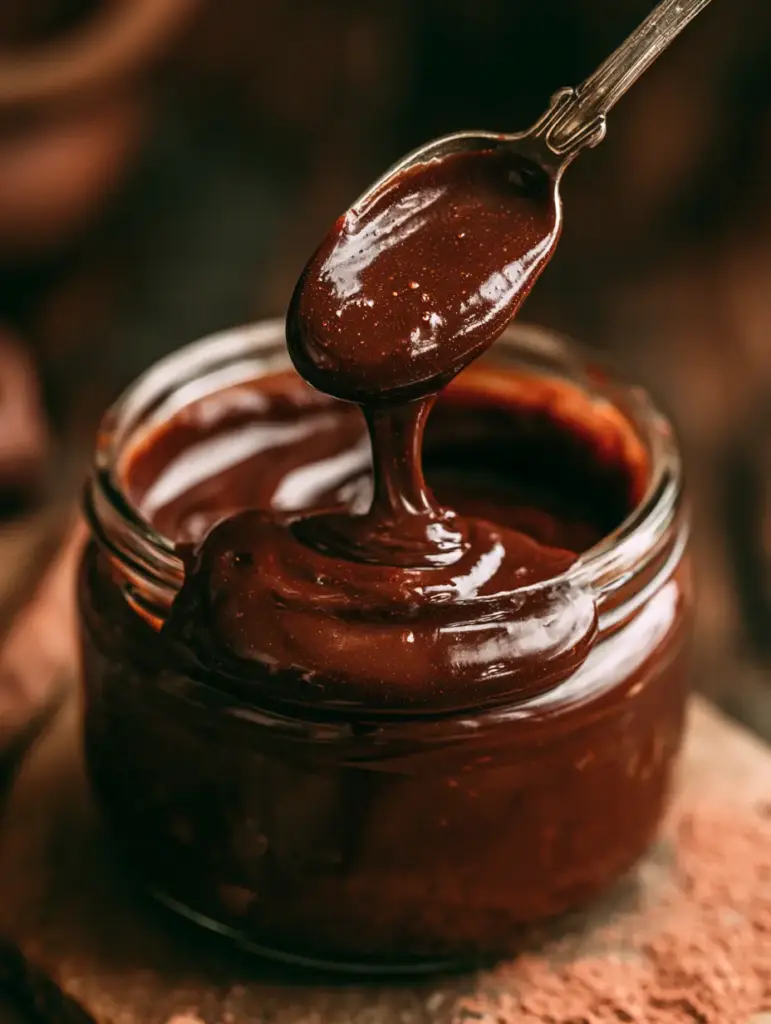
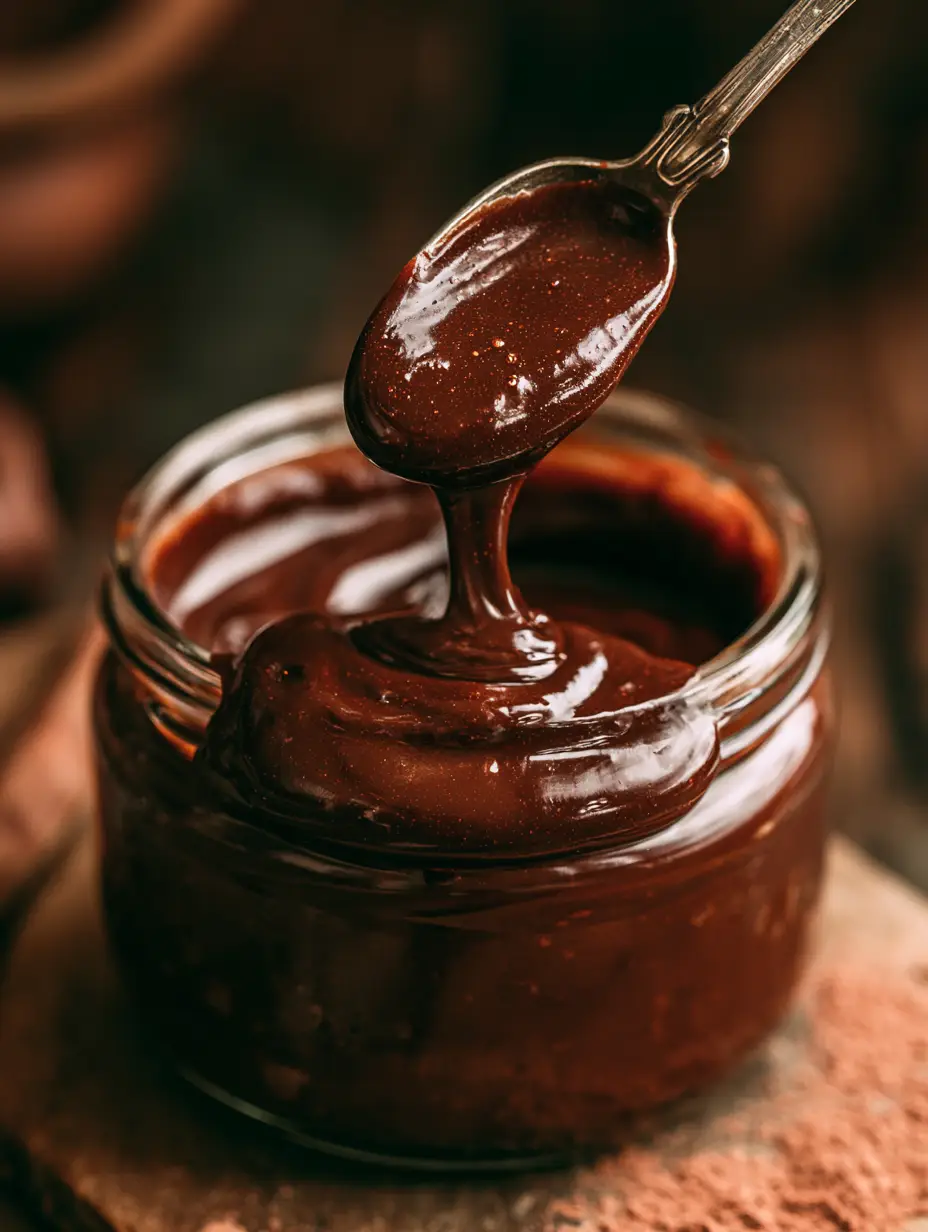
Imagine a heavy, viscous ribbon of dark chocolate cascading from a vintage silver spoon, catching the soft, warm glow of your kitchen lights. This isn’t just a topping; it is a culinary masterpiece designed for the true chocolate aficionado. Our homemade chocolate syrup delivers a mirror-like shine and a professional-grade thickness that puts store-bought bottles to shame.
Whether you are swirling it into a rustic glass jar or drizzling it over a decadent dessert, the visual appeal is undeniable. You will notice tiny air bubbles trapped in the rich liquid, a hallmark of a perfectly whisked, high-speed pour. This recipe captures that moody, handheld smartphone photo aesthetic you see in high-end food photography, characterized by deep shadows and a luxurious, dark cocoa finish.
Why This Is The Only Chocolate Sauce You Need
- Professional Mirror Shine: Achieving a glossy, reflective surface that looks incredible on camera and even better on your palate.
- Perfect Viscosity: A heavy, slow-pouring texture that clings to spoons and stays put on your favorite treats.
- Pure Dark Chocolate Profile: Utilizing high-quality cocoa powder to achieve that signature “handheld smartphone photo” dark color.
- Pantry Staple Simplicity: Made with foundational ingredients you likely already have in your kitchen, elevated by professional technique.
The Anatomy of a Perfect Dark Chocolate Drizzle
To recreate the visual blueprint of this recipe, we must look beyond basic flavors. We are building a structure that maintains its thick, liquid state even when chilled. Using Dutch-processed cocoa powder is the secret to that moody, dark appearance seen in the rustic glass bottle visuals.
Dutch-Processed Cocoa Powder: 1/2 cup (45g). This provides the deep, dark color and a smooth, mellow flavor profile that isn’t overly acidic. It creates the “cocoa powder dusting” effect when used as a garnish.
Granulated Sugar: 1 cup (200g). Sugar isn’t just for sweetness; it provides the bulk and syrupy body needed for a heavy ribbon consistency. It helps the chocolate syrup achieve its characteristic viscosity.
Light Corn Syrup: 2 tbsp (30ml). This is a foundational “invisible” ingredient. It prevents sugar crystallization and is the primary reason for that mirror-like shine and glossy finish.
Filtered Water: 3/4 cup (180ml). The base liquid that dissolves the solids. Using filtered water ensures no off-flavors interfere with the purity of the cocoa.
Sea Salt: 1/4 tsp (1.5g). A culinary essential that balances the sugar and intensifies the perception of the dark chocolate notes.
Pure Vanilla Bean Paste: 1 tsp (5ml). While liquid extract works, bean paste adds tiny dark flecks that enhance the rustic, artisan look of the sauce in a glass jar.
Essential Tools for an Artisan Finish
To achieve the high-speed action shot look where the syrup swirls perfectly, you need a heavy-bottomed saucepan. This ensures even heat distribution, preventing the cocoa from scorching and becoming bitter. A fine-mesh whisk is vital for incorporating those tiny air bubbles into the thick liquid.
For serving, seek out a vintage silver spoon. The contrast between the dark, glossy liquid and the tarnished silver creates a stunning visual depth. Finally, store your creation in a rustic glass bottle or jar to maintain the kitchen-ambient aesthetic described in our visual blueprint.
How to Craft This Viscous Liquid Chocolate
Step 1: The Dry Incorporation Phase
In your heavy-bottomed saucepan, whisk together the 1/2 cup (45g) of cocoa powder and 1 cup (200g) of sugar. It is vital to break up any large clumps of cocoa now while the mixture is dry. This ensures a smooth, lump-free chocolate syrup that will reflect light like a mirror later on.
Step 2: Hydrating the Cocoa Solids
Slowly pour in the 3/4 cup (180ml) of water and the 2 tbsp (30ml) of corn syrup. Whisk constantly as you add the liquid. You are looking for a slurry consistency. Ensure no dry pockets of cocoa remain at the edges of the pan, as these can burn and ruin the glossy texture.
Step 3: The Slow Reduction for Viscosity
Place the pan over medium heat. Bring the mixture to a gentle simmer, not a rolling boil. Whisk occasionally. As the water evaporates, you will see the liquid transition from a thin juice to a thick, heavy ribbon. Watch for the sensory cue: the bubbles will become smaller and the surface will start to take on a mirror-like shine.
Step 4: The Finishing Touches
Once the syrup coats the back of a spoon (about 5-7 minutes of simmering), remove it from the heat. Stir in the 1/4 tsp (1.5g) of salt and the 1 tsp (5ml) of vanilla bean paste. The heat of the syrup will bloom the vanilla, releasing a warm aroma throughout your kitchen. Let it cool slightly before transferring to your rustic glass jar.
Expert Secrets for the Glossiest Finish
If you find your syrup isn’t quite reaching that “mirror shine” level, the culprit is often temperature. Do not overheat the cocoa. If the syrup boils too vigorously, the cocoa fats can separate, leading to a matte finish rather than a glossy one.
Another professional tip is the “spoon test.” Dip your vintage silver spoon into the warm liquid. The chocolate syrup should flow off in a continuous, heavy stream—a “heavy ribbon”—leaving a thick, translucent coating on the silver. If it breaks into droplets, continue simmering for another 2 minutes.
Strategic Storage and Shelf Life Tips
Pour your finished syrup into a sterilized rustic glass bottle. Allow it to come to room temperature before sealing the lid. This prevents condensation from forming inside the jar, which could introduce moisture and cause the syrup to spoil or lose its thick viscosity.
This homemade sauce will stay fresh in the refrigerator for up to 3 weeks. Because of the corn syrup and sugar concentration, it will not freeze solid, but it will become significantly thicker when cold. For that perfect handheld smartphone photo drip, let the jar sit at room temperature for 10 minutes before pouring.
Delicious Ways to Use Your Dark Chocolate Sauce
While this syrup is incredible on its own, it truly shines when paired with other homemade treats. Drizzle a heavy ribbon over a warm rich flourless chocolate cake for a double dose of dark cocoa goodness. The contrast between the matte cake and the glossy syrup is visually stunning.
For a more casual treat, try pouring it over a warm chocolate chip pizookie or use it as a dip for classic chocolate chip cookies. If you are feeling adventurous, this syrup makes an excellent glaze for a decadent german chocolate poke cake, soaking into the sponge while keeping the top perfectly shiny.
Frequently Asked Questions
You can substitute honey or agave, but for the specific professional mirror shine and viscosity shown in our visuals, light corn syrup is the best choice.
The deep, dark color comes from using Dutch-processed cocoa powder. Natural cocoa powder will result in a lighter, reddish-brown syrup.
Stored in a rustic glass jar in the refrigerator, this syrup will stay fresh and viscous for up to 3 weeks.
Tiny air bubbles are a result of whisking during the cooking process and the high-speed swirling action when pouring, giving it an artisan, handmade look.
A mirror-like shine is achieved by adding light corn syrup, which prevents sugar crystallization and creates a reflective surface. Ensure you don’t over-boil the cocoa.
The Perfect Homemade Chocolate Syrup Recipe
Chocolate Syrup: The Ultimate Glossy Dark Chocolate Sauce Recipe
Ingredients
Equipment
Method
- In a heavy-bottomed saucepan, whisk together the Dutch-processed cocoa powder and granulated sugar until no large lumps remain.
- Slowly whisk in the water and light corn syrup, stirring until the mixture forms a smooth, dark slurry.
- Place over medium heat and bring to a gentle simmer. Whisk occasionally for 5-7 minutes until the liquid reduces into a heavy, viscous ribbon.
- Remove from heat. Stir in the salt and vanilla bean paste. The syrup will have a mirror-like shine and tiny air bubbles.
Notes
Do not omit the corn syrup; it is essential for the glossy, mirror-like finish.
Closing Thoughts on Handcrafted Chocolate
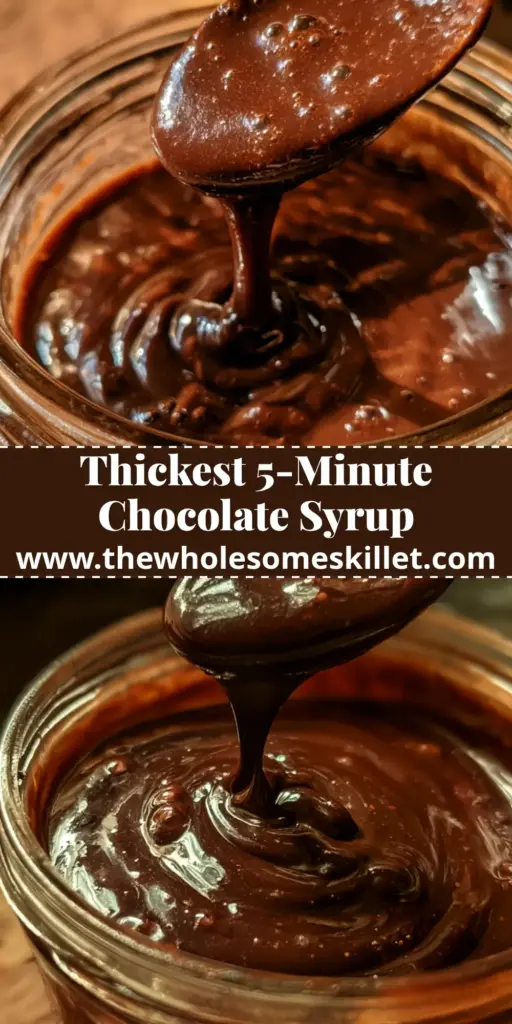
Making your own chocolate syrup is a simple yet transformative culinary experience. The depth of flavor and the stunning visual of a thick, glossy ribbon dripping from a silver spoon cannot be replicated by any commercial product. We hope you enjoy the moody, kitchen-ambient process of creating this dark chocolate masterpiece.
If you enjoyed this recipe, please leave a comment below and share your photos with us! Don’t forget to save this to your favorite boards on Pinterest for your next dessert night.