There is a specific kind of magic that happens when the humble, overripe banana meets the intense, sophisticated depth of dark cocoa. These banana brownies aren’t just a way to use up your fruit bowl; they are a deliberate, indulgent dessert designed for the true chocolate lover. Imagine a square of chocolate so dense it almost feels like fudge, punctuated by pockets of molten chocolate and balanced by the natural sweetness of speckled bananas.
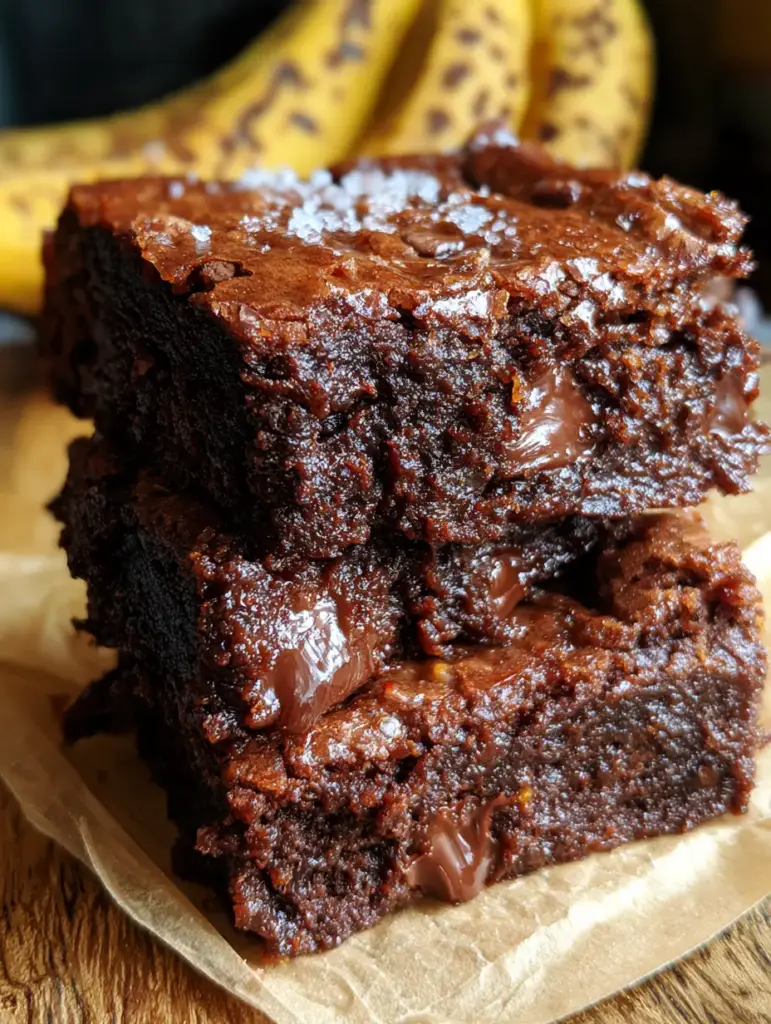
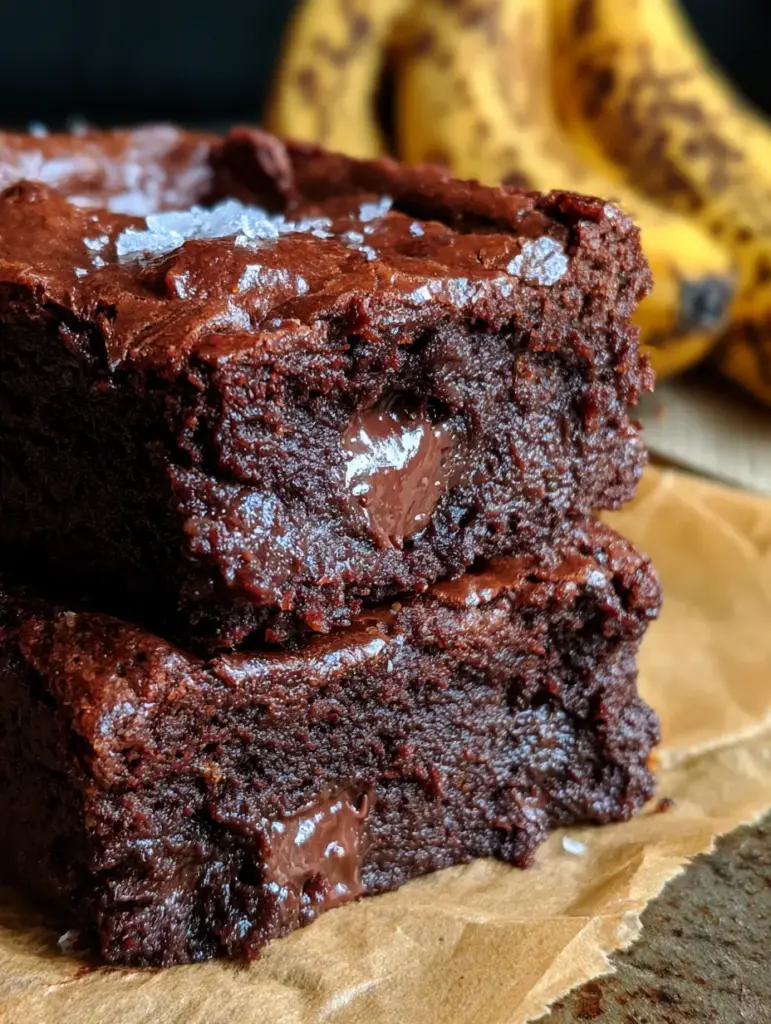
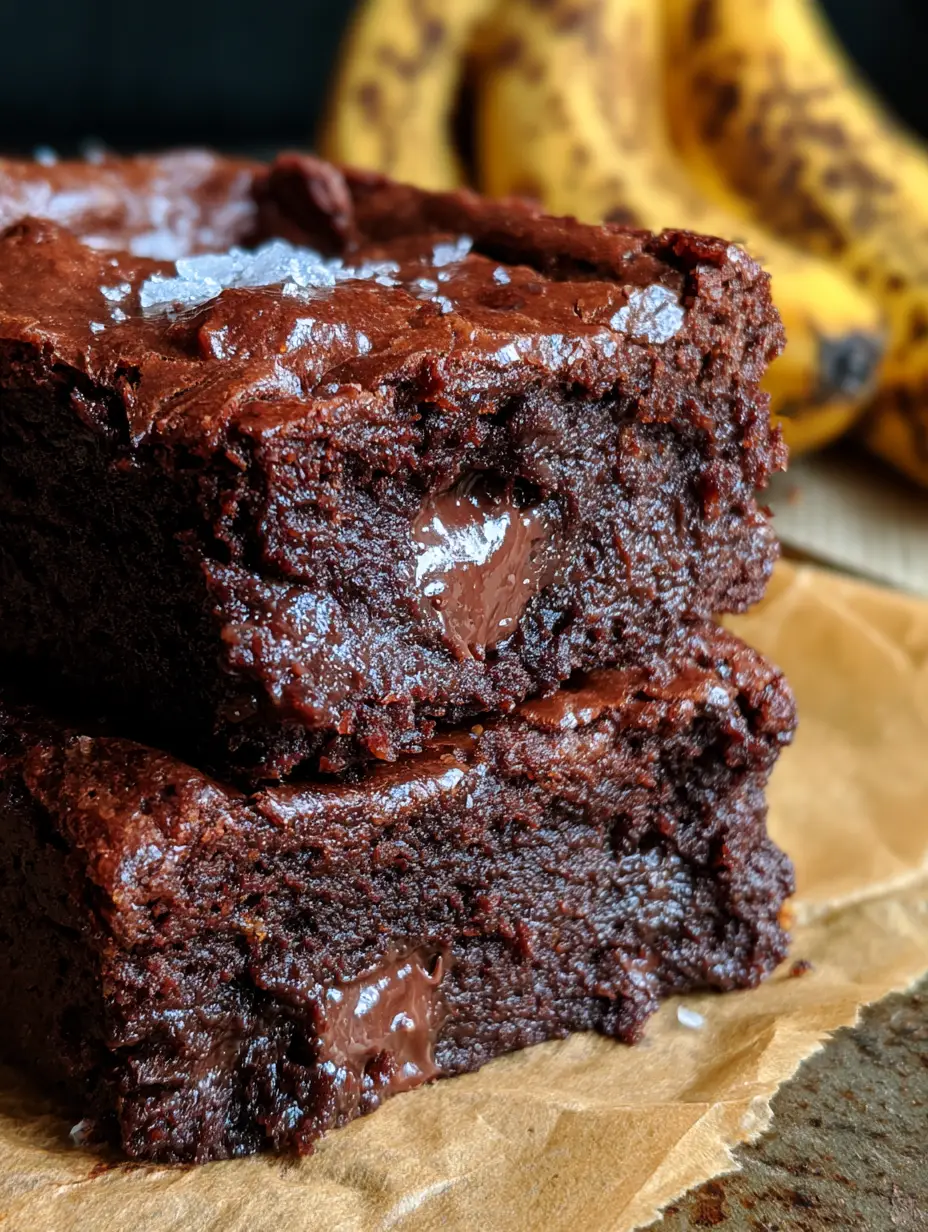
When you hold one of these brownies, as captured in the soft afternoon sunlight, you’ll notice the signature paper-thin, crackly top that shatters slightly under your thumb. It is the hallmark of a perfectly executed brownie. Unlike cakey alternatives, this recipe focuses on a moisture-heavy crumb that remains ultra-moist even days after baking, thanks to the high potassium and sugar content of those brown-spotted bananas.
Topping these thick, decadent squares with a delicate sprinkle of flaky sea salt is the final, essential step. The salt doesn’t just sit there; it acts as a flavor megaphone, amplifying the chocolate’s bitterness and the banana’s floral sweetness. Whether you are a seasoned baker or looking for a more elevated version of your standard homemade banana bread, this recipe is your new gold standard.
The Science of Why You’ll Love These Ultra-Moist Squares
- Unmatched Texture: By utilizing the natural starches in mashed bananas and the fats in nut butter, we achieve a dense, fudgy interior that rivals any gourmet bakery.
- Glossy, Crackly Crust: We use a specific whisking technique with the sugars and eggs to ensure that iconic, shimmering top that looks beautiful in handheld photos.
- Hidden Chocolate Pockets: The addition of folded-in chocolate chips creates gooey, melted reservoirs throughout the brownie.
- Perfect Flavor Balance: Dark cocoa powder provides a sophisticated bitterness that prevents the ripe bananas from making the dessert overly cloying.
The Anatomy of Ingredients for Fudgy Success
Overripe, Speckled Bananas: You want bananas that are more brown than yellow, as they provide the essential moisture and natural sugars required for the fudgy crumb. As bananas ripen, their starches convert to sugar, which helps create that “gooey” texture seen in the visual blueprint.
Dark Cocoa Powder: Use a high-quality Dutch-processed cocoa for a deep, nearly black color and a smooth, mellow chocolate flavor. This provides the “ultra-moist” look by contrasting against the pale banana fibers.
Creamy Nut Butter: Whether you choose almond, peanut, or cashew butter, this ingredient provides the structural fats. It replaces some of the traditional butter to create a richer mouthfeel similar to peanut butter marshmallow brownies.
Melted Chocolate Chips: We fold these in at the very end so they don’t fully incorporate into the batter, leaving you with visible “chocolate pockets.” This creates the “high detail on the moist crumb” described in our visual guide.
Flaky Sea Salt: A light sprinkle of Maldon or Fleur de Sel provides a crunchy contrast to the soft brownie. It captures the natural light beautifully, adding a professional finish to your handheld smartphone photos.
Foundational Elements: To ensure these brownies aren’t just “mush,” we include 1 cup (125g) of all-purpose flour for structure and 2 large eggs for lift and that crackly top. A touch of 1/2 cup (115g) unsalted butter ensures the fat content is high enough for a traditional brownie experience.
Essential Equipment for a Bakery-Style Finish
To achieve that thick, stacked look, you will need an 8×8 inch (20x20cm) square baking pan. Using a smaller pan ensures the brownies are “thick” rather than thin and crispy. You should also have high-quality parchment paper on hand to create a “sling,” allowing you to lift the brownies out cleanly for that perfect smartphone shot.
A sturdy balloon whisk is non-negotiable for the first stage of mixing. To get the glossy top, you need to dissolve the sugar into the eggs effectively. Finally, a silicone spatula is best for folding in the chocolate chips without over-aerating the batter, which would lead to a cakey texture rather than a fudgy one.
The Step-by-Step Guide to Perfect Banana Brownies
Preparing the Flavor Base
Start by mashing 2 large ripe bananas in a medium bowl until they reach a liquid consistency with very few lumps. In a separate microwave-safe bowl, melt 1/2 cup (115g) of butter and whisk in 1/2 cup (125g) of creamy nut butter until the mixture is smooth and fragrant.
Developing the Crackly Top
In a large mixing bowl, combine 1 cup (200g) of granulated sugar and 2 large eggs. Whisk vigorously for at least 2 minutes until the mixture is pale, frothy, and doubled in volume; this aeration is what creates the “crackly top” during baking. Slowly pour in the warm butter and nut butter mixture, whisking constantly to avoid scrambling the eggs.
Folding for Fudgy Texture
Sift in 2/3 cup (60g) of dark cocoa powder and 1 cup (125g) of all-purpose flour. Using your silicone spatula, gently fold the dry ingredients into the wet until just combined. Over-mixing at this stage develops gluten, which we want to avoid for a dense interior. Stir in the mashed bananas and 1 cup (170g) of semi-sweet chocolate chips.
The Bake and Sensory Cues
Pour the batter into your prepared pan and smooth the top. Bake at 350°F (175°C) for 25-30 minutes. Look for the edges to be set and the center to have a slight “jiggle” when shaken. The top should appear glossy and starting to fracture. If you tap it with a finger, it should feel like a thin layer of parchment paper.
Expert Tips for the Ultimate Chocolate Result
- Don’t Overbake: Brownies continue to cook in the pan after being removed from the oven. Pull them out when a toothpick inserted into the center comes out with a few moist crumbs attached, not clean.
- The “Slam” Technique: Halfway through baking, lift the pan and gently drop it against the oven rack. This collapses any air bubbles, ensuring the densest, fudgiest interior possible.
- Temperature Matters: Ensure your eggs are at room temperature so they emulsify properly with the fats, leading to a more uniform crumb.
- Wait to Cut: These brownies are ultra-moist. You must let them cool completely in the pan—ideally for 2 hours—before slicing to get those clean, sharp edges seen in the stack of two.
How to Store and Enjoy Your Brownies
These brownies actually improve in flavor on the second day as the banana moisture settles into the cocoa. Store them in an airtight container at room temperature for up to 3 days. For longer storage, you can refrigerate them for up to a week, which makes them even denser and more fudge-like.
To freeze, wrap individual squares tightly in plastic wrap and place them in a freezer bag for up to 3 months. When the craving hits, let a square thaw on the counter for 30 minutes, or microwave it for 15 seconds to revive those melted chocolate pockets. If you enjoy this flavor profile, you might also love our chewy banana oatmeal cookies.
Creative Pairings and Serving Suggestions
For a decadent dessert platter, serve these brownies alongside a scoop of vanilla bean ice cream or a dollop of whipped cream. The richness of the chocolate pairs beautifully with tart fruit, such as a side of cranberry mousse or fresh raspberries.
If you’re serving these for a brunch spread, they go remarkably well with a cup of strong coffee or even a serving of caramelized air fryer bananas for double the fruit flavor. For those who want more texture, try adding a buttery crumble topping before baking for an extra crunch.
Frequently Asked Questions
This specific recipe uses all-purpose flour, but you can easily swap it for a 1:1 gluten-free baking flour blend with great results.
Yes, you can substitute the nut butter with an equal amount of melted unsalted butter or coconut oil, though the texture will be slightly less dense.
Yes! Thaw the bananas completely and drain off any excess liquid before mashing to ensure the batter doesn’t become too runny.
The secret to the crackly top is whisking the eggs and sugar vigorously for at least 2 minutes until pale and frothy. This creates a thin layer of meringue-like crust that shatters when baked.
Cakey brownies usually result from over-mixing the flour or using bananas that aren’t ripe enough. Ensure you only fold the dry ingredients until just combined and use very speckled bananas.
The Full Recipe: Thick & Fudgy Banana Brownies
Banana Brownies: The Ultimate Fudgy Chocolate and Ripe Banana Fusion
Ingredients
Equipment
Method
- Preheat your oven to 350°F (175°C). Line an 8x8 inch baking pan with parchment paper, leaving an overhang on the sides for easy removal.
- In a medium bowl, mash the ripe bananas until they are liquid and smooth.
- In a large bowl, whisk the sugar and eggs vigorously for 2 minutes until the mixture is pale and frothy. This creates the crackly top.
- Whisk in the melted butter and nut butter until fully combined.
- Sift in the cocoa powder and flour. Use a spatula to fold gently until no streaks remain. Fold in the mashed bananas and chocolate chips.
- Pour batter into the pan and bake for 25-30 minutes. The top should be glossy and the center slightly set but still moist.
- Remove from the oven and immediately sprinkle with flaky sea salt. Let cool completely in the pan before slicing into 16 squares.
Notes
Ensure bananas are heavily speckled for the best moisture and sweetness.
Closing Thoughts on This Fudgy Delight
These banana brownies represent the perfect intersection of pantry staples and gourmet results. They are thick, rich, and designed to impress anyone who sees them on your table or your feed. The combination of the crackly top and the gooey chocolate pockets makes every bite a multi-textural experience.
If you made this recipe, we would love to hear how it turned out! Leave a comment below and let us know if you used peanut butter or almond butter. Don’t forget to share your photos and tag us on Pinterest so we can see your beautiful stacks!