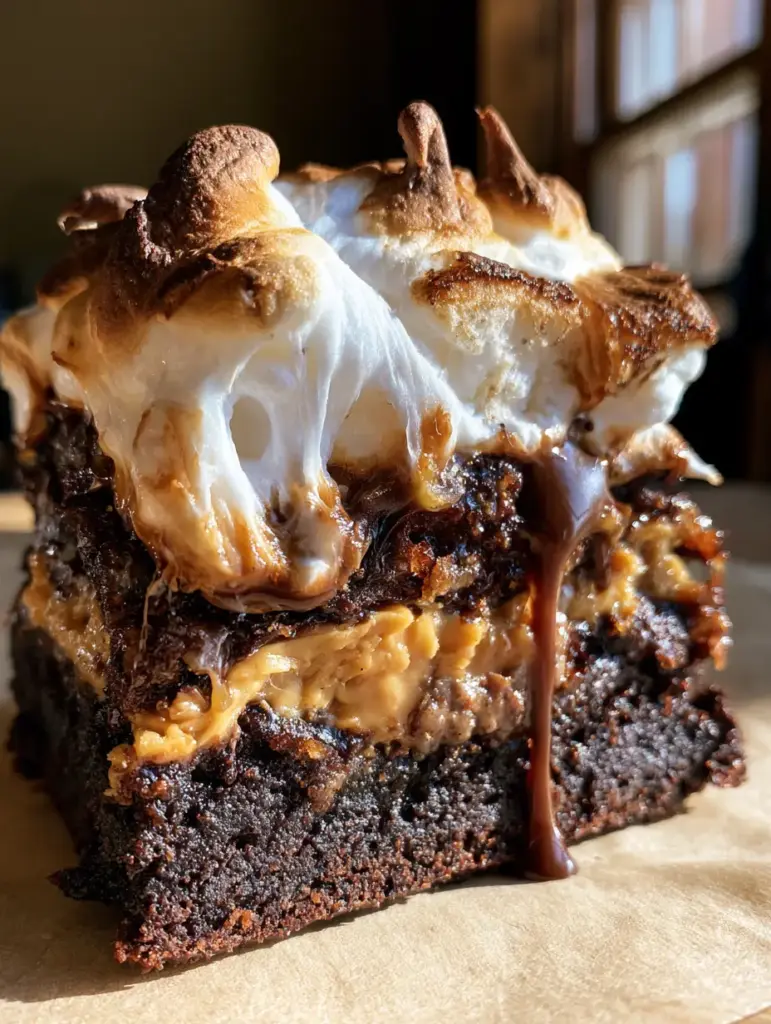
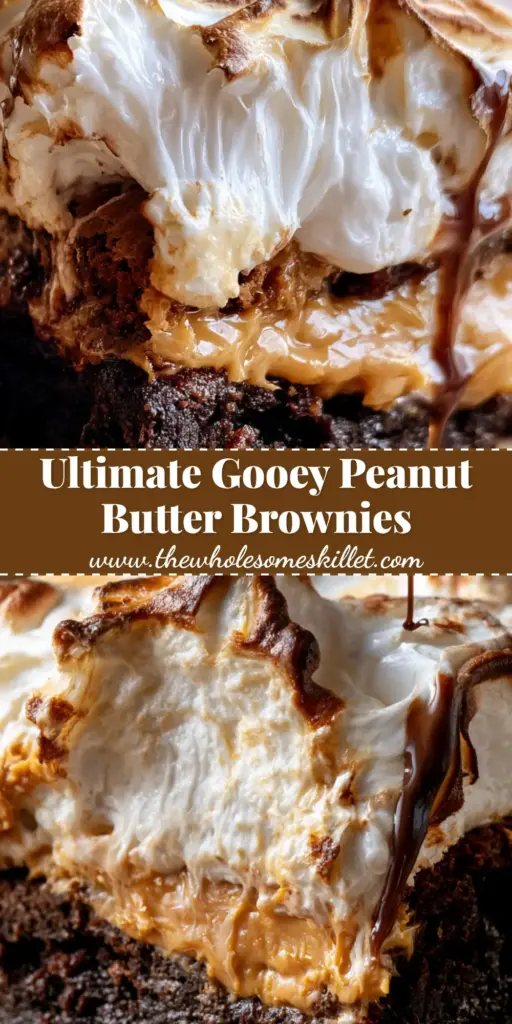
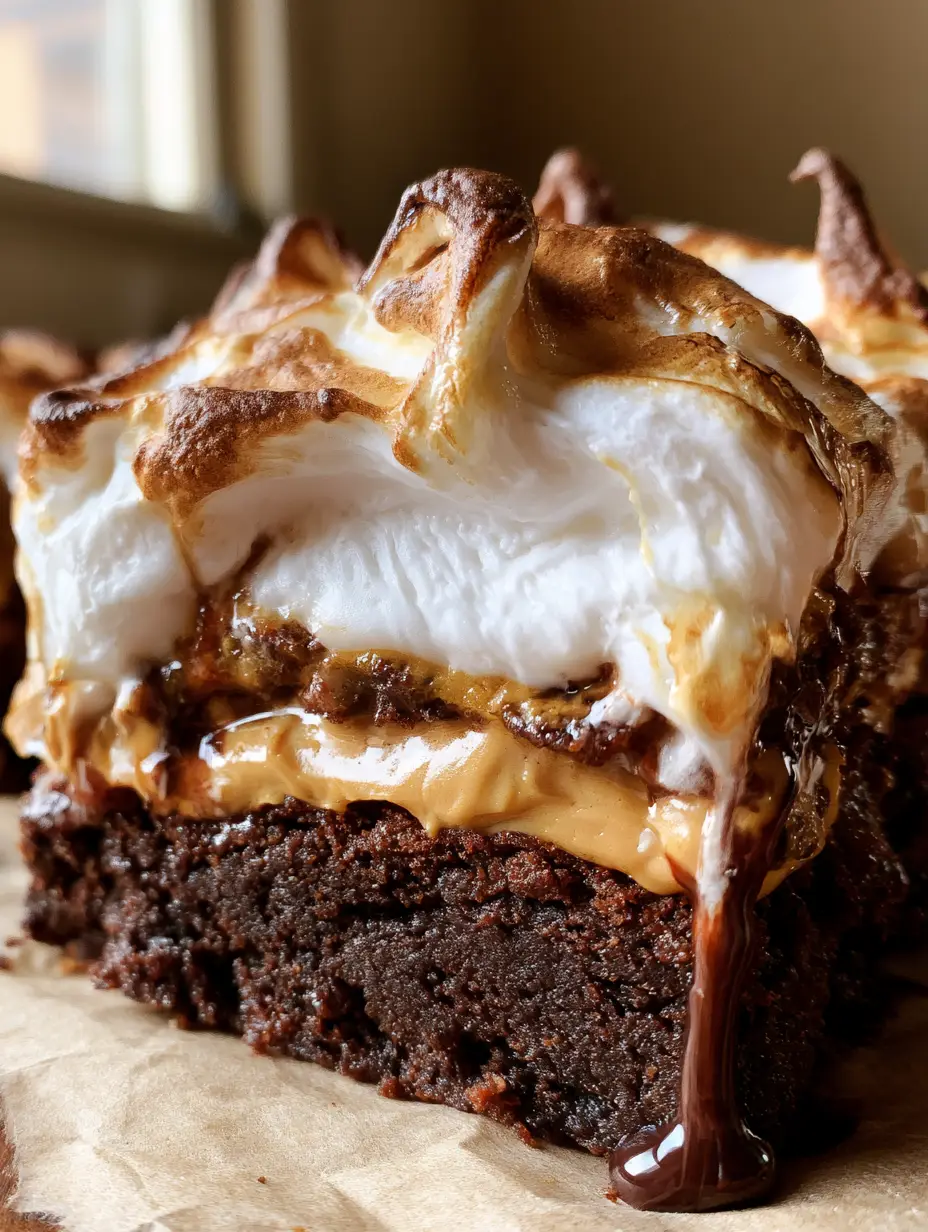
If you have been searching for the most indulgent, decadent, and visually stunning treat, these peanut butter marshmallow brownies are the answer to your dessert dreams. Imagine a base of dark, moist, fudgy chocolate brownie topped with a thick, melting layer of creamy peanut butter and massive, stretchy marshmallows.
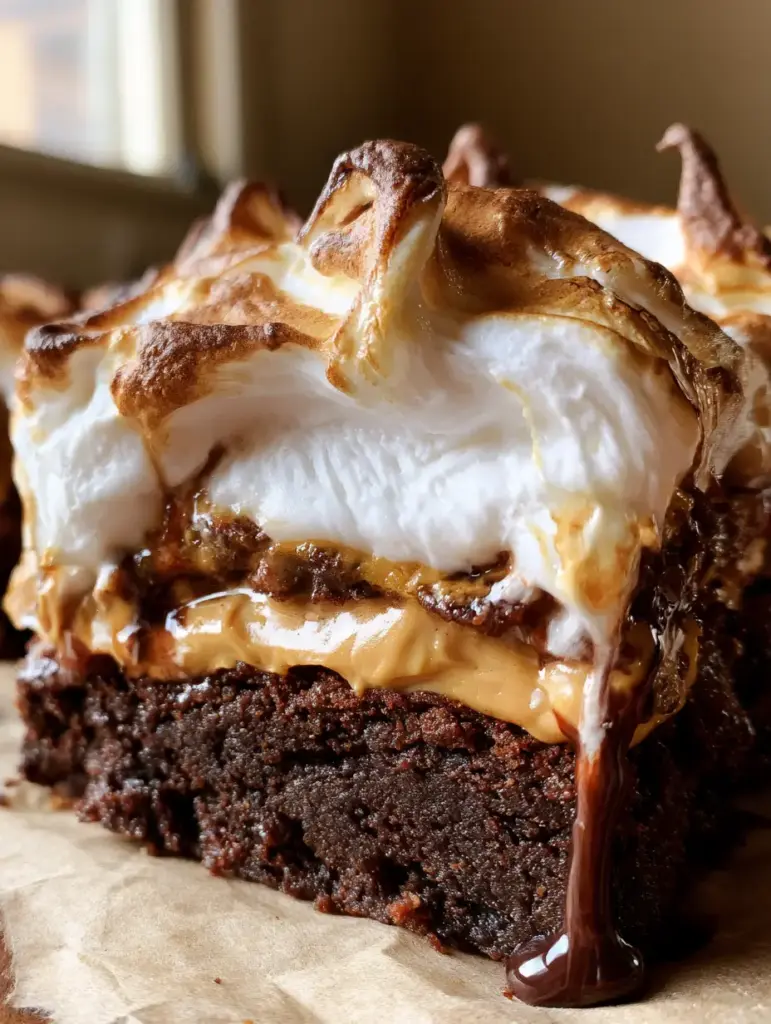
Every bite of these peanut butter marshmallow brownies offers a contrast of textures, from the charred, caramelized peaks of the marshmallows to the glossy chocolate drizzle that ties it all together. This recipe isn’t just about taste; it is about recreating that extreme macro close-up aesthetic of gooey layers and professional-grade pastry work.
In this guide, we will walk through the culinary science of achieving that moist crumb texture while ensuring your peanut butter layer stays distinct and your marshmallow topping reaches that perfect campfire-toasted golden brown.
Why These Peanut Butter Marshmallow Brownies Are Superior
- The Triple-Layer Texture: We combine a dense, dark chocolate base with a viscous peanut butter center and a fluffy, toasted marshmallow crown.
- Forensic Visual Appeal: These brownies are designed to look as good as they taste, featuring charred marshmallow peaks and a high-gloss chocolate drizzle.
- Professional Moisture Content: By using specific fat-to-sugar ratios, we ensure the “moist crumb texture” described in the visual blueprint remains soft for days.
- Perfectly Balanced Flavors: The bitterness of the dark chocolate base cuts through the sweetness of the toasted white marshmallows and the saltiness of the creamy peanut butter.
Essential Ingredients for the Perfect Fudgy Foundation
To achieve the dark chocolate brownie base, you need high-quality fats and specific cocoa types. We use Dutch-processed cocoa powder for that signature deep, almost black, color and a rich, earthy flavor profile.
Unsalted Butter: 1 cup (226g) of melted butter provides the fat necessary for a fudgy rather than cakey texture. It carries the flavor of the chocolate across your palate.
Granulated Sugar & Brown Sugar: 1 cup (200g) of white sugar creates crisp edges, while 1/2 cup (110g) of packed brown sugar adds moisture and a hint of molasses depth.
Large Eggs: 3 room-temperature eggs provide structure and that essential glossy top crackle. Room temperature eggs emulsify better into the fatty batter.
Dutch-Processed Cocoa Powder: 3/4 cup (75g) gives the base its dark, intense chocolate color and flavor. This is crucial for matching the visual blueprint’s dark chocolate base.
All-Purpose Flour: 1 cup (125g) is just enough to hold the brownies together without making them heavy. We want a high fat-to-flour ratio for that moist crumb.
Creamy Peanut Butter: 1 cup (250g) of high-quality creamy peanut butter. Look for a brand that is smooth and spreadable to create that thick, visible layer in the center.
Large Marshmallows: 1 bag (approx. 10oz/280g) of massive white marshmallows. These will be toasted to create the stretchy, caramelized peaks seen in our blueprint.
Chocolate Drizzle: 1/2 cup (90g) of semi-sweet chocolate chips melted with 1 tbsp (15ml) of coconut oil. This creates the glossy chocolate syrup that drips down the sides perfectly.
Foundational Additions: Don’t forget 1/2 tsp (3g) of fine sea salt to enhance the chocolate and 1 tsp (5ml) of pure vanilla extract for aromatic complexity.
Tools for Achieving the Bakery-Style Result
Achieving the charred marshmallow peaks and the thick peanut butter layer requires more than just a standard pan. A 9×9 inch (23x23cm) square baking pan is ideal for creating the height needed for a “stack of gooey brownies.”
You will also need parchment paper. This is not just for cleaning; it allows you to lift the entire block of peanut butter marshmallow brownies out of the pan for those perfect, clean macro-shot cuts. A kitchen torch is highly recommended for the charred peaks, though a broiler can work in a pinch.
Step-by-Step Instructions for Culinary Success
Crafting the Dark Chocolate Base
Preheat your oven to 350°F (175°C) and line your pan with parchment paper, leaving an overhang on the sides. In a large bowl, whisk your melted butter and sugars vigorously for at least two minutes until the mixture looks pale and slightly thickened.
Add the eggs one at a time, followed by the vanilla. Sift in the cocoa powder, flour, and salt. Fold the dry ingredients gently using a spatula until just combined; overmixing will introduce too much air and lead to a cakey texture instead of a fudgy one.
Building the Creamy Peanut Butter Layer
Pour the brownie batter into the prepared pan and smooth the top. Bake for 20-22 minutes. The center should be slightly underdone, as it will continue to set. If you love this flavor profile, you might also enjoy our peanut-butter poke cake.
While the brownie base is still warm, carefully spread the 1 cup (250g) of creamy peanut butter over the top. The warmth of the brownie will help the peanut butter melt slightly, creating that “thick, visible layer” required for the visual blueprint.
Achieving the Stretchy Marshmallow Peak
Immediately arrange the massive white marshmallows over the peanut butter layer. Place them closely together so they fuse as they melt. Return the pan to the oven for 3-5 minutes, just until the marshmallows have puffed up and become stretchy.
For the “charred marshmallow peaks,” use a kitchen torch to carefully brown the tops of the marshmallows. Move the flame constantly to create varied shades of amber and dark brown. This creates the campfire-style caramelization that contrasts so beautifully with the white marshmallow interior.
The Final Glossy Chocolate Drizzle
Melt your chocolate chips and coconut oil in 30-second bursts in the microwave until smooth. Using a spoon or a piping bag, create a thin stream of glossy chocolate syrup, letting it drip down the sides of the stacked brownies.
Allow the brownies to cool completely in the pan before lifting them out using the parchment paper. For the best “moist crumb texture,” let them sit for at least two hours. This setting time is what makes these peanut butter marshmallow brownies so professional in appearance.
Expert Tips for the Most Gooey Brownies
- The Clean Cut: To get those perfect macro-shot edges, wipe your knife with a warm, damp cloth between every single cut. This prevents the marshmallow and peanut butter from smearing into the chocolate layer.
- Don’t Overbake: Brownies are done when a toothpick inserted into the center comes out with a few moist crumbs attached. If it comes out clean, they are overbaked!
- Marshmallow Management: If you don’t have a torch, place the brownies under the broiler for 60-90 seconds. Watch them like a hawk; they go from golden to burnt in a heartbeat!
- Peanut Butter Choice: Avoid “natural” peanut butters that require stirring for this specific recipe. The stabilized oils in standard creamy peanut butter help maintain the distinct layer without soaking into the brownie.
What to Serve with Peanut Butter Marshmallow Brownies
These brownies are incredibly rich, so they pair best with something that offers a bit of contrast. A cold glass of milk is the classic choice, but a scoop of vanilla bean ice cream is also divine.
If you are hosting a dessert bar, these pair wonderfully with other textured treats like our chocolate peanut butter cookies or even a light toasted marshmallow cheesecake. For a salty-sweet balance, consider serving them alongside some salted butter cookies.
Frequently Asked Questions
Yes! You can use your oven’s broiler setting. Place the pan on the top rack for 60-90 seconds, watching very closely until the marshmallow peaks turn golden brown and charred.
Use a stabilized creamy peanut butter and spread it over the brownies while they are still warm but not hot. This allows it to melt just enough to level out without soaking into the brownie base.
Wait for the brownies to cool completely, then use a sharp knife dipped in hot water and wiped dry between each cut. This prevents the sticky marshmallow and peanut butter from clinging to the blade.
Marshmallows become tough if they are overcooked or if they are refrigerated for too long. Toast them just until puffed, and store the brownies at room temperature in an airtight container.
The Ultimate Peanut Butter Marshmallow Brownie Recipe
Peanut Butter Marshmallow Brownies: The Ultimate Fudgy and Toasted Guide
Ingredients
Equipment
Method
- In a large bowl, whisk melted butter, white sugar, and brown sugar for 2 minutes until combined.
- Whisk in eggs and vanilla. Fold in cocoa powder, flour, and salt until just combined. Do not overmix.
- Pour into a lined 9x9 pan and bake at 350°F (175°C) for 20-22 minutes until edges are set but center is slightly moist.
- Spread creamy peanut butter over the warm brownies to create a thick, visible layer.
- Top with marshmallows and bake for 3-5 minutes until puffed and stretchy.
- Use a kitchen torch to toast the marshmallows until they have dark brown, caramelized peaks.
- Melt chocolate chips with coconut oil and drizzle over the marshmallows. Let cool before slicing.
Notes
Ensure the brownies are completely cool before lifting them out of the pan.
Storage and Reheating Advice
Store your peanut butter marshmallow brownies in an airtight container at room temperature for up to 3 days. Because of the marshmallow topping, refrigerating them can sometimes make the marshmallow layer chewy rather than stretchy.
If you want to freeze them, it is best to freeze the brownie and peanut butter layers together, then add the marshmallows and toast them fresh before serving. To reheat, a quick 10-second blast in the microwave will restore that “gooey peanut butter” texture perfectly.
Join the Wholesome Skillet Community!
We hope you love these decadent peanut butter marshmallow brownies as much as we do! They are the perfect project for anyone who loves the intersection of culinary science and visual art. If you make these, please leave a comment below and tell us how your charred peaks turned out!
Don’t forget to share your creations on social media and follow us on Pinterest for more gooey dessert inspiration. If you’re looking for even more marshmallow goodness, check out our fluffernutter brownies next!