There is a specific kind of magic that happens when the structural integrity of a cookie meets the decadent, soul-satisfying richness of a gourmet brownie. These brookie cookies are the definitive answer to every chocolate lover’s wildest dreams, offering a multi-sensory experience that begins the moment you pull the baking sheet from the oven.
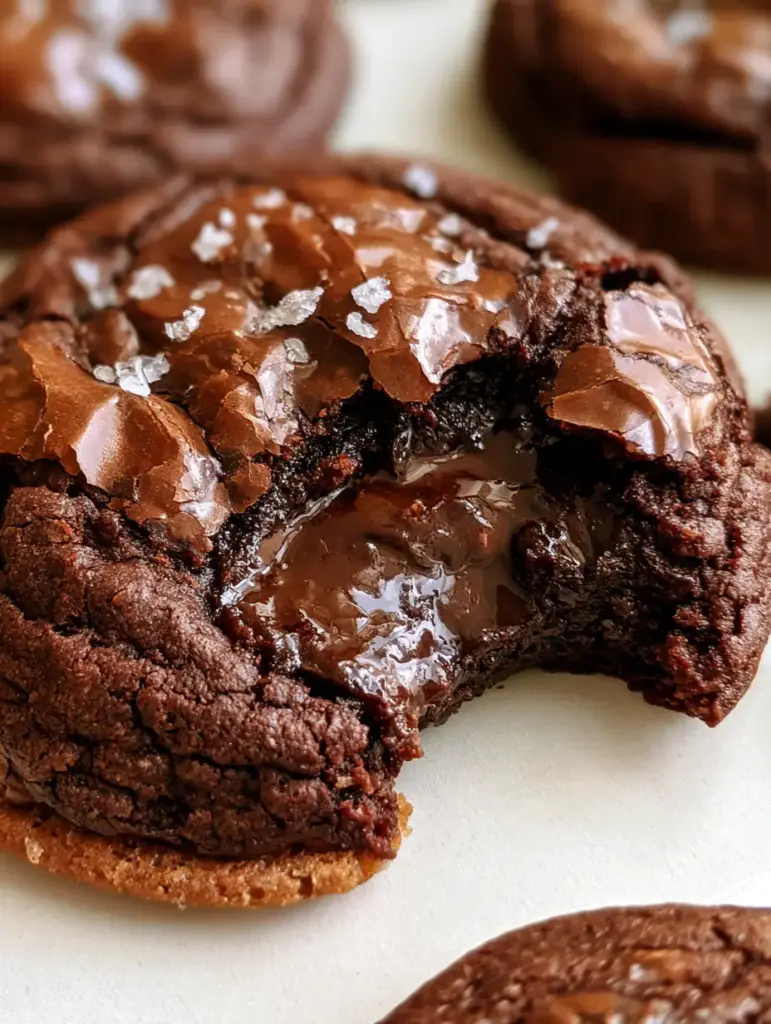
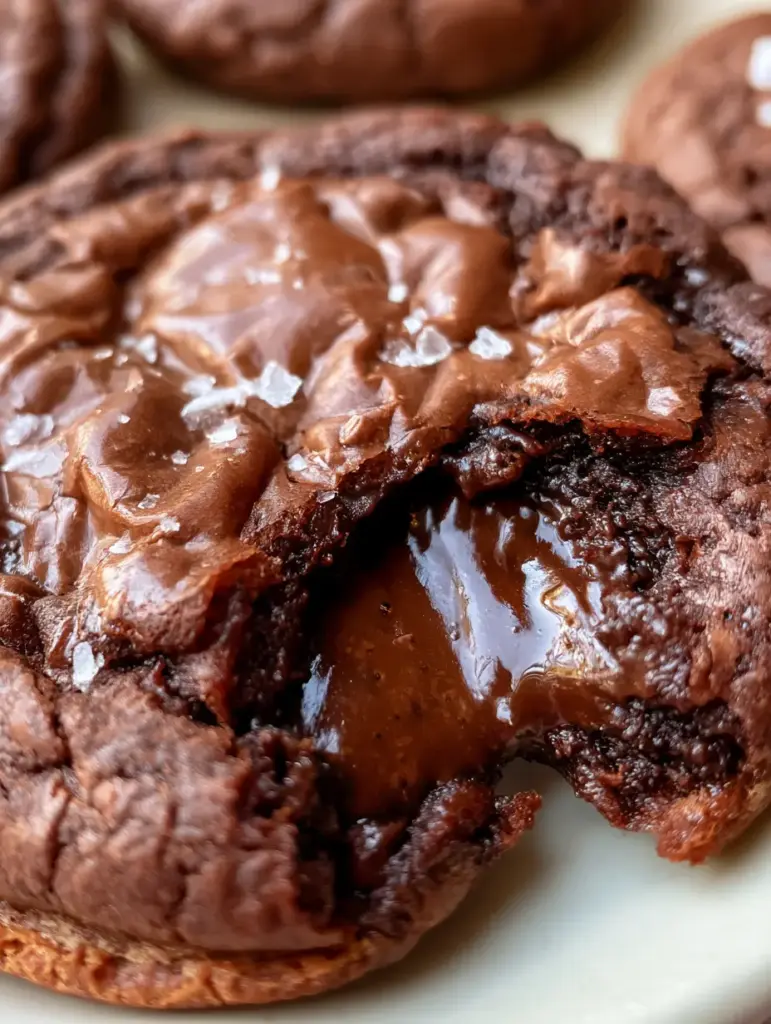
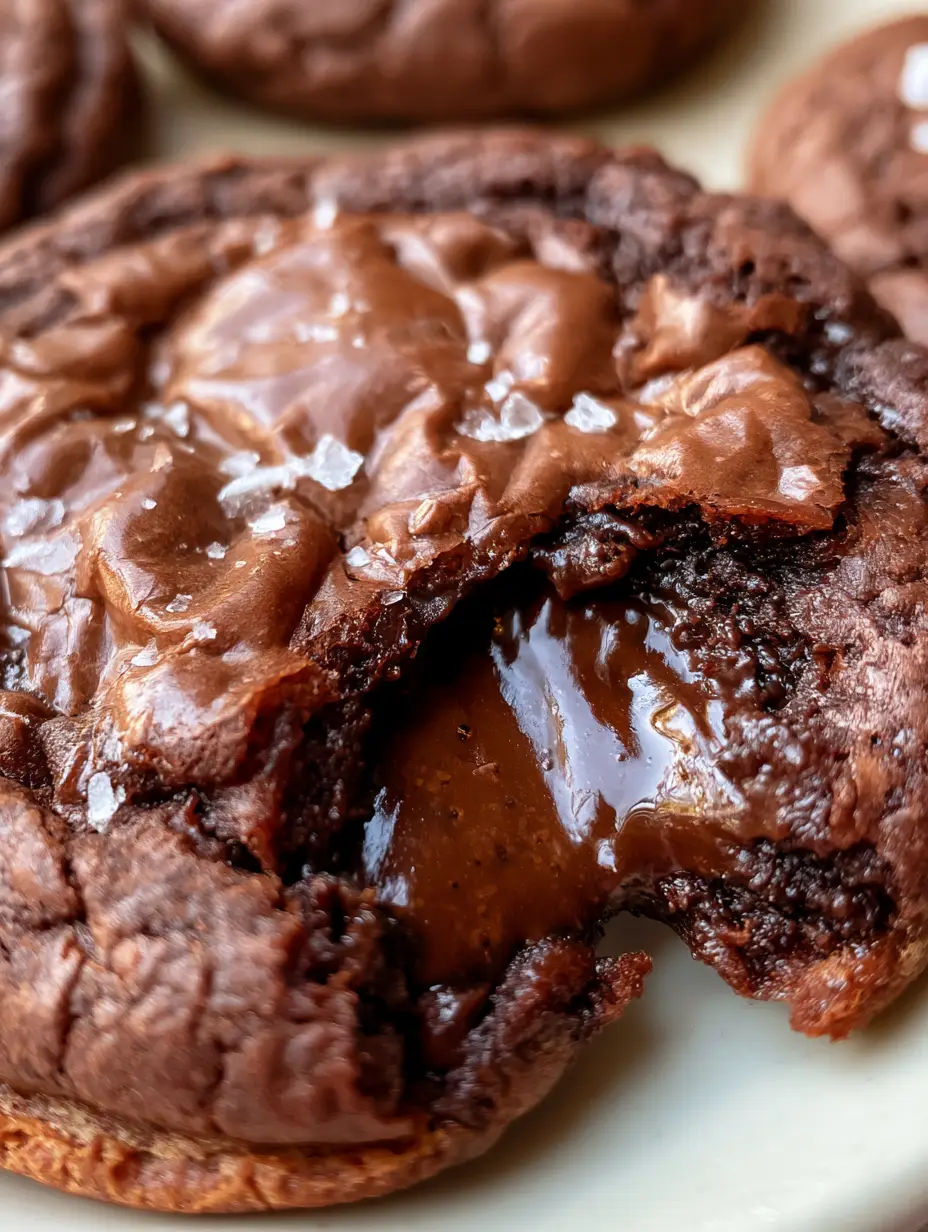
Imagine a cookie with an exterior so thin and delicate it shatters like fine porcelain, giving way to a center that isn’t just fudgy, but practically molten. As you take that first bite, your teeth sink into a dark brown, crackled crust topped with hand-harvested flaky sea salt, revealing a glistening chocolate heart that catches the light.
This recipe for brookie cookies has been engineered to replicate the exact visual and textural perfection seen in high-end food photography. We aren’t just making cookies; we are creating a decadent chocolate event that balances salt, sugar, and fat in perfect harmony.
Why These Fudgy Brownie Cookies Stand Above the Rest
- The Perfect Crinkle: We use a specific egg-whipping technique to ensure a shiny, paper-thin crackled surface that defines a true “brookie.”
- Molten Core Technology: By balancing the ratio of chocolate to flour, these cookies maintain a glistening, fudgy center even after cooling.
- Sensory Contrast: The crunch of flaky sea salt crystals against the rich, dark chocolate chips creates a professional-grade flavor profile.
- Structural Integrity: Despite their gooey centers, these cookies feature slightly crisp edges that allow you to pick them up without them falling apart.
The Anatomy of Perfect Brookie Cookies: Ingredients and Substitutions
To achieve the results seen in our visual blueprint, every ingredient serves a dual purpose: flavor and physics. You cannot achieve that signature crackle without the right chemical reactions.
Dark Chocolate (70% Cacao): 8 oz (225g) of high-quality chopped chocolate. This provides the molten base; avoid using only chips for the melting stage as they contain stabilizers that prevent the proper flow.
Unsalted Butter: 1/2 cup (115g). Butter provides the fat necessary for the “melt-in-your-mouth” texture and carries the flavor of the cocoa throughout the dough.
Granulated Sugar: 3/4 cup (150g). Sugar is hydroscopic, but in this recipe, its primary job is to dissolve into the eggs to create the meringue-like shiny crust.
Light Brown Sugar: 1/4 cup (50g). The molasses in brown sugar adds a deep caramel note and ensures the centers stay moist and chewy for days.
Large Eggs: 2 eggs (room temperature). Room temperature eggs emulsify better, allowing for more air to be whipped in, which is the secret to the crackled top.
All-Purpose Flour: 1/2 cup (65g). We use a very low amount of flour to ensure the ultra-fudgy brownie cookies texture remains dominant over a cakey texture.
Dutch-Processed Cocoa Powder: 2 tbsp (15g). Dutch-processing reduces acidity and darkens the color, giving the brookies their signature rich, dark brown exterior.
Baking Powder: 1/2 tsp (2.5g). This provides just enough lift to create those beautiful cracks on the surface during the rapid rise in the oven.
Semi-Sweet Chocolate Chips: 1/2 cup (90g). Folded in at the end, these provide little pockets of gooey chocolate that contrast with the dough.
Flaky Sea Salt: For finishing. This is non-negotiable for the visual blueprint, providing the glistening crystals that cut through the richness.
Essential Equipment for Gourmet Baking
To ensure your brookie cookies look exactly like the professional shots, you will need a few specific tools. Precision is the difference between a flat cookie and a masterpiece.
First, a stand mixer or electric hand mixer is vital. You must whip the eggs and sugar for several minutes to achieve the proper aeration. A manual whisk simply won’t have the stamina to create the necessary foam for the shiny crust.
Second, you must use parchment paper. These cookies are high in sugar and chocolate; without parchment, they will stick to the pan and tear when you try to remove them. Avoid silicone mats for this specific recipe, as parchment encourages a crispier bottom edge.
Step-by-Step Guide to the Ultimate Brookie
1. The Chocolate Fusion
In a microwave-safe bowl or over a double boiler, combine your 8 oz of chopped dark chocolate and 1/2 cup (115g) of unsalted butter. Heat in 30-second bursts, stirring constantly until the mixture is glossy and completely smooth. Set this aside to cool slightly; if it’s too hot, it will scramble the eggs in the next step.
2. Whipping the “Crackle” Foundation
This is the most critical step for brookie cookies. In your mixer, combine the 2 eggs, granulated sugar, and brown sugar. Beat on high speed for at least 5 full minutes. You are looking for the “ribbon stage”—the mixture should be pale, thick, and fall off the whisk in slow, distinct folds.
3. Marrying the Textures
Lower the mixer speed and slowly pour in the slightly cooled chocolate-butter mixture. Once combined, sift in your flour, cocoa powder, and baking powder. Use a spatula to gently fold the dry ingredients in by hand. Over-mixing at this stage will deflate the air you worked so hard to put in, resulting in a flat cookie without a molten core.
4. The Final Additions and Chilling
Gently fold in the 1/2 cup (90g) of semi-sweet chocolate chips. The dough will look more like a thick brownie batter than a traditional cookie dough. Let the batter rest for 10 minutes at room temperature. This allows the cocoa and flour to hydrate, ensuring the cookies don’t spread too thin on the parchment paper.
5. Precision Baking
Preheat your oven to 350°F (175°C). Line a heavy baking sheet with parchment paper. Use a cookie scoop to drop rounded tablespoons of batter onto the sheet, spacing them 2 inches apart. Bake for 9-11 minutes. Watch for the visual cue: the tops should be fully crackled and shiny, and the edges should look set, but the center should still look slightly “underdone” and soft.
6. The Finishing Touch
Immediately upon removing the tray from the oven, sprinkle the hot cookies with a generous pinch of flaky sea salt. The heat will allow the salt to adhere to the glistening surface without dissolving. Allow them to cool on the pan for at least 10 minutes to let the molten core set into a fudgy consistency.
Expert Tips for Visual and Flavor Success
- Sift the Cocoa: Cocoa powder is notorious for clumps. Sifting ensures a smooth, dark brown exterior without white spots of flour or bitter cocoa lumps.
- Don’t Skip the Rest: Letting the batter sit for 10 minutes is the secret to getting that “tall” cookie shape rather than a flat puddle.
- Temperature Control: Ensure your eggs are truly room temperature. Cold eggs will cause the melted chocolate to seize, ruining the glossy finish.
- The “Scoop” Method: For the perfect bite reveal seen in the prompt, use a spoon to gently break one cookie open while warm to show off that glistening, molten center.
The Best Way to Store and Reheat
These brookie cookies are best enjoyed fresh, but they keep remarkably well. Store them in an airtight container at room temperature for up to 3 days. To maintain the crisp edge, avoid stacking them while they are still warm.
If you want to recapture that “fresh from the oven” molten core, microwave a single cookie for 8-10 seconds. For longer storage, you can freeze the baked cookies for up to a month. Simply thaw at room temperature and give them a quick toast in a 300°F (150°C) oven for 5 minutes to crisp the edges back up.
What to Serve With Your Decadent Cookies
While a cold glass of milk is the classic choice, these cookies pair beautifully with other gourmet treats. If you are hosting a dessert party, consider serving these alongside churro cheesecake cookie sandwiches for a variety of textures.
For those who love a peanut butter and chocolate combination, these brookies are the perfect companion to homemade peanut butter kiss cookies. If you want to lean into the ultimate decadence, serve them slightly warm with a scoop of vanilla bean ice cream or alongside hot chocolate cookies with marshmallows for a true chocolate extravaganza.
Frequently Asked Questions
For the best molten texture, use a high-quality chocolate bar. Chocolate chips contain stabilizers that prevent them from melting into the smooth, liquid consistency needed for the dough base.
This recipe only requires a 10-minute rest at room temperature. Chilling the dough for too long can actually prevent the crinkle top from forming properly.
Avoid over-baking! The cookies should look slightly underdone in the center when you pull them out. They will continue to set on the hot baking sheet, leaving the middle glistening and soft.
The shiny crinkle top comes from properly dissolving the sugar into the eggs. You must beat the eggs and sugar for at least 5 minutes until they are thick and pale to create that meringue-like crust.
Flaky sea salt provides a textural crunch and a flavor contrast that cuts through the intense richness of the dark chocolate, making the cookies taste more complex.
The Ultimate Brookie Cookie Recipe Card
Brookie Cookies: The Ultimate Fudgy Brownie Cookie with a Molten Core
Ingredients
Equipment
Method
- Melt the chopped dark chocolate and butter together until smooth. Let cool slightly.
- Beat eggs and both sugars on high for 5 minutes until thick and pale (ribbon stage).
- Fold the chocolate mixture into the eggs, then gently fold in sifted dry ingredients and chocolate chips.
- Rest batter for 10 mins. Scoop onto parchment-lined sheets. Bake at 350°F (175°C) for 9-11 mins until shiny and crackled.
- Immediately sprinkle with flaky sea salt while hot.
Notes
Use a high-quality chocolate bar rather than just chips for the base melt.
Join the Wholesome Skillet Community!
Did these brookie cookies satisfy your deepest chocolate cravings? We want to see your results! Tag us in your photos and show off those beautiful crinkle tops and molten centers. If you loved this recipe, please leave a 5-star review and share it with your fellow dessert enthusiasts.
Don’t forget to follow us on Pinterest for more decadent baking inspiration and behind-the-scenes tips. Sign up for our newsletter to get elite recipes delivered straight to your inbox every week. Happy baking!