There is a specific kind of magic that happens when you pull a batch of freshly baked reeses peanut butter cookies out of the oven. The air in your kitchen transforms, filling with the intoxicating aroma of roasted peanuts and caramelized sugar. But the real theater begins when you take one of these warm treats and break it in half.
Imagine a slight resistance from a perfectly golden-brown, crispy edge, followed by a soft, yielding center that gives way to a literal river of molten peanut butter. As you pull the two halves apart, stretchy strands of melted peanut butter chips and gooey Reese’s Pieces create a visual spectacle that looks just as good as it tastes. This isn’t just a cookie; it’s a multi-sensory experience designed for the ultimate peanut butter enthusiast.
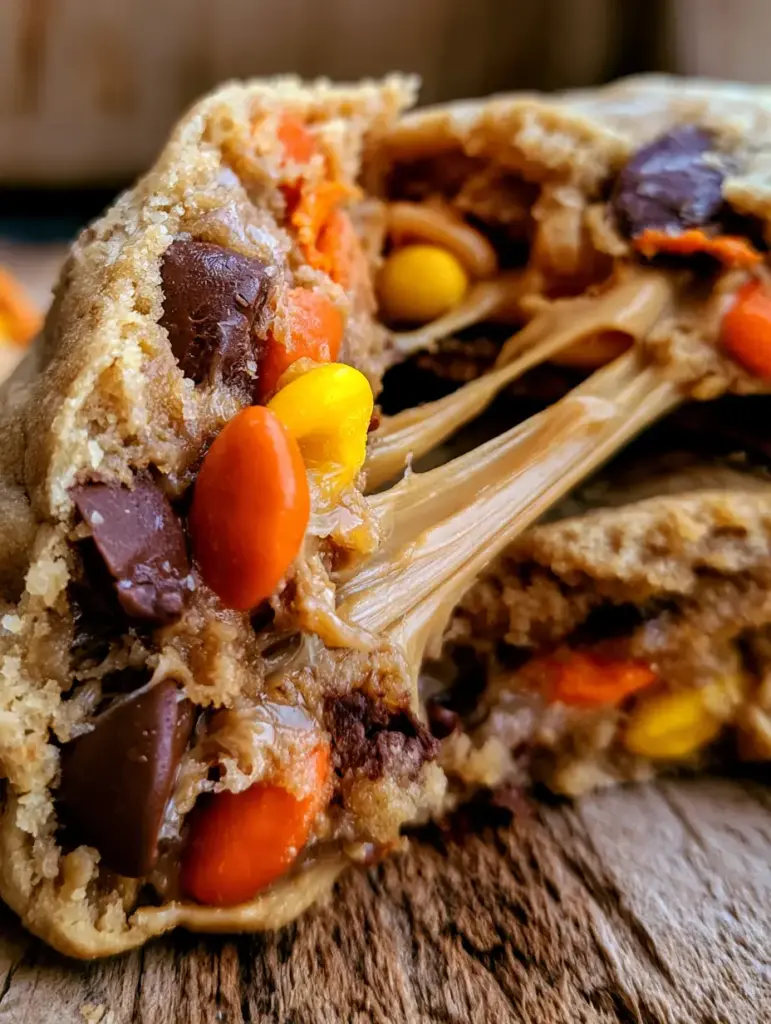
Why These Loaded Reese’s Pieces Cookies Are a Cut Above the Rest
Achieving the perfect balance of textures requires more than just mixing ingredients; it requires a deep understanding of culinary physics. These reeses peanut butter cookies are engineered to provide a specific sequence of sensations with every single bite you take.
- The Texture Contrast: You get a satisfying, slightly crunchy exterior that protects a soft, fudgy, and intensely chewy interior.
- The Molten Factor: By utilizing high-quality peanut butter chips and Reese’s Pieces, we create a molten interior that stays gooey even as the cookie cools.
- Visual Vibrancy: The iconic orange, yellow, and brown shells of the Reese’s Pieces provide a stunning color contrast against the rich, tan peanut butter dough.
- Salt-Sweet Balance: We use salted butter and a hint of extra sea salt to cut through the richness, making it impossible to eat just one.
The Scientific Anatomy of the Perfect Peanut Butter Dough
To create reeses peanut butter cookies that hold their shape while remaining soft, we must choose our components with extreme precision. Every ingredient in this list serves a functional purpose in achieving the visual and textural results seen in our professional photography.
Unsalted Butter (1 cup / 226g): We start with softened butter to create a stable emulsion with the sugars. This provides the necessary fat for a melt-in-your-mouth feel and helps the edges achieve that signature golden-brown crispness.
Creamy Peanut Butter (1 cup / 250g): For the dough, a standard creamy commercial peanut butter works best. It provides a consistent moisture level and a smooth structural base that natural oils sometimes disrupt.
Light Brown Sugar (1 cup / 200g): The molasses in brown sugar is the secret to the chewy interior. It attracts moisture, ensuring your cookies don’t turn into dry biscuits after they cool down.
Granulated White Sugar (3/4 cup / 150g): While brown sugar provides chew, white sugar is responsible for the crisp, caramelized edges. This dual-sugar approach is essential for that professional bakery finish.
Large Eggs (2): Eggs act as the primary binding agent, providing structure. The proteins in the eggs set during baking, allowing the cookie to rise slightly without collapsing into a puddle.
All-Purpose Flour (2 ½ cups / 312g): This provides the protein structure. We use just enough to hold the heavy inclusions (the candies and chips) without making the dough heavy or cake-like.
Baking Soda (1 tsp / 5g) & Baking Powder (1/2 tsp / 2.5g): This combination ensures the cookies spread just enough to develop crispy edges while maintaining a thick, soft center.
Reese’s Pieces (1 ½ cups / 280g): These provide the primary visual pop and a unique candy-shell crunch that contrasts with the soft dough.
Peanut Butter Chips (1 cup / 170g): These chips are designed to melt into creamy pockets, contributing to the “molten” interior described in our visual blueprint.
Essential Equipment for Bakery-Quality Results
Having the right tools is just as important as the ingredients when aiming for a specific visual result. To get those perfectly circular, thick reeses peanut butter cookies, you will need a few specific items from your kitchen arsenal.
First, a heavy-duty stand mixer or electric hand mixer is vital for the creaming process. You need to incorporate enough air into the butter and sugar to create a light, aerated base. Second, a large cookie scoop (3 tablespoons / 45ml) ensures every cookie is the same size, which leads to even baking and professional presentation.
Finally, parchment paper or silicone baking mats are non-negotiable. They prevent the sugars in the Reese’s Pieces from sticking to the pan and burning, ensuring the bottoms of your cookies stay golden-brown rather than charred. A wire cooling rack is also essential to stop the cooking process immediately once the cookies are removed from the oven.

Step-by-Step Instructions for Molten Reese’s Perfection
1. The Creaming Phase: Building the Foundation
In the bowl of your stand mixer, combine the softened butter, creamy peanut butter, brown sugar, and white sugar. Beat on medium-high speed for at least 3 minutes until the mixture looks pale, fluffy, and significantly increased in volume. This step is crucial for achieving the “soft chewy interior” of the reeses peanut butter cookies.
2. Incorporating the Emulsifiers
Add the eggs one at a time, beating well after each addition. Scraping down the sides of the bowl is a professional necessity to ensure no pockets of unmixed fat remain. Add the vanilla extract and mix until just combined; you should smell the sweet aroma of vanilla mixing with the savory peanut butter.
3. The Dry Ingredient Fold
In a separate bowl, whisk together the flour, baking soda, baking powder, and salt. Turn your mixer to the lowest setting and slowly add the dry ingredients to the wet. Stop mixing the very moment the last streak of white flour disappears. Overmixing at this stage will develop gluten, leading to a tough cookie rather than a soft one.
4. Loading the Inclusions
Gently fold in 1 cup of the Reese’s Pieces and all of the peanut butter chips by hand using a sturdy spatula. By folding them in manually, you ensure the candy shells remain intact and the chips are evenly distributed throughout the dough, setting the stage for that “intensely gooey” interior.
5. The Essential Chill Period
Scoop the dough into large balls (about 3 tablespoons each). Place them on a tray and refrigerate for at least 30 minutes. This prevents the cookies from spreading too thin, ensuring the centers stay thick and molten while the edges have time to become golden-brown and crispy.
6. The Precision Bake
Preheat your oven to 350°F (175°C). Arrange the chilled dough balls on a prepared baking sheet, leaving 2 inches of space between them. Press the remaining Reese’s Pieces onto the tops of the dough balls for maximum visual impact. Bake for 10-12 minutes.
Visual Cue: The cookies are done when the edges are a light golden-brown and the centers look slightly puffed and “underdone.” They will firm up on the hot pan outside the oven, preserving that molten interior.
Expert Tips for the Ultimate Cookie Texture
Creating the perfect reeses peanut butter cookies often comes down to the small details. If you want that stretchy, gooey pull shown in our photography, follow these expert-level tips.
- The “Pan Bang” Method: Halfway through baking, gently lift the baking sheet and drop it onto the oven rack. This collapses any large air pockets and creates those beautiful ripples on the edges.
- Room Temperature Ingredients: Ensure your eggs and butter are at room temperature to create a smooth, stable dough that doesn’t split.
- Measuring by Weight: For the most consistent results, use a kitchen scale. Flour is notoriously easy to over-pack in a measuring cup, which leads to dry, crumbly cookies.
- The Center Secret: If you want an even more molten center, you can place a tiny frozen dollop of peanut butter inside the dough ball before baking.
Serving Suggestions and Internal Pairings
These decadent reeses peanut butter cookies are a star on their own, but they also pair beautifully with other treats. If you are hosting a dessert party, consider serving them alongside a rich peanut butter chocolate dip for even more indulgence.
For those who love a variety of textures, these cookies contrast perfectly with crunchy no-bake peanut butter clusters. If you find yourself with leftover peanut butter, you might also enjoy making a quick batch of effortless peanut butter fudge to round out your dessert platter.
And if you’re a fan of the classic combination of fruit and nut, these cookies are a fantastic follow-up to a meal featuring a tropical chicken pineapple dish, where the sweetness of the fruit prepares the palate for the rich, salty peanut butter.
How to Store and Reheat Your Loaded Cookies
To keep your reeses peanut butter cookies fresh, store them in an airtight container at room temperature for up to 5 days. Adding a slice of plain white bread to the container is an old baker’s trick to keep the cookies soft; the bread will give up its moisture to the cookies, staying soft for days.
If you want to recreate that “fresh from the oven” molten experience, simply pop a cookie in the microwave for 8-10 seconds. You will see the peanut butter chips begin to glisten, and the Reese’s Pieces centers will soften, giving you that perfect stretchy pull once again. These cookies also freeze beautifully for up to 3 months—just thaw at room temperature and warm slightly before serving.
Common Questions About Baking with Reese’s
Yes! You can freeze the pre-scooped dough balls for up to 3 months. Bake them directly from frozen, adding an extra 1-2 minutes to the total baking time for a perfect result.
For these specific reeses peanut butter cookies, we recommend standard commercial creamy peanut butter. Natural varieties often separate, which can lead to greasy cookies that don’t hold their shape.
Unlike traditional peanut butter cookies, these do not require the fork cross-hatch pattern. The inclusions and dough structure are designed to spread naturally into a thick, chewy disc.
The ‘molten’ effect comes from the high density of peanut butter chips and Reese’s Pieces. To revive that gooey texture after the cookies have cooled, simply microwave them for 8-10 seconds before serving.
This usually happens if the butter was too warm or if the dough wasn’t chilled long enough. Ensure your dough balls are cold when they enter the 350°F oven to preserve their thick, molten centers.
The Ultimate Recipe for Gooey Reese’s Peanut Butter Cookies
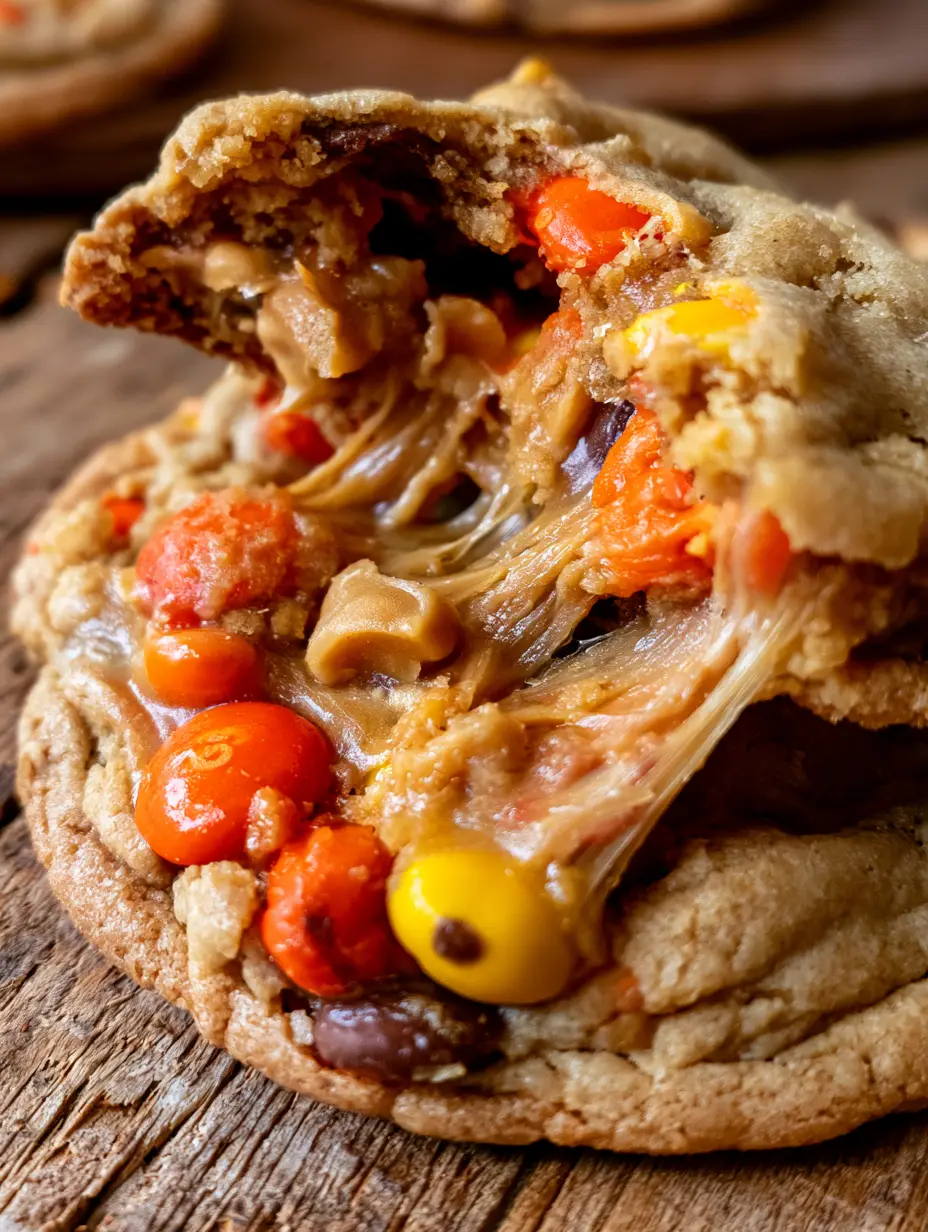
reeses peanut butter cookies: The Ultimate Molten Center Masterpiece
Ingredients
Equipment
Method
- Cream softened butter, peanut butter, brown sugar, and white sugar in a stand mixer for 3 minutes until light and fluffy.
- Add eggs one at a time, then vanilla extract, mixing until fully incorporated and smooth.
- Whisk flour, baking soda, baking powder, and salt. Add to wet ingredients on low speed until just combined.
- Gently fold in 1 cup of Reese's Pieces and all peanut butter chips using a spatula.
- Scoop 3-tbsp balls of dough onto a tray and refrigerate for at least 30 minutes.
- Preheat oven to 350°F (175°C). Press remaining Reese's Pieces onto the tops of the dough balls.
- Bake for 10-12 minutes until edges are set and golden-brown. Do not overbake; the center should remain soft.
Notes
Chilling the dough is mandatory to prevent flat cookies and ensure a molten center.

Conclusion: Join the Peanut Butter Revolution
Mastering these reeses peanut butter cookies is a rite of passage for any serious home baker. The combination of the iconic candy shell, the creamy chips, and the perfectly engineered dough creates a treat that is truly unforgettable. Whether you are baking for a holiday exchange or just a rainy Tuesday, these cookies are guaranteed to impress.
We would love to see your results! Did you get that perfect molten pull? Head over to our Pinterest page to share your photos and follow us for more decadent recipes. Don’t forget to leave a comment below and let us know your favorite way to enjoy Reese’s!