There is something inherently nostalgic about the combination of toasted coconut, chewy caramel, and rich chocolate. These samoa delights capture that magic in a sophisticated, no-bake format that looks like it came from a high-end patisserie but tastes like childhood.
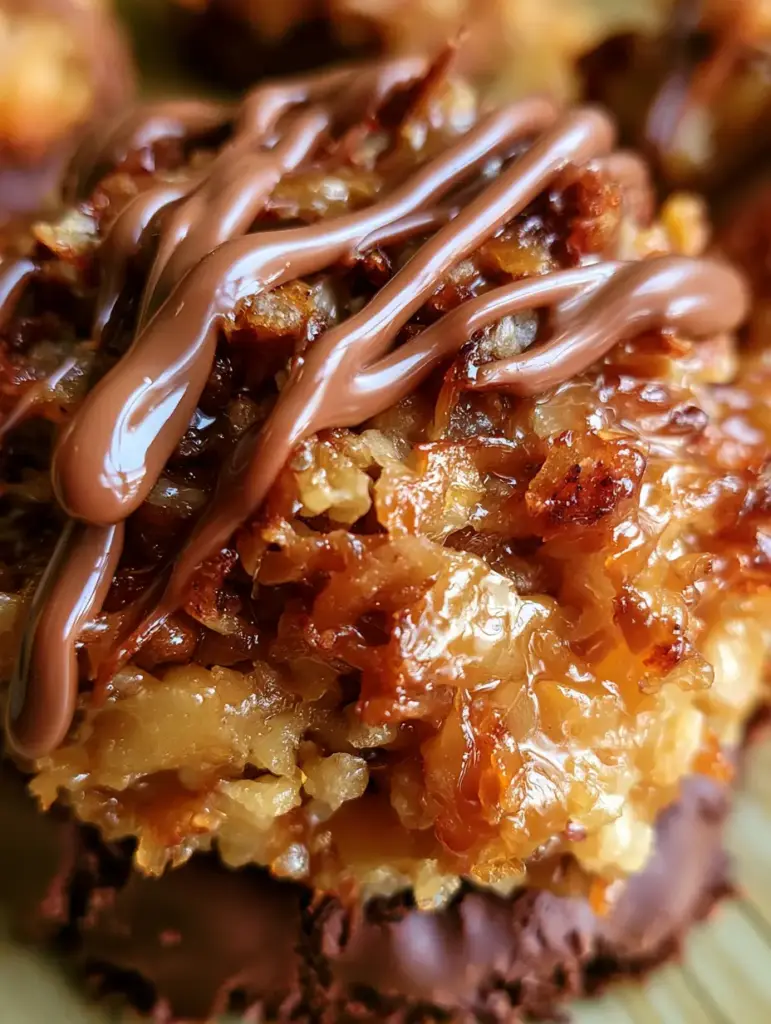
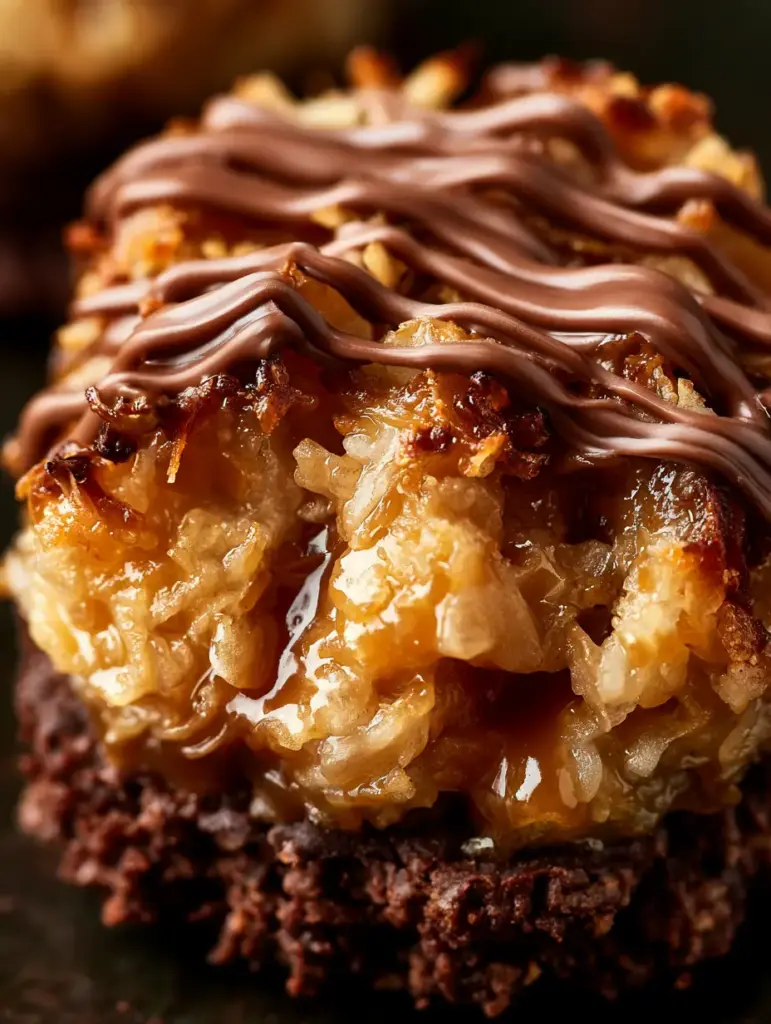
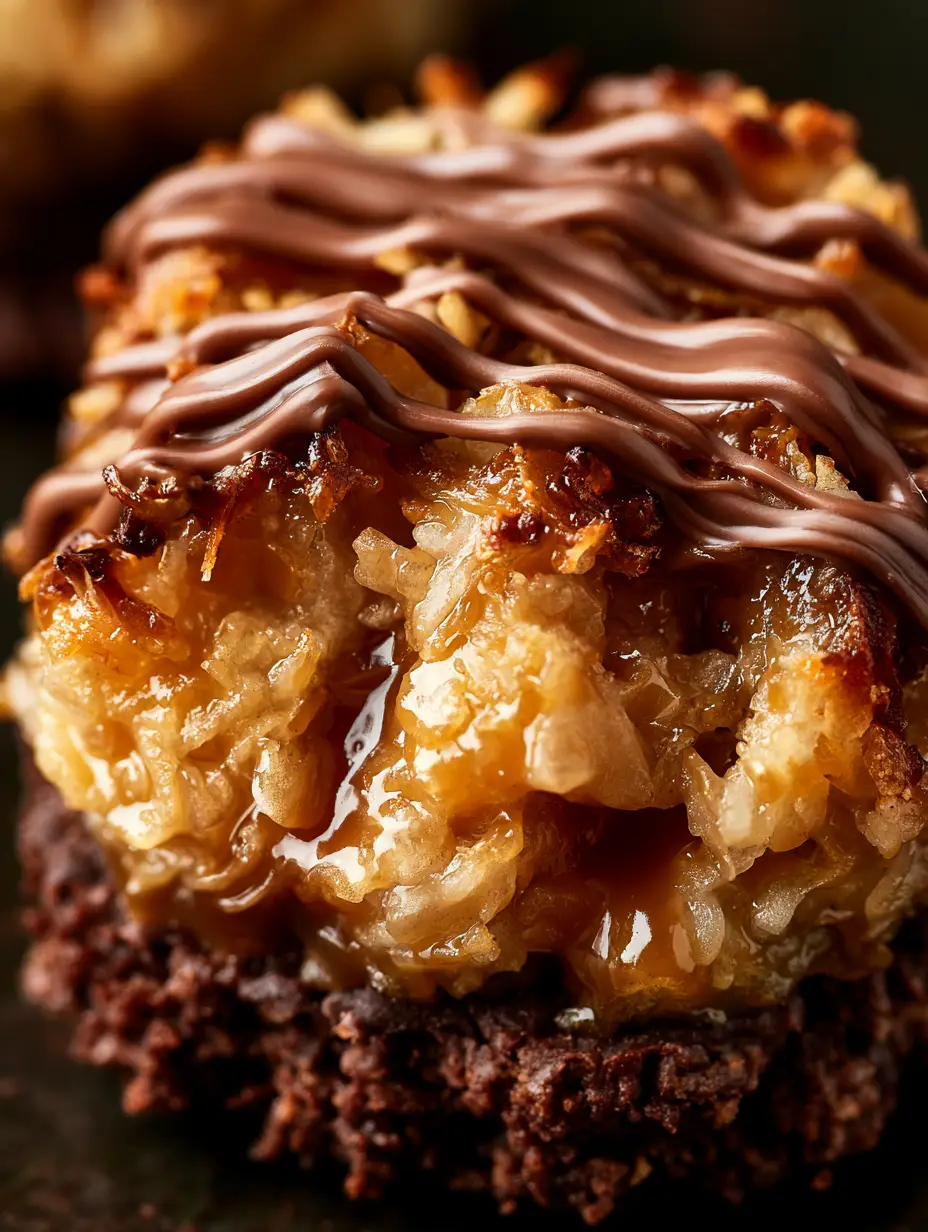
Imagine biting through a crisp, sturdy dark chocolate foundation into a luscious, towering mound of golden-brown coconut. The caramel shimmers in the light, binding the toasted flakes together into a texture that is simultaneously crunchy, chewy, and melt-in-your-mouth soft.
Finished with a glossy milk chocolate zigzag, these treats are a masterclass in flavor layering. Whether you are a fan of the classic Girl Scout cookie or simply a lover of decadent sweets, this recipe is designed to impress both the palate and the camera lens.
Why You Will Fall in Love With These Samoa Delights
- Textural Harmony: The contrast between the snap of the dark chocolate base and the gooey caramel coconut center is purely addictive.
- No-Bake Ease: Achieve professional-grade results without ever turning on your oven, making these perfect for warm weather or busy schedules.
- Visually Stunning: The golden-brown hues of the toasted coconut paired with the artful milk chocolate drizzle make these a showstopper on any dessert platter.
- Sophisticated Flavor Profile: By using high-quality dark chocolate as the foundation, we balance the sweetness of the caramel for a more mature dessert experience.
The Anatomy of a Perfect No-Bake Samoa Treat
To achieve the specific macro-shot quality described in our visual blueprint, we need to focus on the quality of our building blocks. Every ingredient serves a structural and flavor-driven purpose.
Dark Chocolate (70% Cocoa): 1.5 cups (255g). This forms the sturdy base that holds the entire treat together, providing a bitter-sweet counterpoint to the rich toppings.
Coconut Oil: 1 tbsp (15ml). A small amount of oil mixed with the chocolate ensures the base doesn’t become too brittle to bite through once chilled.
Shredded Coconut (Unsweetened): 3 cups (240g). We use unsweetened coconut because the caramel provides plenty of sugar; toasting this until golden brown is the most critical step for flavor depth.
Soft Caramels or Homemade Caramel Sauce: 11 oz (310g). The caramel acts as the “shimmering, sticky” binder that creates the iconic chewy middle layer.
Heavy Cream: 2 tbsp (30ml). This is added to the melted caramels to ensure the texture remains soft and luscious rather than rock-hard after cooling.
Milk Chocolate: 0.5 cups (85g). Reserved for the final artistic zigzag, the milk chocolate adds a creamy sweetness that rounds out the darker notes of the base.
Sea Salt: 1/2 tsp (3g). A fine dusting of sea salt inside the caramel mixture enhances the toasted notes of the coconut and cuts through the richness.
Essential Equipment for Culinary Success
To recreate the “handheld smartphone photo” aesthetic, you don’t need fancy machinery, but a few specific tools will help you achieve those irresistible layers.
A wide, heavy-bottomed skillet is non-negotiable for toasting the coconut evenly. A parchment-lined baking sheet ensures your dark chocolate bases don’t stick and maintain a smooth, professional finish. Finally, a small piping bag or a simple sandwich bag with the corner snipped off is essential for achieving that “glossy drizzle” that zigzags artfully across the top.
If you enjoy these flavors, you might also love our ultimate samoa brownies, which take this flavor profile into a fudgy, baked format.
Mastering the Golden-Brown Toasted Coconut Middle
Step 1: The Art of the Toast
Place your unsweetened shredded coconut in a large, dry skillet over medium-low heat. Do not walk away; coconut can transition from raw to burnt in a matter of seconds.
Stir constantly with a heat-proof spatula. Watch for the sensory cues: a nutty, tropical aroma will fill your kitchen, and the flakes will turn a beautiful, variegated golden-brown.
Once the coconut is toasted, immediately transfer it to a room-temperature bowl to stop the cooking process. Residual heat in the skillet can continue to brown the delicate flakes.
Step 2: Engineering the Dark Chocolate Foundation
Melt your dark chocolate and coconut oil together using a double boiler or in 30-second intervals in the microwave. Stir until the mixture is glossy and completely smooth.
On a parchment-lined tray, drop tablespoons of the chocolate and spread them into even circles, roughly 2 inches (5cm) in diameter. These need to be thick enough to be “sturdy,” as described in the prompt.
Place the tray in the refrigerator for 10-15 minutes. You want the base to be set but not completely frozen, which allows the coconut layer to adhere better.
Step 3: Creating the Sticky Caramel Binder
In a small saucepan, combine your soft caramels and heavy cream. Melt over low heat, stirring frequently to prevent scorching at the bottom of the pan.
Once the caramel is shimmering and fluid, stir in the toasted coconut and a pinch of sea salt. The mixture should be thick, sticky, and thoroughly coated.
If you prefer a different flavor profile for your no-bake treats, consider checking out our no-bake Oreo peanut butter delights for a darker, cocoa-heavy alternative.
Step 4: Assembling the Luscious Mounds
Take your chilled dark chocolate bases out of the fridge. Using a spoon or a small cookie scoop, place a “luscious mound” of the warm coconut-caramel mixture onto each chocolate disc.
Gently press the mixture down so it sticks, but keep the height for that “textured, appealing middle” look. The caramel should look shimmering and moist against the toasted flakes.
Step 5: The Finishing Milk Chocolate Zigzag
Melt the milk chocolate until it is fluid and glossy. Transfer it to your piping bag or a zip-top bag with a tiny corner cut off.
Move your hand in a swift, confident back-and-forth motion to create the zigzag pattern across the top of the coconut mounds. This adds the final “visual appeal” that defines the samoa delights style.
Let the treats set at room temperature for 30 minutes, or pop them back in the fridge for 10 minutes if you are in a hurry to enjoy them.
Expert Tips for Bakery-Quality Samoa Delights
- Temperature Control: Ensure your caramel-coconut mixture isn’t boiling hot when you place it on the dark chocolate bases, or you might melt your foundation entirely.
- Salt is Key: Don’t skip the sea salt; it acts as a flavor bridge between the toasted coconut and the sweet caramel.
- Uniformity: Use a cookie scoop to ensure every mound is the same size, which creates a much more professional look for your handheld photos.
- Chocolate Quality: Since this is a no-bake recipe, the flavor of the chocolate is front and center. Use a bar you would enjoy eating on its own.
Storage and Freshness Guide
These samoa delights are surprisingly hardy. They can be stored in an airtight container at room temperature for up to 5 days, though the caramel is best enjoyed within the first 48 hours.
For a firmer, snappier treat, keep them in the refrigerator for up to 2 weeks. If you want to prep these far in advance, they freeze beautifully for up to 3 months—just thaw them for 15 minutes before serving.
If you are looking for more decadent squares to add to your dessert rotation, our banana blondie squares offer a similar chewy satisfaction.
What to Serve With Your Samoa Delights
These treats are incredibly rich, so they pair best with beverages that can cut through the sugar and fat. A glass of cold milk is classic, but a bitter espresso or a dark roast coffee highlights the dark chocolate base perfectly.
If you are hosting a brunch, these make a great sweet finish after savory dishes like our sausage stuffed french toast rolls or a hearty mashed potato meatloaf bake.
Frequently Asked Questions
Yes! Substitute the dark and milk chocolate for dairy-free versions, and use a coconut milk-based caramel sauce and coconut oil in place of heavy cream.
You can, but it will make the samoa delights significantly sweeter. Since the caramel is already very sweet, unsweetened coconut is recommended for a balanced flavor.
Adding a small amount of coconut oil to the dark chocolate before melting provides just enough flexibility so the base snaps cleanly rather than shattering.
If the caramel is too hard, you may not have added enough heavy cream or you boiled the caramel for too long. Adding cream ensures a soft, chewy ‘luscious mound’ texture even when cold.
Uneven toasting usually happens if the skillet is too hot or not stirred enough. Use medium-low heat and keep the coconut moving constantly to achieve a uniform golden-brown color.
The Complete Samoa Delights Recipe Card
Samoa Delights: The Ultimate No-Bake Toasted Coconut and Caramel Treat
Ingredients
Equipment
Method
- Melt dark chocolate and coconut oil together until glossy and smooth. Drop tablespoons onto parchment paper and spread into 2-inch circles.
- Place the dark chocolate discs in the refrigerator for 10-15 minutes until set but not rock hard.
- Toast shredded coconut in a dry skillet over medium-low heat, stirring constantly until golden-brown and fragrant.
- Melt caramels with heavy cream in a saucepan over low heat until shimmering and fluid. Stir in the toasted coconut and sea salt.
- Spoon generous mounds of the coconut-caramel mixture onto the chocolate bases, pressing gently to adhere.
- Melt milk chocolate and zigzag it artfully across the top of the mounds. Allow to set for 30 minutes before serving.
Notes
Use high-quality dark chocolate for the best flavor contrast.
Closing & Call to Action
Creating these samoa delights is a sensory journey, from the nutty aroma of toasting coconut to the satisfying snap of the dark chocolate base. They prove that you don’t need an oven to create a dessert that is visually stunning and culinarily complex.
If you enjoyed making these, please leave a comment below and let us know how they turned out! Don’t forget to share your beautiful creations on Pinterest and tag us so we can see your artful chocolate zigzags.
For more effortless dessert inspiration, check out our full collection of no-bake delights and level up your treat game today!