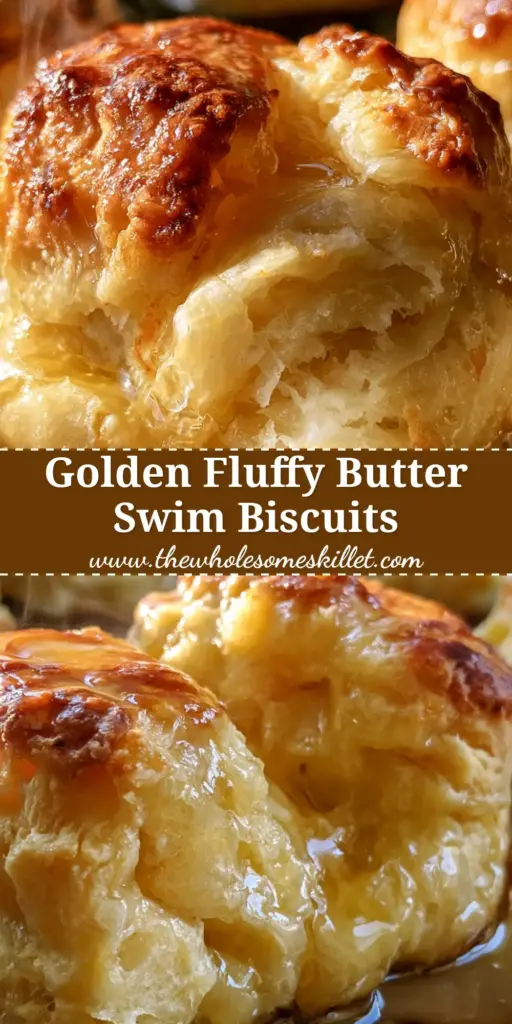
There is nothing quite like the aroma of fresh butter swim biscuits wafting through a sun-drenched kitchen on a quiet Saturday morning. These aren’t your standard, dry, floury hockey pucks; these are a culinary revelation. Imagine a biscuit so tender it practically dissolves, surrounded by a delicate, caramelized crust that has been literally “fried” in a pool of molten gold.
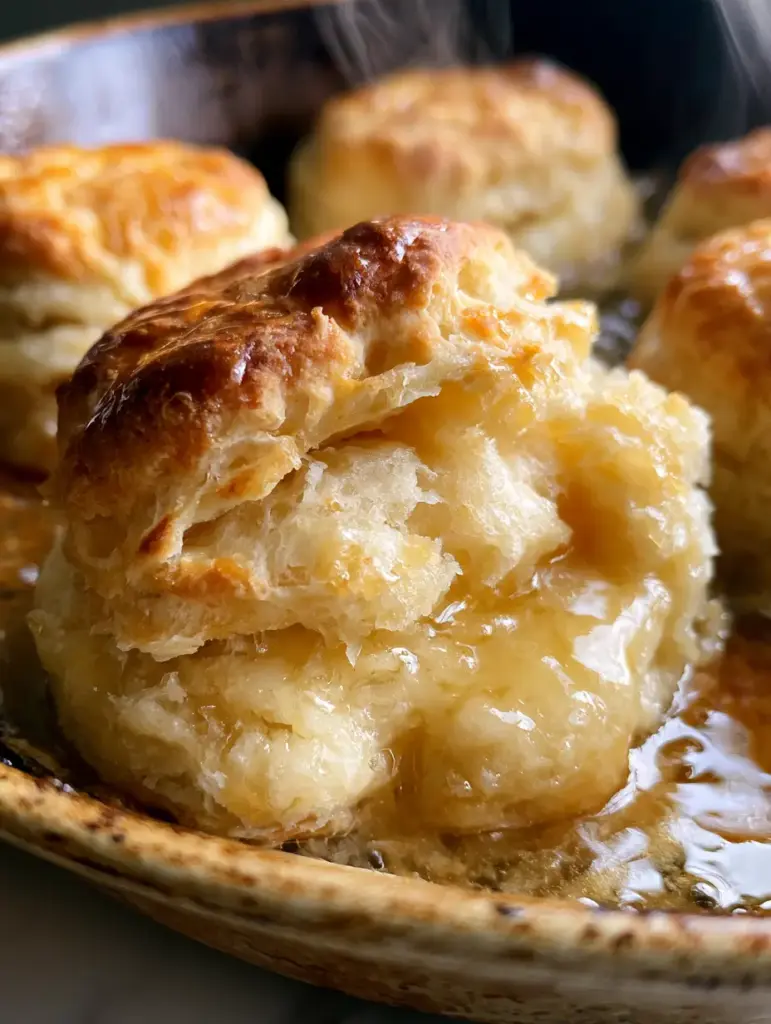
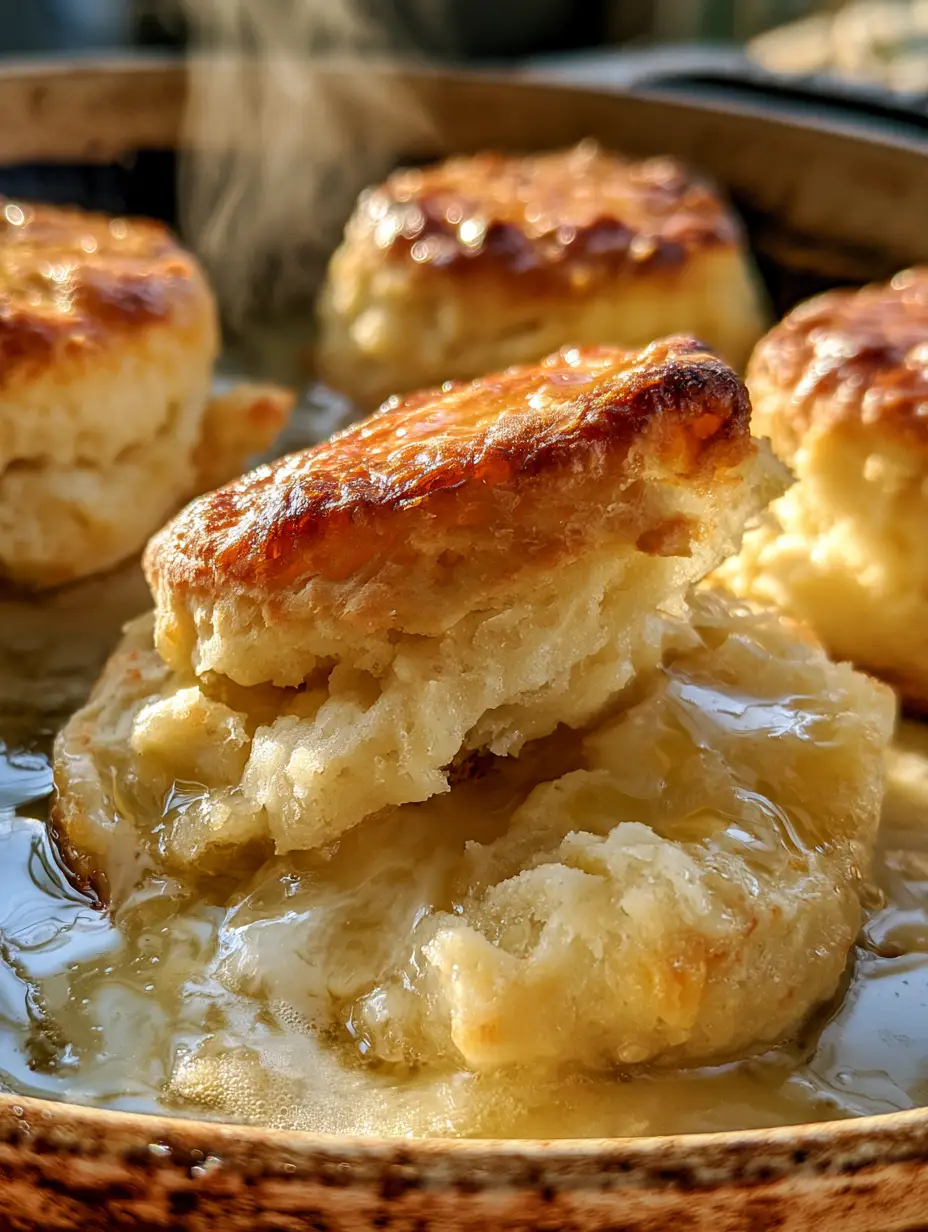
The visual appeal of these butter swim biscuits is undeniable, mirroring a rustic masterpiece where steam gently rises from a deep, well-seasoned cast iron pan. When you split one open, you are greeted by an incredibly fluffy, layered interior that stands in stark contrast to the glistening, crisp edges. This is the recipe that bridges the gap between traditional southern baking and modern, effortless technique.
In this guide, we will dive deep into the science of the “swim,” ensuring you achieve that hyper-realistic, golden-brown finish every single time. Whether you are a seasoned baker or a novice looking for a win, these biscuits deliver a high-impact, restaurant-quality result with minimal effort. Let’s explore how to master this buttery indulgence.
Why These Golden Butter Swim Biscuits Are a Total Game Changer
- The Unrivaled Texture: By baking the dough directly in melted butter, you create a dual-texture experience—a soft, cloud-like crumb inside and a crunchy, savory exterior.
- No-Knead Simplicity: Forget the messy counters and the fear of overworking the dough; this high-hydration batter is stirred together in minutes.
- Scientific Flavor Depth: The interaction between the tangy buttermilk and the bubbling butter creates a complex, toasted profile that standard biscuits simply cannot match.
- Rustic Presentation: Baking in a cast iron pan provides superior heat retention, resulting in the deep caramelization and rustic aesthetic seen in professional food photography.
The Essential Elements for Perfect Butter Swim Biscuits
Achieving that glistening, rich pool of butter and the perfectly layered interior requires specific ingredients acting in chemical harmony. Here is what you need to gather for your masterpiece.
The Foundational Dry Components
All-Purpose Flour: 2.5 cups (312g). This provides the necessary structure without making the biscuits tough; ensure you spoon and level your flour for accuracy.
Baking Powder: 1 tbsp (15g). A generous amount of leavening is required to lift the heavy, wet dough and create those iconic airy pockets.
Granulated Sugar: 1 tbsp (12.5g). This isn’t just for sweetness; sugar aids in the Maillard reaction, helping achieve that deep golden-brown crust.
Salt: 1 tsp (6g). Fine sea salt balances the richness of the butter and enhances the natural tang of the buttermilk.
The Liquid Gold & Moisture
Unsalted Butter: 1/2 cup (113g). This is the “swim” element; you will melt this directly in the pan to create the frying medium for the dough.
Cold Buttermilk: 2 cups (480ml). The acidity in buttermilk reacts with the baking powder for a massive rise, while its fat content ensures a tender, moist crumb.
Must-Have Equipment for a Rustic Finish
To replicate the handheld smartphone photo aesthetic of a professional kitchen, your tools matter as much as your ingredients. The right vessel ensures even cooking and the correct sensory cues.
8-inch or 10-inch Cast Iron Pan: This is non-negotiable for the best results. The seasoned iron holds heat, ensuring the butter sizzles against the dough to create a delicate crispness.
Glass Mixing Bowl: A large bowl allows you to fold the buttermilk into the dry ingredients without compressing the air bubbles needed for fluffiness.
Silicone Spatula: Use this to gently combine the wet and dry ingredients until just moistened—over-mixing is the enemy of the fluffy interior.
Step-by-Step Instructions to Biscuit Perfection
Preparing the Molten Butter Bath
Start by preheating your oven to 450°F (230°C). Place your 1/2 cup (113g) of unsalted butter into your cast iron pan and slide it into the oven as it heats.
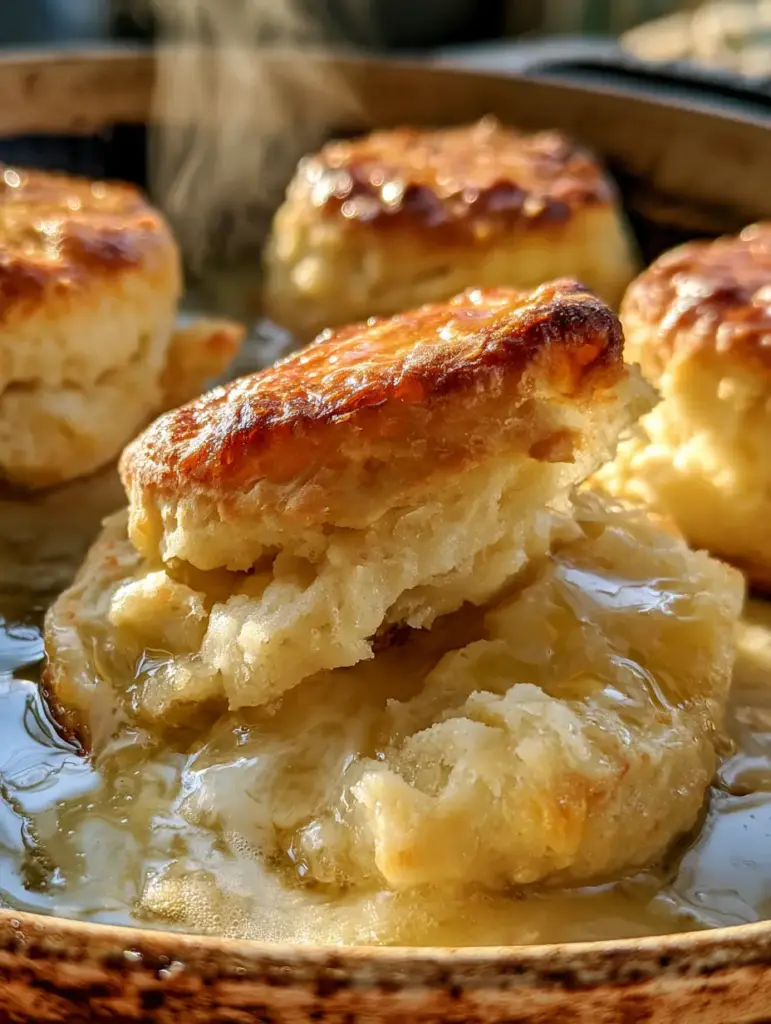
Watch for the visual cue: the butter should be completely melted and just beginning to foam, but not yet turning brown. This hot environment is what will “fry” the bottom and sides of your butter swim biscuits.
Constructing the High-Hydration Dough
In your large mixing bowl, whisk together the flour, baking powder, sugar, and salt. Ensure there are no large clumps, as these will affect the rise.
Pour the cold buttermilk into the center of the dry ingredients. Using your spatula, fold the mixture together until a shaggy, very wet dough forms; it will look more like a thick cake batter than a traditional biscuit dough.
The “Swim” and The Bake
Carefully remove the hot pan with the melted butter from the oven. Pour the dough directly into the center of the glistening pool of butter.
Use your spatula to gently spread the dough to the edges of the pan. The butter will flow up over the sides—this is exactly what you want! Use a knife to “score” the dough into 9 squares before baking; this allows the butter to seep into the cracks.
Bake for 20-25 minutes. Look for the visual descriptors: the top must be a deep, caramelized golden-brown, and the butter should be mostly absorbed, leaving a rich, appetizing pool around the edges.
Expert Tips for Success with Butter Swim Biscuits
- Keep it Cold: Use buttermilk straight from the refrigerator. The temperature difference between the cold dough and the hot butter pan creates immediate steam, which is the secret to a layered interior.
- Don’t Drain the Butter: It may look like a lot of fat, but as the biscuits sit for 5-10 minutes after baking, they will soak up that extra flavor, becoming incredibly moist.
- Score Deeply: When you cut the unbaked dough in the pan, make sure your knife touches the bottom of the cast iron. This ensures the butter surrounds every single biscuit.
- Listen for the Sizzle: When the dough hits the pan, you should hear a slight hiss. This sound confirms the pan is hot enough to create that delicate crispness on the crust.
Storage, Reheating, and Make-Ahead Advice
These biscuits are best served warm, straight from the pan, while the steam is still rising. However, if you have leftovers, store them in an airtight container at room temperature for up to 2 days.
To reheat and restore that original crispness, avoid the microwave. Instead, place them back in a 350°F (175°C) oven for 5-7 minutes until the butter begins to glisten again.
You can also freeze these biscuits! Wrap them individually in foil and store them in a freezer bag for up to 3 months. Thaw at room temperature and reheat in the oven for a “just-baked” experience.
What to Pair With Your Buttery Creation
These butter swim biscuits are versatile enough for both sweet and savory applications. For a classic Southern breakfast, pair them with creamy sausage gravy.
If you’re serving these for dinner, they make the perfect side to soak up the sauce from creamy marry me chicken or to accompany a hearty kielbasa potato bake.
For those who love the “salty-sweet” combination, try spreading a bit of peanut butter chocolate dip on a warm biscuit for a decadent treat that rivals any bakery pastry.
Frequently Asked Questions
It is best to bake the dough immediately after mixing. Once the buttermilk hits the baking powder, the chemical reaction starts. If the dough sits, the biscuits will be dense.
Buttermilk is highly recommended for its acidity, which reacts with the baking powder to create fluffiness. If you must use regular milk, add 1 tablespoon of lemon juice or vinegar to 2 cups of milk and let it sit for 5 minutes.
No! The 1/2 cup of melted butter acts as the non-stick agent. The dough will not stick to the cast iron because it is essentially frying in the butter as it bakes.
They are called butter swim biscuits because the dough is literally submerged in a pool of melted butter in the baking pan, which fries the exterior to a golden crisp while steaming the interior.
The most common reasons are expired baking powder or over-mixing the dough. The dough should be wet and handled gently to keep the air pockets intact.
The Ultimate Butter Swim Biscuits Recipe
Butter Swim Biscuits: The Ultimate Guide to Fluffy, Golden Perfection
Ingredients
Equipment
Method
- Preheat your oven to 450°F (230°C). Place the butter in a cast iron pan and melt it in the oven until bubbling.
- In a large bowl, whisk together the flour, baking powder, sugar, and salt.
- Pour the cold buttermilk into the dry ingredients. Stir gently with a spatula until a wet, shaggy dough forms. Do not overmix.
- Pour the dough into the pan with melted butter. Spread to the edges and score into 9 squares using a knife.
- Bake for 20-25 minutes until the crust is deep golden-brown and the interior is set. Let sit for 5 minutes before serving.
Notes
Use a sharp knife to score the dough all the way to the bottom of the pan.
Closing & Call to Action
Mastering these butter swim biscuits is a surefire way to elevate your home cooking game. The combination of the rustic cast iron presentation and the incredible fluffy interior makes them a visual and culinary triumph. Whether you’re hosting a brunch or just treating yourself to a cozy morning, these biscuits are the answer.
Did you try this recipe? We would love to hear how your “swim” turned out! Leave a comment below, and don’t forget to share your golden-brown results with us. For more mouth-watering inspiration, follow us on Pinterest and save this recipe to your favorite board!