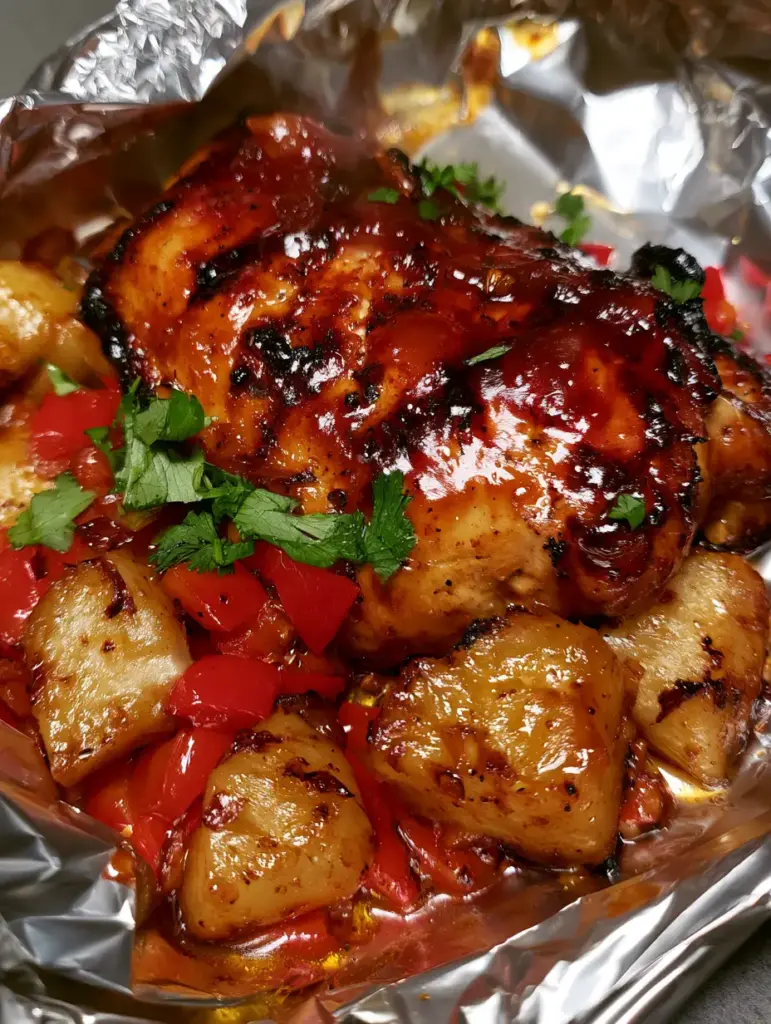
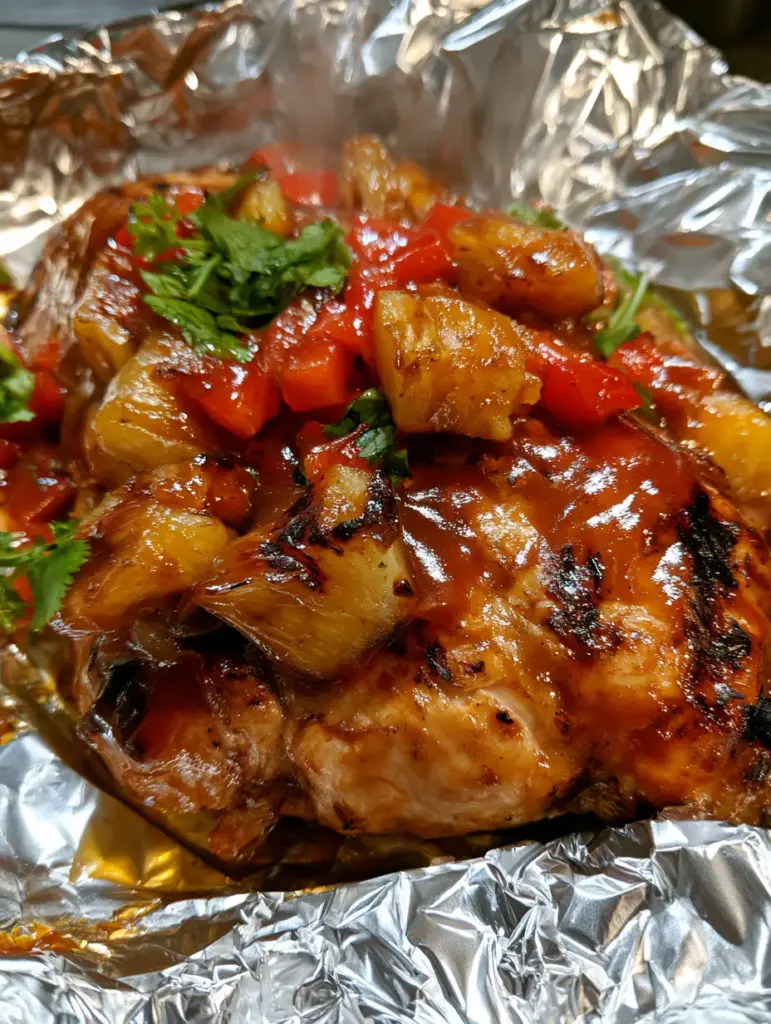
When the sun begins to set and the craving for a smoky, sweet, and effortless dinner hits, nothing beats the convenience of bbq chicken foil packs. This recipe isn’t just about throwing ingredients together; it is a masterclass in capturing the essence of Hawaiian-style outdoor cooking with zero cleanup. Imagine unwrapping a steaming silver parcel to reveal a succulent chicken breast drenched in a thick, glossy mahogany sauce, nestled alongside golden charred pineapple and vibrant red peppers.
The magic of this bbq chicken foil packs method lies in the “steam-sear” hybrid environment created inside the crinkled aluminum foil. As the chicken cooks, it releases savory juices that mingle with the caramelized BBQ sauce, creating a rich glaze that clings to every bite. Whether you are firing up the backyard grill or using your oven on a busy Wednesday night, these packets deliver high-contrast flavors and textures that rival any professional kitchen.
By following this guide, you will achieve that specific Ultra-HD visual appeal: deep grill marks, reflective glossy sauces, and those perfectly softened yet bright vegetables. It’s a vibrant, high-protein meal that looks just as good as it tastes. Let’s dive into the science of the perfect foil packet and how to avoid the common pitfalls of soggy chicken and pale produce.
Why This Hawaiian-Inspired Foil Dinner Actually Works
- The Mahogany Glaze: We use a specific basting technique to ensure the BBQ sauce caramelizes into a thick, glossy coating rather than a watery soup.
- Textural Contrast: By charring the pineapple chunks beforehand or using high-heat positioning, we achieve golden edges that provide a sweet-tart counterpoint to the savory chicken.
- One-Pan Efficiency: Everything from the proteins to the aromatics cooks in its own self-contained environment, locking in moisture and intensifying the bbq chicken foil packs experience.
- Visual Vibrancy: The addition of fresh cilantro and diced red bell peppers provides a “pop” of color that makes this dish look like authentic, high-contrast food photography.
The Anatomy of a Perfect BBQ Foil Packet
To achieve the result shown in our visual blueprint, you need a balance of main proteins and foundational “invisible” ingredients. These secondary items, like the right oil and seasoning, are what prevent sticking and elevate the flavor profile from “camping food” to “gourmet dinner.”
Boneless Skinless Chicken Breasts: We use 2 large (approx. 500g total) breasts, sliced into thick strips or kept whole, to ensure they remain juicy while the sauce caramelizes. Chicken thighs are a great alternative if you prefer a higher fat content and even more moisture.
Thick Mahogany BBQ Sauce: 1 cup (240ml) of a high-sugar-content BBQ sauce is vital for that reflective, glossy finish. The sugar reacts with the heat to create the deep mahogany color and sticky texture we are looking for.
Fresh Pineapple Chunks: 1.5 cups (225g) of fresh pineapple provides the necessary acidity to cut through the sweetness of the sauce. Fresh is superior to canned as it holds its structural integrity better under high heat.
Red Bell Peppers: 1 large (150g) pepper, finely diced, adds a crunch and a bright red visual that contrasts beautifully against the dark sauce. Bell peppers also release subtle sweetness as they roast.
Red Onion: 1/2 medium (60g) onion, sliced into wedges, provides a savory aromatic base. These will soften and absorb the bbq chicken foil packs juices as they cook.
Extra Virgin Olive Oil: 2 tbsp (30ml) is used to coat the foil and the chicken. This foundational ingredient ensures the chicken sears rather than boils and prevents the sauce from burning to the silver foil.
Kosher Salt and Coarse Black Pepper: 1 tsp (6g) salt and 1/2 tsp (2g) pepper are essential for seasoning the meat before the sauce is applied. Without this, the chicken will taste flat despite the sauce.
Fresh Cilantro: 1/4 cup (10g) of chopped cilantro is the final “hero” garnish. It must be added at the very end to maintain its bright green color and herbal aroma.
Essential Equipment for the Best BBQ Chicken Foil Packs
You don’t need a professional kitchen, but a few specific tools will help you achieve the “Ultra-HD” look. First and foremost, use Heavy-Duty Aluminum Foil. Standard foil is too thin and prone to tearing, which would allow those precious savory juices to escape.
A high-quality pastry brush is also necessary for the basting process. To get that thick, reflective glaze, you need to brush the sauce on in layers. Finally, a digital meat thermometer is the only way to ensure your chicken reaches a safe 165°F (74°C) without overcooking and becoming rubbery.
Mastering the Fold: Step-by-Step Instructions
Phase 1: Prepping the Protein and Produce
Start by preheating your grill to medium-high heat (about 400°F/200°C). If you are using an oven, set it to the same temperature. Pat the chicken breasts dry with paper towels to remove excess moisture; this is the secret to getting those caramelized grill marks through the foil.
Season the chicken on both sides with your salt and pepper. In a large mixing bowl, toss the pineapple chunks and diced red bell peppers with 1 tbsp (15ml) of olive oil. This light coating helps the pineapple achieve that “golden charred” look without burning.
Phase 2: Assembling the Foil Parcels
Lay out four large sheets of heavy-duty aluminum foil, approximately 12×12 inches (30x30cm) each. Lightly grease the center of each sheet with the remaining olive oil. Place one chicken breast (or the equivalent strips) in the center of each piece of foil.
Top the chicken with a generous portion of the pineapple chunks, diced peppers, and onion wedges. This layering is crucial; the juices from the fruit and vegetables will drip down onto the chicken as it heats. If you enjoy a variety of flavors, you might even consider trying Korean BBQ chicken bowls for your next meal prep session.
Phase 3: The First Basting and Sealing
Spoon about 2 tbsp (30ml) of the BBQ sauce over each chicken breast. Use your brush to ensure it is evenly coated. Fold the sides of the foil up to meet in the middle, then fold the edges down twice to create a tight seal. Leave a little bit of “headspace” inside the packet for steam to circulate.
Fold the ends of the foil inward to ensure no liquid can escape. This creates the “crinkled silver” look from our visual blueprint while keeping the bbq chicken foil packs moist and tender. For a different twist on poultry, you may also enjoy the creamy textures of Boursin chicken on nights when you aren’t grilling.
Phase 4: Grilling and the Glossy Finish
Place the foil packs onto the grill grates. Close the lid and cook for 15-20 minutes. At the 15-minute mark, carefully open the top of the foil (watch out for the rising steam!). Brush on an additional layer of BBQ sauce and leave the foil open for the final 5 minutes.
This “open-foil” finish is what creates the caramelized BBQ sauce and those deep mahogany tones. You want to see the sauce bubbling and thickening. If you prefer a more traditional stovetop method for savory poultry, our smothered chicken recipe offers another way to achieve rich, flavorful sauces.
Expert Tips for Visual and Flavor Success
- The Steam Release: When you open the packets to finish the sauce, the steam reflecting the light is a sign that the internal moisture is perfect. Don’t skip the “open-foil” stage or your sauce will stay watery.
- Pineapple Positioning: Place a few pineapple chunks directly against the foil on the bottom or side. This encourages the “golden charred” edges that look so appealing in high-contrast food photography.
- Sauce Selection: Use a sauce with a high sugar or molasses content. Thinner, vinegar-based sauces won’t provide the “glossy mahogany” look described in our visual prompt.
- Freshness is Key: Always add the cilantro at the very last second. The heat from the bbq chicken foil packs will cause the cilantro to wilt and turn dark green if added too early.
The Best Sides for Your BBQ Chicken Foil Packs
While these packets are a complete meal on their own, pairing them with the right sides can elevate the entire dining experience. A light, refreshing salad or a simple grain is often all you need. If you love the idea of meat and fruit pairings, you should definitely check out our chicken kabobs which feature a similar grilled profile.
For those who want to stick with the “no-mess” theme, serving these with a side of coconut rice or even honey glazed roasted carrots works beautifully. The sweetness of the carrots complements the BBQ sauce perfectly, making for a cohesive plate.
How to Store and Reheat Your Leftovers
Storage: These bbq chicken foil packs are incredible for meal prep. Once cooled, you can store the entire foil packet (inside an airtight container) in the refrigerator for up to 4 days. The flavors actually deepen as the chicken continues to marinate in the savory juices.
Reheating: To maintain the texture, we recommend reheating in the oven at 350°F (175°C) for 10-12 minutes while still in the foil. This prevents the chicken from drying out. Avoid the microwave if possible, as it can make the pineapple mushy and the chicken rubbery.
Freezing: You can freeze the assembled, uncooked packets for up to 3 months. Simply thaw in the fridge overnight before grilling as directed. This makes them a perfect “emergency dinner” for busy weeks.
Frequently Asked Questions about Foil Pack Cooking
Absolutely! Preheat your oven to 400°F (200°C) and bake the packets on a baking sheet for 20-25 minutes. Open the foil for the last 5 minutes under the broiler to get that caramelized finish.
Yes, chicken thighs are an excellent substitution. They are more forgiving and stay extremely juicy, though they may require an extra 5 minutes of cook time.
Always use a foundational layer of olive oil or non-stick spray on the foil before adding the chicken. Using heavy-duty foil also helps prevent the sauce from burning and sticking.
Fresh pineapple is highly recommended. It has a firmer texture that holds up to the high heat and chars beautifully, whereas canned pineapple can become mushy.
Look for a thick, tomato-based sauce with high sugar or molasses content (like Kansas City style). This ensures the sauce caramelizes into a mahogany glaze rather than running off.
The Ultimate Hawaiian BBQ Chicken Foil Pack Recipe
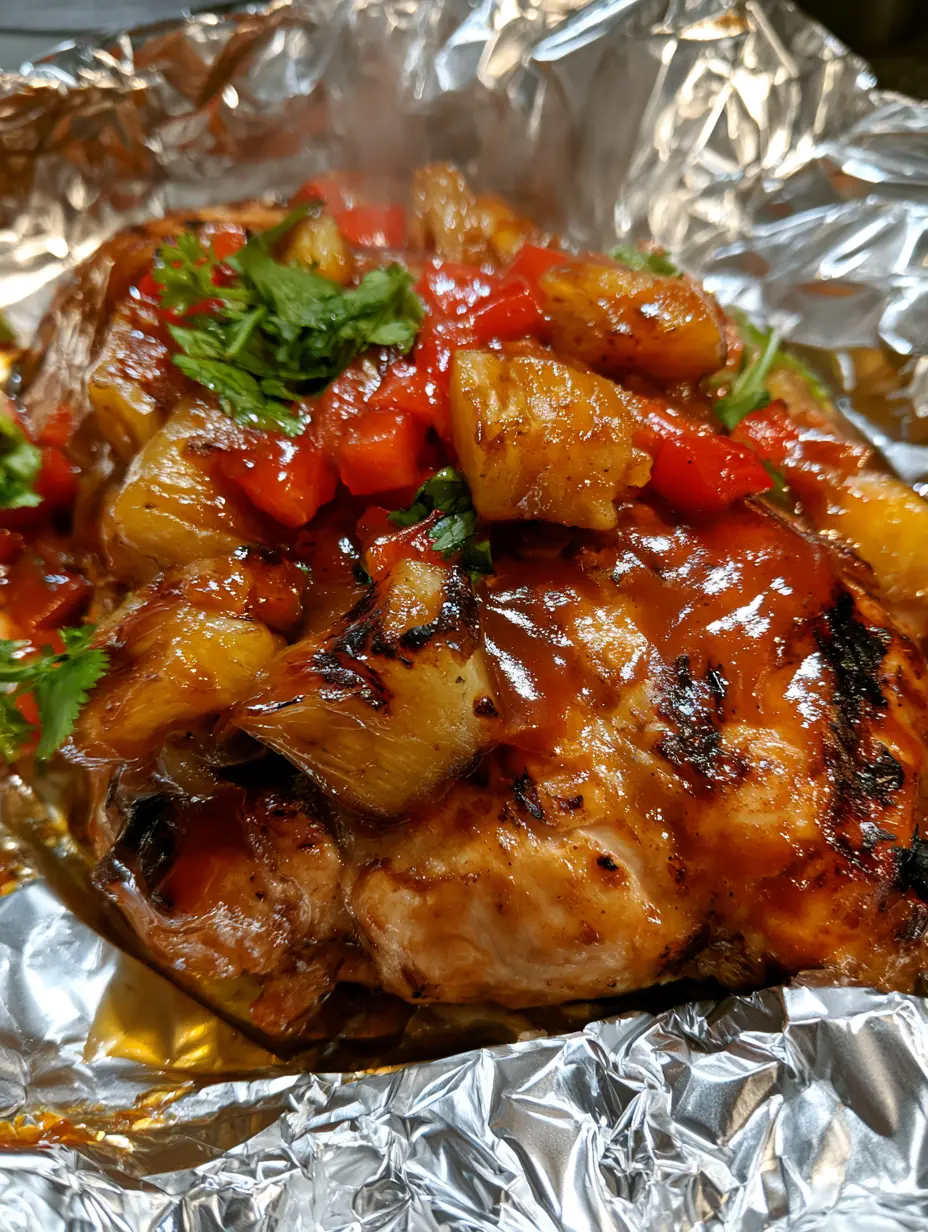
BBQ Chicken Foil Packs with Charred Pineapple and Peppers
Ingredients
Equipment
Method
- Preheat your grill or oven to 400°F (200°C).
- Pat chicken dry and season with salt and pepper.
- Place chicken and veggies on oiled foil sheets. Top with BBQ sauce and seal tightly.
- Grill for 15 minutes sealed, then open foil and brush with more sauce for 5-10 more minutes until glazed.
- Top with fresh cilantro and serve in the foil to capture savory juices.
Notes
Apply the second layer of sauce with the foil open for a glossy finish.
Bring the Island Vibes to Your Backyard
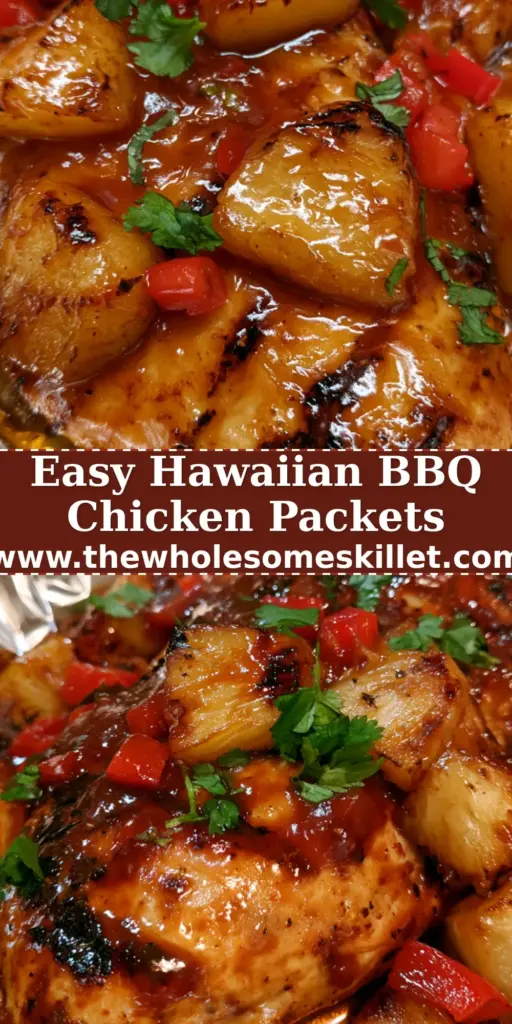
Mastering the bbq chicken foil packs is a rite of passage for any home cook who values flavor as much as convenience. The combination of caramelized sauce, charred fruit, and tender chicken creates a sensory experience that is hard to match with traditional baking methods. By following our tips for high-heat finishing and fresh garnishing, your dinner will look exactly like the professional photography in our guide.
If you enjoyed this recipe, please leave a comment below and let us know how your charred pineapple turned out! Don’t forget to sign up for our newsletter for more elite-level recipes. You can also save this recipe to your favorite boards on Pinterest to ensure you always have it ready for grilling season.