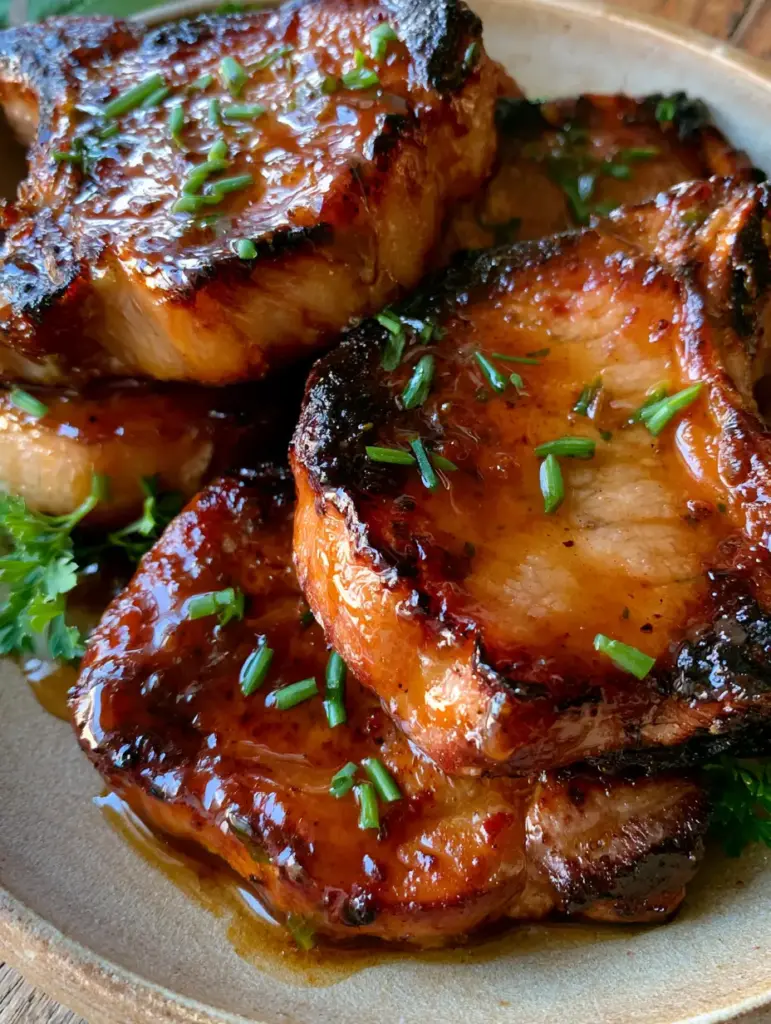
There is something undeniably primal and satisfying about a thick-cut, bone-in pork chop hitting a ripping hot skillet. But when you introduce a deep, amber caramelization into the equation, you elevate a simple weeknight staple into a culinary masterpiece. These brown sugar pork chops are designed for those who crave that perfect juxtaposition of a salty, crispy crust and a sweet, glistening glaze that clings to every tender fiber of the meat.
Inspired by the warm, inviting glow of a sun-drenched kitchen, this recipe focuses on achieving a professional-grade sear that rivals the best steakhouses. We aren’t just cooking meat; we are engineering a flavor profile where the rich notes of molasses in the brown sugar meld with the savory drippings of the pork to create a sauce that pools beautifully on a rustic ceramic plate.
Whether you are a seasoned home cook or just beginning your journey, mastering these brown sugar pork chops will become a cornerstone of your repertoire. The visual appeal—vibrant green herbs against a mahogany glaze—is just the beginning. The real magic happens when you take that first bite of succulent, perfectly seasoned pork.
Why This Caramelized Glaze Method Wins Every Single Time
- The Maillard Reaction Meets Caramelization: By searing the chops first to develop a golden-brown crust and then introducing the sugar, we achieve a complex flavor profile that isn’t just “sweet,” but deeply toasted and savory.
- Unrivaled Texture: The thick-cut bone-in chops ensure the interior stays incredibly juicy while the exterior develops those sought-after crispy, “burnt” edges that provide a satisfying crunch.
- Visual Brilliance: The contrast of the deep amber sauce against the fresh, hand-chopped chives and parsley makes this a “smartphone-photo-ready” meal that tastes even better than it looks.
- Simple Sophistication: Using foundational pantry staples, you can create a perfectly glazed pork chop that feels like a high-end restaurant dish with minimal cleanup.
The Anatomy of the Perfect Brown Sugar Pork Chops
To achieve the result seen in our visual blueprint, you need more than just pork and sugar. Each ingredient serves a specific structural and flavor-based purpose. Here is what you will need to gather before you start the heat.
The Protein and the Crust
4 Thick-Cut Bone-In Pork Chops (approx. 1 inch or 2.5cm thick): The bone acts as a thermal conductor, helping the meat cook more evenly while adding flavor to the surrounding tissue. A thinner chop will overcook before the glaze has time to properly reduce.
2 tbsp (30ml) High Smoke Point Oil (Avocado or Grapeseed): You need an oil that won’t burn during the initial high-heat sear. This is the foundation of that golden-brown crust.
1.5 tsp (9g) Kosher Salt and 1 tsp (2g) Freshly Cracked Black Pepper: Seasoning the meat directly is non-negotiable for building the first layer of savory flavor.
The Signature Amber Glaze
1/2 cup (100g) Light Brown Sugar: Packed with just enough molasses to create a rich color without being overpowering. This provides the “glistening” quality seen in the final dish.
4 tbsp (56g) Unsalted Butter: The fat in the butter emulsifies with the sugar and pork juices to create a sauce that “clings” to the meat rather than sliding off.
3 cloves Garlic, smashed and minced: Garlic provides the aromatic backbone that balances the sweetness of the sugar.
1 tsp (5ml) Apple Cider Vinegar: A tiny hit of acidity cuts through the richness of the pork and the sweetness of the glaze, brightening the entire palate.
The Vibrant Finishing Touches
2 tbsp (8g) Fresh Chives, finely snipped: These provide a mild onion bite and a bright green pop against the dark sauce.
2 tbsp (8g) Fresh Italian Parsley, chopped: Parsley adds a clean, peppery finish that refreshes the palate between bites.
Essential Equipment for a Pro-Level Sear
Achieving that deep amber glaze and crispy edge requires the right tools. A flimsy pan won’t hold the heat necessary for a proper sear, and you risk the sugar burning before the pork is cooked through.
Heavy-Bottomed Skillet (Cast Iron Preferred): Cast iron is the gold standard here. Its heat retention is unparalleled, ensuring that when the cold pork hits the pan, the temperature doesn’t drop, allowing for an immediate sear.
Instant-Read Meat Thermometer: This is the only way to guarantee juicy pork. We are looking for an internal temperature of 145°F (63°C).
Stainless Steel Tongs: You need a firm grip to flip these heavy chops and to sear the fat cap on the edges.
Mastering the Art of the Golden-Brown Sear
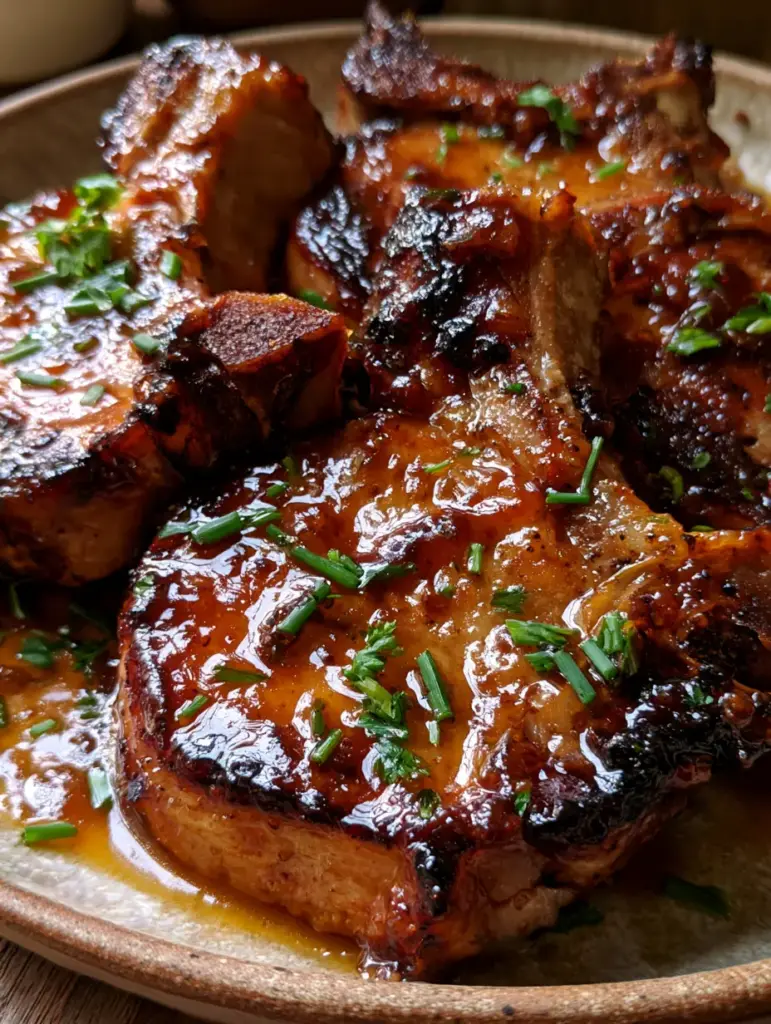
Follow these steps precisely to ensure your brown sugar pork chops look exactly like the glistening, herb-scattered masterpiece in the handheld smartphone photo.
Step 1: Tempering and Seasoning
Remove your pork chops from the refrigerator at least 20 minutes before cooking. Pat them extremely dry with paper towels. Moisture is the enemy of a good sear; if the meat is wet, it will steam rather than crust. Season generously on all sides, including the edges, with salt and pepper.
Step 2: The Initial High-Heat Sear
Heat your oil in the cast iron skillet over medium-high heat until it just begins to shimmer and show wisps of smoke. Carefully lay the chops into the pan, moving away from you to avoid splashes. Press down slightly to ensure maximum surface contact. Sear for 4-5 minutes without moving them. You are looking for a deep, golden-brown crust to form before you even think about flipping.
Step 3: Creating the Deep Amber Glaze
Flip the chops. Lower the heat to medium and add the butter to the skillet. Once the butter foams, add the minced garlic and the brown sugar. As the sugar melts into the butter, it will begin to bubble and turn into a rich, mahogany syrup. Use a large spoon to continuously baste the pork chops with this bubbling liquid.
Step 4: The Finishing Reduction
Stir in the apple cider vinegar. Continue to cook and baste for another 3-4 minutes. The sauce should start to thicken, becoming a “glistening sauce” that creates visible drips and pools. Monitor the internal temperature; once it hits 140°F (60°C), remove the pan from the heat. The temperature will rise to 145°F (63°C) as the meat rests.
Expert Tips for Success
- Don’t Crowd the Pan: If your skillet isn’t large enough for four chops, cook them in two batches. Overcrowding drops the temperature and prevents the edges from getting crispy.
- The Fat Cap Trick: Use your tongs to stand the pork chops up on their sides for 60 seconds to render the strip of fat along the edge. This adds incredible flavor and texture.
- Resting is Mandatory: Allow the chops to rest for at least 5-8 minutes on the rustic ceramic plate. This allows the fibers to relax and reabsorb the juices, ensuring every bite is tender meat.
- Managing Sugar Heat: If the glaze looks like it’s getting too dark too fast, add a tablespoon of water or chicken stock to thin it out and cool the pan slightly.
What to Serve With Glazed Pork
The richness of these brown sugar pork chops calls for sides that can either stand up to the bold flavors or provide a refreshing contrast. For a classic comfort meal, pair these with an ultimate cheesy crispy hash brown casserole. The creaminess of the potatoes is the perfect foil for the sweet glaze.
If you’re looking for something more balanced, a savory pork and sauerkraut side provides the necessary acidity to cut through the sugar. For dessert, keep the comfort theme going with decadent banana blondies or a batch of no-bake peanut butter delights.
Storage, Reheating & Freezing
Storage: Store leftovers in an airtight container in the refrigerator for up to 3 days. Make sure to pour all the extra glaze over the meat to keep it moist.
Reheating: Avoid the microwave if possible, as it can make pork rubbery. Instead, reheat in a skillet over low heat with a splash of water or broth, covering the pan to trap steam until warmed through.
Freezing: You can freeze the cooked chops for up to 2 months. Thaw overnight in the fridge before reheating using the skillet method mentioned above.
Commonly Asked Questions
Yes, you can, but keep in mind that boneless chops cook much faster and lack the flavor protection of the bone. Reduce your cooking time by 1-2 minutes per side to prevent drying out.
No marination is needed for this recipe! The brown sugar glaze provides so much external flavor that a simple salt and pepper seasoning on a dry surface is best for the crust.
The key is to sear the meat first at high heat, then lower the heat to medium before adding the sugar and butter. Continuous basting also helps regulate the temperature of the glaze.
For juicy results, cook your pork chops to an internal temperature of 145°F (63°C). Pull them off the heat at 140°F as carryover cooking while resting will bring them to the final safe temperature.
If the sauce is too thin, it won’t cling. Make sure to let the butter and sugar bubble and reduce for a few minutes until it reaches a syrupy consistency before serving.
The Final Brown Sugar Pork Chop Recipe
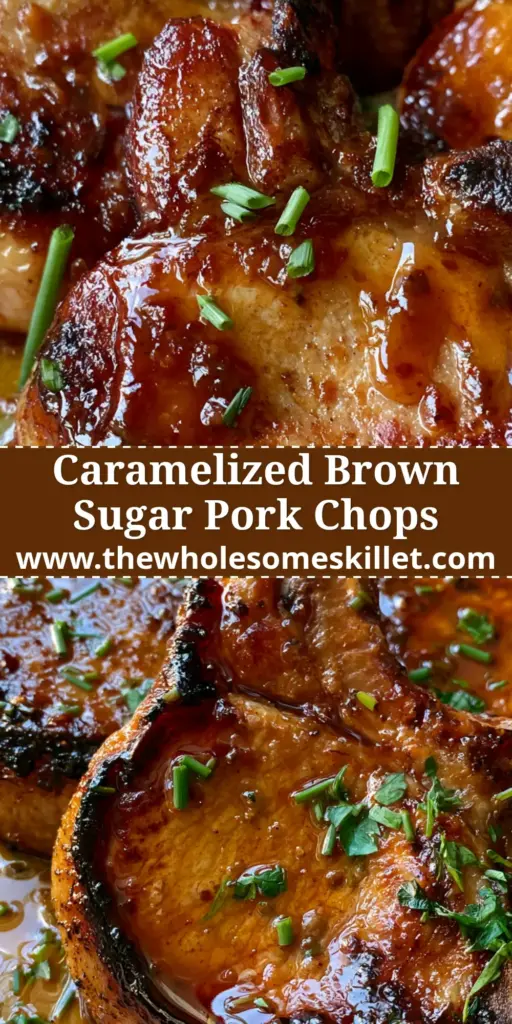
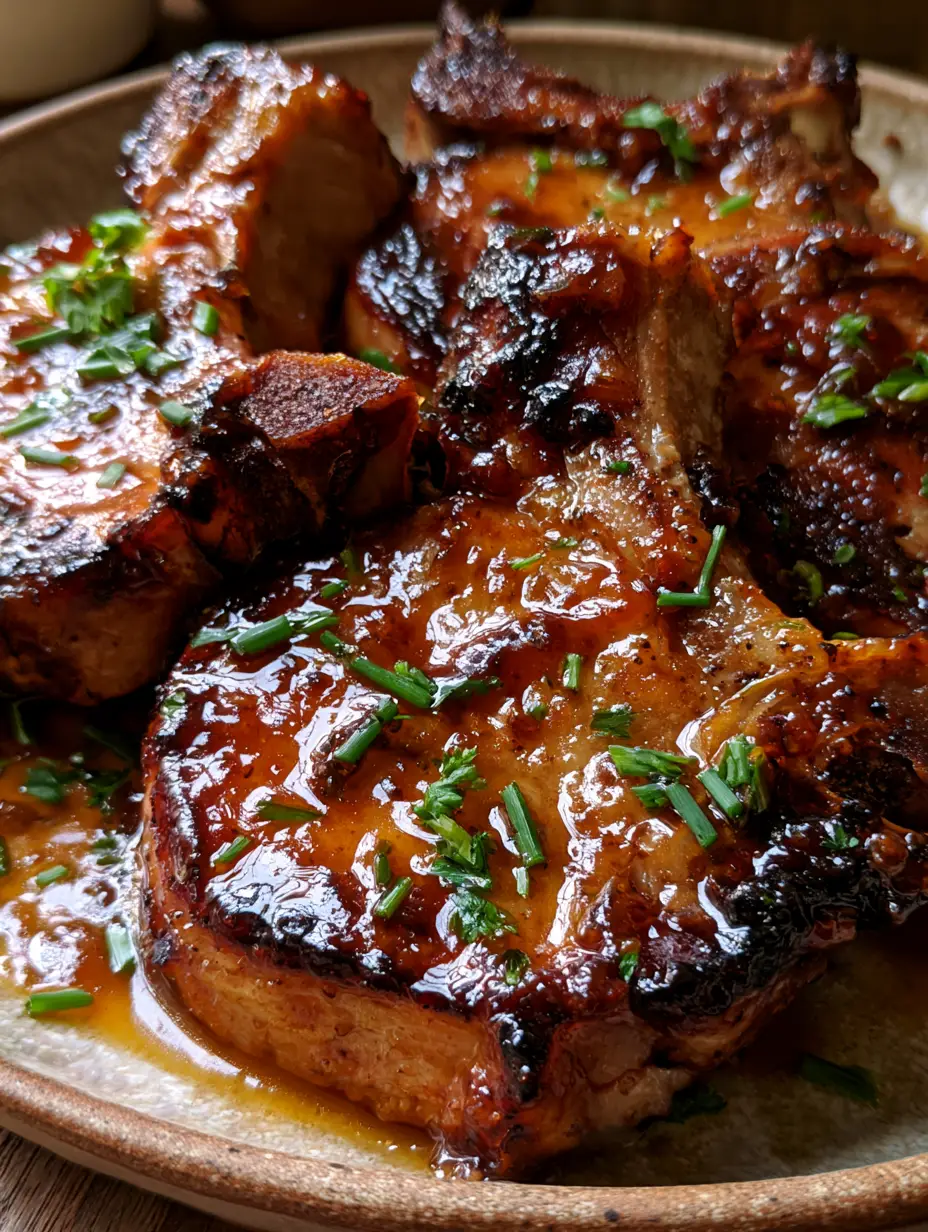
Brown Sugar Pork Chops: The Ultimate Glazed Bone-In Recipe
Ingredients
Equipment
Method
- Pat the pork chops dry with paper towels. Season both sides generously with salt and pepper.
- Heat oil in a cast iron skillet over medium-high heat. Sear the chops for 4-5 minutes per side until a deep golden-brown crust forms.
- Reduce heat to medium. Add butter, garlic, and brown sugar to the pan. Baste the pork chops continuously as the sugar melts and bubbles.
- Stir in vinegar and cook until internal temperature reaches 140F. Remove from heat and let rest until 145F.
Notes
Patting the meat dry is the secret to a crispy crust.
Bring the Heat to Your Kitchen
These brown sugar pork chops are more than just a meal; they are a sensory experience. From the sound of the sizzle in the cast iron skillet to the vibrant contrast of the fresh herbs against the amber glaze, this dish is designed to impress. We hope this becomes a new favorite in your home, bringing a touch of gourmet flair to your dinner table.
If you enjoyed this recipe, please leave a comment below and share your results! Don’t forget to follow us on Pinterest for more culinary inspiration and visual recipe guides. Happy cooking!