There is something inherently nostalgic about the combination of bright cherries and deep, dark chocolate. This cherry chocolate fudge isn’t just a dessert; it is a visual masterpiece that mimics the iconic flavors of Cherry Garcia ice cream but in a dense, velvety, shelf-stable square. If you have been searching for a confection that balances the sweetness of white chocolate with the tart, juicy pop of real fruit, this is your definitive recipe.
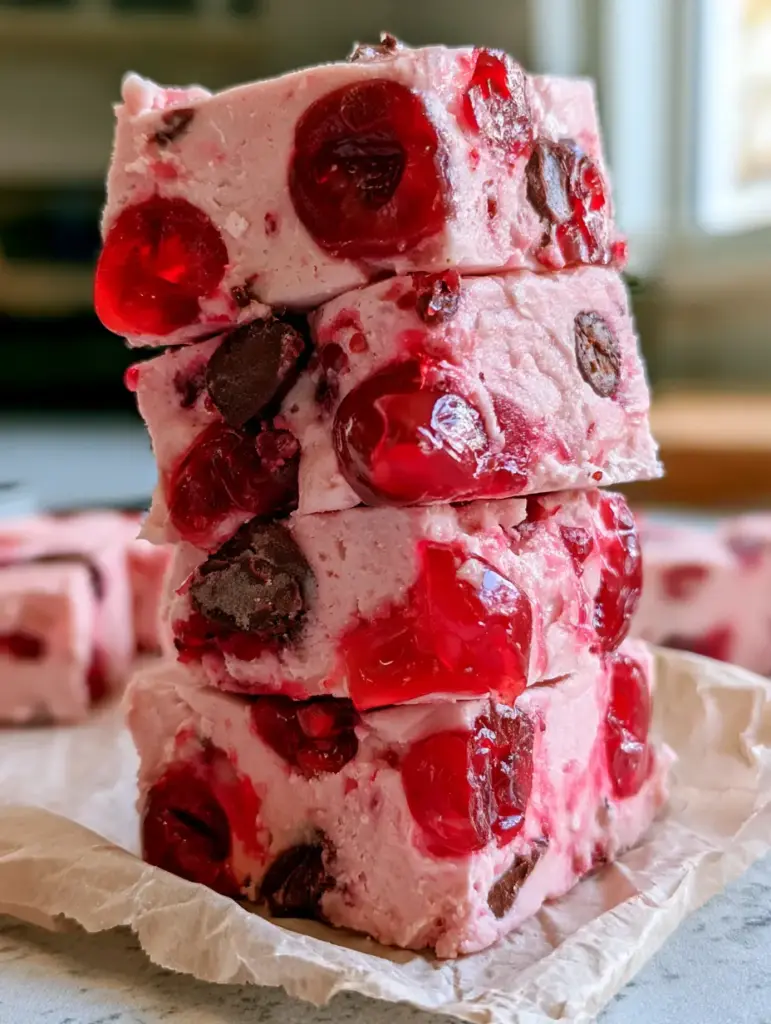
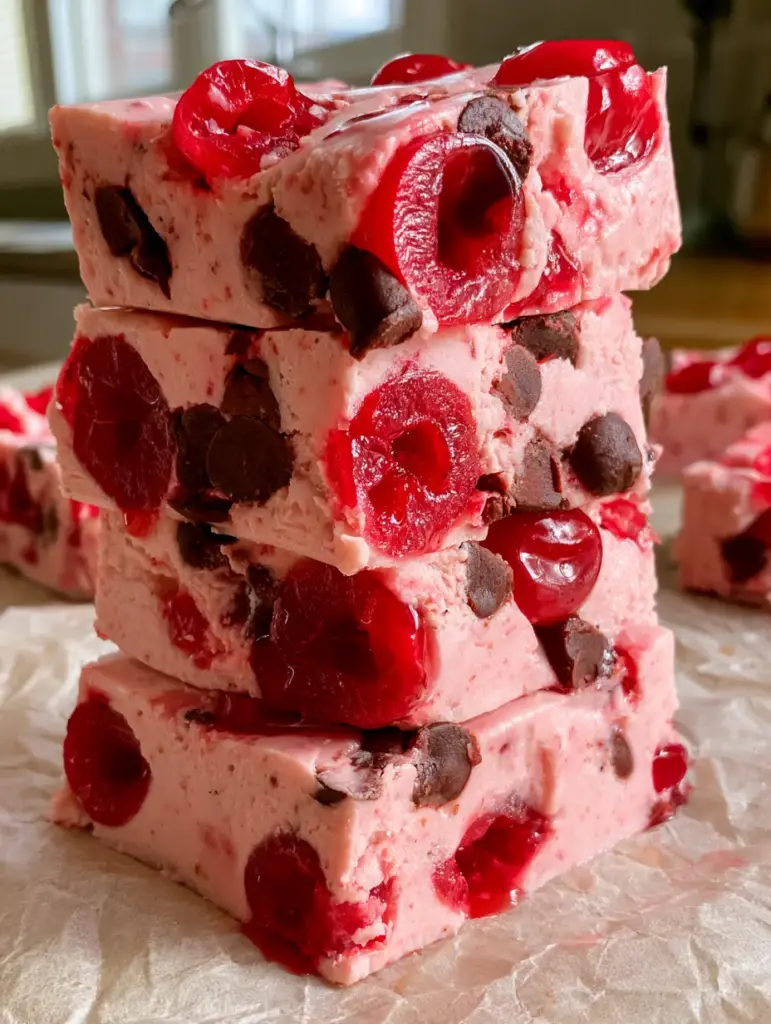
Imagine a thick, tall stack of homemade fudge sitting on a piece of crumpled parchment paper. The soft, creamy pink base is densely packed with vibrant, glossy halved red maraschino cherries and chunky dark chocolate chips. Every bite offers a contrast between the silky fudge and the slightly soft, glistening juice of the cherries. It is the kind of treat that looks like it belongs in a high-end confectionery window, yet it comes together in your own kitchen with minimal effort.
In this guide, we are going to dive deep into the culinary science of no-fail fudge. We will explore how to achieve that perfect pastel pink hue without artificial dyes and how to ensure your cherries stay suspended in the mix rather than sinking to the bottom. Whether you are a seasoned baker or a beginner, this cherry chocolate fudge will become a staple in your dessert repertoire.
Why This Creamy Cherry Fudge Is a Total Game-Changer
- Visual Forensics: The creamy pink base creates a stunning backdrop for the deep red cherries and dark chocolate, making it a high-impact dessert for gifting.
- Textural Contrast: We use semi-sweet dark chocolate chips to provide a “snap” that cuts through the buttery, soft texture of the white chocolate fudge.
- Balanced Sweetness: By incorporating a hint of salt and high-quality vanilla extract, we ensure the fudge is flavorful rather than just cloying.
- Foolproof Method: Using white chocolate melting wafers and sweetened condensed milk guarantees a smooth, grit-free result every single time.
The Pantry Essentials for the Perfect Pink Base
White Chocolate Melting Wafers: We specifically use 3 cups (approx. 510g) of melting wafers rather than standard chocolate chips. Wafers contain a higher ratio of cocoa butter and are designed to melt smoothly and set firmly, providing that professional “snap” and creamy mouthfeel.
Sweetened Condensed Milk: One 14-ounce (396g) can acts as the binder and sweetener. This “invisible” foundational ingredient provides the structural integrity needed to hold the heavy maraschino cherries in place without the fudge becoming runny.
Maraschino Cherries: You will need 1 cup (approx. 150g) of cherries, divided. Half will be halved and folded in to show off that “vibrant, glossy” interior mentioned in our visual blueprint, while the others remain whole for a striking topping.
Semi-Sweet Dark Chocolate Chips: 1/2 cup (90g) of chunky chips adds the “Garcia” flair. The bitterness of the dark chocolate balances the sweetness of the cherry juice and white chocolate wafers perfectly.
Maraschino Cherry Juice: Do not throw away the jar liquid! 2 tablespoons (30ml) of this juice is the secret to achieving that soft creamy pink color naturally, providing both flavor and a beautiful pastel aesthetic.
Vanilla Extract and Salt: 1 teaspoon (5ml) of vanilla and a pinch of fine sea salt are the unsung heroes. They enhance the cherry flavor and prevent the white chocolate from being one-dimensional.
Essential Tools for Confectionery Success
To achieve the handheld smartphone photo look—thick, tall squares with sharp edges—you need the right equipment. An 8×8 inch (20x20cm) square baking pan is non-negotiable for achieving that specific height. If you use a larger pan, the fudge will be too thin and lose its “macro close-up” appeal.
You will also need high-quality parchment paper. Not only does this prevent sticking, but the “crumpled parchment paper” look in the visual blueprint is best achieved by lining the pan with a slight overhang. This allows you to lift the entire block of cherry chocolate fudge out for clean, precise slicing.
A Step-by-Step Guide to Visual and Textural Perfection
Preparing the Glossy Cherry Inclusions
The biggest mistake in cherry fudge is excess moisture. Begin by draining your maraschino cherries and patting them very dry with paper towels. Slice half of the cherries into halves to reveal their vibrant red centers, as seen in the visual blueprint.
Once sliced, pat them dry again. Removing the surface moisture ensures the cherry juice doesn’t “bleed” into the pink base, maintaining the distinct, clean lines between the fruit and the fudge. If you love fruit-forward desserts, you might also enjoy our layered berry dessert lasagna for your next gathering.
The Melting and Color Integration Phase
In a heavy-bottomed saucepan over low heat, combine the white chocolate melting wafers and the sweetened condensed milk. Stir constantly with a silicone spatula. You are looking for a smooth, glossy consistency with no visible lumps.
Once melted, stir in the vanilla extract, the pinch of salt, and the 2 tablespoons of cherry juice. Watch as the mixture transforms into a soft, creamy pink. Remove from heat immediately once the color is uniform to prevent the chocolate from seizing or scorching.
The Folding and Setting Technique
Gently fold in the halved cherries and the semi-sweet dark chocolate chips. Work quickly but gently; you want the chocolate chips to remain “chunky” and not fully melt into the pink base. This creates the “densely packed” look described in the prompt.
Pour the mixture into your prepared 8×8 pan. Smooth the top with a spatula, then press the remaining whole maraschino cherries into the surface. These whole cherries provide the “glistening juice” visual cue that makes the macro close-up so appetizing. Let the fudge sit at room temperature for 30 minutes before transferring to the fridge to set for at least 4 hours.
Expert Tips for Confectionery Mastery
- The Dry-Pat Method: I cannot stress this enough: dry your cherries until they no longer leave a wet mark on the paper towel. This keeps the fudge creamy rather than watery.
- Temperature Control: Never boil your condensed milk and chocolate mixture. High heat causes white chocolate to grain, ruining the “soft creamy texture.”
- Sharp Slicing: For those perfect squares seen in professional food photography, use a large chef’s knife dipped in hot water and wiped dry between every single cut.
- Wait for the Set: If you cut the fudge too early, the “slightly soft” texture will become “messy.” Patience is the key to those tall, thick stacks.
Storage, Shelf Life, and Freshness
This cherry chocolate fudge is incredibly resilient. It can be stored in an airtight container at room temperature for up to 5 days, though the cherries stay freshest if kept in the refrigerator. In the fridge, this fudge will maintain its peak texture and flavor for up to 2 weeks.
If you want to freeze the fudge, wrap the entire block (or individual squares) tightly in plastic wrap and then place in a freezer-safe bag. It will last for 3 months. To serve, thaw in the refrigerator overnight to prevent condensation from forming on the “vibrant, glossy” cherries.
What to Serve with Your Cherry Chocolate Treats
This fudge is quite rich, so it pairs beautifully with items that offer a different texture or a bit of acidity. For a full dessert spread, consider serving these squares alongside a velvety chocolate silk cake for the ultimate cocoa-lover’s experience.
If you are hosting a brunch, these pink squares look stunning next to peach cobbler cheesecake donuts. The contrast between the soft fudge and the doughy donuts is always a crowd-pleaser. For a lighter accompaniment, a simple cheesecake fruit salad can help cleanse the palate between bites of dense fudge.
Frequently Asked Questions
Yes, but wafers are preferred for a smoother texture. If using chips, ensure they are a high-quality brand with cocoa butter as a primary ingredient to prevent graininess.
By using 2 tablespoons of the liquid from the maraschino cherry jar, you can achieve a soft, creamy pink color without needing artificial food coloring.
Make sure to remove the fudge base from the heat and let it cool for about 60 seconds before folding in the chips. This helps them retain their chunky, distinct shape.
While it is stable at room temperature for a few days, storing it in the refrigerator keeps the cherries fresh and ensures the fudge maintains its dense, thick structure.
The most common reason is excess moisture from the maraschino cherries. Ensure you pat them extremely dry with paper towels before folding them into the white chocolate mixture.
The Ultimate Cherry Chocolate Fudge Recipe
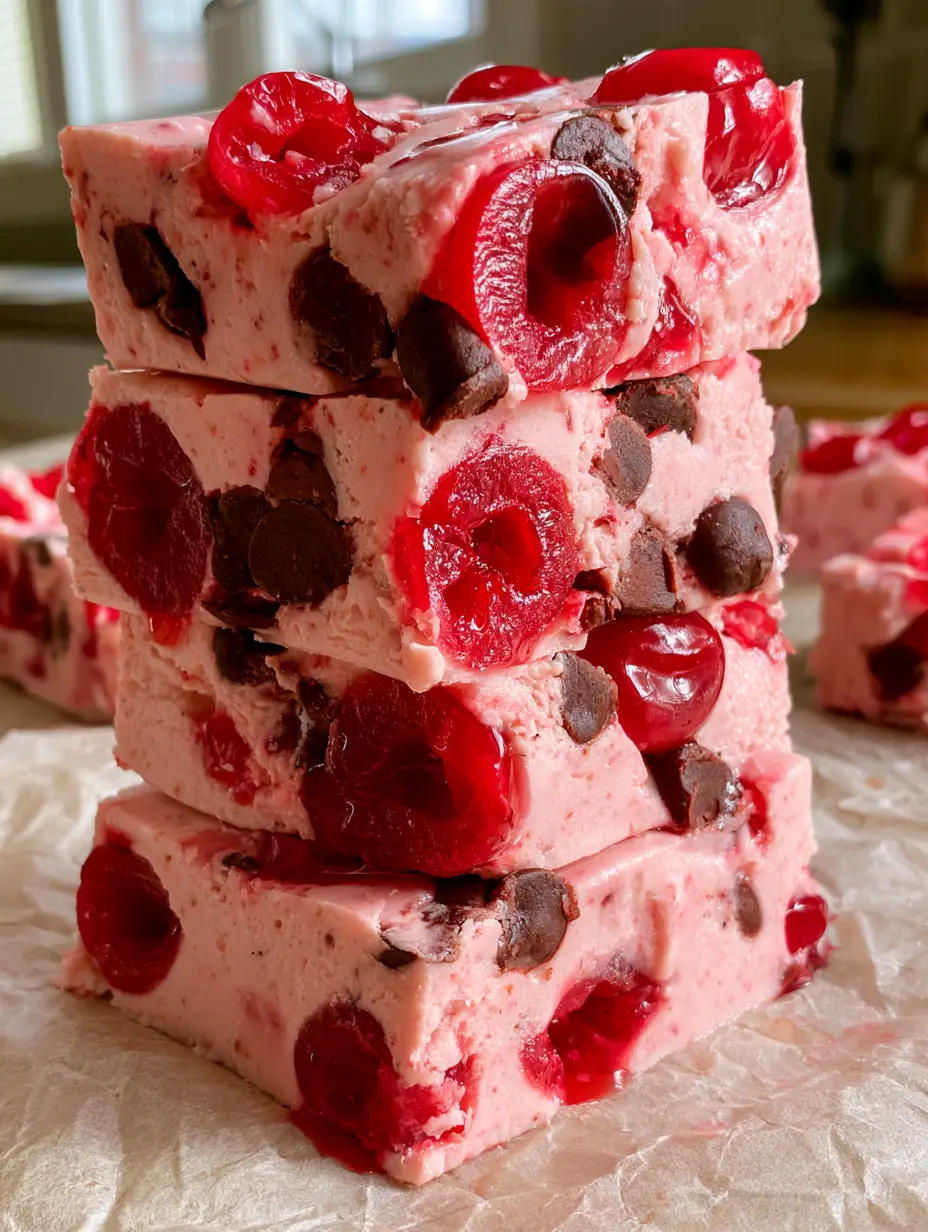
Cherry Chocolate Fudge: A Creamy Maraschino Garcia-Inspired Treat
Ingredients
Equipment
Method
- Line an 8x8 inch square baking pan with parchment paper, leaving an overhang on the sides.
- Drain the maraschino cherries. Slice half of them into halves. Pat all cherries (whole and halved) extremely dry with paper towels to prevent color bleeding.
- In a heavy-bottomed saucepan over low heat, combine white chocolate wafers and sweetened condensed milk. Stir constantly until the mixture is smooth and glossy.
- Remove from heat. Stir in vanilla extract, salt, and 2 tablespoons of cherry juice until a uniform creamy pink color is achieved.
- Gently fold in the halved cherries and dark chocolate chips. Ensure even distribution without melting the chips completely.
- Pour into the prepared pan. Press the whole cherries into the top surface. Let sit for 30 minutes at room temperature, then refrigerate for at least 4 hours until firm.
Notes
Use a warm knife for the cleanest slices.
Start Your Sweet Journey Today!
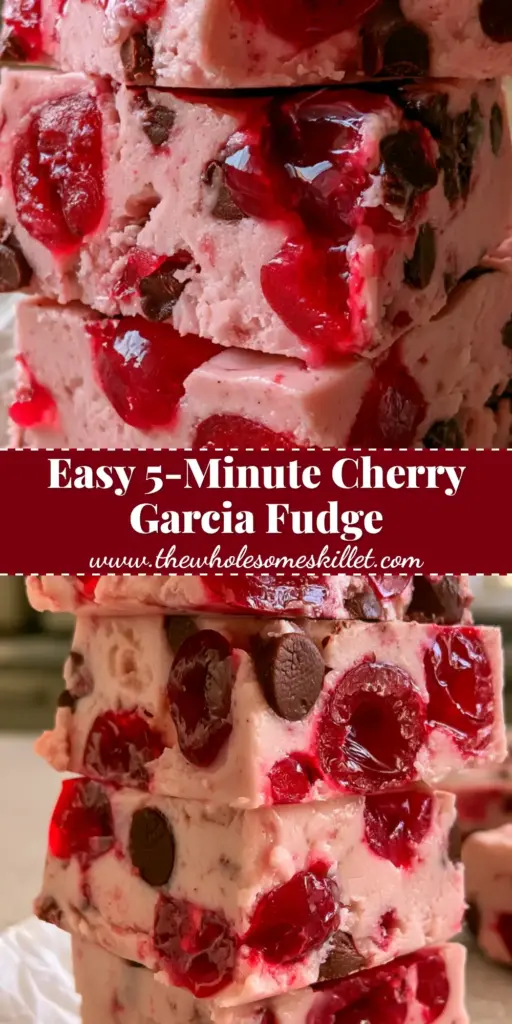
This cherry chocolate fudge is more than just a sweet treat; it’s a sensory experience that brings professional-grade confectionery into your home kitchen. The combination of the creamy pink base and the glistening cherries is guaranteed to impress anyone who sees it. Don’t forget to take a photo of your thick, tall stack and tag us!
If you enjoyed this recipe, please leave a comment below and let us know how your fudge turned out. For more visually stunning and delicious recipes, follow us on Pinterest and sign up for our newsletter to get new treats delivered straight to your inbox.