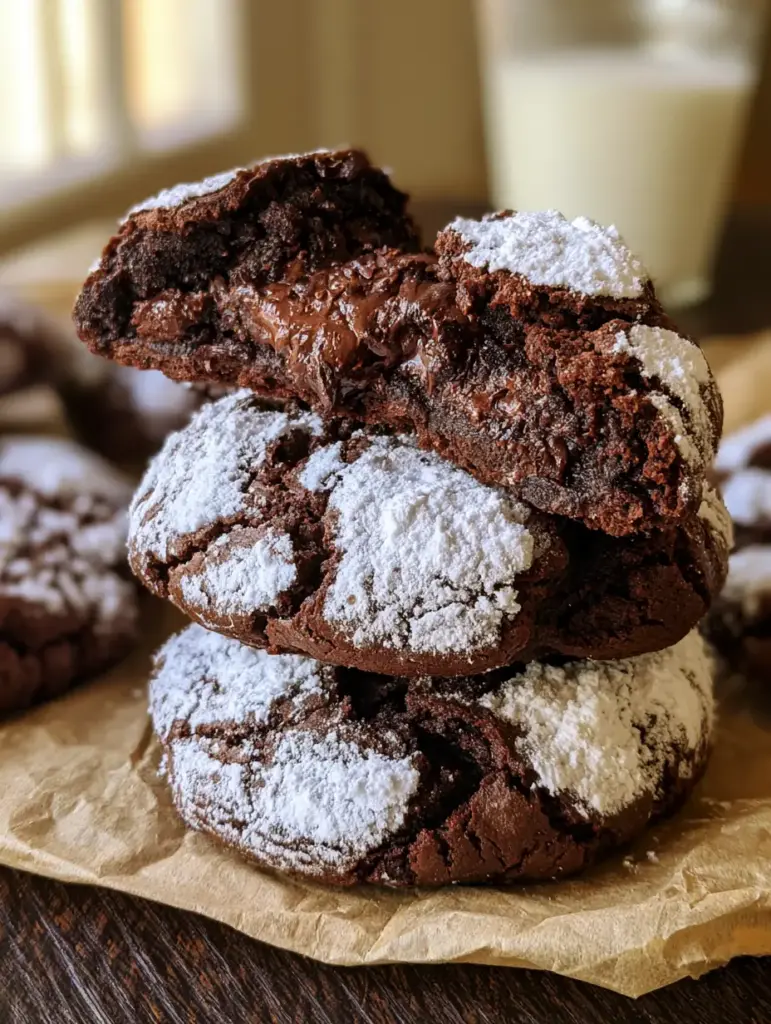
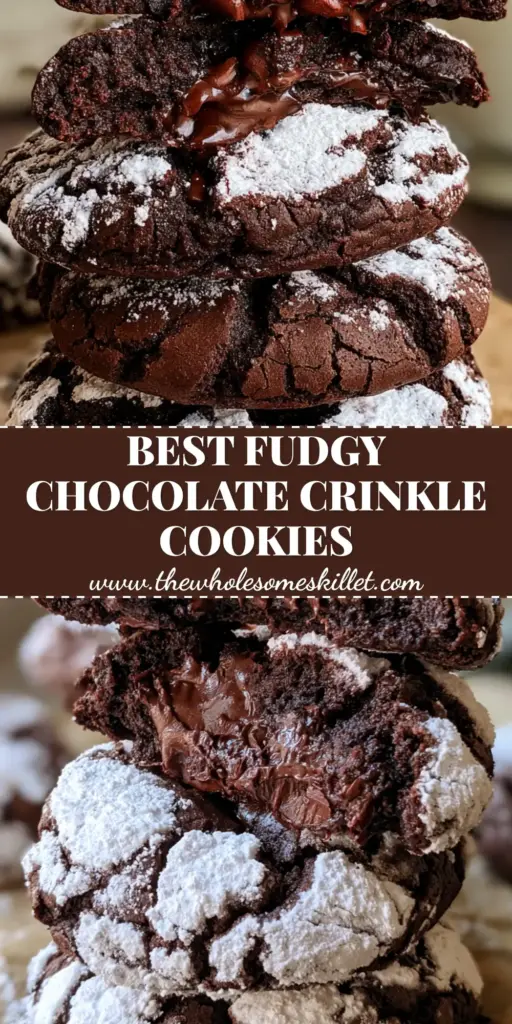
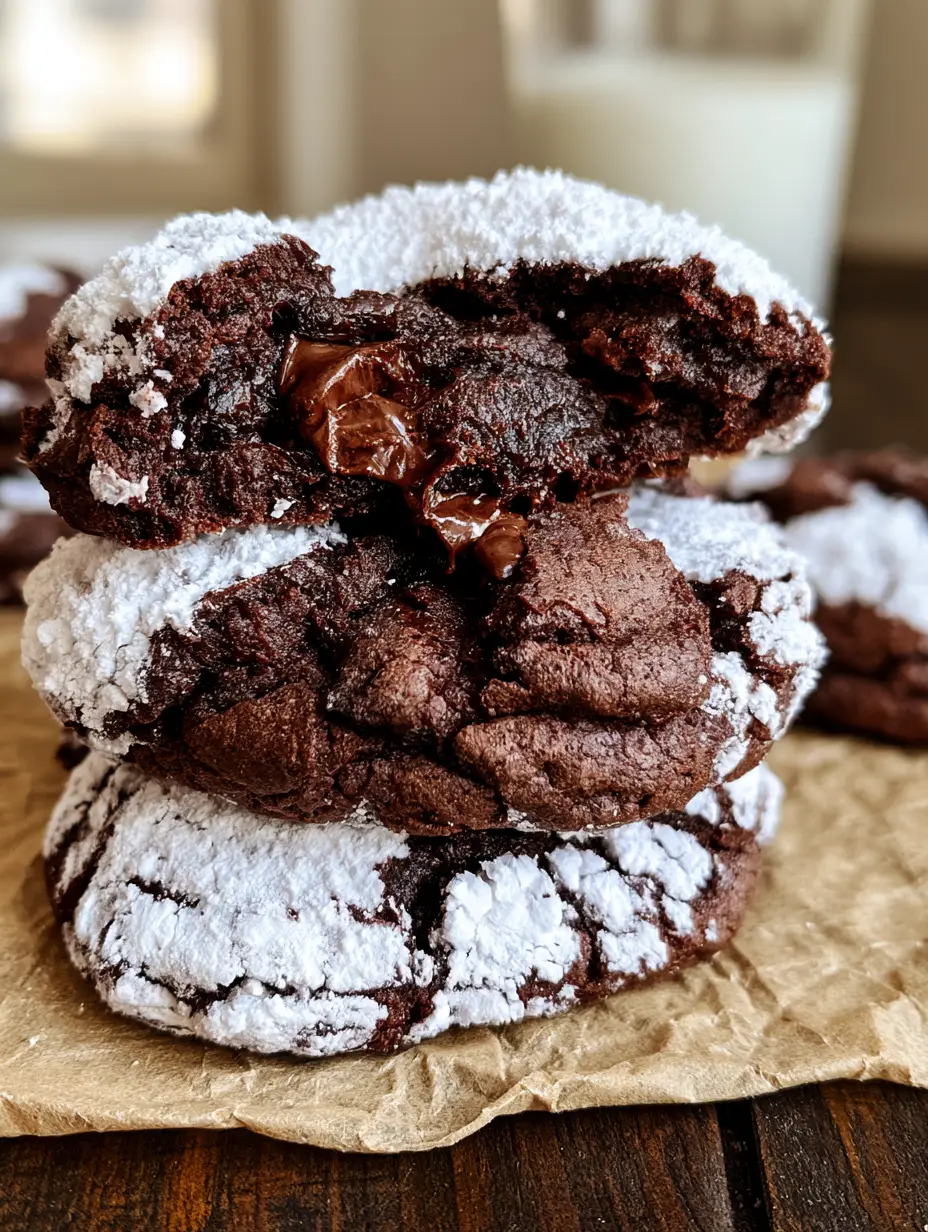
There is something inherently magical about the first time you pull a tray of chocolate crinkle cookies out of the oven. The stark contrast of the brilliant white confectioners sugar against the deep, obsidian-dark cocoa cracks is a visual masterpiece that looks like a snow-dusted volcanic landscape. If you are searching for a cookie that bridges the gap between a chewy fudge brownie and a delicate holiday biscuit, you have found your holy grail.
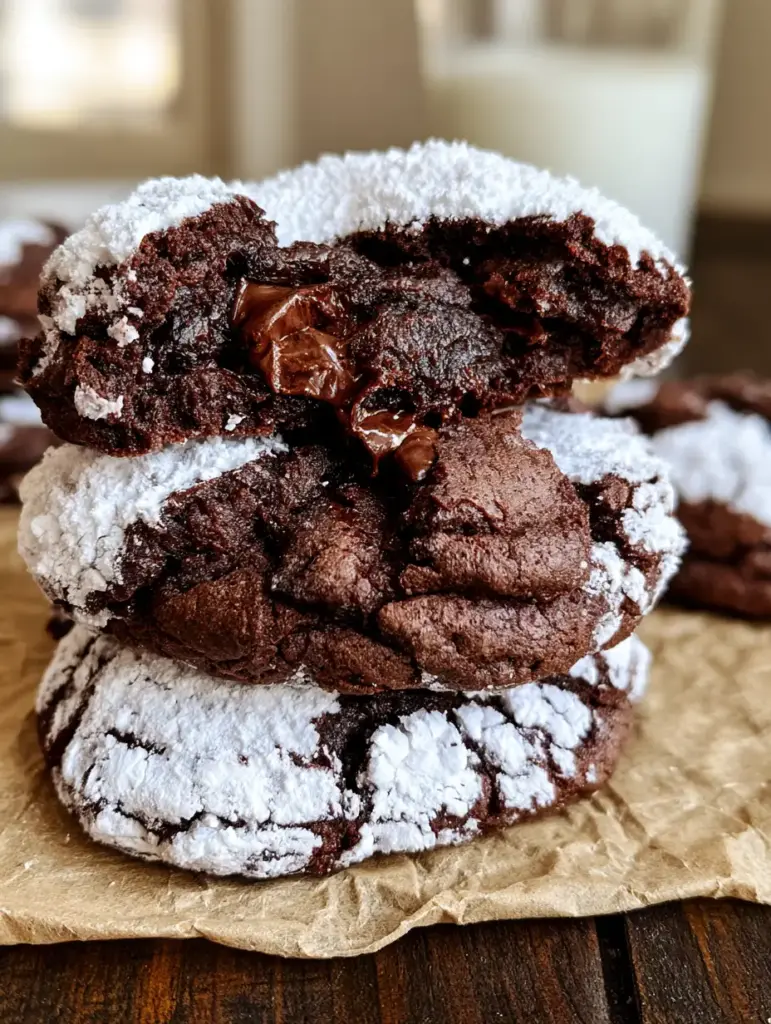
This specific recipe is designed to produce a cookie that is thick, soft, and unapologetically chocolatey. Unlike thinner versions that can turn crisp or airy, these are engineered for a moist, gooey, brownie-like center. When you break one open while it is still warm, you will find pockets of melting chocolate bits that ooze with every bite, exactly like the handheld smartphone photos of professional bakery displays.
Why These Fudgy Chocolate Crinkles Outshine the Rest
- The High-Contrast Crackle: We use a specific double-rolling technique to ensure the powdered sugar stays brilliant white and doesn’t melt into the dough during the bake.
- The Brownie-Core Texture: By utilizing vegetable oil and a high ratio of dark cocoa powder, we achieve a fudgy interior that stays soft for days.
- Melting Chocolate Pockets: The addition of semi-sweet chocolate bits ensures that every “crinkle” is backed by a gooey chocolate surprise.
- Deep Flavor Profile: A precise amount of salt and high-quality vanilla extract elevates the dark cocoa from simple to sophisticated.
The Secret Pantry Staples for Ultimate Crinkles
To achieve the visual and textural perfection seen in our chocolate crinkle cookies, every ingredient serves a specific structural purpose. Here is what you will need to gather from your pantry.
Dark Cocoa Powder: 1 cup (100g). This provides the intense, nearly-black color and the deep chocolate base that contrasts so beautifully with the sugar. For those looking for a different profile, you might compare this depth to our Rich Chocolate Orange Cake.
Granulated Sugar: 2 cups (400g). Sugar doesn’t just provide sweetness; it is the hygroscopic engine that helps create the cracks as the cookie expands and dries on the surface.
Vegetable Oil: ½ cup (120ml). Unlike butter, oil remains liquid at room temperature, ensuring the cookies have a “fudgy” rather than “cakey” mouthfeel even after cooling.
Large Eggs: 4 units. These provide the necessary protein structure to lift the heavy dough, creating that “thick” profile seen in the visual blueprint.
Vanilla Extract: 2 tsp (10ml). A foundational aromatic that rounds out the bitterness of the dark cocoa powder.
All-Purpose Flour: 2 cups (250g). This provides the “bones” of the cookie. We keep the flour count relatively low to maintain the moist, brownie-like center.
Baking Powder: 2 tsp (10g). This is the chemical leavener responsible for the “expansion” that creates the deep dark chocolate cracks.
Salt: ½ tsp (3g). A critical flavor enhancer that balances the sweetness and makes the chocolate flavors “pop” on the palate.
Confectioners Sugar: 1 cup (120g). Used exclusively for coating, this creates the “heavy dusting of brilliant white” required for the classic crinkle look.
Melted Chocolate Bits: ½ cup (90g) semi-sweet chocolate chips. These are folded into the dough last, ensuring that when the cookie is broken, it reveals a gooey, melting center.
Essential Bakery Tools for Success
You don’t need a professional kitchen, but a few specific tools will help you match the visual prompt’s results. A standard cookie scoop (roughly 1.5 tablespoons) is essential for uniform thickness. Rustic parchment paper is highly recommended; not only does it prevent sticking, but it also reflects the cozy, home-baked aesthetic of our photos. Finally, a wire cooling rack is necessary to prevent the bottoms from steaming and becoming soggy, which would ruin the delicate sugar crust.
The Step-by-Step Guide to the Perfect Crackle
Phase 1: Emulsifying the Liquid Base
In a large mixing bowl, whisk together the 1 cup (100g) of dark cocoa powder, 2 cups (400g) of granulated sugar, and ½ cup (120ml) of vegetable oil. You are looking for a gritty, dark paste that smells intensely of chocolate. Add the 4 eggs one at a time, whisking vigorously after each addition until the mixture is glossy and smooth. Stir in the 2 tsp (10ml) of vanilla extract. This emulsification is what creates the “moist, gooey” texture later.
Phase 2: Integrating the Dry Structure
In a separate bowl, sift together the 2 cups (250g) of flour, 2 tsp (10g) of baking powder, and ½ tsp (3g) of salt. Sifting is vital here to ensure no clumps of baking powder remain, which would cause uneven cracking. Gradually fold the dry ingredients into the wet chocolate mixture using a spatula. Just before the flour disappears, fold in the ½ cup (90g) of chocolate bits. The dough will be very soft and sticky—this is normal.
Phase 3: The Critical Chill Period
Cover the bowl with plastic wrap and refrigerate for at least 4 hours, though overnight is better. This step is non-negotiable. Chilling allows the flour to fully hydrate and the oil to stabilize, which prevents the chocolate crinkle cookies from spreading into flat puddles. You want the dough to be firm enough to handle with your hands.
Phase 4: Rolling and Coating for Maximum Contrast
Preheat your oven to 350°F (175°C). Scoop rounded tablespoons of dough and roll them into 1-inch (2.5cm) balls. For the brightest white finish, roll the ball in a small bowl of granulated sugar first, then immediately into a deep bowl of confectioners sugar. Use a heavy hand with the confectioners sugar; you want a thick, opaque coating that looks like a snowball. Place them on the parchment-lined sheet about 2 inches apart.
Phase 5: The Bake and Sensory Cues
Bake for 10-12 minutes. Around the 8-minute mark, look through the oven window. You should see the white sugar “stretching” as the dough expands, revealing the dark chocolate valleys beneath. The cookies are done when the edges are set but the center still looks slightly soft. Do not overbake, or you will lose that “brownie-like center.” Let them cool on the pan for 5 minutes before transferring to a rack.
Expert Tips for the Fudgiest Results
- The Temperature Factor: Always start with room-temperature eggs. They emulsify much better with the oil and cocoa, leading to a more consistent crumb.
- The Sugar Shield: Rolling the dough in granulated sugar before the powdered sugar creates a barrier that prevents the powdered sugar from dissolving into the dough as it bakes.
- Don’t Over-mix: Once you add the flour, mix only until no white streaks remain. Over-mixing develops gluten, which will make your cookies tough instead of fudgy.
- Fresh Leavening: Ensure your baking powder is fresh. If it’s expired, the cookies won’t expand enough to create those iconic deep cracks.
Storage, Reheating, and Freezing
These cookies are best enjoyed warm, right off the tray with a cold glass of milk. However, they store beautifully. Keep them in an airtight container at room temperature for up to 5 days. To regain that “melting chocolate” center, microwave a cookie for 8-10 seconds before serving.
For long-term storage, these chocolate crinkle cookies freeze exceptionally well. You can freeze the baked cookies for up to 3 months. Alternatively, you can freeze the rolled dough balls (before the sugar coating) and bake them from frozen—just add 2 minutes to the baking time.
What to Serve With These Chocolate Delights
While a glass of cold milk is the classic pairing, these cookies are versatile. If you are building a holiday dessert board, they pair wonderfully with the fruity brightness of Strawberry Cheesecake Cookies or the tartness of Lemon Sugar Cookies. For a truly decadent spread, serve them alongside a slice of Velvety Chocolate Silk Cake for a study in chocolate textures.
Frequently Asked Questions
You can, but the texture will change. Oil produces a fudgier, more brownie-like center, while butter creates a more traditional, slightly firmer cookie crumb.
Yes, cocoa powder is prone to clumping. Sifting ensures a smooth dough and prevents bitter pockets of dry cocoa in your finished cookies.
We fold in semi-sweet chocolate bits (chips) at the very end. These don’t fully incorporate into the dough, so they remain as gooey pockets of chocolate after baking.
If the dough is too warm or moist, the sugar dissolves. Rolling the dough balls in granulated sugar first creates a dry barrier that keeps the confectioners sugar bright white.
The most common reason is that the dough wasn’t cold enough or the baking powder was expired. The dough must be chilled to expand rapidly in the oven, which creates the cracks.
The Ultimate Chocolate Crinkle Cookie Recipe
Chocolate Crinkle Cookies: The Ultimate Fudgy Brownie Cookie Recipe
Ingredients
Equipment
Method
- Whisk cocoa powder, granulated sugar, and vegetable oil until a thick paste forms. Add eggs one at a time, followed by vanilla.
- Whisk flour, baking powder, and salt. Fold into the wet mixture, then stir in the chocolate bits.
- Refrigerate dough for 4+ hours or overnight to ensure it is firm enough to roll.
- Preheat oven to 350°F (175°C). Roll dough into 1-inch balls. Roll in granulated sugar, then heavily in confectioners sugar.
- Place on parchment paper. Bake for 10-12 minutes until cracks appear. Centers should still be slightly soft.
Notes
Roll in granulated sugar before powdered sugar for a brighter white crackle.
Bring the Bakery to Your Kitchen
Creating these chocolate crinkle cookies is a rewarding sensory experience, from the sticky chocolate dough to the beautiful crackle in the oven. They are the perfect addition to any cookie exchange or a cozy weekend baking session. The combination of the “deep dark chocolate cracks” and the “moist, gooey center” makes them an instant favorite for anyone who appreciates the finer points of chocolate science.
If you enjoyed this recipe, please leave a comment below and tell us how your “crinkles” turned out! Don’t forget to share your photos and tag us. For more dessert inspiration, follow us on Pinterest and save this recipe to your “Must-Bake” board.