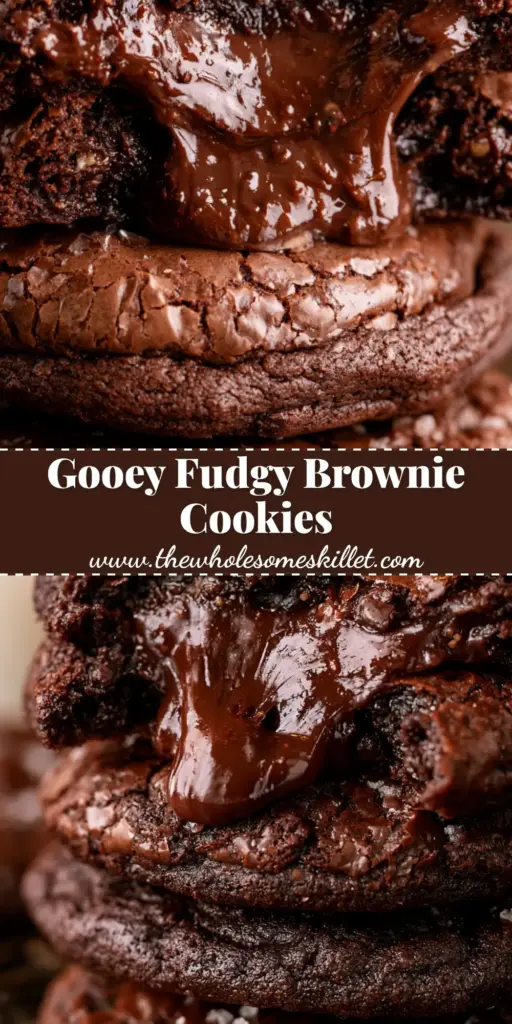
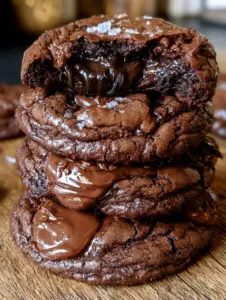
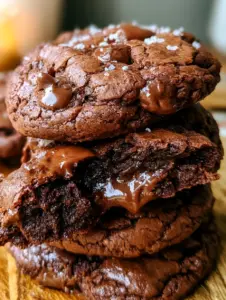
Chocolate cookies are the ultimate comfort food, but these aren’t just your standard bakery fare. Imagine a cookie that defies the laws of pastry physics—a crisp, paper-thin exterior that shatters upon impact, revealing a soft, chewy body and a heart of pure molten chocolate. This recipe creates a stack of three brownie-like cookies that look just as incredible as they taste, especially when finished with a shimmering dusting of flaky sea salt.
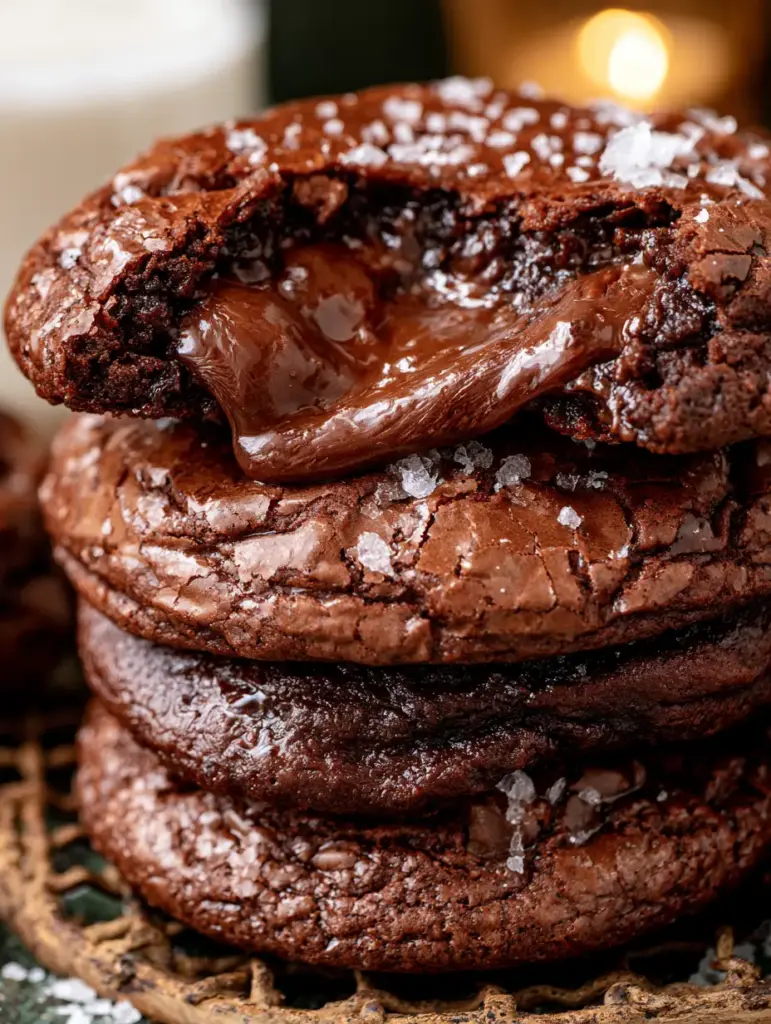
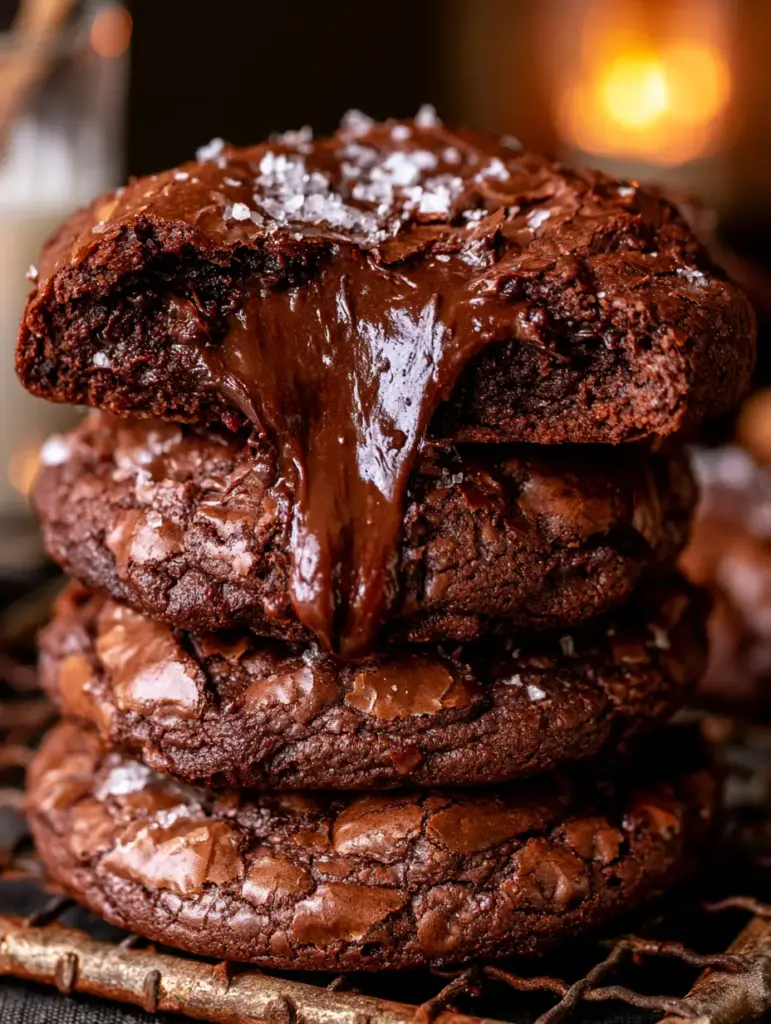
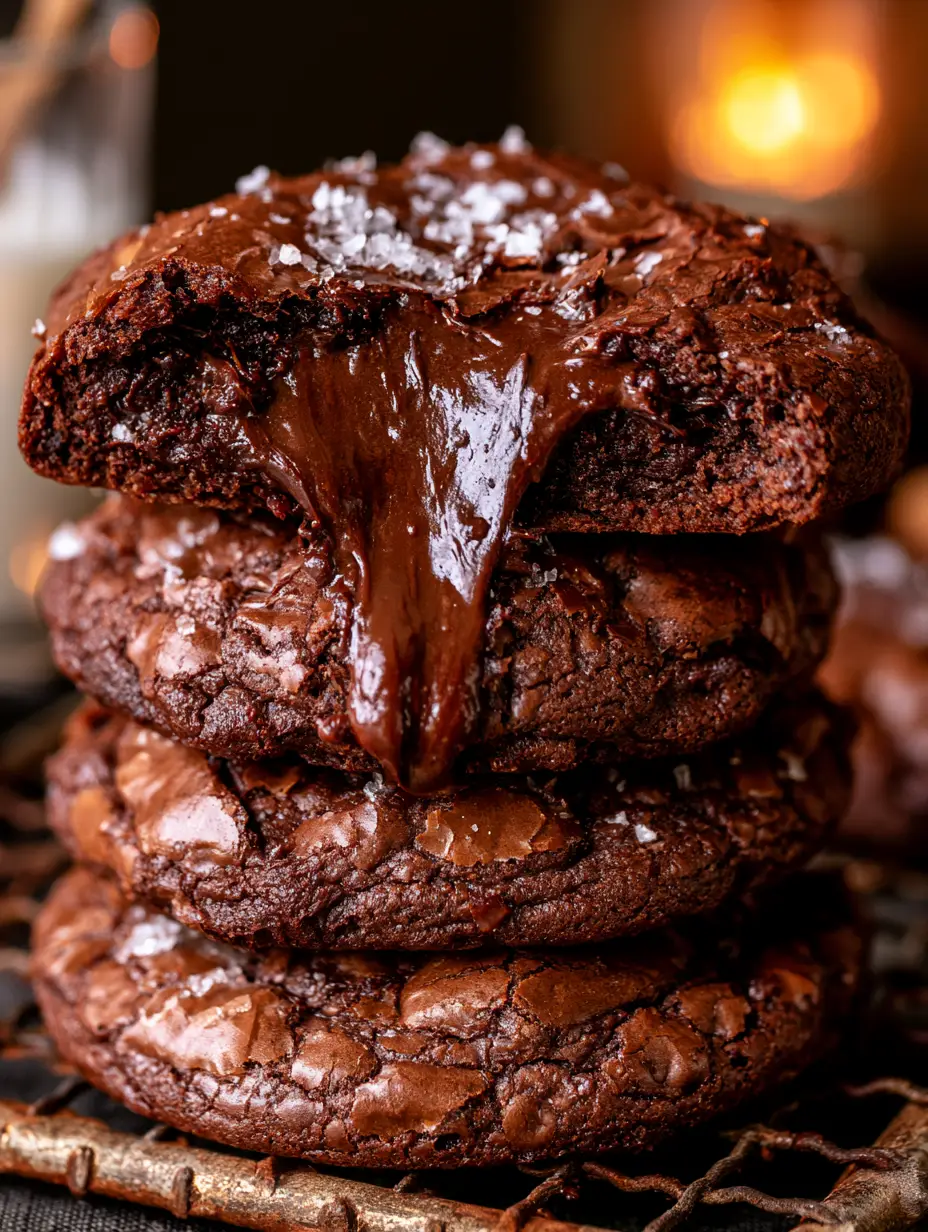
When you pull these cookies apart, you should see an intensely gooey chocolate interior stretching tantalizingly between the halves. The dark brown hues and the glossy, crackly surface are the hallmarks of a perfectly executed brownie cookie. Whether you are serving these with a cold glass of milk or enjoying them warm from the rustic cooling rack, this recipe is designed to deliver a professional-grade culinary experience in your own kitchen.
The Science of the Perfect Molten Brownie Texture
- The Signature Crackle: We achieve that glossy, crinkled surface by whipping the eggs and sugar to a ribbon stage, creating a delicate meringue-like crust.
- The Molten Core: By using a high ratio of melted dark chocolate to flour, the center remains liquid-like even after the exterior has set.
- Dual-Texture Body: The combination of brown sugar and specific baking times ensures a soft, chewy layer between the crisp shell and the gooey heart.
- Salted Finish: The addition of flaky sea salt isn’t just for looks; it cuts through the richness of the dark chocolate to balance every bite.
The Anatomy of an Intensely Dark Chocolate Cookie
High-Quality Dark Chocolate: Use 8 oz (225g) of a 60-70% cacao bar rather than chips; the cocoa butter in high-quality bars is essential for the molten stretch. The melted chocolate provides the structural foundation and the deep, rich color seen in the visual blueprint.
Unsalted Butter: You will need 1/2 cup (115g) of butter to provide the necessary fat for a tender crumb. Melted along with the chocolate, it creates a silky emulsion that prevents the cookies from becoming cakey.
Granulated and Brown Sugar: A mix of 3/4 cup (150g) granulated sugar and 1/4 cup (50g) packed light brown sugar is vital. The granulated sugar aids the crackly top, while the brown sugar provides the moisture for the chewy body.
Large Eggs: Two large eggs (approx. 100g) act as the primary leavening agent when whipped thoroughly. This aeration is what lifts the dough and creates the distinct layers visible in a cross-section.
All-Purpose Flour: Only 1/2 cup (65g) of flour is used here to keep the protein content low. This ensures the cookies remain fudgy rather than bread-like, mimicking the texture of decadent fudgy brownie cookies.
Dutch-Processed Cocoa Powder: 2 tbsp (15g) of dark cocoa powder intensifies the dark brown color and adds a deep earthy note. It helps achieve the “rich, dark brown hues” requested in the visual guide.
Foundational Additions: You will need 1/2 tsp (3g) of baking powder for a slight lift, 1/4 tsp (1.5g) of fine sea salt for the dough, and 1 tsp (5ml) of vanilla extract. Don’t forget the extra flaky sea salt for topping!
Essential Equipment for Professional Results
To achieve the “professional food photography styling” look, you will need a few specific tools. A stand mixer or electric hand mixer is non-negotiable for achieving the ribbon stage with the eggs. A rustic cooling rack is necessary for the final presentation, allowing air to circulate so the bottom doesn’t get soggy. Finally, use a parchment-lined heavy-duty baking sheet to ensure even heat distribution and a clean release for that crisp exterior layer.
Step-by-Step Instructions for the Perfect Gooey Pull
Melting the Chocolate Foundation
In a heat-proof bowl set over a pot of simmering water (a double boiler), combine your chopped dark chocolate and butter. Stir frequently until the mixture is glossy and completely smooth. Remove from heat and let it cool slightly; it should be warm to the touch but not hot enough to scramble the eggs in the next step.
Developing the Glossy Crackle Top
In a large bowl, beat the two eggs, granulated sugar, brown sugar, and vanilla extract on high speed for at least 5 minutes. Watch for the visual cue: the mixture should triple in volume and turn a pale, creamy color. When you lift the whisk, the batter should fall in a thick “ribbon” that holds its shape for a few seconds before disappearing.
Combining the Chocolate Cookies Dough
Gently pour the slightly cooled chocolate-butter mixture into the egg mixture. Using a rubber spatula, fold the two together with large, sweeping motions to maintain the air you’ve just beaten in. Sift in the flour, cocoa powder, baking powder, and fine salt. Fold until just combined—over-mixing at this stage will destroy the crackly surface of these chocolate cookies.
Baking for Sensory Success
Scoop generous tablespoons of the batter onto your prepared baking sheet, leaving at least 2 inches (5cm) of space between them. Bake at 350°F (175°C) for 9-11 minutes. Watch for the visual changes: the edges will set and become crisp, and the top will puff up and shatter into a beautiful crackled pattern. The center should still look slightly underdone and soft to the touch.
The Final Flourish
Immediately after removing the pan from the oven, sprinkle each cookie with a pinch of flaky sea salt. The heat from the cookie will help the salt adhere to the glossy surface. Let them rest on the pan for 5 minutes to firm up before transferring them to a rustic cooling rack. This resting period is critical for the “soft chewy body layer” to develop without the cookie falling apart.
Expert Tips for Bakery-Style Excellence
- Temperature Matters: Ensure your eggs are at room temperature before whipping; they will emulsify and foam much more effectively than cold eggs.
- Sift Your Dry Ingredients: Cocoa powder is notoriously lumpy. Sifting ensures a smooth batter and prevents dry pockets in the molten center.
- Don’t Overbake: If the centers look fully set in the oven, you have baked them too long. They should look “damp” in the cracks to ensure a gooey interior.
- The “Scoot” Technique: If your cookies aren’t perfectly round, use a large circular cookie cutter to gently “scoot” the edges of the cookies immediately after they come out of the oven.
How to Store and Revive Your Cookies
These cookies are best enjoyed warm, but they can be stored in an airtight container at room temperature for up to 3 days. To regain that “molten gooey chocolate interior,” simply pop a cookie in the microwave for 10-15 seconds. This will re-melt the chocolate core and soften the chewy layer. For longer storage, you can freeze these cookies for up to 2 months; just thaw at room temperature and reheat as mentioned.
Pairing Your Cookies with Savory and Sweet
While a glass of milk is the classic choice, these rich cookies pair beautifully with a cup of espresso or a scoop of vanilla bean ice cream. If you are planning a full dessert spread, they complement the textures of an ultra-fudgy chewy brookie cookie perfectly. For those who love variety, consider serving them alongside something fruity like sweet cinnamon air fryer apple fries to cleanse the palate between rich bites.
Frequently Asked Questions
Chocolate chips contain stabilizers that prevent them from melting into a liquid-like core. For the molten interior shown in the photos, a high-quality baking bar is highly recommended.
No, this specific recipe is designed to be baked immediately. Chilling the dough will actually prevent the crackly meringue-like crust from forming properly.
Immediately after taking the cookies out of the oven, place a circular glass or cookie cutter over them and gently move it in a circular motion to ‘scoot’ the edges into a perfect circle.
This usually happens if the melted chocolate and butter mixture was too hot when added to the eggs, or if the butter was partially separated. Let the mixture cool until just warm before combining.
The crackly top comes from properly aerating the eggs and sugar. Ensure you beat them for the full 5 minutes until they reach the ‘ribbon stage’ and avoid over-mixing once the dry ingredients are added.
The Ultimate Molten Chocolate Cookies Recipe
Chocolate Cookies: The Ultimate Fudgy Molten Brownie Cookie Recipe
Ingredients
Equipment
Method
- Melt chopped dark chocolate and butter in a double boiler until smooth and glossy. Set aside to cool slightly.
- Beat eggs, granulated sugar, brown sugar, and vanilla on high speed for 5 minutes until thick, pale, and the ribbon stage is reached.
- Fold the warm chocolate mixture into the eggs. Sift in flour, cocoa, baking powder, and fine salt. Fold gently until just combined.
- Scoop tablespoons of batter onto parchment-lined sheets. Bake at 350°F (175°C) for 9-11 minutes until edges are crisp and tops are crackled.
- Immediately sprinkle with flaky sea salt. Let rest for 5 minutes on the pan before moving to a cooling rack.
Notes
Use a high-quality chocolate bar rather than chips for the best molten center.
Share the Chocolate Love!
These chocolate cookies are a chocolate lover’s dream come true, combining the best parts of a brownie with the convenience of a handheld treat. The contrast between the crisp shell and the liquid-like core is something you have to experience to believe. If you enjoyed this recipe, please leave a comment below and let us know how your crackle tops turned out! Don’t forget to snap a photo of your gooey cookie pull and tag us, and be sure to pin this recipe to your favorite dessert board on Pinterest.