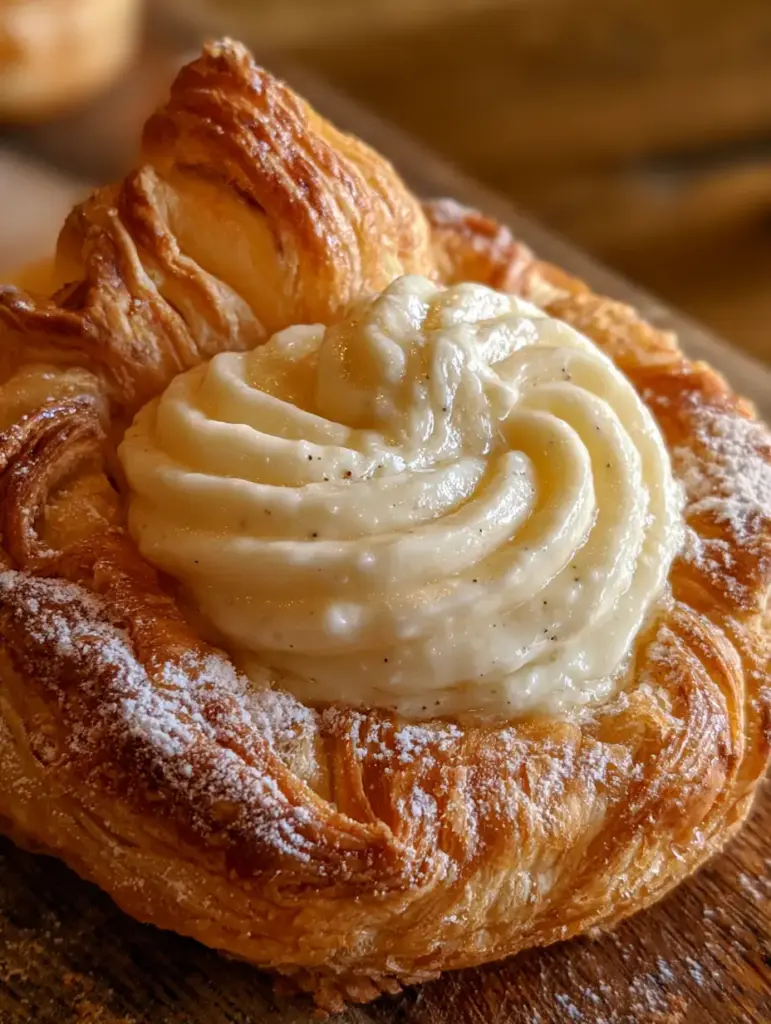
There is nothing quite like the scent of buttery, golden dough rising in the oven on a quiet Saturday morning. These cream cheese pastries are the embodiment of breakfast luxury, featuring soaring layers of puff pastry that shatter at the first bite, giving way to a velvety, sweet center.
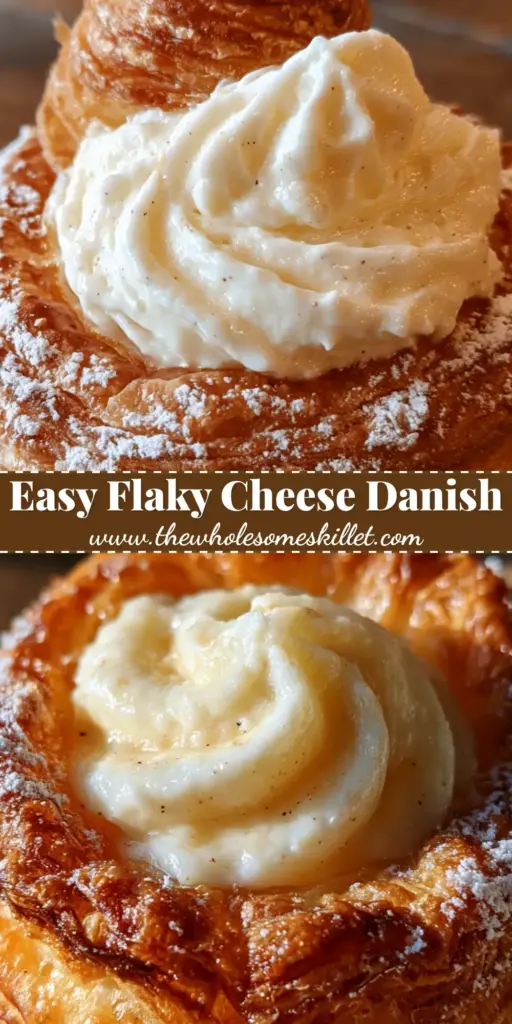
Every element of this recipe is designed to replicate that professional bakery aesthetic right in your own kitchen. We are talking about deep golden edges, a glistening mounded center, and those unmistakable tiny black specks of real vanilla bean that signal pure quality.
Whether you are hosting a brunch or simply want to treat yourself to a handheld masterpiece, these pastries deliver a sensory experience that rivals any Parisian patisserie. The contrast between the cold, tangy cream cheese and the warm, airy pastry is truly unmatched.
Why These Flaky Cream Cheese Pastries Are a Total Game Changer
- Unrivaled Texture: Thanks to specific scoring techniques, the puff pastry achieves a “soaring” height with distinct, visible layers that provide a delicate crispness.
- Gourmet Flavor Profile: By using real vanilla bean or vanilla bean paste, we elevate the filling from a simple sweet cream to a sophisticated custard-like experience.
- Visual Perfection: The recipe ensures a glossy, mounded center and a light powdered sugar dusting that highlights the rustic, golden-brown edges.
- Minimal Effort, High Reward: Using high-quality frozen puff pastry allows you to focus on the artisanal filling and the technical baking cues that guarantee success.
The Anatomy of the Perfect Sweet Pastry Filling
To achieve the result seen in professional food photography, the ingredients must be high-quality and handled with precision. Here is what you will need for these cream cheese pastries.
Full-Fat Brick Cream Cheese: You must use the brick variety (225g per 8oz) rather than a tub spread. The lower moisture content in brick cheese ensures the filling stays mounded and glossy instead of running all over the tray.
Granulated White Sugar: 1/2 cup (100g) of sugar provides the perfect level of sweetness without thinning out the cream cheese. It helps create that slightly glossy finish on the surface of the filling as it bakes.
Large Egg Yolk: One yolk adds a rich, custard-like texture and a beautiful pale yellow hue to the center. It also acts as a binder, preventing the filling from cracking under the heat.
Vanilla Bean or Vanilla Bean Paste: The visual hallmark of a luxury pastry is the presence of vanilla bean specks. Using 1 tsp (5ml) of paste or the seeds from one pod provides a deep, floral aroma that extract alone cannot mimic.
High-Quality Frozen Puff Pastry: Look for a brand made with real butter for the best flavor and lift. You will need 2 sheets (approximately 450g total) to make 12 generous pastries.
Egg Wash: A mixture of 1 large egg and 1 tbsp (15ml) of water is the secret to that deep, golden-brown “golden hour” glow. This wash also helps the powdered sugar cling to the edges after baking.
Powdered Sugar: A final dusting of 2 tbsp (15g) of confectioners’ sugar adds a touch of sweetness and creates a beautiful rustic contrast against the dark wooden serving board.
Essential Tools for Bakery-Quality Results
Achieving distinct flaky layers requires more than just good ingredients; it requires the right tools to handle the dough correctly. You will need a heavy-duty baking sheet to ensure even heat distribution across the bottom of the pastry.
A sharp pizza cutter or a bench scraper is vital for cutting the puff pastry without “dragging” the layers. If the layers are smashed together by a dull knife, the steam won’t be able to push them apart, resulting in a flat danish.
Piping bags are highly recommended for the filling. Spooning the mixture works, but piping creates that “generously mounded” look that stays centered and looks professionally finished.
Mastering the Flaky Layers: Step-by-Step Instructions
Preparing the Puff Pastry Canvas
Thaw your puff pastry in the refrigerator for at least 2 hours or on the counter for 30-40 minutes. It should be cold to the touch but pliable enough to unfold without snapping.
Unfold the dough onto a lightly floured surface and cut each sheet into 6 equal squares. Arrange them on a parchment-lined baking sheet, leaving at least 2 inches (5cm) of space between each square.
Using a sharp paring knife, lightly score a smaller square inside each piece, about 1/2 inch (1.25cm) from the edge. Do not cut all the way through; this “frame” allows the edges to soar while the center stays weighted down by the cheese.
Crafting the Vanilla Bean Filling
In a medium mixing bowl, beat the room-temperature cream cheese and sugar until completely smooth. Use a hand mixer on medium speed for about 2 minutes to ensure there are no lumps.
Add the egg yolk and the vanilla bean seeds, mixing on low until just combined. You should see thousands of tiny black specks distributed evenly throughout the creamy white mixture.
If you have time, chill the filling for 15 minutes before piping. This helps it maintain its mounded shape during the initial blast of heat in the oven.
Assembly and the Golden Glow
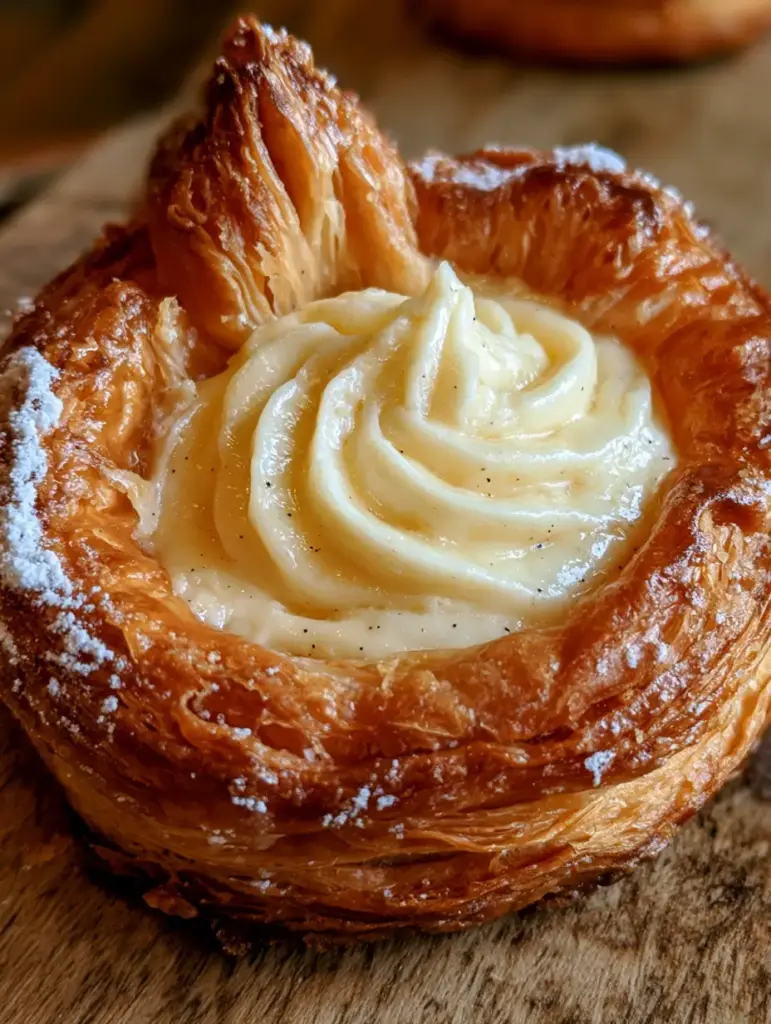
Pipe or spoon approximately 1.5 tbsp (22ml) of the cream cheese mixture into the center of each scored square. The filling should sit comfortably within the “inner frame” you created earlier.
Whisk the egg and water together until no streaks remain. Brush the exposed edges of the pastry lightly with the egg wash, being careful not to let it drip down the sides, which can seal the flaky layers shut.
Preheat your oven to 400°F (200°C). This high temperature is crucial for creating steam within the butter layers, which is what causes the pastry to puff and rise upwards.
The Bake and Sensory Cues
Slide the tray into the center rack of the oven. Bake for 18-22 minutes. You are looking for a very specific visual cue: the edges should be a deep, rich golden brown, and the cream cheese should be set but still have a slight glossy sheen.
Listen for the sound of the pastry as you pull the tray out. It should sound dry and crisp. Let the cream cheese pastries cool on the pan for 10 minutes to allow the filling to firm up fully.
Once cooled slightly, place a fine-mesh sieve over the pastries and dust them with powdered sugar. The sugar should catch on the flaky ridges, highlighting the intricate texture of the dough.
Expert Tips for Pastry Success
- Keep it Cold: If the dough becomes too warm and greasy while you are working, pop the whole tray into the freezer for 5 minutes. Cold butter equals better lift.
- Avoid Over-Mixing: Once the egg yolk is in the filling, stop mixing as soon as it is incorporated. Over-beating can incorporate too much air, causing the filling to puff and then collapse.
- The Center Poke: If the center of the pastry rises too much during baking, you can gently dock (poke holes) in the center of the square before adding the filling.
- Flavor Variations: Feel free to add a dollop of fruit preserves on top of the cream cheese for a colorful twist, similar to the fruit elements in homemade cream puffs.
Storage, Reheating, and Freezing
These pastries are best enjoyed on the day they are made, while the layers are at their peak crispness. However, you can store leftovers in an airtight container at room temperature for up to 2 days.
To reheat, avoid the microwave as it will make the puff pastry rubbery. Instead, place them in a 350°F (175°C) oven or air fryer for 3-5 minutes until the pastry regains its crunch.
You can freeze the unbaked, assembled pastries for up to 3 months. Bake them directly from frozen, adding an extra 3-5 minutes to the total baking time. This is a great way to have fresh danishes ready for unexpected guests.
What to Serve with Cream Cheese Pastries
These sweet treats are the perfect finale to a savory brunch spread. For a full buffet experience, pair them with a savory sausage cream cheese dip to balance out the sweetness of the vanilla bean.
If you are looking for a lighter accompaniment, these go wonderfully with fresh fruit or even cinnamon apple fries for a double-dose of dessert vibes. The floral notes of the vanilla bean also complement the richness of a marry me chicken dinner if you are serving these as a late-night dessert.
For a themed “Cream Cheese Extravaganza,” you might even serve these alongside other cheese-forward favorites like an Italian cream cake.
Frequently Asked Questions
Absolutely! Omit the sugar and vanilla, and add herbs, garlic, or even top with a piece of cooked bacon for a savory version of these pastries.
It is not recommended. Low-fat or whipped cream cheese has higher moisture content and will become runny in the oven, losing that iconic mounded look.
No, for these danishes, the filling and pastry are baked together. The scoring technique ensures the edges rise while the center stays relatively flat to hold the cheese.
Vanilla bean paste is an excellent, more affordable alternative that provides the same concentrated flavor and visual specks as a whole bean pod.
This usually happens if the puff pastry got too warm before baking or if the edges were sealed by egg wash dripping down the sides. Keep the dough cold and brush carefully.
The Ultimate Easy Flaky Cream Cheese Pastries Recipe
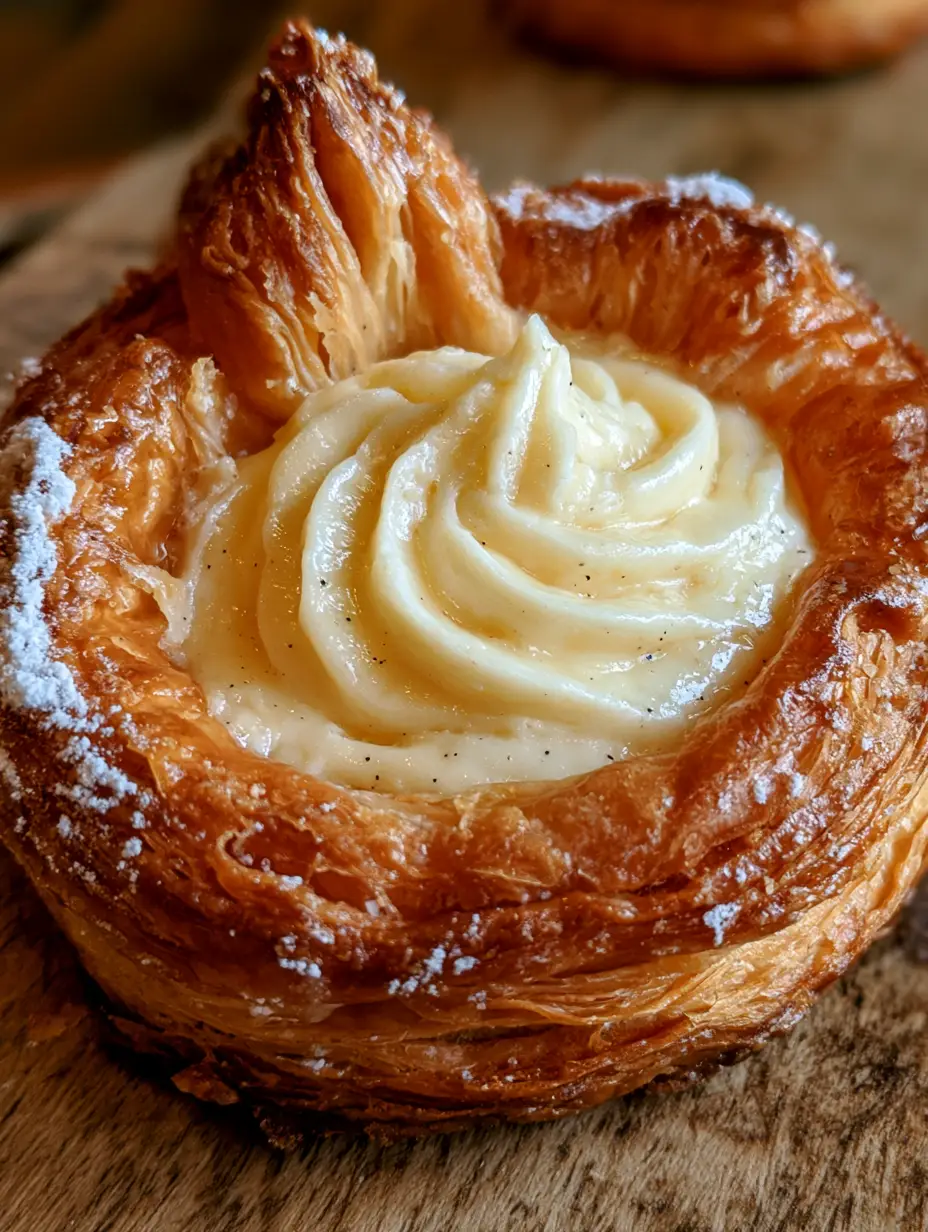
Cream Cheese Pastries: The Ultimate Flaky Vanilla Bean Danish
Ingredients
Equipment
Method
- Preheat oven to 400°F (200°C) and line a baking sheet with parchment paper.
- Cut each puff pastry sheet into 6 equal squares and place on the sheet. Score a 1/2-inch border inside each.
- Beat cream cheese, sugar, egg yolk, and vanilla until smooth and specks are visible.
- Mound 1.5 tbsp of filling in the center. Brush borders with egg wash (egg beaten with water).
- Bake for 18-22 minutes until pastry edges soar and turn deep golden brown.
- Cool for 10 minutes, then dust with powdered sugar over the rustic edges.
Notes
Use a very sharp knife to cut the pastry to ensure the layers separate and rise properly.
Closing & Call to Action
These cream cheese pastries are a testament to how simple ingredients, when treated with professional care, can create something truly extraordinary. The combination of the shattered-glass texture of the pastry and the silky vanilla filling is a match made in culinary heaven.
We would love to see how your danishes turned out! Did you get that perfect golden hour glow? Leave a comment below and share your photos with us. Don’t forget to follow thewholesomeskillet on Pinterest for more flaky, buttery inspiration!