There is a specific kind of culinary magic that happens when you transform a simple gallon of milk into a clear glass bowl filled with thick, pristine white pressure cooker yogurt. If you have ever stared at the glossy, luscious texture of high-end boutique yogurt and wondered how to achieve that at home, you are in the right place. This recipe isn’t just about fermentation; it is about mastering the science of heat and culture to create a breakfast centerpiece that looks as good as it tastes.
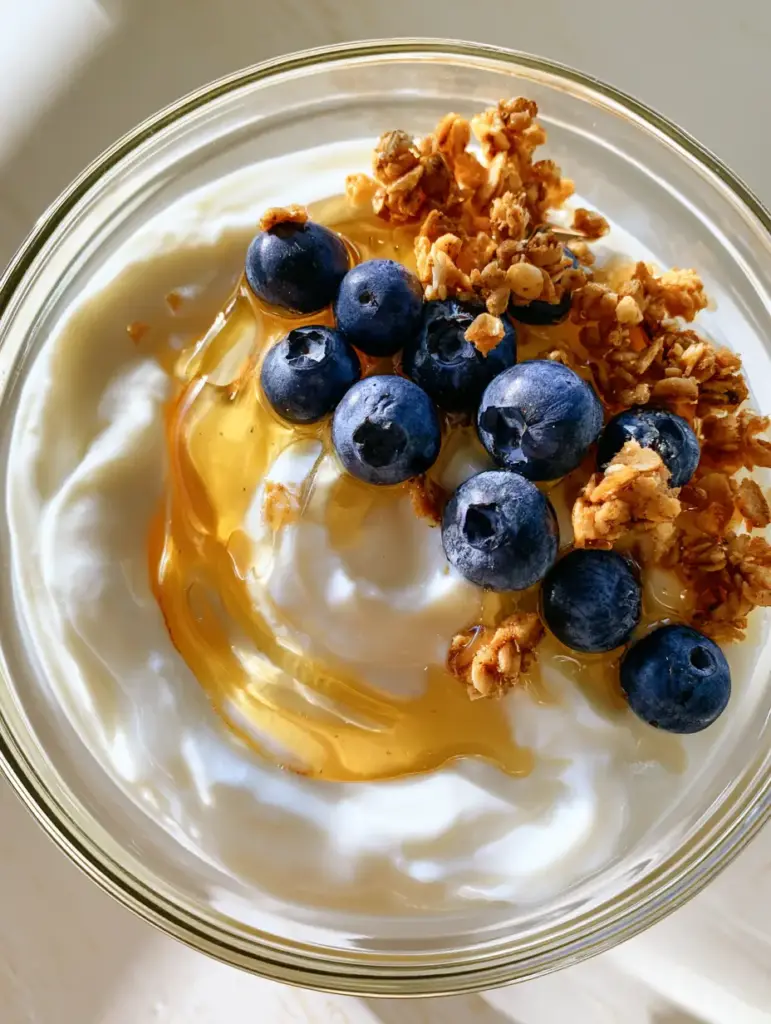
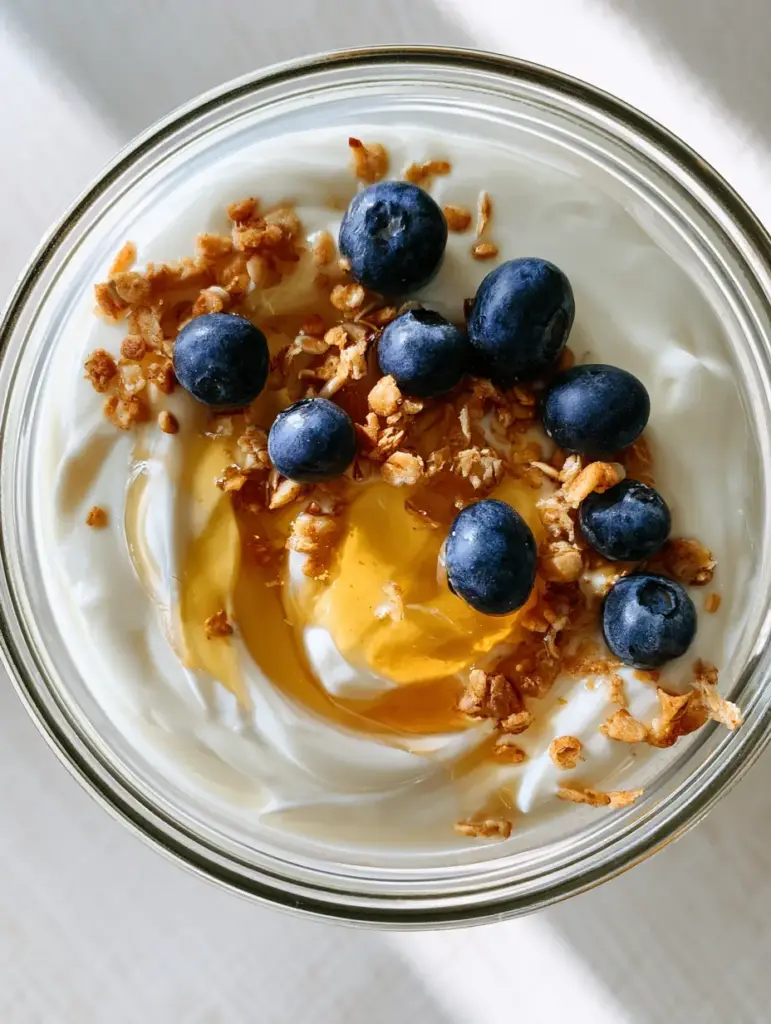
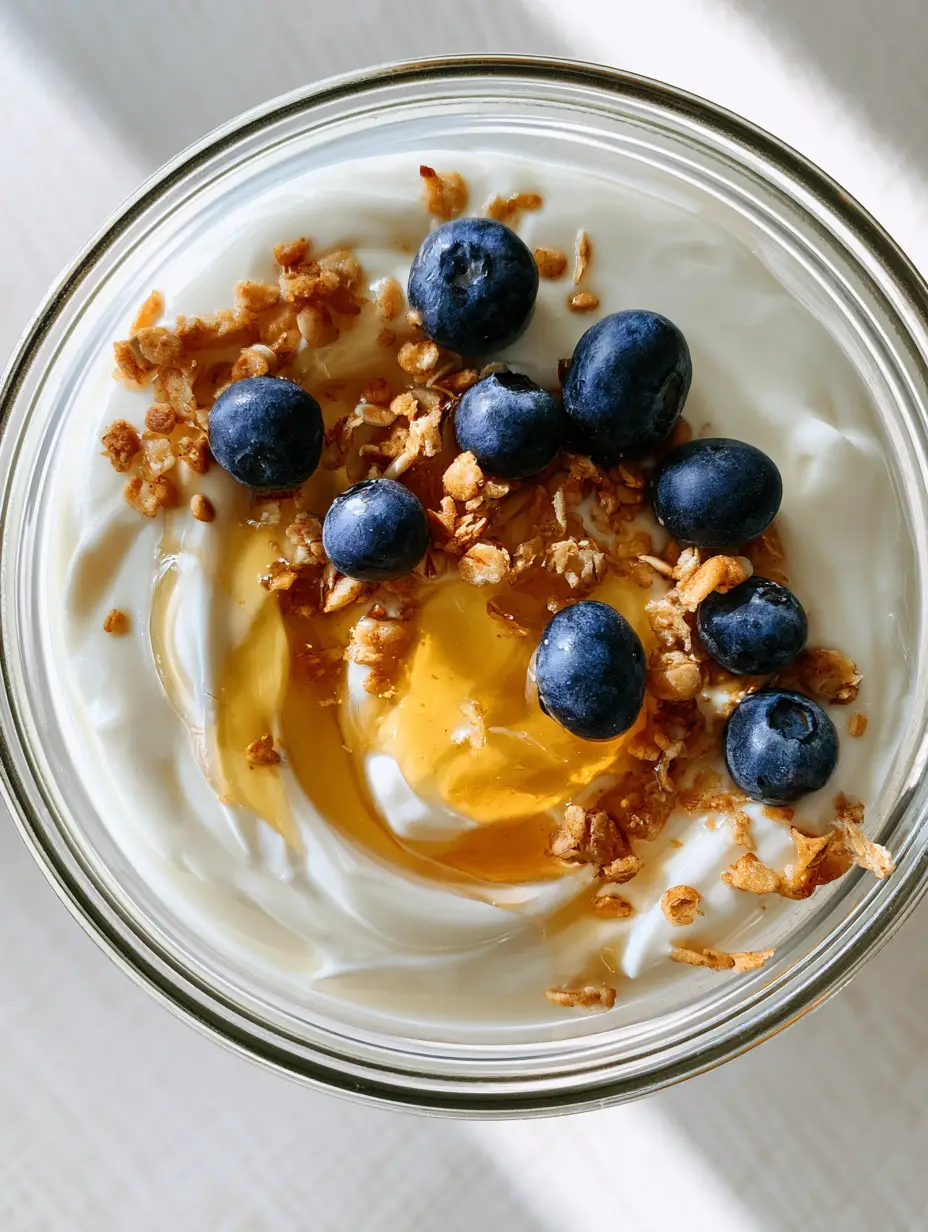
Imagine waking up to a bowl of yogurt so thick it holds the track of a spoon, adorned with a glistening golden raw honey swirl that catches the morning light. We are going to elevate this experience with a handful of plump, juicy blueberries and a scatter of crunchy, golden granola. Set against a minimalist light wood surface, this dish is the epitome of clean, wholesome eating that feels like a luxury indulgence.
Why This Homemade Incubation Method Wins Every Time
- Unrivaled Texture: By controlling the denaturation of milk proteins, we achieve a luscious, thick consistency that rivals any store-bought Greek variety.
- Visual Brilliance: The pristine white base provides the perfect canvas for the vibrant blues of fresh berries and the amber glow of raw honey.
- Total Ingredient Control: No thickeners, no gums, and no artificial preservatives—just pure, probiotic-rich goodness.
- Cost-Efficiency: You can produce a massive batch of high-quality yogurt for a fraction of the price of individual plastic cups.
The Essential Components for a Thick, Pristine Set
1 Gallon (3.8L) Whole Milk: The fat content in whole milk is non-negotiable for achieving that luxurious texture described in our visual blueprint. Use ultra-pasteurized only if you are doing a “cold start,” but for this traditional boil method, standard pasteurized milk works best.
2 Tablespoons (30g) Yogurt Starter: This must contain “live active cultures.” This is the catalyst that transforms your milk; think of it as the DNA of your pressure cooker yogurt.
1/4 Cup (60ml) Golden Raw Honey: Used for that iconic swirl, raw honey provides a natural, glistening sweetness that balances the slight tang of the yogurt. Its viscosity ensures it sits beautifully on the surface without immediately sinking.
1 Cup (150g) Plump Juicy Blueberries: These provide a burst of acidity and color. Look for berries that are firm to the touch to ensure they pop against the creamy white background.
1/2 Cup (60g) Crunchy Golden Granola: Granola adds the necessary structural contrast. The golden hue of the toasted oats complements the minimalist wood aesthetic of the final presentation.
Water (for the base): You will need about 1 cup (240ml) of water in the bottom of the pot to create the steam environment required for the pressure cooker to function during the initial heating phase, if using the “pot-in-pot” method, or simply for cleanup later.
The Tools of the Trade
To achieve the handheld smartphone photo aesthetic of a perfectly set yogurt, you need the right gear. A pressure cooker with a dedicated “Yogurt” function is ideal, but any model that can maintain a steady low temperature (around 110°F/43°C) will work. You will also need a precise digital thermometer; in the world of fermentation, a few degrees make the difference between luscious cream and separated whey.
Finally, a clear glass bowl is essential for serving. It allows the viewer to see the depth of the thick, creamy yogurt and the way the honey swirl penetrates just below the surface.
Mastering the Fermentation: Step-by-Step Instructions
Step 1: The Scalding Phase (The Secret to Thickness)
Pour your milk into the inner pot of the pressure cooker. Select the “Yogurt” setting and adjust to “Boil.” This step heats the milk to 180°F (82°C).
Visual Cue: You are looking for the milk to become frothy with tiny bubbles forming around the edges. This high heat denatures the whey proteins, which is scientifically required to ensure the final product is thick and pristine white rather than runny.
Step 2: The Cooling Down Period
Once the boil cycle finishes, remove the inner pot and let it cool to 110-115°F (43-46°C). You can speed this up by placing the pot in an ice bath in your sink.
Sensory Cue: Use your digital thermometer. If you add the starter while the milk is too hot, you will kill the beneficial bacteria. The milk should feel like lukewarm bathwater to the touch.
Step 3: Inoculating the Batch
Remove about 1/2 cup (120ml) of the warm milk and whisk it into your yogurt starter in a small bowl until smooth. Pour this mixture back into the large pot and whisk gently to incorporate.
Do not over-whisk! You want the cultures distributed, but you don’t want to incorporate excess air, which can disrupt the setting process.
Step 4: The Long Incubation
Place the pot back into the pressure cooker. Select “Yogurt” and set the timer for 8 to 10 hours. The longer it sits, the tangier and firmer it will become.
During this time, the pressure cooker maintains a steady, low heat, allowing the bacteria to consume the lactose and create that beautiful, thick homemade yogurt texture.
Step 5: Chilling and Setting
Once the timer is up, the yogurt will look like a soft custard. Remove the pot, cover it with plastic wrap, and refrigerate for at least 6 hours (ideally overnight). This “sets” the proteins, turning it into the luscious, thick texture seen in our visual blueprint.
Expert Tips for Visual and Culinary Success
- Don’t Stir the Pot: When the yogurt finishes incubating, it is very fragile. Resist the urge to stir it until it has completely chilled in the refrigerator, or you will break the structure.
- Strain for Greek Style: If you want it even thicker, line a colander with cheesecloth and let the yogurt strain for 2-4 hours. The resulting “Greek” yogurt is incredibly dense and luxurious.
- Temperature Precision: Always calibrate your thermometer. Even a 5-degree variance can result in a grainy texture rather than a smooth, pristine white finish.
- The Honey Swirl Technique: To get that “glistening natural sweetness” look, drizzle the honey in a circular motion and use the tip of a knife to gently pull the honey through the yogurt surface.
Preserving Your Masterpiece
Homemade pressure cooker yogurt stays fresh in an airtight container for up to two weeks. However, for the best visual appeal, add your fresh blueberries and granola just before serving. The granola will lose its “crunchy golden” quality if left in the moisture of the yogurt for too long. If you notice a clear liquid forming on top, don’t worry—that is just whey, and it is packed with protein. You can stir it back in or pour it off.
What to Serve With Creamy Homemade Yogurt
This yogurt is the perfect cooling side for a hearty breakfast or a light lunch. If you are hosting a brunch, pair it with a savory pressure cooker ham for a beautiful balance of salty and sweet. For a dessert-leaning treat, serve a dollop of this thick cream alongside banana blondie squares.
If you have leftovers, this yogurt makes a fantastic base for a marinade in creamy Marry Me chicken or as a side for cinnamon air fryer apple fries. The acidity of the yogurt cuts through the richness of fried or roasted dishes perfectly.
Frequently Asked Questions
Yes, you can use a sous-vide setting or a slow cooker setting if it can maintain a constant temperature between 105°F and 115°F. You must manually monitor the temp to avoid killing the cultures.
You can, but the yogurt will be much thinner. For the thick, luscious texture seen in our photos, whole milk or adding a bit of heavy cream is highly recommended.
When stored in a clean, airtight container, it will stay fresh and delicious for up to 2 weeks. The flavor will become slightly tangier over time.
Any plain, unflavored yogurt with ‘Live Active Cultures’ works. You can also use a freeze-dried yogurt starter for more consistent professional results.
This usually happens if the milk wasn’t heated to a full 180°F (to denature proteins) or if the incubation temperature was too low. Straining the yogurt through cheesecloth can fix a runny batch.
The Perfect Pressure Cooker Yogurt Recipe
Pressure Cooker Yogurt: The Ultimate Guide to Creamy Homemade Perfection
Ingredients
Equipment
Method
- Pour the milk into the pressure cooker pot. Select the Yogurt function and adjust to Boil. Heat until milk reaches 180°F (82°C).
- Remove the inner pot and let the milk cool to 110-115°F (43-46°C). Use an ice bath to speed this up if desired.
- Whisk 1/2 cup of warm milk with the yogurt starter, then gently whisk back into the main pot.
- Place pot in the cooker, select Yogurt function, and set for 8-10 hours.
- Cover and chill for at least 6 hours to fully set the texture.
- Serve in a clear glass bowl, swirl with honey, and top with blueberries and granola.
Notes
Ensure all equipment is sterilized to prevent bad bacteria growth.
Conclusion: The Joy of the Homemade Set
Creating your own pressure cooker yogurt is a rewarding journey that yields a product far superior to anything found on a grocery shelf. From the pristine white creaminess to the artful honey swirl and plump blueberries, this dish is a testament to the beauty of simple ingredients handled with care. We hope you enjoy the meditative process of fermentation and the delicious results it brings to your table.
Did you master the honey swirl? Let us know in the comments below! Don’t forget to share your beautiful breakfast creations with us on Pinterest and tag us in your photos.