Finding a dinner that balances nutritional value, ease of cleanup, and restaurant-quality flavor can feel like an impossible task. Enter the teriyaki chicken sheet pan dinner—a vibrant, one-pan masterpiece that brings the spirit of a Hawaiian getaway directly to your kitchen table. This recipe isn’t just about convenience; it is a study in textures and the perfect marriage of savory umami and tropical sweetness.
As you look at the glistening chunks of pineapple and the deeply caramelized edges of the chicken, you’ll realize why this method has become a staple for busy home cooks. The high-heat roasting process ensures that the vegetables retain their snap while the teriyaki glaze transforms into a sticky, rich coating that clings to every morsel. It is the visual definition of “mouth-watering,” captured perfectly in the steam rising from the rustic baking sheet.
In this guide, we will break down the culinary science behind achieving that perfect glaze consistency and the forensic details of ingredient preparation. Whether you are meal prepping for the week or looking for a family-friendly Friday night meal, this teriyaki chicken sheet pan will become your new go-to rotation. Let’s dive into the specifics of how to build this colorful, flavorful tray.
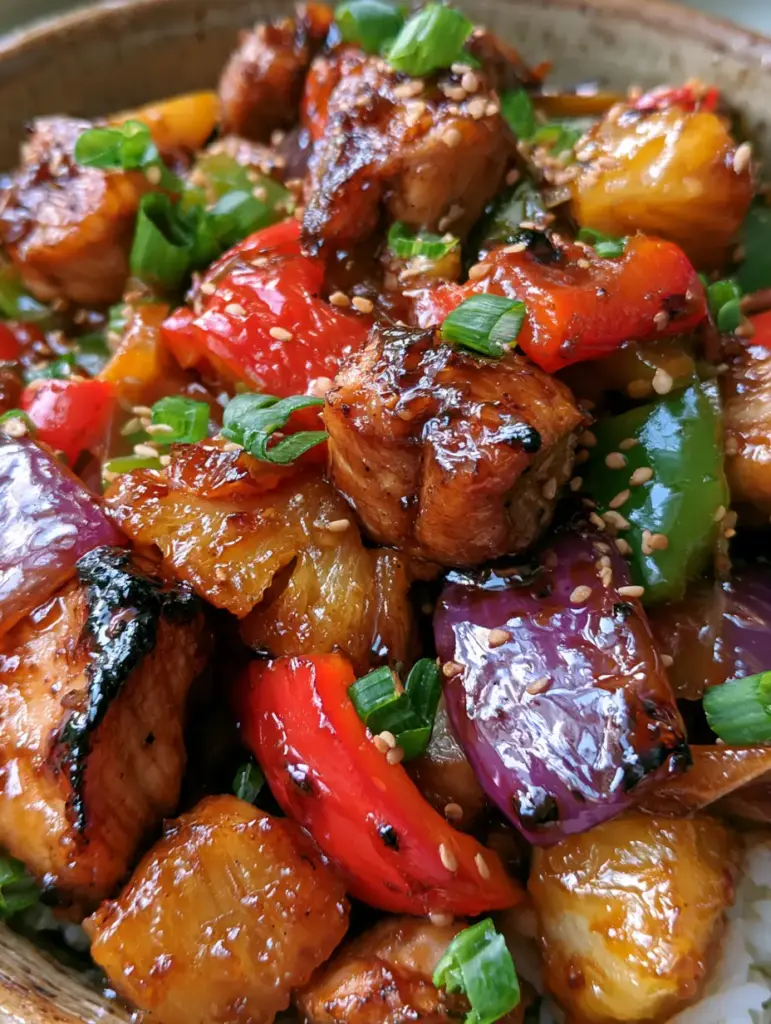
Why This Tropical One-Pan Wonder Works
- Perfect Caramelization: By roasting at a high temperature, we trigger the Maillard reaction, giving the chicken those dark, flavorful edges seen in the visual blueprint.
- Textural Contrast: The combination of soft, juicy pineapple, crunchy bell peppers, and tender red onion creates a dynamic eating experience.
- Zero-Effort Cleanup: Using a single baking sheet means you spend less time at the sink and more time enjoying your meal.
- Vibrant Visuals: The pop of red and green peppers against the golden-brown chicken and bright cilantro makes this a centerpiece-worthy dish.
The Ultimate Flavor Palette: Ingredients You’ll Need
To achieve the specific visual and flavor profile of our teriyaki chicken sheet pan, each ingredient must be selected and prepared with intention. We are looking for high-impact colors and structural integrity that can withstand a hot oven.
The Protein and Produce
1.5 lbs (680g) Boneless Skinless Chicken Thighs: We recommend thighs over breasts for this specific sheet pan preparation because they remain juicy under high heat and develop a superior crust. Cut them into uniform 1-inch (2.5cm) pieces to ensure even cooking.
2 cups (330g) Fresh Pineapple Chunks: Fresh is best here to achieve the “glistening” look. The natural sugars in fresh pineapple caramelize beautifully, whereas canned pineapple can sometimes release too much moisture, steaming the dish instead of roasting it.
1 Large Red Bell Pepper & 1 Large Green Bell Pepper: These provide the essential “vibrant” color contrast mentioned in our visual prompt. Slice them into thick strips so they maintain a slight bite after roasting.
1 Large Red Onion: Sliced into thin wedges, the red onion adds a sharp aromatic quality that mellows into a sweet, jammy texture in the oven.
The Glaze and Foundations
1 cup (240ml) High-Quality Teriyaki Glaze: Ensure you use a “glaze” rather than a thin marinade. A thicker glaze contains the sugar content necessary to create that sticky, rich coating that catches the light.
2 tbsp (30ml) Neutral Oil: Avocado or grapeseed oil is ideal here. We need a high smoke point oil to facilitate the searing process without burning.
0.5 tsp (3g) Sea Salt and 0.25 tsp (1.5g) Black Pepper: Even with a salty glaze, seasoning the raw chicken directly is a foundational culinary step to ensure the flavor is built from within.
The Finishing Touches (The Garnishes)
1/4 cup (10g) Fresh Cilantro: Chopped finely, this adds a burst of green and a refreshing herbal note that cuts through the salt of the teriyaki.
1 Fresh Lime: Cut into wedges, a final squeeze of lime juice provides the necessary acidity to brighten the entire flavor profile just before serving.
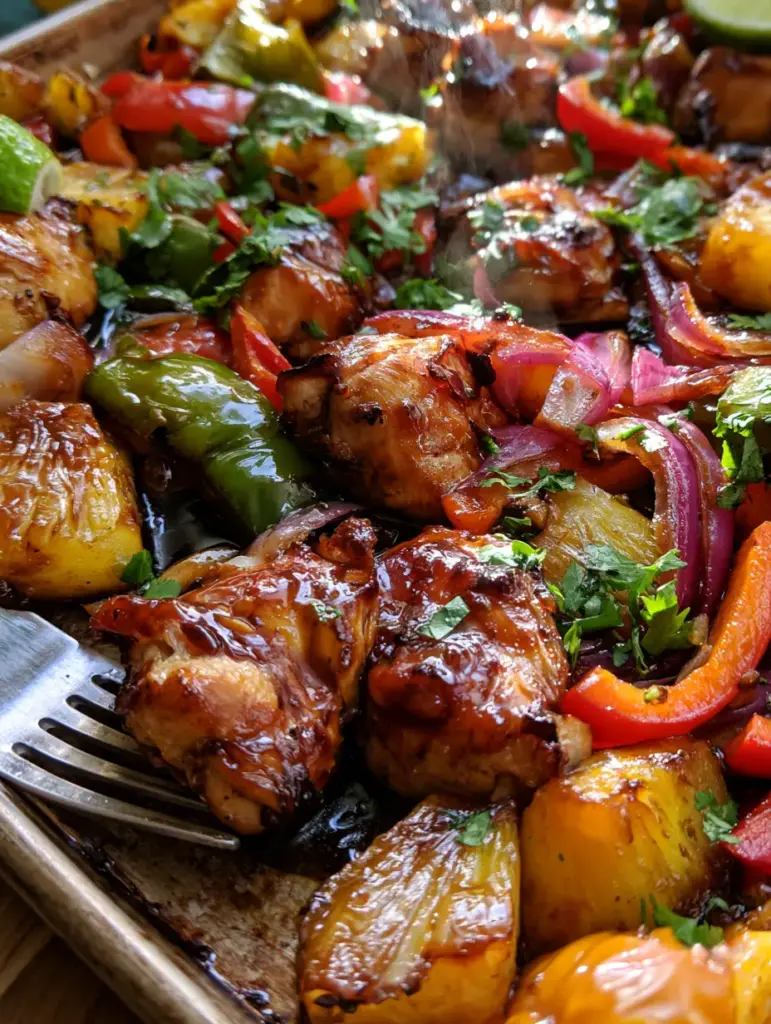
Essential Equipment for a Perfect Roast
To replicate the rustic, handheld smartphone photo aesthetic, you need the right tools. A heavy-duty, rimmed baking sheet (half-sheet size) is non-negotiable. It allows for proper heat distribution and prevents the juices from overflowing into your oven.
I also recommend using parchment paper or a silicone mat. While the prompt shows the food “served directly on a rustic baking sheet,” using a liner during the actual cooking phase prevents the sugar-heavy teriyaki glaze from burning onto your pan, making cleanup a breeze. You can always slide the finished meal onto a clean, rustic sheet for that aesthetic presentation.
Mastering the Art of the Teriyaki Chicken Sheet Pan
Follow these steps closely to ensure your final dish matches the visual description of “perfectly caramelized” and “vibrant.”
Step 1: Prep and Preheat
Preheat your oven to 400°F (200°C). This high temperature is the secret to getting the “steam rising gently” effect and the charred edges on the vegetables. While the oven heats, pat your diced chicken dry with paper towels. Removing surface moisture is critical; otherwise, the chicken will boil in its own juices rather than searing.
Step 2: The Initial Seasoning
In a large mixing bowl, toss the diced chicken, pineapple chunks, bell pepper strips, and red onion slices with the 2 tbsp (30ml) of oil, salt, and pepper. Do not add the teriyaki glaze yet! Roasting the ingredients with just oil first allows the vegetables to blister and the chicken to brown without the sugars in the sauce burning.
Step 3: The First Roast
Spread the mixture in a single, even layer on your baking sheet. Crowding the pan is the enemy of caramelization. If the ingredients are too close, they will release steam and become soggy. Roast for 15 minutes, or until the chicken is opaque and the edges of the peppers are just beginning to turn dark brown.
Step 4: The Glazing Phase
Remove the pan from the oven. Pour 3/4 cup (180ml) of the teriyaki glaze over the ingredients. Use a spatula to toss everything until every piece of chicken and pineapple is “glistening” and “richly coated.” Return the pan to the oven for another 5-7 minutes. This final blast of heat thickens the glaze into a “sticky” lacquer.
Step 5: The Forensic Finish
Once the chicken reaches an internal temperature of 165°F (74°C) and the glaze is bubbling, remove the sheet pan. Drizzle the remaining 1/4 cup (60ml) of fresh glaze over the top for extra shine. Garnish generously with the chopped cilantro and place the lime wedges around the edges.
Expert Tips for Sheet Pan Success
- Uniform Cutting: Ensure your chicken and peppers are roughly the same size. This ensures that the chicken isn’t overcooked by the time the peppers are tender.
- The Freshness Factor: Always use fresh lime juice. The bottled stuff lacks the volatile oils that provide that signature citrus aroma.
- High Heat is Key: Don’t be tempted to lower the temperature. We need that 400°F (200°C) environment to transform the raw ingredients into the “caramelized” state seen in the photos.
- Avoid the “Sog”: If you are using frozen pineapple, thaw it completely and squeeze out all excess liquid before adding it to the pan.
Pairing Your Teriyaki Chicken Sheet Pan
While this meal is a complete powerhouse on its own, you might want to bulk it up for a larger crowd. It pairs beautifully with a side of fluffy jasmine rice or even a tropical chicken and pineapple platter for a larger gathering. If you love the flavor profile of teriyaki, you might also enjoy these slow cooker teriyaki meatballs for your next appetizer night.
For those who prefer a creamier contrast to the sweet and savory notes here, consider serving this alongside a creamy angel chicken dish or even a simple side of chicken alfredo with broccoli if you are doing a multi-course fusion dinner.
Storage, Reheating, and Freezing
In the Fridge: Store leftovers in an airtight container for up to 4 days. The flavors actually deepen overnight, making this an excellent meal prep option.
Reheating: For the best results, reheat in a skillet over medium heat with a splash of water to loosen the glaze. Avoid the microwave if possible, as it can make the chicken rubbery and the peppers mushy.
Freezing: You can freeze the cooked teriyaki chicken sheet pan for up to 2 months. However, note that the peppers will lose their “vibrant” crunch once thawed and reheated.
Absolutely! This dish stays delicious for up to 4 days in the fridge. Just reheat in a skillet to maintain the texture of the chicken and peppers.
Yes, you can use chicken breast, but be careful not to overcook them as they dry out faster than thighs. Cut them into slightly larger pieces to ensure they stay juicy.
The secret is using a ‘teriyaki glaze’ which has a higher sugar content, and applying a second coat during the last 5 minutes of roasting.
Fresh pineapple is highly recommended because it holds its structure better and contains natural sugars that caramelize beautifully under high heat.
If you aren’t a fan of cilantro, sliced green onions or toasted sesame seeds provide a similar fresh finish and visual appeal.
The Ultimate One-Pan Tropical Dinner
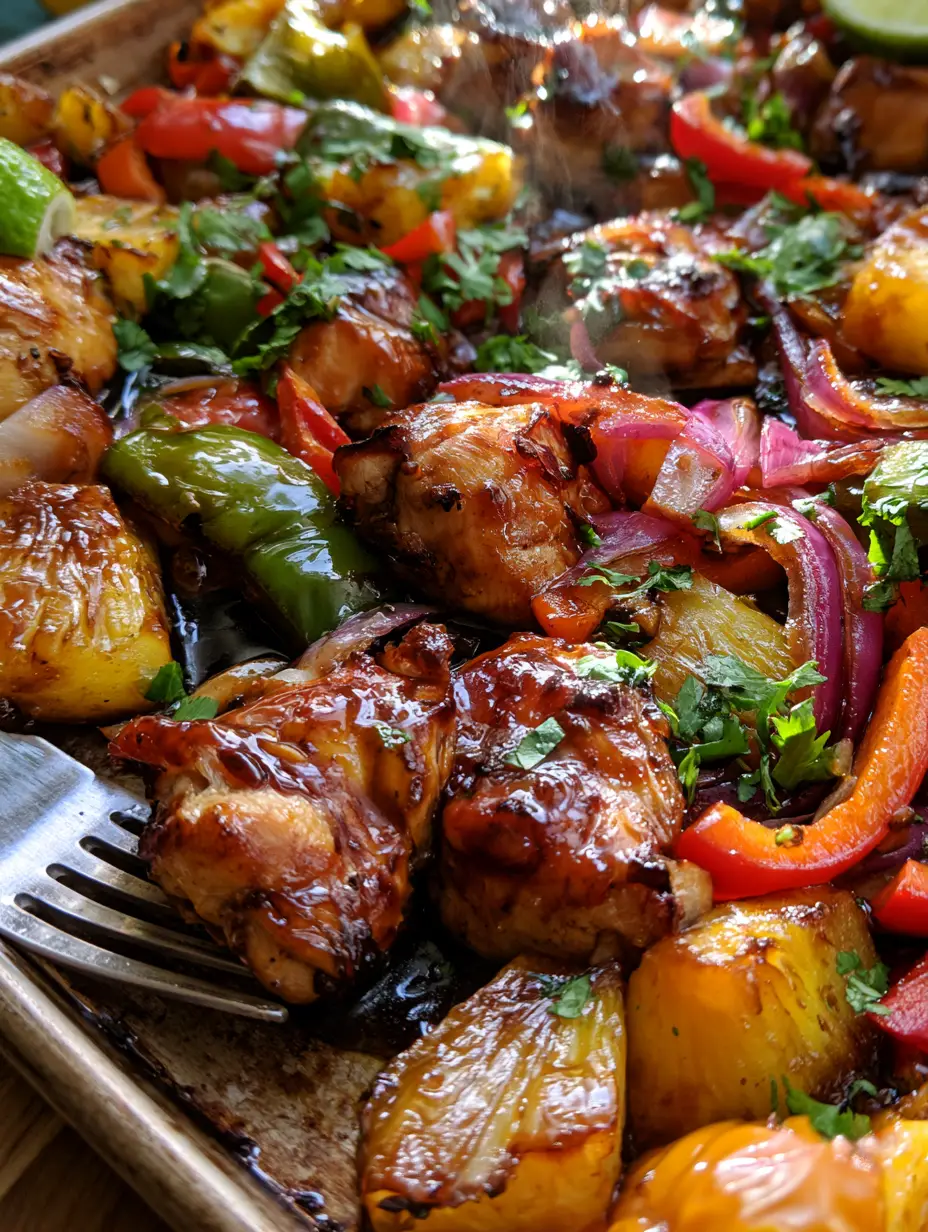
Teriyaki Chicken Sheet Pan Recipe: The Ultimate Hawaiian-Inspired Dinner
Ingredients
Equipment
Method
- Preheat your oven to 400°F (200°C). Pat the chicken pieces dry with a paper towel to ensure proper browning.
- In a large bowl, combine chicken, pineapple, peppers, and onions. Toss with oil, salt, and pepper until evenly coated.
- Spread the mixture onto a rimmed baking sheet in a single layer. Roast for 15 minutes.
- Remove from oven and pour 3/4 cup of teriyaki glaze over the top. Toss to coat and roast for another 5-7 minutes until sticky and caramelized.
- Drizzle with remaining glaze, top with fresh cilantro, and serve with lime wedges.
Notes
Don't crowd the pan to avoid steaming the vegetables.

Closing & Call to Action
This teriyaki chicken sheet pan dinner is the perfect example of how simple ingredients, when treated with the right culinary techniques, can create a visually stunning and incredibly delicious meal. The combination of sticky glaze, charred vegetables, and juicy chicken is a guaranteed crowd-pleaser. If you enjoyed this recipe, please leave a comment below and let us know how it turned out! Don’t forget to share your photos and tag us, and be sure to follow The Wholesome Skillet on Pinterest for more easy weeknight inspiration.