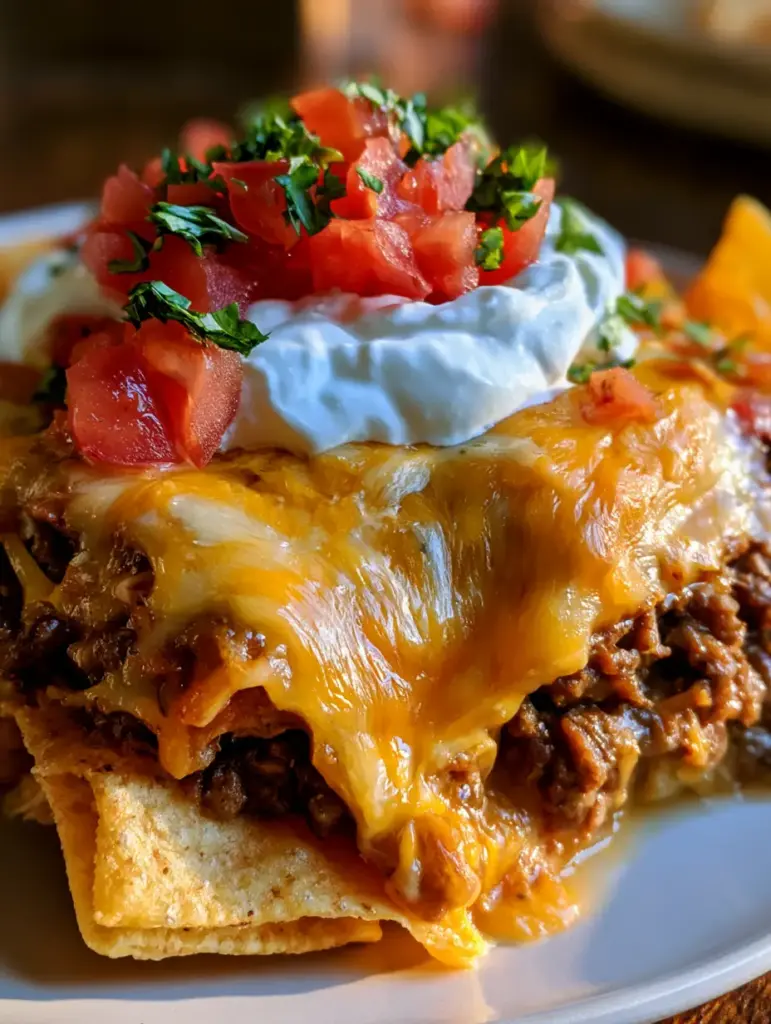
The layered taco bake is more than just a simple weeknight dinner; it is a symphony of textures and vibrant flavors that brings the spirit of a street fair right to your dining room table. Imagine sinking your fork through a thick, gooey blanket of molten cheese into a rich, savory layer of perfectly browned beef, only to reach a satisfyingly crisp foundation of golden corn chips. This dish captures the essence of the classic “walking taco” but elevates it into a sophisticated, shareable masterpiece that looks as good as it tastes.
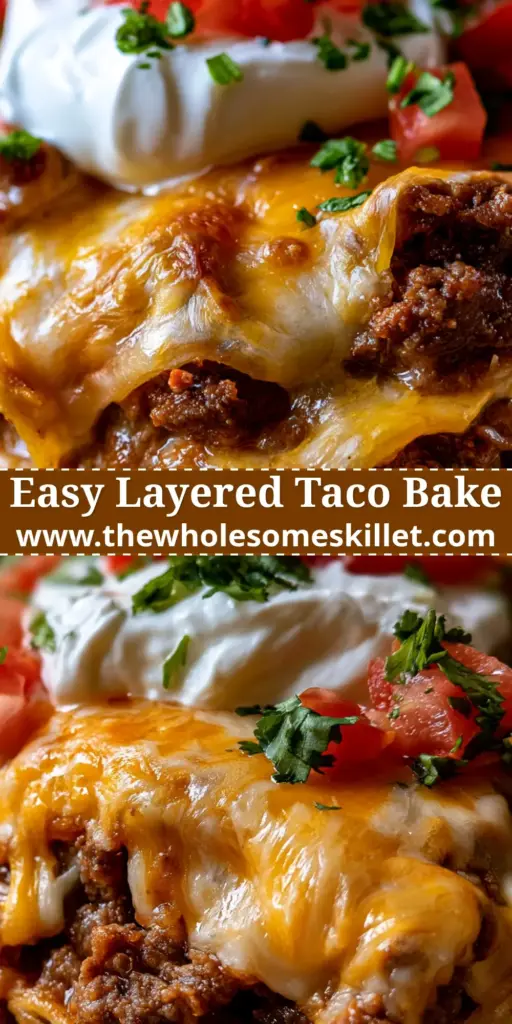
Visually, this dish is a showstopper, featuring distinct, vibrant layers that pop against the backdrop of a warm kitchen. The bright white dollops of cool sour cream contrast beautifully with the finely diced red tomatoes and the punchy green of fresh cilantro. Every bite offers a sensory explosion, from the audible crunch of the chips to the savory aroma of toasted cumin and chili powder wafting through your home. Whether you are feeding a hungry family or hosting a casual get-together, this recipe is designed to impress both the eyes and the palate.
Constructing the perfect layered taco bake requires a balance of culinary science and artistic layering. By following this guide, you will learn the secrets to keeping your chips extra-crunchy while ensuring your beef is succulent and your cheese reaches that iconic, stretchy consistency seen in professional food photography. We have meticulously designed this recipe to match the high-resolution, fresh aesthetic of a modern culinary classic, ensuring your final result is worthy of a spotlight on any table.
Why This Crunchy Casserole is a Weeknight Game Changer
- Textural Contrast: The combination of extra-crunchy corn chips and molten, gooey Monterey Jack and cheddar creates a mouthfeel that keeps you coming back for another bite.
- Vibrant Freshness: Unlike heavy bakes, the addition of fresh diced tomatoes and cilantro right before serving provides a bright, acidic lift that cuts through the savory beef.
- Proven Family Appeal: This recipe takes the beloved flavors of a easy Frito walking taco casserole and refines them for a more structured, impressive presentation.
- Speed and Efficiency: From stovetop to oven to table, this meal maximizes flavor without requiring hours of prep work, making it ideal for busy schedules.
The Essential Ingredients for a Perfect Taco Layer
Ground Beef (90/10 Lean): 1 lb (454g). Using a leaner beef ensures the dish isn’t overly greasy, which helps maintain the structural integrity of the corn chip base while providing a hearty, savory protein layer.
Extra-Crunchy Corn Chips: 9 oz (255g). These provide the essential golden foundation; look for thick-cut varieties that can withstand the weight of the toppings without losing their signature snap.
Sharp Cheddar Cheese: 1.5 cups (168g), freshly shredded. Sharp cheddar provides a bold, tangy flavor profile and a beautiful orange hue that looks stunning when melted.
Monterey Jack Cheese: 1 cup (112g), freshly shredded. Known for its superior melting capabilities, this cheese creates that irresistible gooey stretch and creamy mouthfeel.
Diced Red Tomatoes: 1 cup (150g). These should be firm and ripe, providing a burst of juicy sweetness and a vibrant red color that signifies freshness.
Fresh Cilantro: 1/4 cup (10g), finely chopped. The herbaceous, citrusy notes of cilantro are foundational to the “taco” flavor profile and add a necessary pop of green.
Sour Cream: 1/2 cup (120g). A high-quality, full-fat sour cream provides the creamy, cooling element that balances the heat and spice of the seasoned beef.
Taco Seasoning Blend: 3 tbsp (24g). A mix of chili powder, cumin, garlic powder, and onion powder is essential for creating that deep, savory “taco” aroma and flavor.
Yellow Onion: 1/2 cup (80g), finely diced. Sautéing onions with the beef builds a foundational sweetness and aromatic depth that simple seasoning alone cannot achieve.
Olive Oil: 1 tbsp (15ml). Used to sear the beef and sauté the onions, ensuring a proper Maillard reaction for maximum flavor development.
Water or Beef Broth: 1/4 cup (60ml). This is used to bloom the spices and create a light sauce that coats the beef, ensuring every morsel is seasoned without becoming soupy.
Kitchen Tools for Casserole Success
To achieve the visual and structural perfection of this layered taco bake, you will need a few standard kitchen essentials. A large, heavy-bottomed skillet is crucial for properly browning the beef and sautéing the onions without crowding the pan. You will also need a 9×13 inch (23x33cm) ceramic or glass baking dish, which allows for even heat distribution and provides a clear view of the beautiful layers.
A high-quality box grater is highly recommended over pre-shredded cheese. Pre-shredded varieties are often coated in potato starch to prevent clumping, which can hinder the “gooey blanket” effect we are aiming for. Finally, a sharp chef’s knife is necessary for finely dicing the tomatoes and cilantro, ensuring the toppings look uniform and professional, just like a handheld smartphone photo from a high-end food blog.
How to Build the Perfect Layered Taco Masterpiece
Developing the Savory Beef Base
Heat the olive oil in your skillet over medium-high heat until it shimmers. Add the finely diced onions and sauté for 3-4 minutes until they become translucent and slightly golden. Add the ground beef, breaking it up with a wooden spoon. Listen for the aggressive sizzle—this is the sound of flavor developing. Cook until the beef is browned and no longer pink.
Drain any excess fat from the skillet to prevent the chips from becoming soggy later. Sprinkle the taco seasoning evenly over the meat and pour in the water or broth. Stir well and simmer for 2-3 minutes. You are looking for the liquid to reduce until it forms a thick, glossy glaze over the beef. This step is critical for ensuring the flavor is concentrated and won’t leak into the chip layer.
Constructing the Crunchy and Gooey Layers
Preheat your oven to 375°F (190°C). Begin your layered taco bake by spreading the extra-crunchy corn chips in an even layer across the bottom of your baking dish. You want a solid foundation, so don’t be afraid to overlap them slightly. Next, carefully spread the seasoned beef mixture over the chips. Use a spatula to ensure the beef reaches the edges, creating a complete middle layer.
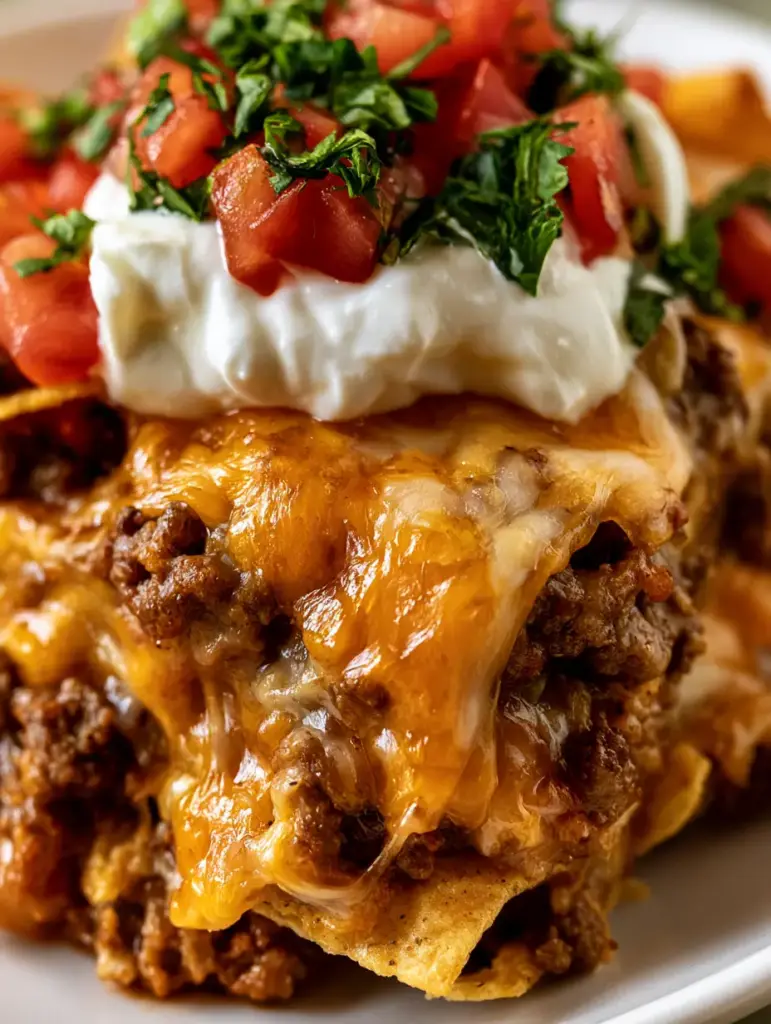
Now comes the “gooey blanket.” Combine the shredded Cheddar and Monterey Jack in a bowl, then sprinkle the mixture generously over the beef. The dual-cheese blend ensures both flavor and stretch. Place the dish in the center of the oven and bake for 10-12 minutes. Watch for the visual cue: the cheese should be completely melted, bubbling slightly at the edges, and beginning to take on a hint of golden color.
The Final Flourish of Freshness
Once the bake is out of the oven, resist the urge to top it immediately. Let it rest for 2-3 minutes; this allows the cheese to set slightly so the toppings don’t slide off. Add a generous dollop of bright white sour cream in the center or several smaller dollops across the surface for even distribution. The cool creaminess is a vital contrast to the heat of the oven.
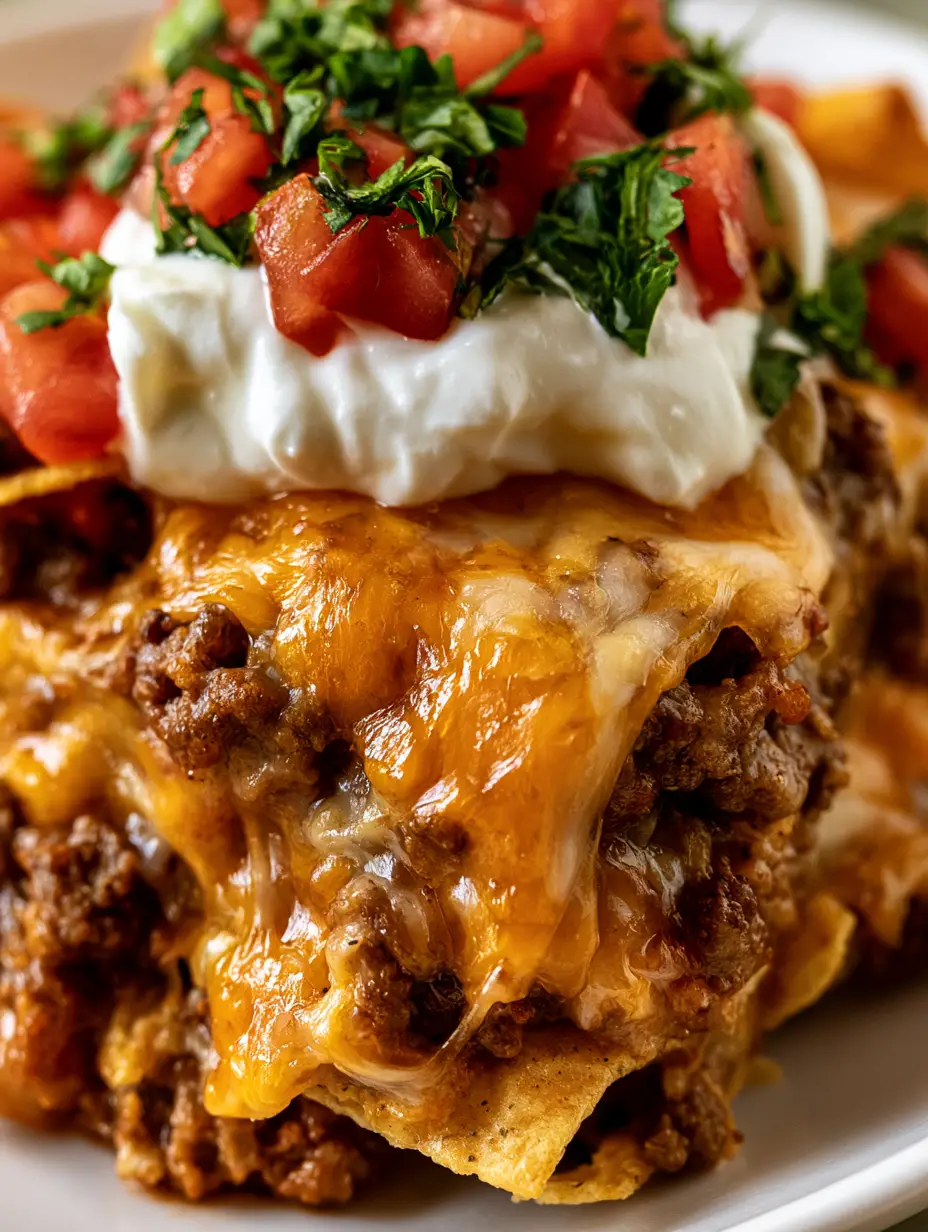
Finish by adorning the dish with your finely diced red tomatoes and vibrant green cilantro. The contrast of the red and green against the white sour cream and golden cheese is what creates that “Extreme close-up” professional look. Serve immediately while the chips are at their peak crunch and the cheese is at its most melty.
Professional Secrets for Extra Crispy Chips
- Temperature Control: Ensure your beef mixture is hot when it goes onto the chips and the oven is fully preheated. A slow-heating oven will cause the chips to steam and soften.
- The “Sauce” Balance: The beef should be moist but not “saucy.” If there is standing liquid in your skillet, continue simmering until it is absorbed or evaporated before layering.
- Fresh Grating: As mentioned, grating your own cheese is non-negotiable for the best melt. The fats in fresh cheese act as a moisture barrier, protecting the chips underneath.
- Serve Immediately: This dish is at its prime the moment it leaves the oven. The longer it sits, the more the moisture from the beef and toppings will migrate into the corn chips.
Making Ahead and Storing Leftovers
While this layered taco bake is best enjoyed fresh, you can prep the beef mixture up to two days in advance. Store the cooked and seasoned beef in an airtight container in the refrigerator. When you are ready to eat, simply reheat the beef slightly before proceeding with the layering and baking steps. This is a great strategy for a fast weeknight cheesy beef and rice bake style efficiency.
Leftovers can be stored in the refrigerator for up to 3 days. However, please note that the corn chips will lose their crunch over time. To revive the dish, we recommend reheating portions in an air fryer or oven at 350°F (175°C) rather than the microwave, which will help firm up the base layer. This recipe does not freeze well due to the texture changes in the chips and fresh toppings.
What to Serve Alongside This Bake
To round out this meal, consider serving it with a side of Mexican street corn or a light, citrusy slaw. If you are looking for more hearty options to fill out your weekly menu, this bake pairs excellently with a loaded taco potato skillet for a multi-course taco-themed night. The richness of the cheese and beef also complements the starchiness of a hearty beef and potato bake.
For those who love a variety of textures, serving this alongside a zesty Italian crescent bake can offer a fun fusion-style dinner spread. Regardless of the side, the bold flavors of the taco bake should remain the star of the show.
Common Questions About Taco Casseroles
Absolutely! You can add diced jalapeños to the beef while it browns, or use a ‘hot’ variety of taco seasoning to increase the heat levels to your preference.
Yes, you can substitute ground turkey for ground beef. Since turkey is leaner, you may need to add an extra tablespoon of olive oil to the pan when browning to prevent it from drying out.
The key is to drain your ground beef thoroughly and simmer the taco seasoning with minimal liquid until it forms a thick glaze rather than a thin sauce. Additionally, baking at a high temperature (375°F) ensures the cheese melts quickly before the chips can absorb moisture.
Always use freshly grated cheese. Pre-shredded cheese contains anti-caking agents that prevent it from melting into the smooth, gooey blanket required for a perfect taco bake.
Thick, extra-crunchy corn chips like Fritos or restaurant-style tortilla chips work best. Avoid thin chips, as they will break down too quickly under the weight of the meat and cheese.
The Ultimate Layered Taco Bake Recipe Card
Layered Taco Bake: The Ultimate Cheesy Crunch Casserole
Ingredients
Equipment
Method
- Heat olive oil in a skillet and sauté onions for 3-4 minutes until translucent.
- Add ground beef and cook until no longer pink, breaking it into small crumbles.
- Drain fat, add taco seasoning and water, and simmer for 2 minutes until liquid is reduced to a thick glaze.
- Place corn chips in the bottom of a 9x13 dish and top evenly with the hot beef mixture.
- Sprinkle the combined Cheddar and Monterey Jack over the beef.
- Bake at 375°F (190°C) for 10-12 minutes until the cheese is a bubbling, gooey blanket.
- Top with dollops of sour cream, diced tomatoes, and fresh cilantro before serving.
Notes
Simmer the beef until the liquid is fully absorbed to keep the chips crispy.
Closing & Call to Action
Mastering the layered taco bake is a surefire way to bring joy to your kitchen and excitement to your dinner table. With its perfect balance of salty crunch, savory beef, and fresh toppings, it satisfies every craving in one beautiful dish. We hope you enjoy the process of building these delicious layers as much as you enjoy eating them!
If you loved this recipe, please leave a comment below and let us know how it turned out! Don’t forget to follow us on Pinterest for more visually stunning and mouthwatering recipes. Share your photos with us; we love seeing your culinary creations come to life!