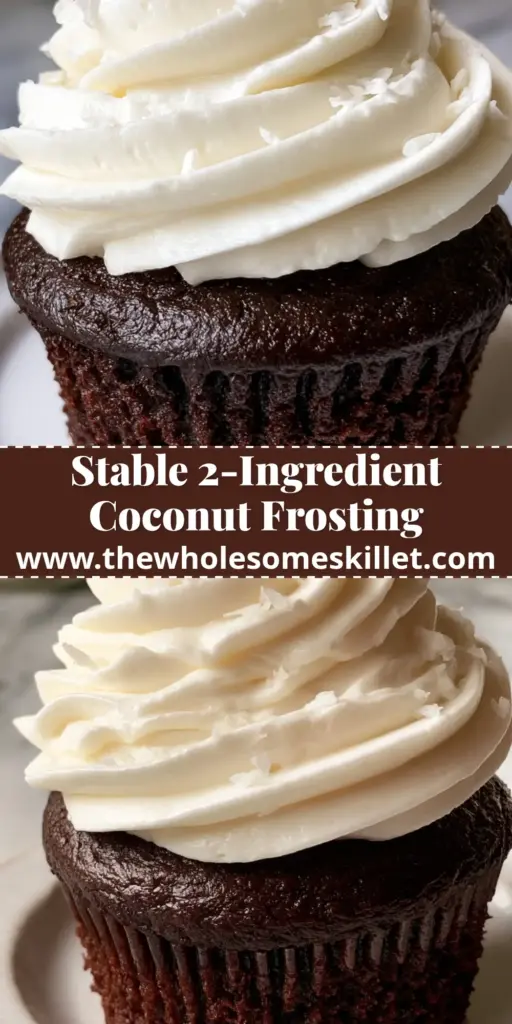
Imagine the soft morning light hitting your kitchen counter, illuminating a perfectly dark chocolate cupcake topped with a towering, snow-white peak. There is something deeply satisfying about a whipped coconut frosting that holds its shape with sharp, defined edges, resisting the urge to slump or melt. If you have been searching for a dairy-free topping that rivals traditional buttercream in stability and flavor, you have found the holy grail of plant-based baking.
This whipped coconut frosting isn’t just a “healthy alternative”; it is a culinary masterpiece in its own right. By leveraging the natural fats found in full-fat coconut milk, we create a texture that is light as air yet remarkably sturdy. Whether you are decorating a professional-grade rich dark chocolate cake or simply topping a batch of weekend cupcakes, this recipe delivers a creamy, tropical finish every time.
The secret lies in the temperature and the technique. Achieving that “handheld smartphone photo” aesthetic requires more than just mixing ingredients; it requires understanding the science of coconut fat. In this guide, we will break down the forensic details of how to get that glossy, thick consistency that looks just as good as it tastes on a rustic white ceramic plate.
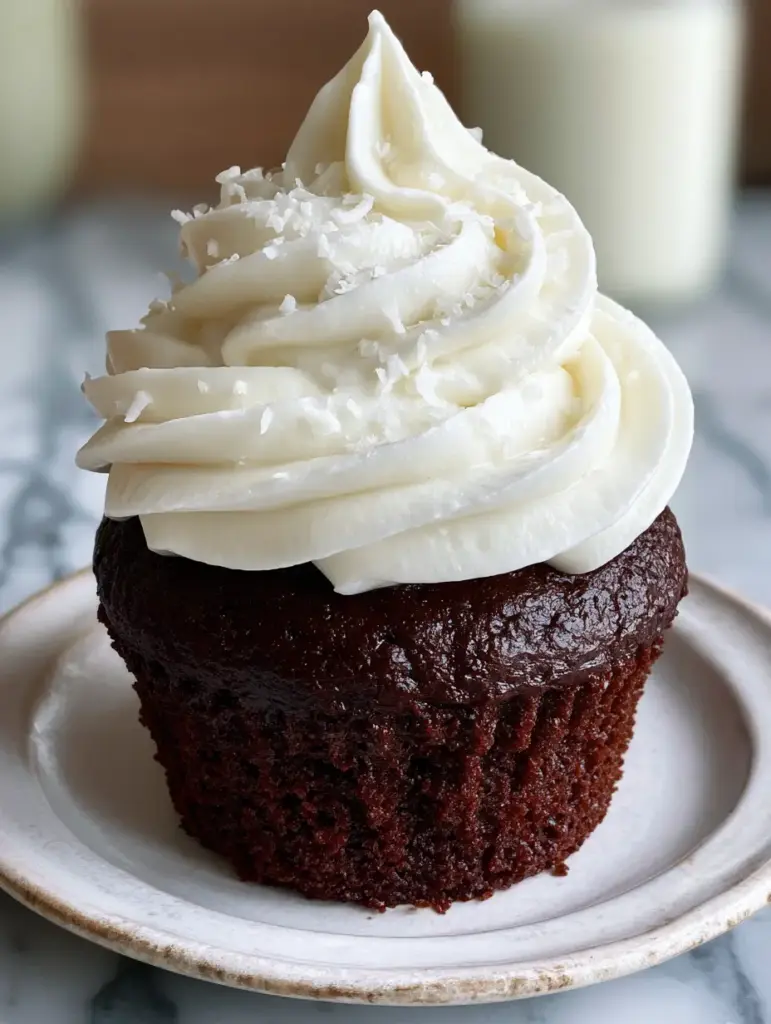
The Anatomy of a Perfect Dairy-Free Swirl
- Structural Stability: Unlike thin glazes, this frosting is engineered to be piped into high, sharp-edged swirls that stay put.
- Visual Contrast: The brilliant white of the whipped coconut cream pops beautifully against a dark chocolate base, especially when garnished with tiny white coconut flakes.
- Clean Ingredients: With no heavy butter or shortening, the flavor remains bright, clean, and authentically tropical.
- Versatile Application: While perfect for cupcakes, it also makes an incredible filling for a moist Brazilian coconut cake.
The Essential Ingredients for Glossy Coconut Cream
Full-Fat Coconut Milk (2 cans, 13.5 oz / 400ml each): This is the most critical component. You must use canned, full-fat milk (not the carton version) to ensure there is enough coconut fat to whip into a stable solid.
Powdered Sugar (1 cup / 120g): This acts as both a sweetener and a stabilizer. The fine particles help bind the fat molecules together, creating the “towering” effect seen in professional photography.
Pure Vanilla Extract (1 tsp / 5ml): A foundational flavoring that rounds out the tropical notes of the coconut. For a truly speckled, gourmet look, you can substitute this with vanilla bean paste.
Pinch of Fine Sea Salt (1/8 tsp / 0.75g): Salt is the “invisible” hero here. It cuts through the richness of the fat and enhances the sweetness, preventing the frosting from feeling one-dimensional.
Unsweetened Shredded Coconut (2 tbsp / 15g): These tiny flakes provide the essential visual texture and a subtle crunch that breaks up the creaminess of the frosting swirl.
Tools Required for Professional Piping
To achieve the sharp edges described in our visual blueprint, you will need a few specific tools. A high-speed stand mixer or electric hand mixer is non-negotiable for aerating the coconut fat. You will also need a large piping bag fitted with a star tip (like an 1M or 2D) to create those defined ridges.
Chilled bowls are another “pro-tip” for success. Placing your mixing bowl and whisk attachment in the freezer for 10 minutes before starting ensures the coconut fat stays solid during the high-friction whipping process. This is the difference between a stable swirl and a runny mess.
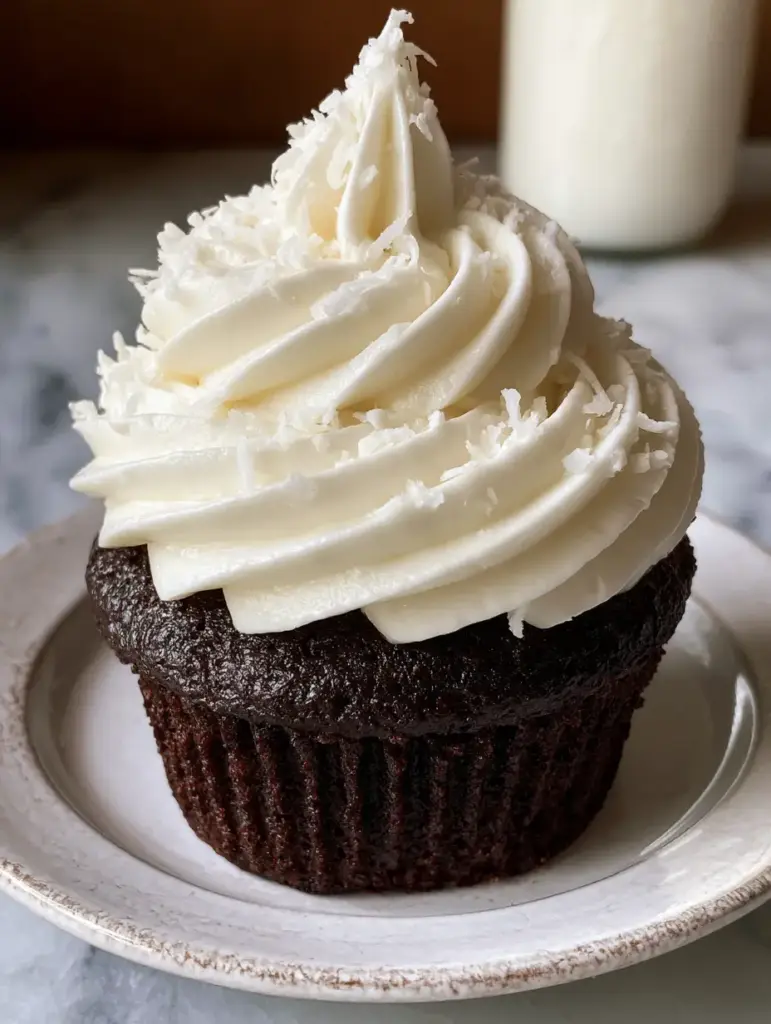
The Forensic Guide to Crafting Whipped Coconut Frosting
Step 1: The Critical 24-Hour Chill
Place your cans of full-fat coconut milk in the back of the refrigerator for at least 24 hours. This allows the coconut cream to separate from the liquid water and harden into a solid mass. Do not shake the cans before opening; we need that clear separation to ensure the frosting has the structural integrity to stand tall.
Step 2: Extracting the Coconut Fat
Carefully open the chilled cans. Use a spoon to scoop out the thick, hardened white cream from the top and place it into your chilled mixing bowl. Save the remaining clear coconut liquid for a smoothie or a batch of creamy coconut rice pudding. If any liquid gets into the frosting, it will lose its ability to hold a peak.
Step 3: The Initial Aeration
Start your mixer on medium speed and begin whipping the coconut cream alone. Look for visual cues: the cream should transform from a solid block into a smooth, fluffy consistency within 2 to 3 minutes. Stop as soon as it looks like softened butter; over-whipping at this stage can cause the fat to grain.
Step 4: Incorporating Stabilizers and Flavor
Sift the powdered sugar (1 cup / 120g) directly into the bowl to avoid any lumps that could clog your piping tip. Add the vanilla and salt. Turn the mixer to high and whip for another 1-2 minutes. The frosting is ready when it forms stiff, glossy peaks that do not move when you lift the whisk.
Step 5: The Masterful Pipe
Transfer the whipped coconut frosting into your piping bag. Holding the bag vertically over the center of your dark chocolate cupcake, apply steady pressure. Start from the outside and spiral inward and upward to create that iconic towering swirl. Immediately sprinkle with the shredded coconut flakes so they adhere to the creamy surface.
Expert Tips for a Stable Result
- Check the Fat Content: Always look for coconut milk with at least 12-14g of fat per serving. If the fat content is too low, the frosting will never reach the “stiff peak” stage.
- Avoid Heat: If your kitchen is warm, the coconut fat will melt. Work quickly and keep the frosted cupcakes refrigerated until the very moment you are ready to serve.
- Sift Your Sugar: Even the smallest clump of sugar can ruin the “sharp, defined edges” of your piped swirl. Never skip the sifting step.
- The “Bowl Chill” Trick: If the cream seems too soft while whipping, stop and put the entire mixing bowl in the fridge for 15 minutes, then try again.
How to Store Your Coconut Creation
Because this frosting is based on natural fats, it is highly sensitive to temperature. Store frosted cupcakes in an airtight container in the refrigerator for up to 3 days. The frosting will actually firm up further when chilled, making it even more stable.
We do not recommend freezing the finished frosting, as the emulsion can break when thawing, leading to a grainy texture. However, you can make the frosting 24 hours in advance and keep it in the fridge; just give it a quick 30-second whisk before loading it into your piping bag to restore its fluffiness.
What to Serve with Whipped Coconut Frosting
This frosting is a tropical dream, making it the perfect partner for fruit-forward desserts. Try it as a dip for pineapple coconut fluff or as a lighter topping for a white chocolate coconut cake.
If you are hosting a brunch, these cupcakes pair beautifully with savory sides. The sweetness of the coconut balances the richness of garlic parmesan potatoes or a hearty plate of steak and cheese potatoes. For a complete dessert spread, serve alongside crunchy cinnamon sugar twists.
Frequently Asked Questions
No, carton coconut milk is too diluted with water and lacks the necessary fat content to separate and whip into a stable frosting.
It has a distinct but mild tropical flavor. Adding vanilla extract or vanilla bean paste helps balance the profile for a more versatile topping.
Ensure the coconut cream is fully chilled before whipping, and consider adding 1/4 teaspoon of cream of tartar or a bit more powdered sugar to help stabilize the peaks.
It takes at least 24 hours in a cold refrigerator. For best results, keep a couple of cans in the back of your fridge so you’re always ready to bake.
Graininess usually occurs if the coconut cream was over-whipped or if the powdered sugar wasn’t sifted. Use a medium speed to maintain control over the texture.
The Ultimate Whipped Coconut Frosting Recipe
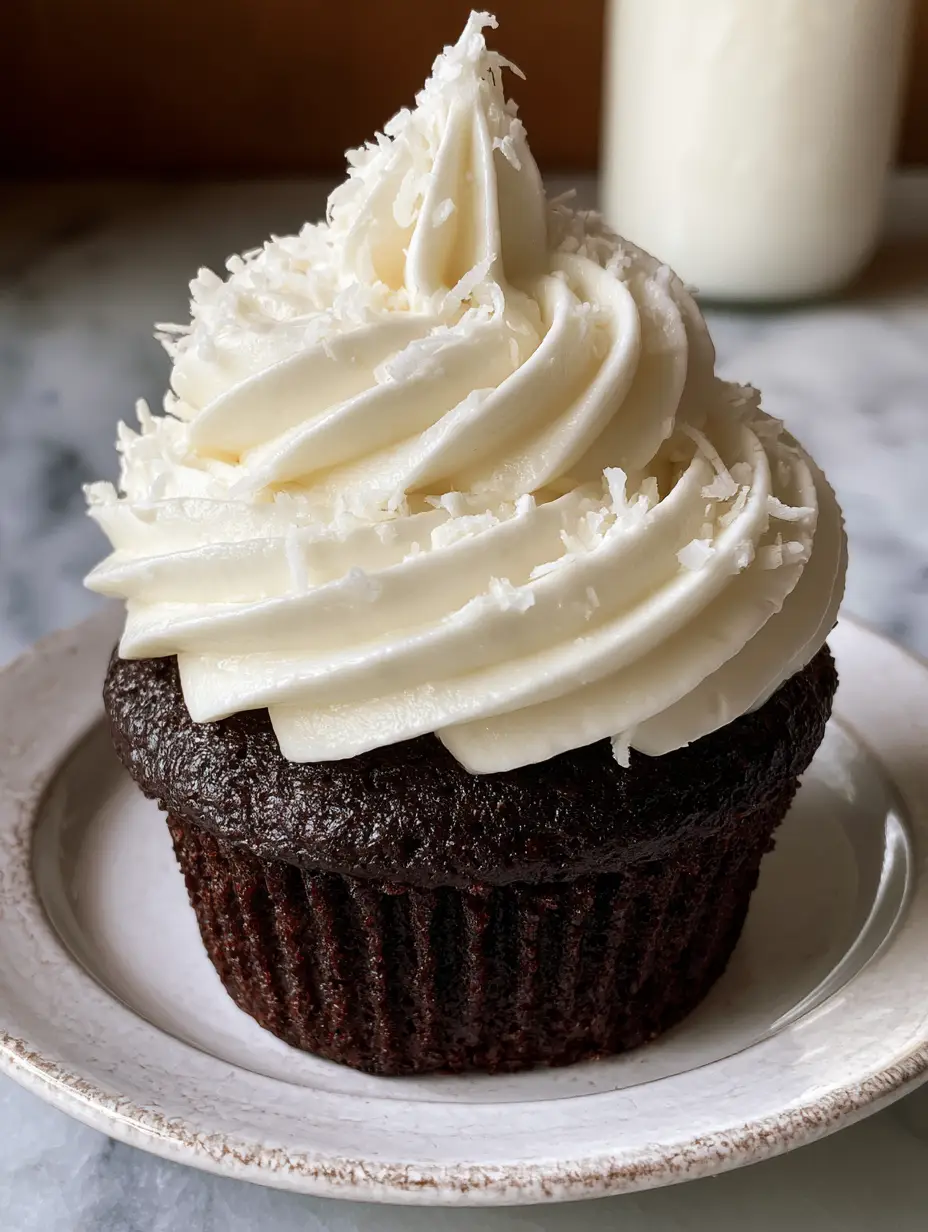
Whipped Coconut Frosting: The Ultimate Stable Dairy-Free Recipe for Piped Swirls
Ingredients
Equipment
Method
- Place the cans of coconut milk in the refrigerator for at least 24 hours without shaking them.
- Open the cans and scoop out the hardened white coconut cream into a chilled mixing bowl, leaving the liquid behind.
- Whip the coconut cream on medium-high speed for 2-3 minutes until smooth and fluffy.
- Add sifted powdered sugar, vanilla, and salt. Whip on high speed for 1-2 minutes until stiff, stable peaks form.
- Transfer to a piping bag and pipe towering swirls onto dark chocolate cupcakes. The frosting should have sharp, defined ridges.
- Immediately sprinkle with shredded coconut flakes while the frosting is fresh.
Notes
Ensure your mixing bowl is chilled to help the fat stay solid.
Final Thoughts on This Tropical Topping
Mastering whipped coconut frosting is a rite of passage for any home baker looking to elevate their plant-based game. The combination of the deep, earthy dark chocolate cupcake and the light, airy coconut swirl is a sensory experience that never fails to impress. This recipe proves that you don’t need dairy to achieve professional, “high-resolution” results in your own kitchen.
If you enjoyed this recipe, please leave a comment below and let us know how your swirls turned out! Don’t forget to follow thewholesomeskillet on Pinterest for more culinary inspiration and share your photos with our community.