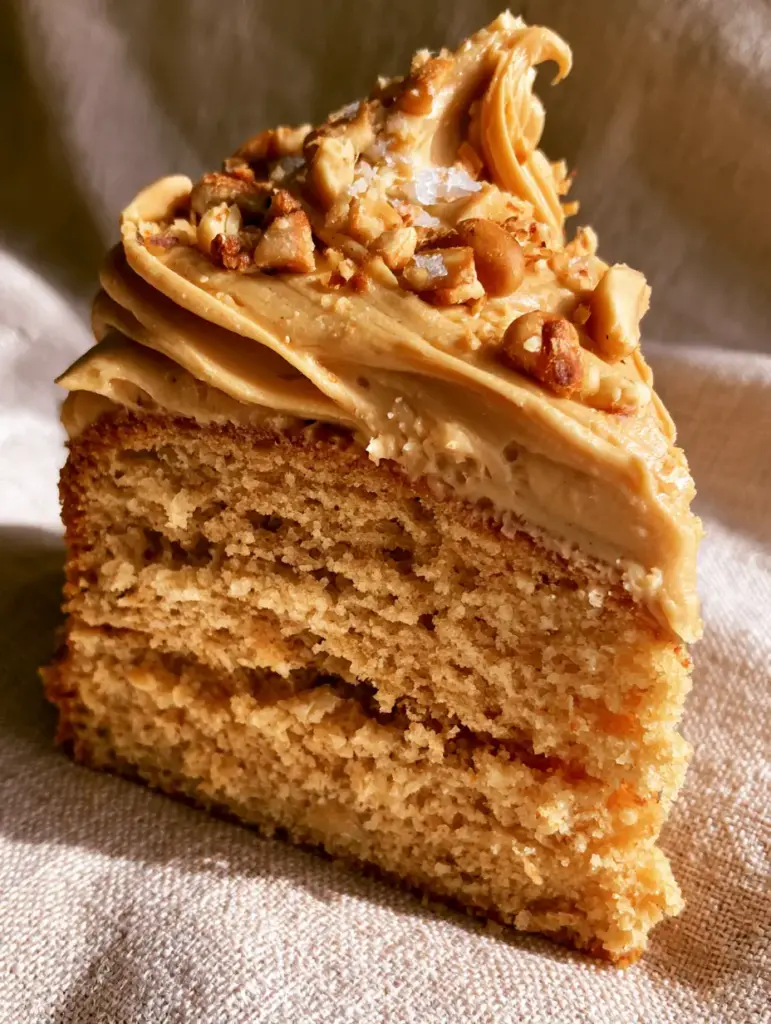
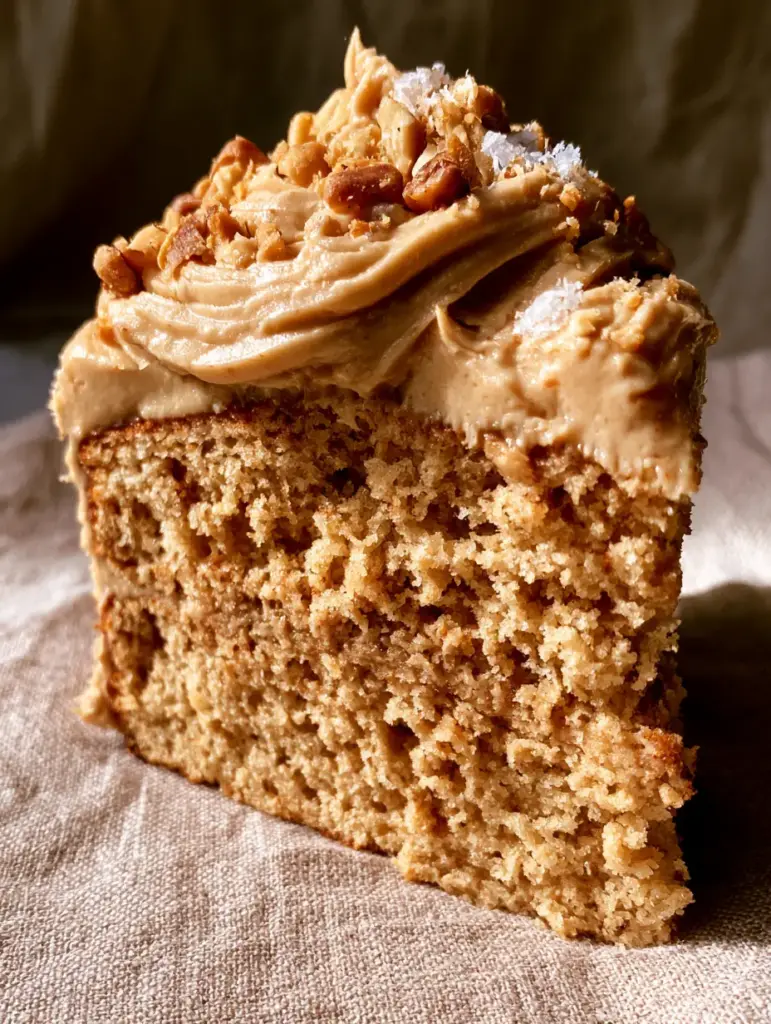
There is something undeniably nostalgic and deeply satisfying about a thick slice of peanut butter cake. Imagine a golden, moist sponge with an open crumb texture that practically melts on your tongue, topped with a heavy, luscious swirl of whipped peanut butter frosting. This isn’t just a dessert; it’s a sensory experience designed for those who believe peanut butter is a food group of its own.
Inspired by the rustic aesthetic of a handheld smartphone photo, this cake captures the essence of home-baked perfection. The soft natural sunlight hitting the side of the slice highlights the velvety texture of the frosting and the glisten of flaky sea salt scattered on top. It’s a high-contrast, decadent masterpiece that looks just as good on a neutral beige linen background as it tastes on your plate.
Whether you are celebrating a milestone or simply indulging a weekend craving, this peanut butter cake delivers on every promise. The combination of roasted peanuts and creamy peanut butter swirls creates a depth of flavor that is far superior to store-bought alternatives. Get ready to master the ultimate golden sponge that serves as the perfect canvas for peanut butter bliss.
Why You Will Love This Decadent Layer Cake
- The Perfect Texture: A golden sponge cake with a moist, open crumb that stays soft for days.
- Double Peanut Punch: Features both a creamy peanut butter swirl in the batter and a heavy, whipped frosting.
- Crunch & Contrast: Toasted crushed peanuts and sea salt flakes provide a necessary textural contrast to the velvety frosting.
- Visually Stunning: The rustic, high-contrast aesthetic makes it a showstopper for social media and dinner parties alike.
- Culinary Logic: Scientifically balanced to ensure the peanut butter flavor shines without making the cake dense or dry.
The Anatomy of a Perfect Moist Sponge
Creating a peanut butter cake that isn’t overly dense requires a careful balance of fats and leavening agents. We use a combination of unsalted butter and sour cream to ensure the crumb remains open and light. While many recipes rely solely on oil, the butter provides that essential golden color and a rich, foundational flavor that complements the roasted notes of the peanuts.
The “invisible” heroes of this recipe are the room-temperature eggs and the precise amount of baking powder. These elements work together to lift the heavy peanut butter swirls, preventing them from sinking to the bottom of the pan. The result is a cake that feels substantial yet airy, a rare feat in the world of nut-butter-based desserts.
If you enjoy experimenting with different flavor profiles, you might also be interested in our pistachio raspberry cake, which uses similar crumb-building techniques but with a bright, fruity twist. However, for the purists, nothing beats the savory-sweet harmony found right here.
Essential Ingredients for the Golden Crumb
All-Purpose Flour: 2 ½ cups (312g). This provides the structural framework for the cake; ensure you measure by weight for the most accurate “open crumb” result.
Granulated Sugar: 1 ¾ cups (350g). Sugar does more than sweeten; it tenderizes the gluten and helps achieve that characteristic golden sponge color.
Unsalted Butter: 1 cup (226g), softened. Butter is responsible for the rich mouthfeel and the velvety texture described in our visual blueprint.
Creamy Peanut Butter: ¾ cup (190g) for the batter. Use a standard commercial brand (like Jif or Skippy) for the best emulsion and swirl stability; natural oils can be too unpredictable.
Sour Cream: ½ cup (120ml). The acidity in sour cream breaks down gluten strands, resulting in a moist cake crumb that is never tough.
Large Eggs: 3 units, room temperature. Eggs provide leavening and structure, ensuring the cake doesn’t collapse under the weight of the frosting.
Whole Milk: 1 cup (240ml). Milk adds moisture and contributes to the golden browning of the sponge during the bake.
Baking Powder & Salt: 2 ½ tsp (10g) baking powder and ½ tsp (3g) fine salt. These are the chemical foundations for rise and flavor enhancement.
The Secrets of Whipped Peanut Butter Frosting
To achieve the “heavy, luscious swirl” seen in the high-contrast photography of this peanut butter cake, the frosting must be whipped to the perfect consistency. We start with a base of butter and creamy peanut butter, then aerate it with heavy cream.
Unlike a traditional brown butter buttercream, which focuses on toasted dairy notes, this frosting is all about the legume. It should be stiff enough to hold its shape in deep, decorative swirls but soft enough to feel like velvet on the tongue. The addition of a pinch of sea salt inside the frosting helps to cut through the richness of the powdered sugar.
Powdered Sugar: 4 cups (500g). Sift this to ensure there are no lumps in your heavy, luscious swirls.
Heavy Whipping Cream: ¼ cup (60ml). This is the secret to the “whipped” texture, turning a dense paste into a cloud-like topping.
Must-Have Tools for Bakery-Style Results
To replicate the rustic aesthetic and professional texture of this cake, you will need a few specific tools. A stand mixer fitted with a paddle attachment is ideal for creaming the butter and sugar until they are pale and fluffy.
For the frosting, a whisk attachment is essential to incorporate enough air for that “whipped” look. You will also need two 8-inch (20cm) round cake pans to create the layers. Finally, an offset spatula is your best friend when it comes to creating those signature heavy swirls on the top and sides of the cake.
Step-By-Step: Crafting the Peanut Butter Cake
1. Preparing the Foundation
Preheat your oven to 350°F (175°C). Grease and flour two 8-inch (20cm) pans, lining the bottoms with parchment paper to ensure a clean release for your golden sponge layers.
2. Creaming for Volume
In your stand mixer, beat the softened butter and granulated sugar for at least 3-5 minutes. Look for a visual cue: the mixture should turn from a deep yellow to a pale, off-white color and appear noticeably fluffy.
3. Incorporating the Peanut Butter Swirl
Add the eggs one at a time, followed by the sour cream and vanilla. Gently fold in the creamy peanut butter. Do not over-mix here; you want to maintain the air you’ve just beaten into the butter.
4. Alternating Dry and Wet Ingredients
Add the flour mixture in three parts, alternating with the milk. Start and end with the dry ingredients. This technique prevents the batter from curdling and ensures that moist cake crumb we are aiming for.
5. The Bake and Sensory Cues
Divide the batter evenly. Bake for 30-35 minutes. The sensory cue for readiness is a deep golden-brown color on top and a toothpick that comes out with just a few moist crumbs attached. The smell of roasted nuts should fill your kitchen.
6. Whipping the Luscious Frosting
While the cakes cool, beat the butter and peanut butter together. Gradually add powdered sugar and heavy cream. Whisk on high speed until the frosting increases in volume and looks like a thick, velvety cloud.
Expert Tips for a Professional Finish
- Room Temperature is Key: Ensure your eggs, butter, and sour cream are at room temp to create a perfect emulsion. Cold ingredients will lead to a dense, oily cake.
- Don’t Scrimp on the Swirl: When adding the peanut butter to the frosting, use a spatula to create deep “S” motions to get that rustic, handheld photo look.
- Toast Your Peanuts: Always use roasted peanuts for the topping. If yours are raw, toast them in a dry pan for 3 minutes until fragrant and golden.
- The Salt Factor: Use a high-quality flaky sea salt (like Maldon). The large crystals provide a beautiful visual contrast and a burst of flavor that balances the sweet frosting.
Creative Pairings and Serving Suggestions
This peanut butter cake is a star on its own, but it pairs beautifully with other textures. For a full dessert spread, consider serving it alongside some healthy peanut butter cookies for a textural variation on the theme.
If you’re looking for something even more indulgent, a slice of this cake followed by a small portion of chocolate silk cake creates the ultimate “Reese’s” inspired dessert experience. The saltiness of the peanuts in our cake cuts through the richness of the chocolate perfectly.
Storage and Make-Ahead Advice
This cake is exceptionally moist and can be stored at room temperature in an airtight container for up to 2 days. For longer storage, keep it in the refrigerator for up to 5 days. If refrigerated, let the slice sit at room temperature for 20 minutes before serving to soften the whipped frosting.
You can also freeze the un-frosted cake layers. Wrap them tightly in plastic wrap and foil; they will stay fresh for up to 3 months. This is a great way to prep for a big event in advance.
Frequently Asked Questions
For the cake batter and frosting, commercial creamy peanut butter is recommended. Natural varieties often separate, which can lead to an oily texture or a broken frosting.
While optional, the flaky sea salt is crucial for the ‘Visual Blueprint’ and provides a necessary contrast that cuts through the richness of the peanut butter frosting.
The secret is using heavy whipping cream and a whisk attachment on high speed for at least 2 minutes until the frosting increases in volume and becomes velvety.
Dryness is usually caused by over-baking or over-mixing the flour. Ensure you use sour cream as directed and pull the cake out when a toothpick has a few moist crumbs.
The Ultimate Peanut Butter Cake Recipe
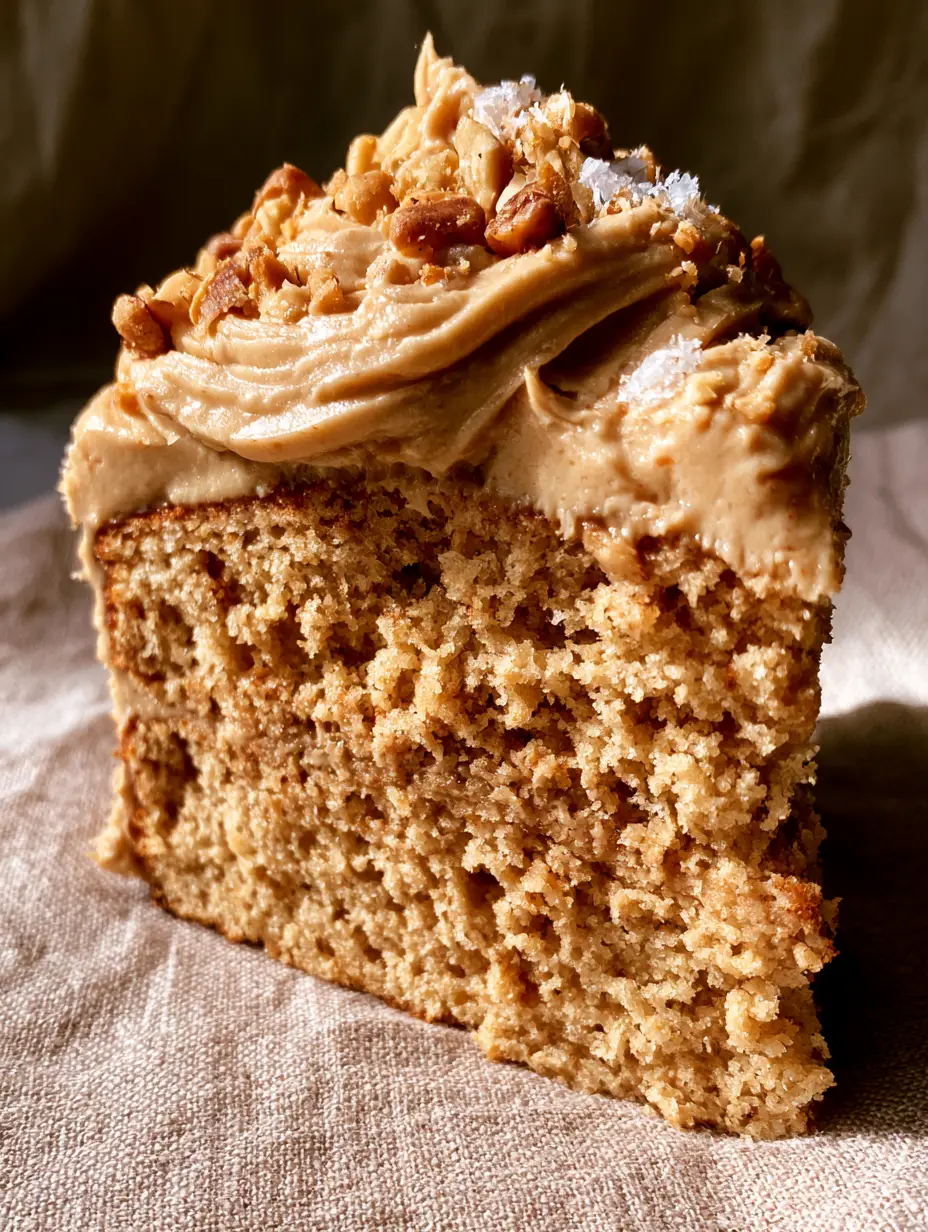
Peanut Butter Cake with Whipped Frosting and Roasted Peanuts
Ingredients
Equipment
Method
- Cream softened butter and sugar in a stand mixer for 3-5 minutes until pale and fluffy.
- Add eggs one at a time, then mix in sour cream and the creamy peanut butter swirl.
- Alternately add dry ingredients and milk, beginning and ending with the flour mixture.
- Pour into prepared pans and bake at 350°F (175°C) for 30-35 minutes until golden brown.
- Whisk butter, peanut butter, powdered sugar, and heavy cream until light and voluminous.
- Frost the cooled cake layers with heavy, luscious swirls using an offset spatula.
- Scatter crushed roasted peanuts and a pinch of flaky sea salt across the top.
Notes
Toast raw peanuts in a dry skillet for 3 minutes to enhance their roasted flavor.
Closing & Call to Action
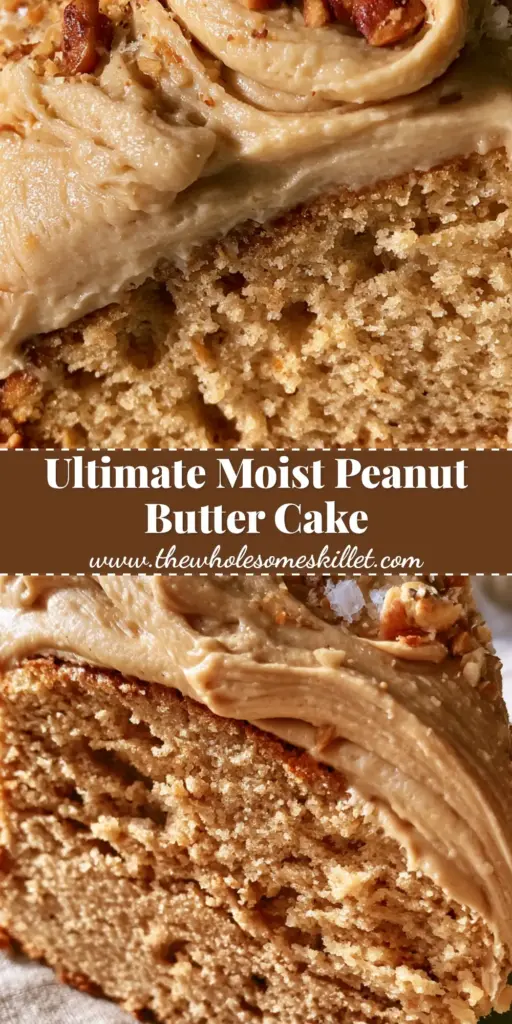
Mastering the peanut butter cake is a rite of passage for any serious home baker. With its golden sponge, luscious whipped frosting, and the perfect crunch of roasted peanuts, this recipe is guaranteed to become a family favorite. The balance of sweet and salty, combined with the moist crumb, makes it a truly professional-grade dessert.
If you enjoyed this recipe, please leave a comment below and let us know how your luscious swirls turned out! Don’t forget to follow us on Pinterest and share your bakes. For more nut-inspired treats, check out our pistachio chocolate loaf cake for your next baking project!