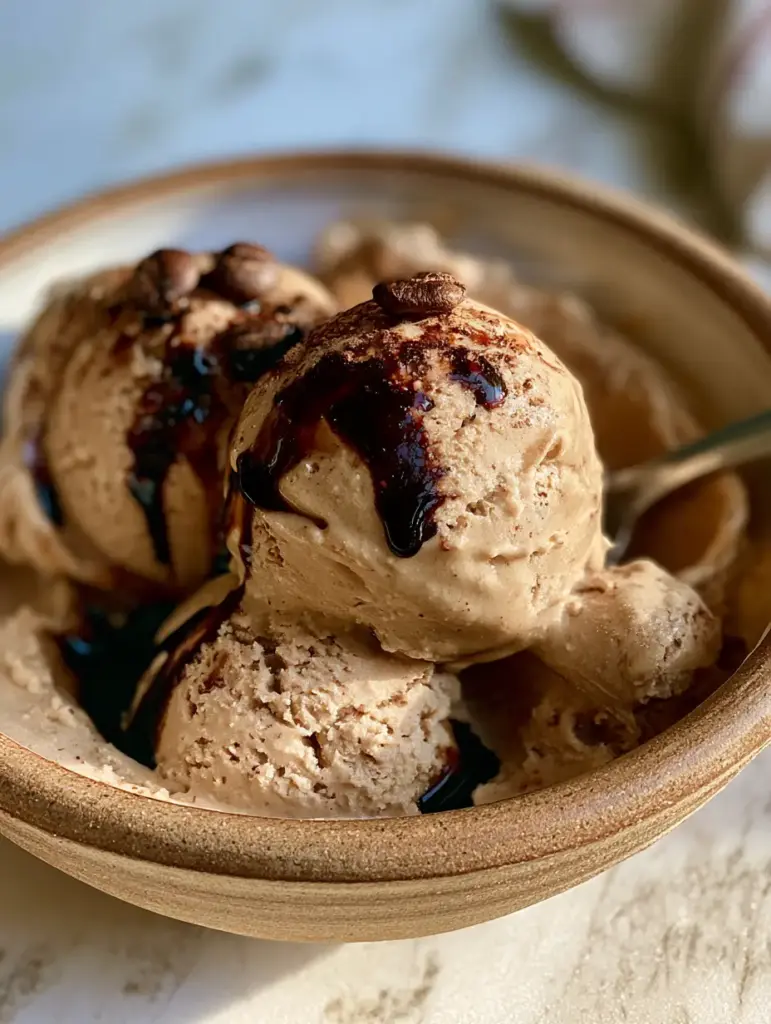
There is nothing quite like the first spoonful of authentic espresso gelato. As the velvety, dense texture hits your tongue, the intense aroma of roasted Arabica beans fills your senses, offering a sophisticated sweetness that puts standard ice cream to shame. This recipe isn’t just about flavor; it’s about recreating that exact moment captured in a rustic ceramic bowl—glistening under soft light with a dark, indulgent drizzle.
To achieve the ultra-realistic texture seen in professional food photography, we focus on the science of Italian dairy. Unlike American ice cream, which relies heavily on air and high butterfat, this espresso gelato uses a specific ratio of whole milk to heavy cream. This ensures the coffee profile remains sharp and clean, while the mouthfeel stays incredibly smooth and slow-melting.
Why This Velvety Coffee Gelato Stands Out
- Intense Coffee Core: We use concentrated espresso to ensure the coffee flavor isn’t diluted by the dairy base.
- Visual Sophistication: The contrast of the dark espresso glaze against the pale coffee scoops creates a stunning, high-contrast dessert.
- Professional Texture: By controlling the crystallization process, we achieve that “velvety” look characteristic of high-end Italian gelaterias.
- Sensory Garnishes: The addition of roasted beans and a dusting of fine cocoa powder adds layers of texture and a bitter-sweet complexity.
Essential Components for the Perfect Scoop
Whole Milk: 2 cups (480ml). This provides the structural foundation of the gelato without the heavy, coating feeling of too much fat, allowing the espresso to shine.
Heavy Cream: 1 cup (240ml). A touch of cream adds just enough lipid content to create those perfect, rounded scoops that hold their shape in a rustic bowl.
Granulated Sugar: 3/4 cup (150g). Beyond sweetness, sugar acts as an anti-freeze, ensuring your espresso gelato remains soft enough to scoop even after hours in the freezer.
Strong Espresso Coffee: 1/2 cup (120ml). Use a high-quality roast; the better the coffee, the more complex the final dessert will be.
Fine Cocoa Powder: 1 tbsp (7g). A light dusting provides a visual matte finish that contrasts beautifully with the glistening syrup.
Roasted Coffee Beans: 10-12 beans. These are essential for the final garnish, adding a crunch and a rustic, artisanal aesthetic.
Dark Espresso Glaze: This is a reduction of espresso and sugar, creating a thick, syrupy consistency that clings to the gelato scoops.
Pinch of Sea Salt: A tiny amount of salt is a “foundational” ingredient that bridges the gap between the bitter coffee and the sweet dairy.
Tools for Artisanal Results
To get that handheld-photo-quality finish, you will need a heavy-bottomed saucepan for tempering the dairy and an ice cream maker (gelato churner) to incorporate the right amount of air. A fine-mesh sieve is also crucial to ensure the base is perfectly smooth before churning. For serving, a small silver spoon and a rustic ceramic bowl will help you replicate the aesthetic of a high-end kitchen counter.
Crafting the Infused Gelato Base
Step 1: Scalding the Dairy
In a medium saucepan, combine 2 cups (480ml) of whole milk and 1 cup (240ml) of heavy cream. Heat over medium heat until small bubbles form around the edges (about 175°F / 80°C). Do not let it reach a rolling boil, as this can change the flavor of the milk proteins.
Step 2: Dissolving the Sweetness
Whisk in 3/4 cup (150g) of granulated sugar and a pinch of sea salt. Continue to stir until the sugar has completely dissolved and the liquid feels smooth between your fingers. If you enjoy layering flavors, this base is as versatile as a butter pecan pound cake when it comes to absorbing aromatics.
Step 3: The Espresso Infusion
Remove the pan from the heat and pour in 1/2 cup (120ml) of freshly brewed, hot espresso. The color will transform into a beautiful, pale latte shade. Allow this mixture to cool to room temperature, then chill in the refrigerator for at least 4 hours—or overnight for the best flavor development.
Churning and Achieving the Velvety Texture
Step 4: The Churning Process
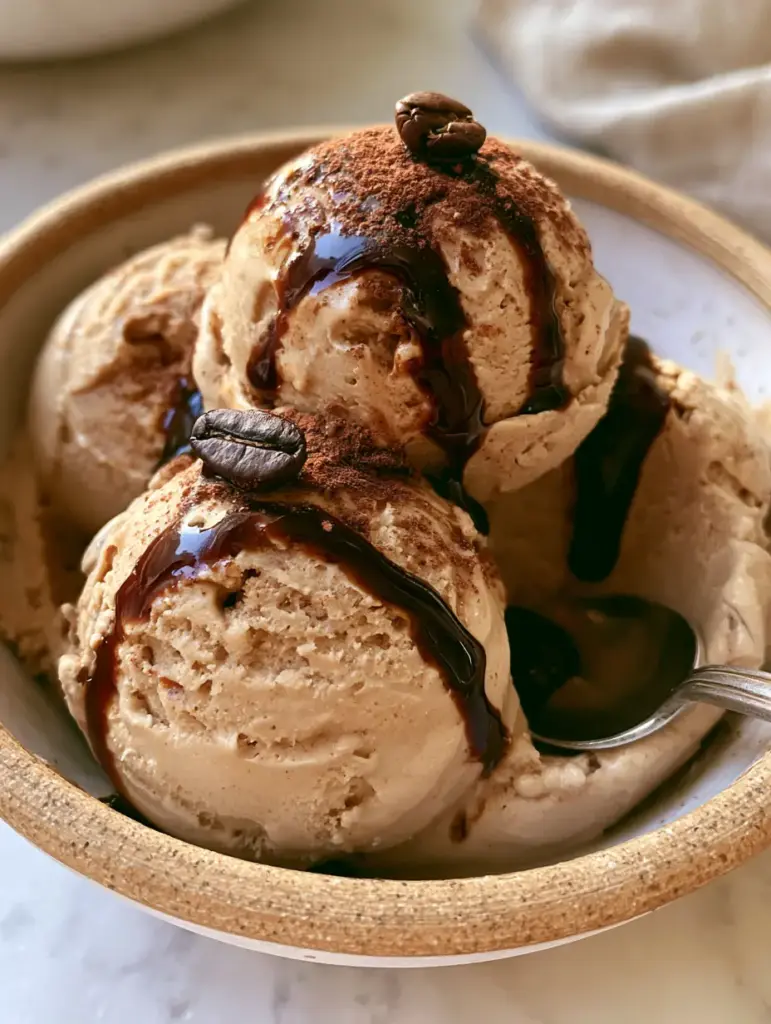
Pour the chilled espresso mixture into your ice cream maker. Churn according to the manufacturer’s instructions. You are looking for a visual cue: the mixture should look like thick, soft-serve ribbons that hold their shape. This usually takes about 20-25 minutes. If you’ve ever made earl grey panna cotta, you know the importance of a smooth, set texture.
Step 5: Creating the Dark Espresso Glaze
While the gelato churns, simmer 1/4 cup (60ml) of espresso with 2 tbsp (25g) of sugar in a small pan until it reduces by half. It should be thick, dark, and glistening. This syrup is what gives the dish its “ultra-realistic” shine in the final presentation.
Expert Tips for Success
- Chill Your Bowl: Place your rustic ceramic bowl in the freezer for 15 minutes before serving to prevent the espresso gelato from melting too quickly.
- Fine Dusting: Use a fine-mesh tea strainer to apply the cocoa powder. This ensures a delicate mist rather than heavy clumps.
- The Spoon Trick: For that perfect “partially submerged” look, dip your silver spoon in hot water before pressing it into the scoop.
- Quality Beans: Use freshly roasted beans for the garnish; they have a better shine and a more potent aroma than older, stale beans.
Storage and Serving Advice
Gelato is best enjoyed fresh, but you can store it in an airtight container for up to two weeks. To maintain that velvety texture, place a piece of plastic wrap directly on the surface of the gelato before closing the lid to prevent ice crystals from forming. If you are looking for other chilled treats, our cranberry mousse parfaits offer a similar level of elegance for your next dinner party.
What to Serve With Espresso Gelato
This intense coffee dessert pairs beautifully with buttery, crisp textures. Consider serving it alongside chocolate dipped orange shortbread to contrast the deep coffee notes with bright citrus. For a truly decadent spread, a slice of german chocolate poke cake provides a rich, moist companion to the cold, refreshing gelato scoops.
Frequently Asked Questions
While a churner provides the best velvety texture, you can freeze the mixture in a shallow pan and whisk it every 30 minutes for 3 hours to break up ice crystals, though it will be less airy.
Yes, because it uses real espresso coffee. If you are sensitive to caffeine, you can substitute the espresso with a high-quality decaffeinated version.
The glistening look comes from reducing the espresso and sugar until it reaches a syrupy consistency. Do not over-boil, or it will become tacky rather than glossy.
Gelato uses more milk and less cream than ice cream, and it is churned at a slower speed to incorporate less air. This results in a denser, more intense espresso flavor and a silkier texture.
The cocoa powder adds a layer of bitter complexity that balances the sweet cream, while also providing a beautiful matte visual contrast to the glistening glaze.
The Ultimate Espresso Gelato Recipe
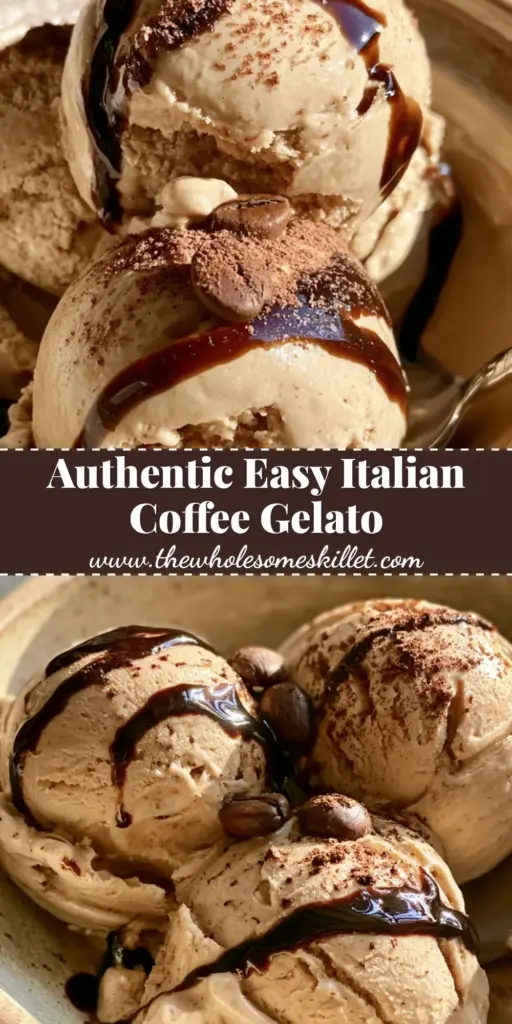
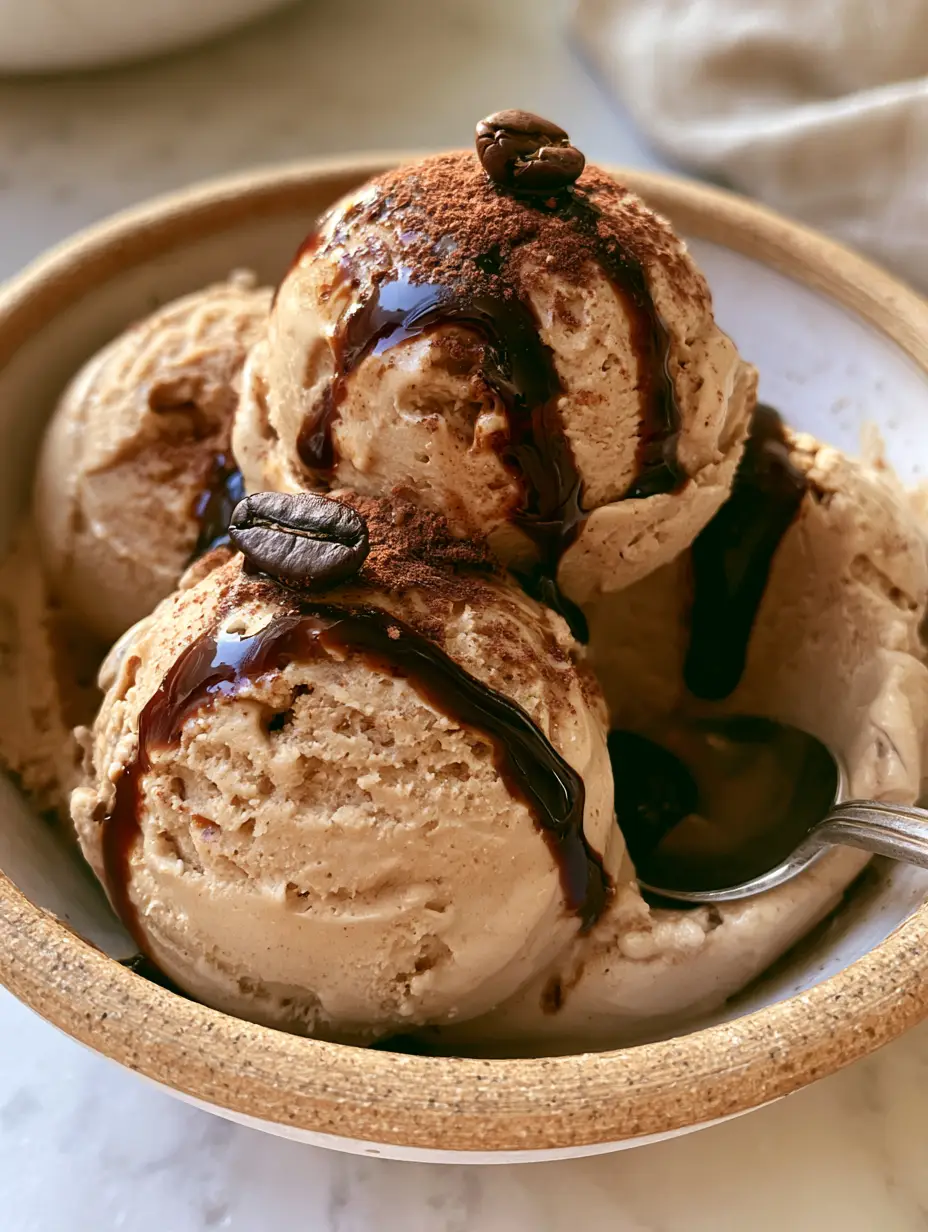
Espresso Gelato: The Ultimate Silky Italian Coffee Dessert
Ingredients
Equipment
Method
- Combine milk and cream in a saucepan over medium heat until it reaches 175°F (80°C).
- Whisk in sugar and salt until fully dissolved.
- Remove from heat, stir in the 1/2 cup of espresso, and chill the mixture for at least 4 hours.
- Pour chilled base into an ice cream maker and churn until thick, velvety ribbons form.
- Simmer remaining espresso and sugar until reduced by half and glistening.
- Scoop into bowls, drizzle with glaze, dust with cocoa, and top with coffee beans.
Notes
Use a chilled ceramic bowl for serving to maintain the structure of the scoops.
Elevate Your Dessert Game
Mastering the art of espresso gelato is a gateway to professional-level home entertaining. The combination of bitter coffee, sweet cream, and the sophisticated garnishes of cocoa and roasted beans makes this a standout dish for any season. If you enjoyed this recipe, please leave a comment below and share your photos with us on Pinterest!