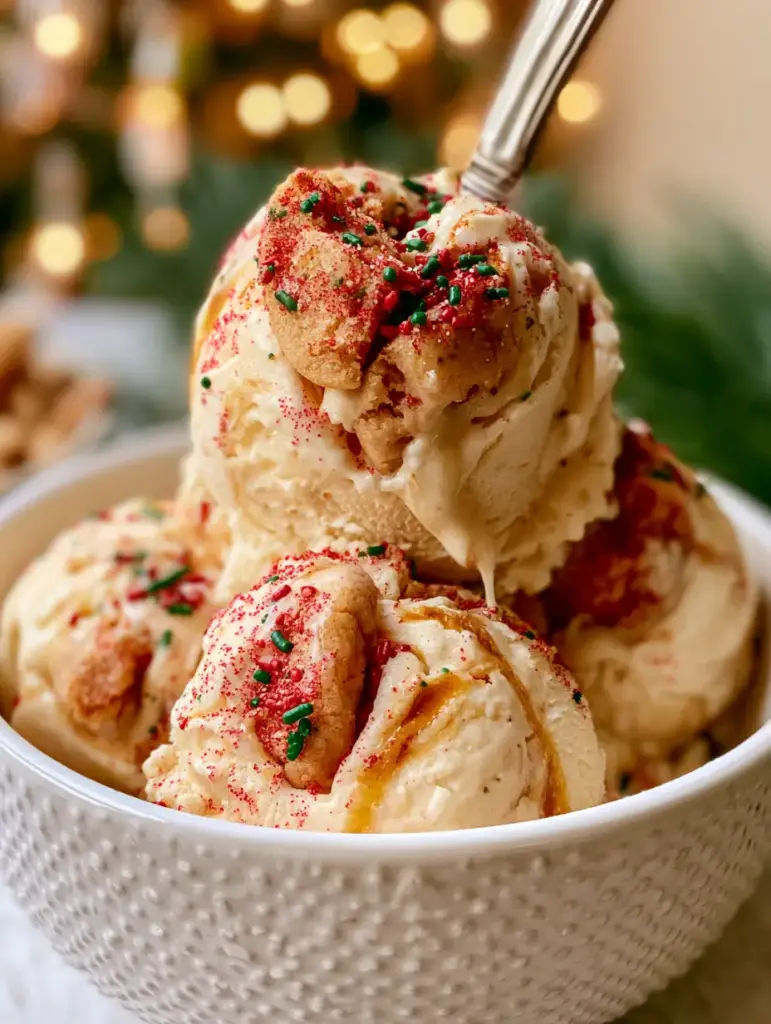
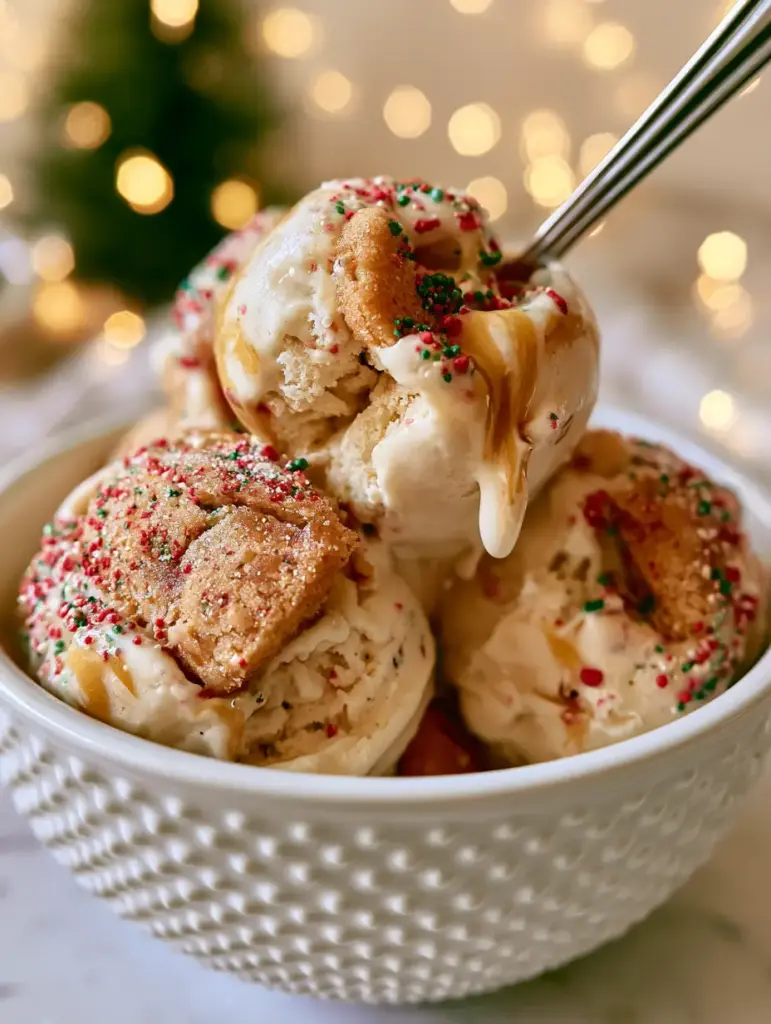
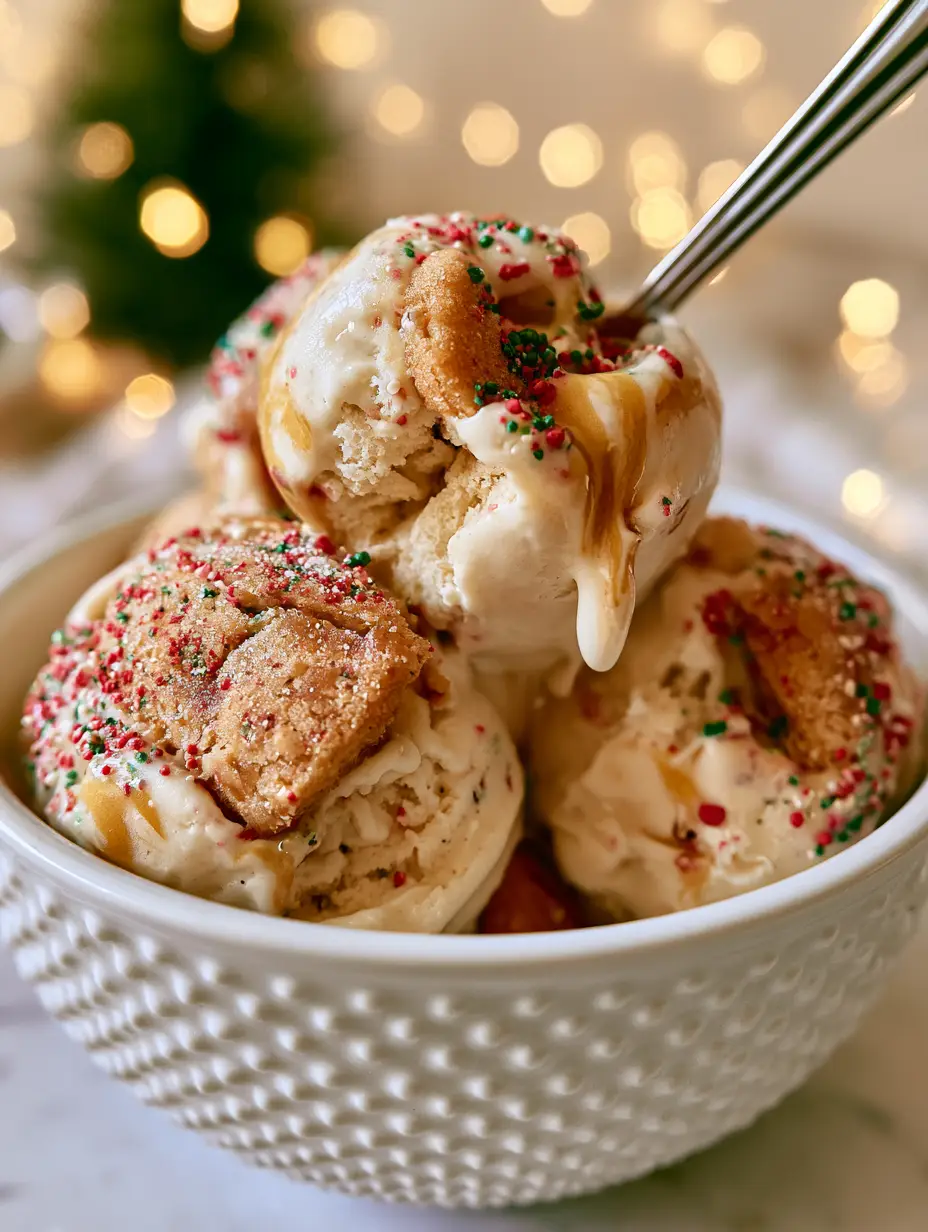
When the air turns crisp and the scent of pine begins to permeate the home, there is nothing quite as magical as a dessert that captures the very essence of the season. This christmas cookie ice cream is more than just a frozen treat; it is a nostalgic journey into the heart of holiday baking. Imagine three velvety, snow-white scoops of premium vanilla ice cream, artfully nestled in a textured ceramic bowl, each bite bursting with the buttery crunch of homemade sugar cookies and the festive pop of red and green jimmies.
Visualizing the perfect holiday scene often involves warm, flickering fairy lights and rustic wooden tables adorned with evergreen branches. This recipe is designed to bridge that visual dream with culinary reality. We have meticulously crafted a base that remains soft and scoopable directly from the freezer, ensuring that every spoonful—captured here with a vintage silver spoon—delivers a luxurious mouthfeel complemented by thick, golden ribbons of melted cookie butter.
Why This Holiday Scoop is a Seasonal Standout
- Unrivaled Texture: By utilizing a high-fat dairy base, we achieve a velvety consistency that mimics professional churned gelato without the need for expensive equipment.
- Festive Visual Appeal: The contrast of the vibrant red and green sprinkles against the ivory vanilla base creates an instant holiday classic that looks stunning on any dessert table.
- Deep Flavor Profile: We don’t just use vanilla; we incorporate a heavy hand of cookie butter to provide a spiced, toasted caramel note that echoes the flavor of creamy cookie butter spreads.
- Textural Contrast: Large, chunky pieces of buttery sugar cookies provide a satisfying “snap” that breaks up the creaminess of the ice cream.
Essential Elements for the Creamiest Christmas Cookie Ice Cream
To achieve the visual and sensory perfection described in our blueprint, every ingredient serves a dual purpose: structural integrity and flavor depth. Here is what you will need to gather for your holiday prep.
Heavy Whipping Cream: 2 cups (480ml). This is the foundation of our ice cream. You must use cream with at least 36% milk fat to ensure it whips into stiff peaks, providing the airy yet dense structure required for a “velvety” finish.
Sweetened Condensed Milk: 1 can (400g). This acts as our sweetener and our anti-freezing agent. The high sugar content lowers the freezing point, preventing the formation of icy crystals and keeping the scoop soft.
Vanilla Bean Paste: 1 tbsp (15ml). While extract works, paste provides those beautiful tiny black flecks that signal a premium, high-end dessert. It adds a floral, rich aroma that pairs perfectly with the classic sugar cookie profile.
Buttery Sugar Cookies: 2 cups (approx. 200g), roughly chopped. These should be baked until just crisp. If you have leftovers from making frosted cookie bars, they are perfect here. The chunks should be large enough to be visible and provide a distinct bite.
Cookie Butter: 1/2 cup (125g). This is used for the “golden ribbons.” When slightly warmed, it creates a thick, viscous swirl that doesn’t completely blend into the vanilla, maintaining its identity in every scoop.
Red and Green Jimmies: 1/4 cup (40g). Also known as festive sprinkles. These add the “heavy dusting” of color mentioned in our visual prompt. Jimmies are preferred over nonpareils as they don’t bleed their color as easily into the white ice cream.
Fine Sea Salt: 1/4 tsp (1.5g). An invisible but critical ingredient. Salt cuts through the intense sweetness of the condensed milk and cookie butter, brightening the overall flavor profile.
Tools for Achieving the Perfect Holiday Swirl
To recreate the macro close-up aesthetic of our festive bowl, you will need a few specific kitchen tools. A high-powered hand mixer or stand mixer is essential for aerating the heavy cream to the correct volume.
You will also need a chilled stainless steel or ceramic loaf pan. Metal conducts cold efficiently, helping the ice cream set faster. A silicone spatula is necessary for folding the ingredients gently—over-mixing at the final stage will deflate the air you worked so hard to incorporate, resulting in a dense, icy block rather than a velvety scoop.
Mastering the Art of the Festive Masterpiece: Step-by-Step
Step 1: Preparing the Creamy Foundation
Start by chilling your mixing bowl and whisk attachment in the freezer for 10 minutes. Pour the 2 cups (480ml) of cold heavy whipping cream into the bowl. Begin whisking on medium-low speed, gradually increasing to high.
Watch for the sensory cues: the liquid will first become frothy, then thicken into soft waves. Continue until stiff peaks form—this is when the cream stands straight up when the whisk is lifted. Do not over-beat, or you will end up with butter!
Step 2: Folding in the Sweetness
In a separate large bowl, combine the 1 can (400g) of sweetened condensed milk, the 1 tbsp (15ml) of vanilla bean paste, and the 1/4 tsp (1.5g) of salt. Whisk until smooth.
Take a large dollop of the whipped cream and stir it into the milk mixture to lighten it. Then, gently fold the remaining whipped cream into the mixture using a spatula. Use a “cut and fold” motion—cut through the center, scrape the bottom, and fold over. This preserves the air bubbles.
Step 3: Incorporating the Textural Elements
Once the base is uniform, gently fold in 1.5 cups of your chunky sugar cookie pieces and half of the red and green sprinkles. The cookies should be distributed evenly but not crushed. If you enjoy variety in your mix-ins, you might even consider adding remnants of soft almond cookies for a nutty twist.
Step 4: The Signature Cookie Butter Swirl
Warm your 1/2 cup (125g) of cookie butter in the microwave for 15-20 seconds until it reaches a pourable, ribbon-like consistency. Pour half of the vanilla base into your chilled loaf pan.
Drizzle half of the cookie butter over the top in a zig-zag pattern. Use a butter knife to gently swirl it twice—do not over-mix, or the “golden ribbons” will disappear into the base. Repeat with the remaining ice cream base and cookie butter.
Step 5: The Final Flourish and Freezing
Top the ice cream with the remaining cookie chunks and a “heavy dusting” of the red and green jimmies. Press them slightly into the surface so they adhere. Cover the pan tightly with plastic wrap, ensuring the wrap touches the surface of the ice cream to prevent freezer burn.
Freeze for at least 6-8 hours, or ideally overnight. The ice cream is ready when it is firm to the touch but gives slightly under the pressure of a finger.
Pro Secrets for the Perfect Christmas Scoop
- The Melt-Drip Effect: To achieve that appetizing “melt-drip” seen in professional photography, let the ice cream sit at room temperature for 3-5 minutes before scooping with a warmed silver spoon.
- Cookie Crispness: If using soft cookies like peppermint delights, toast the chunks in a 300°F (150°C) oven for 5 minutes before adding them to the ice cream to ensure they stay crunchy even when frozen.
- Temperature Control: Ensure your sweetened condensed milk is at room temperature before mixing. If it is too cold, it will be too thick to fold into the whipped cream properly.
- High-Quality Vanilla: Since the base is vanilla, the quality of your paste or extract matters immensely. It provides the backdrop for the spiced cookie butter.
Storage, Reheating, and Freezing Advice
This christmas cookie ice cream is best enjoyed within two weeks of making, as home freezers lack the industrial power to prevent ice crystal growth over long periods. Always keep the container tightly sealed.
If the ice cream becomes too hard, avoid microwaving it. Instead, move it to the refrigerator for 15-20 minutes before serving. This allows it to soften evenly throughout, maintaining that velvety texture we worked so hard to create.
Festive Pairings to Elevate Your Holiday Spread
While this ice cream is a star on its own, it pairs beautifully with other holiday delicacies. Consider serving a scoop alongside a warm chocolate poke cake for a decadent temperature contrast.
For a sophisticated dessert platter, place a small bowl of this ice cream next to hand-rolled truffles or a plate of orange shortbread. The citrus and dark chocolate notes provide a wonderful balance to the sweet, buttery vanilla and cookie butter profile.
Common Culinary Curiosities
While a mixer is easiest, you can whisk the heavy cream by hand using a large balloon whisk. It will take significant effort (about 10-15 minutes) to reach stiff peaks, but the result will be just as velvety.
Absolutely! High-quality, buttery store-bought sugar cookies work perfectly. Just ensure they are crisp rather than soft-baked to provide the best textural contrast in the ice cream.
For the best flavor and texture, consume within 2 weeks. Because it lacks commercial stabilizers, it is more prone to freezer burn and texture changes after that period.
If you cannot find cookie butter, you can use a high-quality almond butter or even a thick caramel sauce. However, to maintain the ‘Christmas cookie’ flavor profile, cookie butter is highly recommended.
Ice crystals usually form if the heavy cream wasn’t whipped to stiff peaks or if the container wasn’t airtight. Ensure the plastic wrap touches the surface of the ice cream to prevent moisture from turning into ice.
The Official Christmas Cookie Ice Cream Recipe Card
Christmas Cookie Ice Cream: The Ultimate Festive No-Churn Dessert
Ingredients
Equipment
Method
- In a cold bowl, whip the 2 cups (480ml) heavy cream until stiff peaks form. The cream should hold its shape when the whisk is lifted.
- In a large bowl, whisk together the condensed milk, vanilla bean paste, and salt until smooth.
- Gently fold the whipped cream into the condensed milk mixture in three batches using a silicone spatula until no white streaks remain.
- Fold in 1.5 cups of the sugar cookie chunks and half of the red and green sprinkles.
- Layer half the base in a loaf pan, drizzle with melted cookie butter, and swirl with a knife. Repeat with remaining base, cookie butter, remaining cookies, and sprinkles.
- Cover with plastic wrap and freeze for at least 6 hours until firm and velvety.
Notes
Use high-quality vanilla bean paste for visible vanilla flecks that enhance the premium look.

Share Your Holiday Creation!
There is nothing quite like the joy of sharing a homemade treat during the holidays. This christmas cookie ice cream is designed to be the centerpiece of your festive celebrations, evoking memories of warm kitchens and twinkling lights. If you make this recipe, we would love to see your beautiful bowls and vintage spoons!
Leave a comment below to let us know how your cookie butter swirls turned out, and don’t forget to follow us on Pinterest for more holiday inspiration. Pin this recipe to your “Christmas Desserts” board so you can find it year after year. Happy holidays and happy scooping!