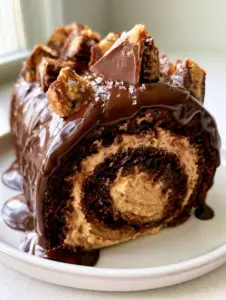
The chocolate mousse cake filling is the crown jewel of professional pastry arts, providing that ethereal, cloud-like contrast to dense, moist sponge layers. Achieving that perfect handheld-smartphone-photo look—where the filling is thick enough to hold up a tall cake but aerated enough to melt on the tongue—requires more than just whipping cream; it requires culinary precision.
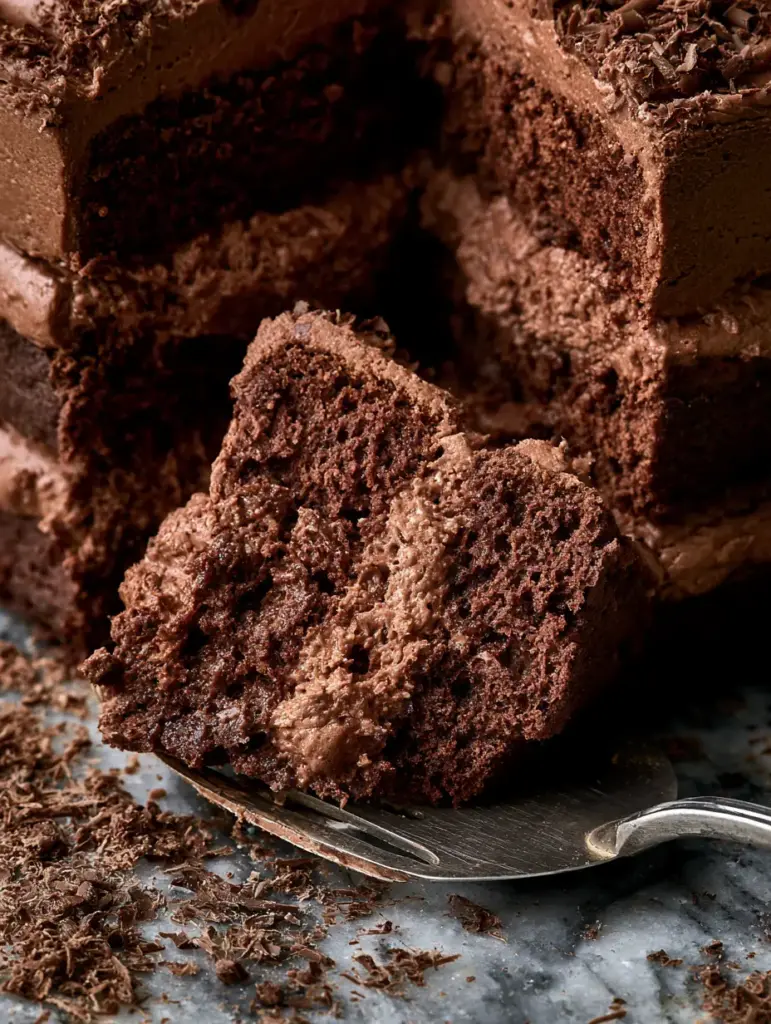
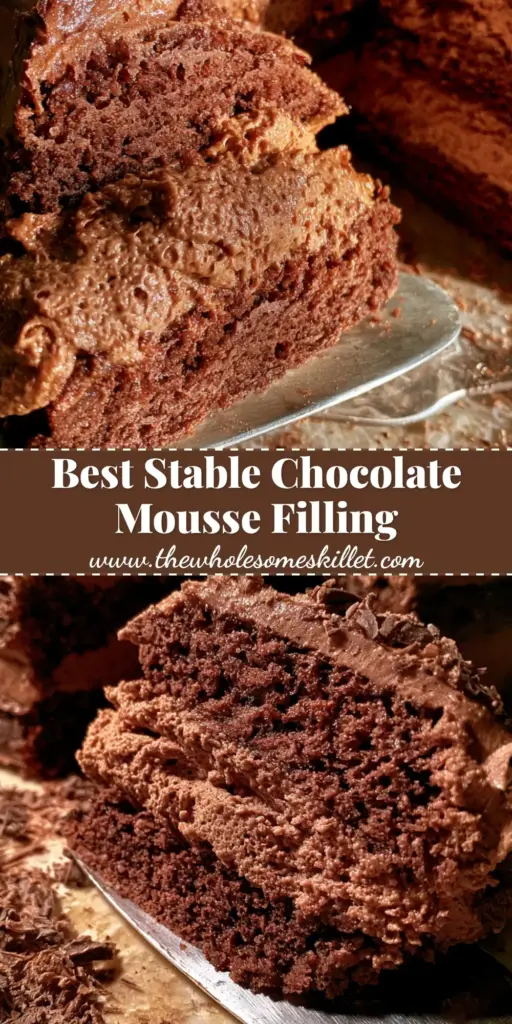
When you slice into a decadent layer cake, the visual cues of a high-quality filling are undeniable. We are looking for visible air bubbles, a matte-yet-creamy finish, and enough structural integrity to support multiple tiers without bulging at the seams. This guide breaks down the science of stabilization and the art of the perfect fold.
The Anatomy of a Perfect Cake Filling
- Structural Stability: Unlike a standard dessert mousse, this filling is engineered to stay put under the weight of heavy chocolate sponges.
- Aerated Texture: High-definition air bubbles are created through a specific double-aeration technique using both cocoa solids and whipped fats.
- Deep Flavor Profile: By utilizing both dark chocolate chunks and unsweetened cocoa powder, we achieve a multi-dimensional cocoa experience.
- Visual Luxury: The inclusion of vanilla bean paste adds those microscopic black flecks that signal “high-end” to every guest.
The Essential Elements for Mousse Perfection
Dark Chocolate Chunks (225g / 8oz): Choose a chocolate with at least 60% cacao. These chunks provide the cocoa butter necessary for the mousse to set firmly once refrigerated.
Heavy Whipping Cream (480ml / 2 cups): Cold cream is non-negotiable. The fat globules in the cream are what trap air, creating the “fluffy” texture seen in professional food photography.
Unsweetened Cocoa Powder (30g / 1/4 cup): This adds intense color and helps stabilize the mousse by absorbing excess moisture from the cream.
Granulated Sugar (50g / 1/4 cup): Beyond sweetness, sugar helps to stabilize the protein structures in the whipped cream, ensuring it doesn’t deflate during assembly.
Vanilla Bean Paste (5ml / 1 tsp): This provides a more concentrated flavor than extract and adds beautiful visual detail to the creamy mousse.
Salt (1g / 1/8 tsp): A tiny pinch of fine sea salt is the “invisible” ingredient that cuts through the fat and highlights the dark chocolate notes.
Tools of the Trade for Precise Assembly
To achieve the rustic-yet-refined look of a professional bakery, you will need a few specific tools. A silver palette knife is essential for achieving those smooth, even layers between your sponges. While a spoon might work, a palette knife allows for even pressure, ensuring your chocolate mousse cake filling doesn’t squish out the sides.
You will also need a stand mixer or electric hand mixer to reach stiff peaks, a large silicone spatula for folding, and a silver cake server for that final, dramatic lift. If you are looking for more chocolate inspiration, consider pairing this with our homemade chocolate syrup for an extra dose of decadence.
Mastering the Aerated Mousse Technique
Phase 1: The Dark Chocolate Base
Begin by finely chopping your dark chocolate chunks. Place them in a heat-proof bowl. In a small saucepan, heat 1/2 cup (120ml) of the heavy cream until it just begins to simmer—look for small bubbles dancing around the edges of the pan.
Pour the hot cream over the chocolate and let it sit for 5 minutes. Use a whisk to gently stir from the center outward until a glossy, deep brown ganache forms. This is the foundation of your rich chocolate ganache style stability.
Phase 2: Incorporating the Cocoa and Vanilla
Sift the unsweetened cocoa powder into the warm chocolate mixture. Add the vanilla bean paste and a pinch of salt. Whisk until perfectly smooth. This mixture must cool to room temperature; if it is too hot, it will melt your whipped cream, resulting in a soup rather than a mousse.
Phase 3: Achieving the Stiff Peak
In a separate chilled bowl, combine the remaining 1.5 cups (360ml) of heavy cream and the granulated sugar. Whip on medium-high speed. Watch for the transformation: the cream will move from soft ripples to firm, stojack-straight peaks. Do not over-whip, or you will end up with chocolate butter!
Phase 4: The Critical Folding Process
Add one-third of the whipped cream to the chocolate base. Fold it in aggressively to lighten the mixture. Now, add the remaining cream and fold with a “cut and roll” motion. You want to see streaks of white disappearing into the dark brown until a uniform, aerated texture is achieved. This ensures the chocolate mousse cake filling remains light and stable.
Assembling Your Tall Decadent Layer Cake
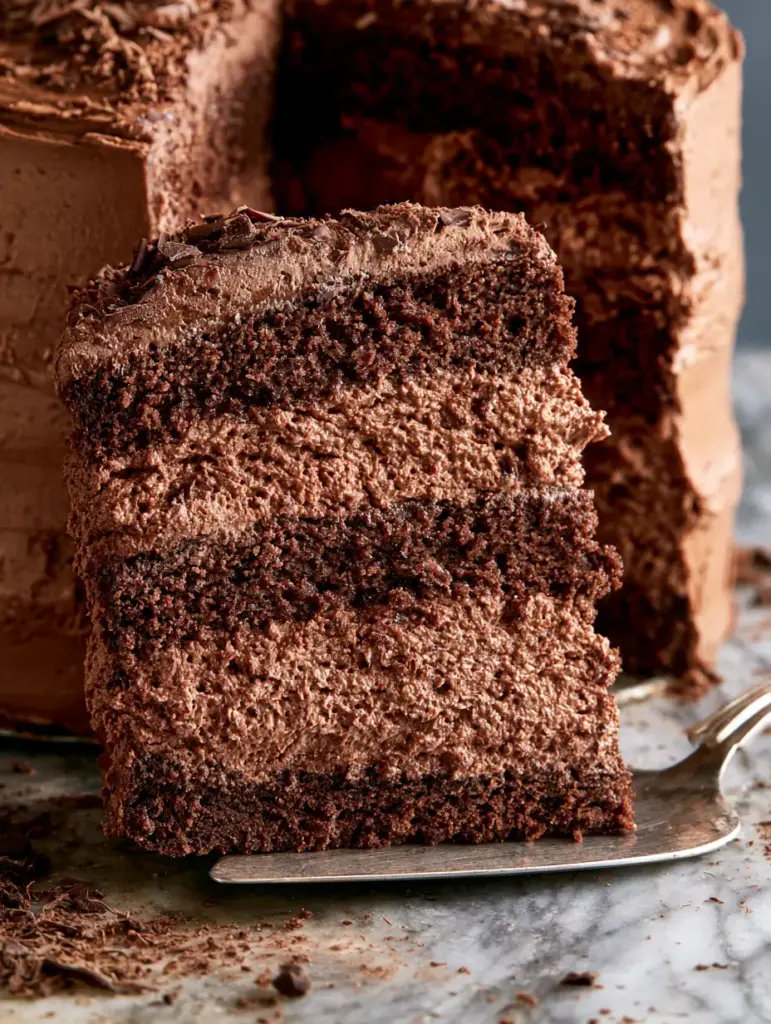
Place your first moist chocolate cake sponge on a rustic marble countertop. Using your silver palette knife, spread a thick, even layer of the mousse, roughly 1-inch (2.5cm) thick. Repeat with the remaining layers. For a truly professional finish, top the cake with messy chocolate shavings or curls.
If you prefer a different base, this mousse also works beautifully inside a chocolate Swiss roll or as a topping for a flourless chocolate cake. The key is to let the assembled cake chill for at least 4 hours before slicing. This allows the cocoa butter to “lock,” ensuring that when you lift a slice with your silver cake server, the filling stays perfectly in place.
Expert Tips for High-Altitude or Humidity Success
- Chill Your Tools: Place your whisk and bowl in the freezer for 10 minutes before whipping the cream. Cold tools yield tighter air bubbles.
- The Sift Factor: Never skip sifting the cocoa powder. Small lumps of cocoa will not dissolve in the cold cream and will create grainy pockets in your mousse.
- Temperature Control: If your kitchen is hot, keep the whipped cream in the fridge while you prepare the chocolate base.
- Bloom Your Cocoa: Adding the cocoa to the warm ganache “blooms” the flavor, making it taste significantly richer than adding it to the cold cream.
Storage and Make-Ahead Instructions
This chocolate mousse cake filling is best used immediately after folding while it is at its most supple. However, once it is inside the cake, it stores beautifully. The cake can be kept in an airtight container in the refrigerator for up to 4 days.
We do not recommend freezing the mousse on its own, as the expansion of water crystals can destroy the delicate air bubbles. However, a fully assembled cake with this filling can be frozen for up to 1 month, provided it is thawed slowly in the refrigerator to maintain its stable texture.
Beyond Chocolate: Creative Pairings
While chocolate is the star, this filling pairs exceptionally well with fruity or nutty components. Try serving a slice alongside tart cranberry parfaits to balance the richness. If you are hosting a larger gathering, this mousse also makes an excellent dip for chewy chocolate chip cookies or even a sophisticated accompaniment to a buttery caramel pound cake.
Frequently Asked Questions
It is best to assemble the cake immediately after making the mousse while it is still soft. Once it sets in the fridge, it becomes difficult to spread without deflating the air bubbles.
You can, but milk chocolate has less cocoa butter and more sugar, which makes the mousse softer. If using milk chocolate, you may need to reduce the added sugar and increase the chilling time.
The secret to stability lies in the cocoa butter from the dark chocolate chunks and the addition of cocoa powder. These ingredients firm up when chilled, acting as a natural stabilizer for the whipped cream.
For a tall layer cake, we recommend chilling the assembled cake for at least 4 hours. This allows the fats to solidify, ensuring a clean slice with your silver cake server.
Graininess usually happens if the chocolate ganache was too cold when you added the whipped cream, causing the chocolate to seize into tiny bits, or if the cocoa powder wasn’t sifted.
The Ultimate Chocolate Mousse Cake Filling Recipe
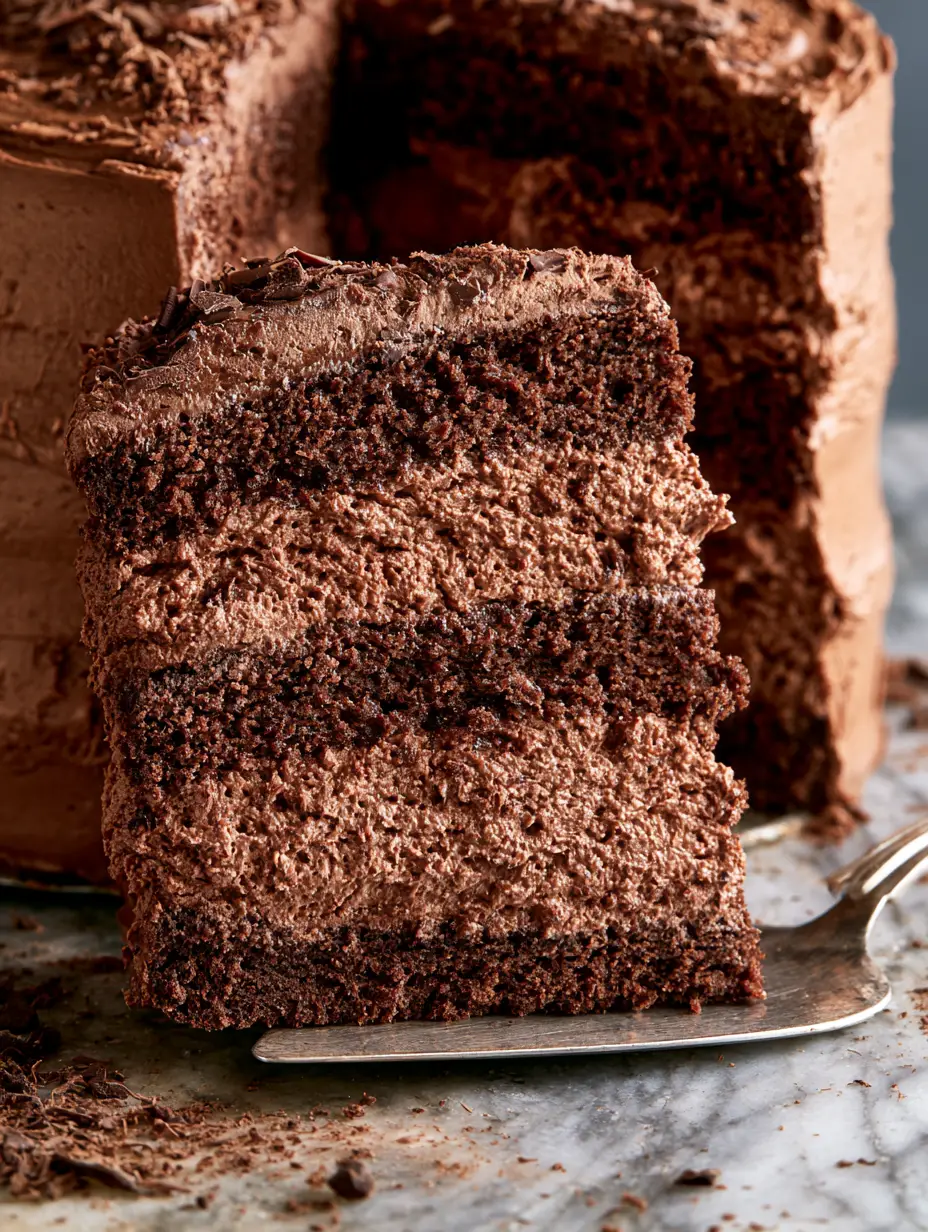
Chocolate Mousse Cake Filling: The Ultimate Professional Guide to Aerated Stability
Ingredients
Equipment
Method
- Place dark chocolate chunks in a bowl. Heat 120ml (1/2 cup) cream until simmering, then pour over chocolate. Let sit for 5 minutes and whisk until smooth.
- Whisk in the sifted cocoa powder, vanilla bean paste, and salt into the warm ganache. Allow to cool completely to room temperature.
- In a chilled bowl, whip the remaining 360ml (1.5 cups) cream with sugar until stiff peaks form.
- Fold 1/3 of whipped cream into chocolate base to lighten. Gently fold in the remaining cream. Use a palette knife to fill cake layers immediately.
Notes
Chill the assembled cake for 4 hours to allow the mousse to set firmly.
Closing & Call to Action
Creating the perfect chocolate mousse cake filling is a rewarding challenge that elevates any home baker to professional status. The combination of stabilized ganache and airy whipped cream creates a texture that is both visually stunning and delicious. If you enjoyed this deep dive into pastry science, please leave a comment below and share your results! Don’t forget to follow us on Pinterest and pin the images in this post to your favorite dessert boards!