There is nothing quite like the sight of a perfectly decorated batch of cookies, and the secret always lies in a high-quality sugar cookie frosting. Imagine a thick, glossy white icing that holds its shape yet melts in your mouth with a silky, buttery finish. This recipe delivers exactly that—a luscious, creamy dollop of perfection that transforms a simple biscuit into a bakery-style masterpiece.
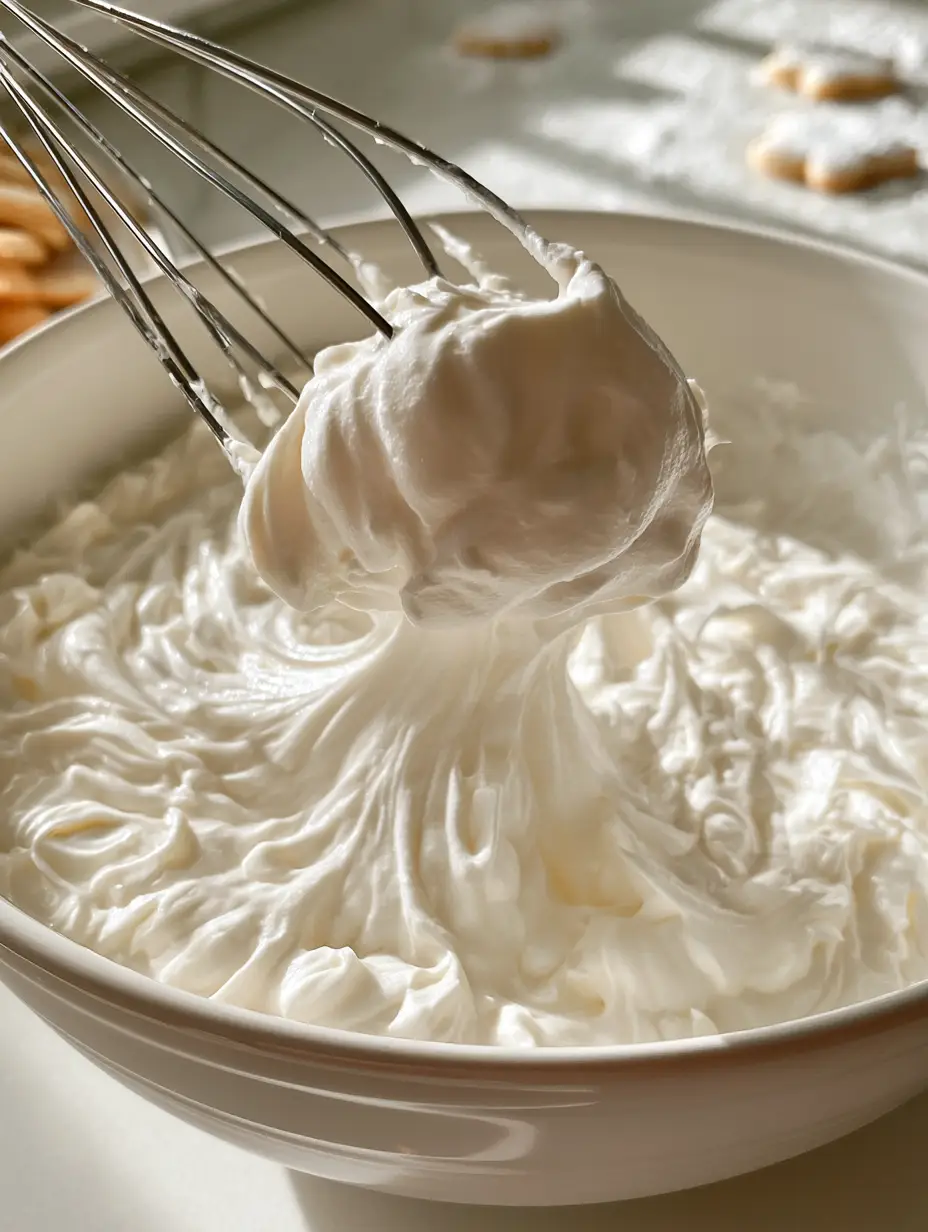
Whether you are preparing for a holiday bake-off or a simple afternoon treat, this sugar cookie frosting provides the ideal canvas. We are focusing on a texture that achieves soft peaks, catching the natural sunlight in your kitchen with a beautiful, high-shine finish. It is smooth, easy to work with, and tastes significantly better than anything you can buy in a tub at the grocery store.
Why You Will Love This Creamy Icing
- Perfect Texture: We have engineered this recipe to be thick enough for piping but glossy enough to look professional.
- Simple Ingredients: You likely have all five essential ingredients in your pantry right now.
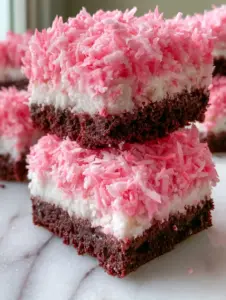
- Versatile Consistency: Easily adjustable for spreading on pink sugar cookie bars or dipping for a smoother glaze.
- Fast Results: From bowl to cookie in under 10 minutes with no complex tempering required.
The Five Essential Pillars of Our Recipe
To achieve the visual result of a thick, creamy icing, every ingredient plays a specific role. We aren’t just mixing sugar and water; we are building a stable emulsion that looks as good as it tastes.
Powdered Sugar (Confectioners’ Sugar): 4 cups (480g). This provides the structural foundation and the sweetness, ensuring the frosting is stable enough to hold soft peaks without running off the edges.
Softened Butter: 1/2 cup (113g). Butter adds the “creamy” factor and a rich mouthfeel that milk-only glazes lack. Make sure it is truly softened to room temperature to avoid lumps.
Whole Milk: 3 to 4 tbsp (45-60ml). This is your hydration agent; it thins the dense sugar into a spreadable, glossy consistency that catches the light beautifully.
Vanilla Extract: 1 tsp (5ml). Beyond flavor, the alcohol in the extract helps the frosting set, while the aromatic compounds provide that classic “birthday cake” scent.
Pinch of Salt: 1/8 tsp (0.75g). A tiny amount of fine sea salt cuts through the intense sweetness of the sugar, balancing the flavor profile and highlighting the vanilla notes.
Essential Tools for a Professional Finish
To recreate the handheld smartphone photo aesthetic of luscious icing, you need the right gear. A ceramic bowl is preferred for mixing as it stays cool, preventing the butter from melting too quickly.
A high-quality metal whisk is your best friend here. While an electric mixer is faster, a hand whisk allows you to feel the resistance of the icing as it reaches that “thick and glossy” stage described in our blueprint. You will also want a silicone spatula to scrape the sides, ensuring every grain of sugar is incorporated.
Step-by-Step Guide to Glossy Perfection
Preparing the Butter Foundation
Start by placing your 1/2 cup (113g) of softened butter into your ceramic bowl. Use your whisk or a fork to cream the butter until it is completely smooth and pale in color. This step is vital to ensure your sugar cookie frosting does not have yellow streaks or greasy pockets.
Integrating the Sweetness
Add 2 cups (240g) of the powdered sugar along with the pinch of salt and the 1 tsp (5ml) of vanilla extract. Whisk slowly at first to avoid a “sugar cloud” in your kitchen. As the butter absorbs the sugar, the mixture will look like thick, crumbly paste—this is exactly what we want at this stage.
Achieving the Luscious Dollop Consistency
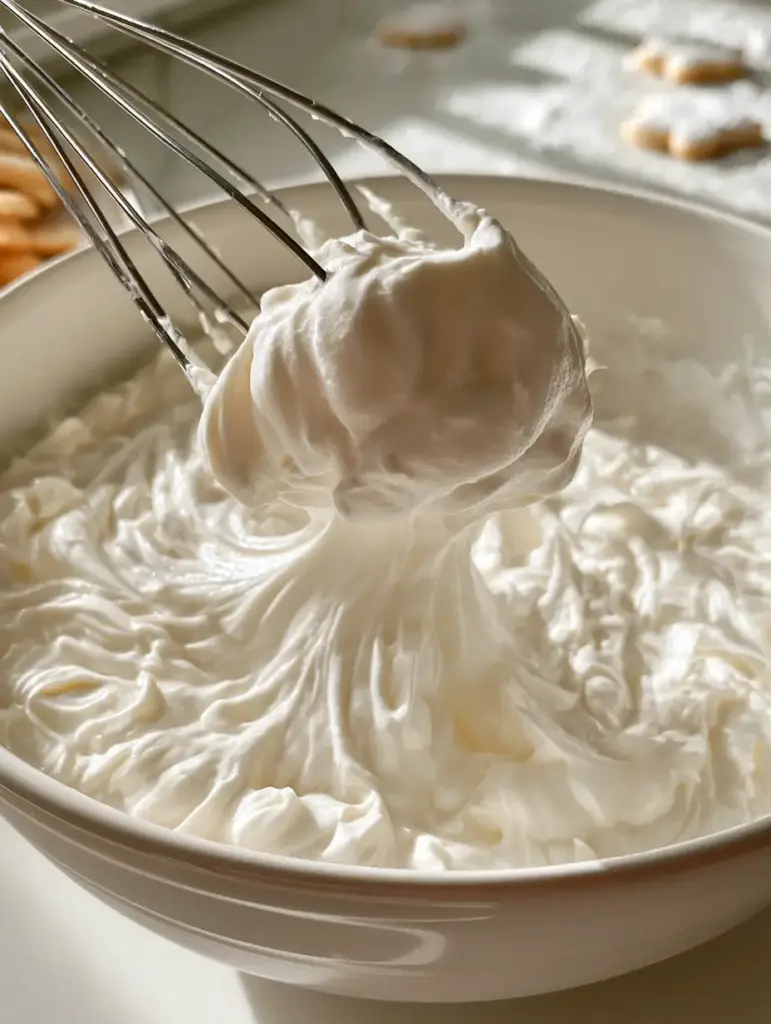
Add your milk 1 tablespoon (15ml) at a time, whisking vigorously after each addition. Incorporate the remaining 2 cups (240g) of powdered sugar gradually. Watch for the sensory cues: the frosting will transform from a matte paste to a glossy, brilliant white cream.
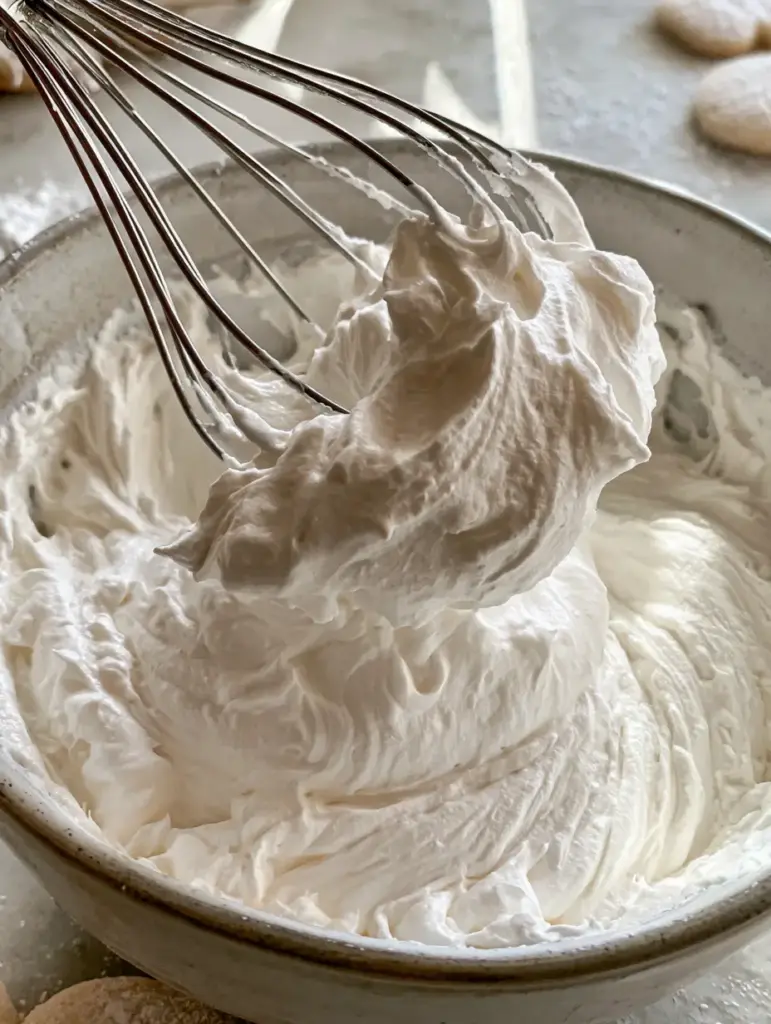
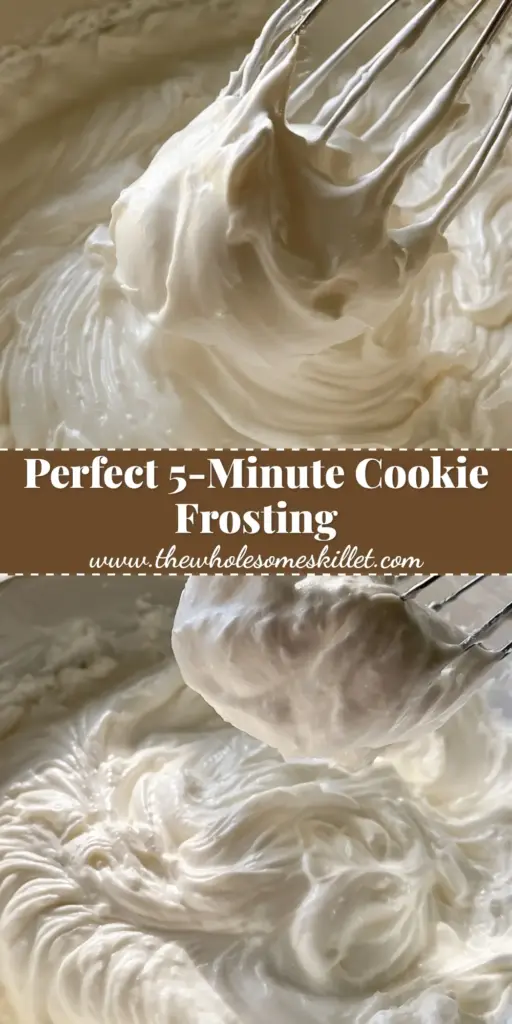
Continue whisking until you can lift the metal whisk and see a thick dollop cling to the wires, forming a soft peak that gently curls over. If it’s too thick, add a teaspoon of milk; if too thin, add a tablespoon of sugar. This is the secret to topping lemon sugar cookies with precision.
Expert Tips for Success
- Sift for Success: Always sift your powdered sugar if it looks lumpy; this ensures that “smooth texture” seen in professional photography.
- Temperature Matters: If your kitchen is too hot, your frosting may become too runny. Chill the bowl for 5 minutes if it loses its structure.
- Coloring: If you want to transform this into strawberry-style frosting, add a drop of gel food coloring at the very end.
- Avoid Over-whisking: While you want it creamy, too much air can create bubbles. Whisk until smooth, then stop to maintain that silky surface.
Practical Storage and Make-Ahead Advice
You can make this sugar cookie frosting up to 3 days in advance. Store it in an airtight container with a piece of plastic wrap pressed directly against the surface of the icing to prevent a crust from forming.
When you are ready to use it, let it come to room temperature and give it a quick whisk to restore that glossy sheen. Do not freeze this frosting, as the emulsion of butter and milk can break upon thawing, leading to a grainy texture.
What to Pair with This Glossy Icing
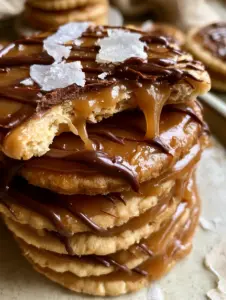
This frosting is incredibly versatile and serves as the perfect topping for various treats. It is sturdy enough to hold up on almond ricotta cookies or as a sweet contrast to chocolate dipped orange shortbread.
If you have leftovers, try using it as a dip for air fryer bananas or as a creamy filling between two chocolate peanut butter cookies for a homemade sandwich treat.
Frequently Asked Questions
Yes, water works to thin the frosting, but you will lose the creamy white color and rich flavor that milk and butter provide. The frosting will be more of a translucent glaze.
This recipe sets firmly enough to handle, but because it contains butter, it remains creamy. If you need it to be rock-hard for shipping, you may need a royal icing, but for taste and texture, this buttery version is superior.
Simply whisk in more powdered sugar, one tablespoon at a time, until the whisk leaves a trail in the bowl and creates a dollop that holds its shape.
The shine comes from the emulsion of butter and milk. Whisking thoroughly and ensuring your powdered sugar is fully dissolved creates that glossy, light-reflecting surface.
Lumps usually occur if the butter wasn’t fully softened or if the powdered sugar wasn’t sifted. You can try whisking it vigorously or passing it through a fine-mesh sieve to smooth it out.
The Ultimate Sugar Cookie Frosting Recipe
Sugar Cookie Frosting: The Ultimate Glossy and Creamy Recipe
Ingredients
Equipment
Method
- Place softened butter in a ceramic bowl and whisk until completely smooth and pale.
- Whisk in 2 cups of powdered sugar, the vanilla extract, and the pinch of salt until a thick paste forms.
- Add milk 1 tablespoon at a time, whisking vigorously. Gradually add the remaining sugar until the frosting is thick, glossy, and holds soft peaks.
Notes
For a thinner glaze consistency, increase milk to 5-6 tablespoons.
Closing Thoughts and Joining the Community
Mastering this sugar cookie frosting is a rite of passage for any home baker. The balance of buttery richness and sugary gloss makes it a standout choice for any occasion. Once you see those soft peaks forming on your whisk, you’ll know you’ve nailed the perfect consistency.
We would love to see your baking creations! Share your photos and tag us, or pin this recipe to your favorite board on Pinterest so you never lose this kitchen staple. Happy baking!