There is something undeniably magical about capturing the vibrant essence of fresh fruit in a translucent, chewy bite. These fruit juice gummy bears are a far cry from the dull, corn-syrup-laden versions found in grocery store aisles.
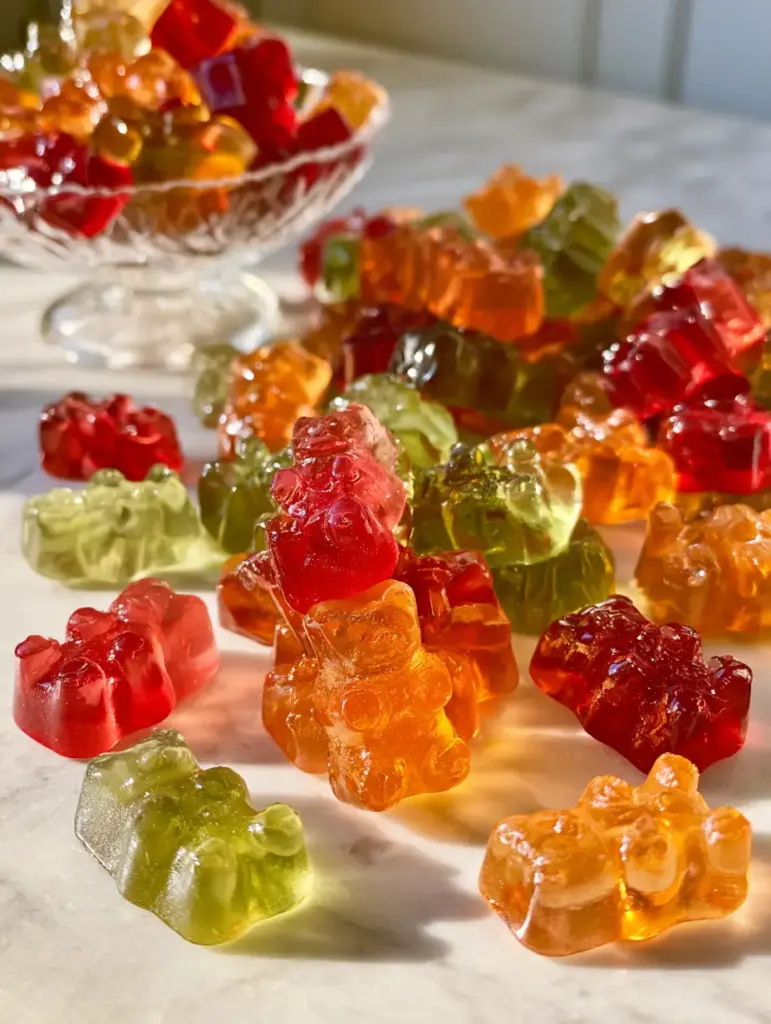
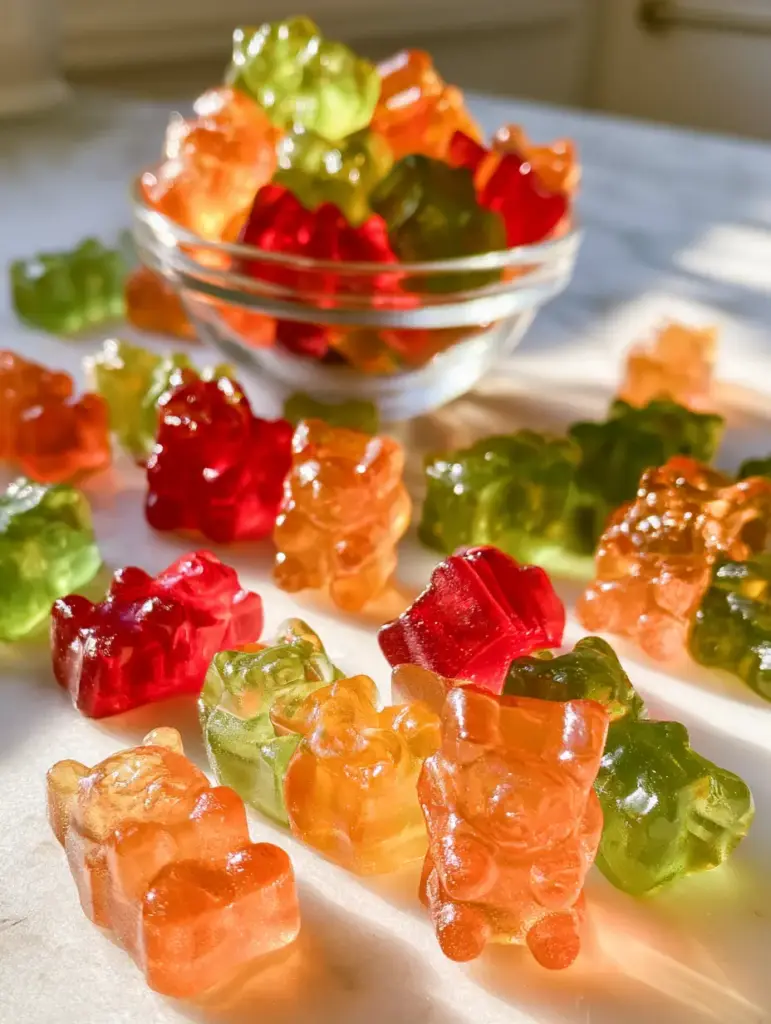
Imagine holding a handful of glowing, ruby-red, orange, and emerald-green gems that catch the soft natural morning sunlight on your kitchen counter. Using only pure fruit juice and raw honey, we are going to create a snack that looks as stunning as it tastes.
This recipe focuses on achieving that elusive “jewel-like clarity” while maintaining a perfect structural bounce. Whether you are prepping these for a lunchbox or a sophisticated snack platter on a marble countertop, the result is pure culinary art.
Why You Will Love This Vibrant Homemade Snack
- Unmatched Clarity: By following our specific skimming technique, your gummies will achieve a translucent, stained-glass appearance.
- Naturally Sweetened: We utilize raw honey and the natural sugars from strawberry and orange juices, eliminating the need for refined white sugar.
- Gut-Healthy Ingredients: Using high-quality gelatin makes these snacks similar in benefit to our gut-healing jello.
- Customizable Colors: From the deep ruby red of fresh strawberries to the bright emerald green of apple and spinach, these colors are 100% plant-derived.
Essential Ingredients for Crystal Clear Gummy Bears
Pure Fruit Juice: This is your primary flavor and color source; for the ruby red, we use strained strawberry juice, and for the orange, freshly squeezed orange juice. Ensure your juice is pulp-free to maintain that transparent, glowing look in the sunlight.
Grass-Fed Gelatin Powder: This is the foundational invisible ingredient that provides the essential “snap” and structural integrity. Without high-quality gelatin, your bears will be soft and mushy rather than chewy and resilient.
Raw Honey: Acting as both a natural sweetener and a humectant, raw honey adds a complex floral note while keeping the gummies moist. Its amber hue adds depth to the emerald and orange varieties without clouding the mixture.
Lemon Juice or Citric Acid: A small amount of acidity is required to brighten the fruit flavors and help preserve the vibrant colors. It also acts as a stabilizer for the gelatin proteins during the blooming phase.
Cold Water: Used specifically for “blooming” the gelatin, cold water ensures the proteins hydrate evenly. This prevents clumps and ensures a perfectly smooth, glass-like texture in the final gummy.
Professional Equipment for Precision Results
To achieve the “handheld smartphone photo” quality seen in our visual guide, you need the right tools. A glass prep bowl is essential for blooming the gelatin so you can monitor for any undissolved granules.
You will also need silicone gummy bear molds—preferably the ones that come with a glass dropper for precise filling. A fine-mesh sieve is non-negotiable for straining your fruit juices to ensure no pulp ruins the emerald green or ruby red translucency.
How to Make Fruit Juice Gummy Bears Step-by-Step
Phase 1: Extracting the Radiant Fruit Essence
Start by preparing your fruit juices. For the ruby red bears, blend fresh strawberries and pass them through a fine-mesh sieve into a glass bowl until you have a clear liquid.
For the orange bears, squeeze fresh orange wedges and strain. To achieve the emerald green, use a centrifugal juicer for green apples and a handful of spinach, then strain twice to remove any sediment.
Phase 2: The Critical Gelatin Bloom
Pour 1/2 cup (120ml) of your chosen cold fruit juice into a small saucepan (off the heat). Sprinkle 3 tbsp (27g) of gelatin over the surface evenly; you will see it begin to look like wet sand as it absorbs the liquid.
Let this sit for exactly 5 to 7 minutes. This “blooming” process is what guarantees a jewel-like clarity without any cloudy streaks or tough bits in your finished fruit juice gummy bears.
Phase 3: Gentle Heating and Sweetening
Turn the heat to low. Whisk the mixture gently—do not let it boil, as high heat can damage the gelatin’s setting power and kill the enzymes in your raw honey.
Once the gelatin is fully dissolved and the liquid is translucent, stir in 2 tbsp (42g) of raw honey. You will notice the mixture begins to glow as the honey incorporates into the warm fruit juice.
Phase 4: Skimming for Transparency
As the mixture warms, a thin layer of white foam may rise to the surface. Use a spoon to carefully skim this foam off and discard it; this is the secret to achieving that emerald green and ruby red “jewel” texture.
Once the liquid is perfectly clear, use your dropper to fill the silicone molds. Work quickly but steadily to avoid creating air bubbles in the tiny bear cavities.
Expert Tips for Perfect Gummy Texture
- Avoid Pineapple and Kiwi: Fresh pineapple, kiwi, and papaya contain bromelain, an enzyme that breaks down gelatin and will prevent your bears from ever setting.
- The “Freezer Flash”: If you are in a hurry, you can set the molds in the freezer for 10 minutes, but for the best clarity, a slow set in the refrigerator is preferred.
- Temperature Control: If your mixture starts to thicken in the bowl while you are filling molds, simply place it back on the lowest heat setting for 30 seconds.
- Surface Tension: Fill the molds just to the brim; as they cool, they will shrink slightly, creating a perfectly flat back for your gummy bears.
Storage and Shelf Life Advice
Store your fruit juice gummy bears in an airtight glass jar in the refrigerator. Because these lack the heavy preservatives of commercial candy, they are best enjoyed within 7 to 10 days.
For the best sensory experience, let them sit at room temperature for 5 minutes before eating. This allows the honey and fruit flavors to “awaken” and the gelatin to soften just slightly for the perfect chew.
What to Serve With Homemade Gummies
These bears are a fantastic addition to a healthy dessert spread. They pair beautifully with a plate of air fryer bananas for a mix of warm and cool textures.
If you are hosting a themed party, try serving these alongside our tequila gummy sticks for the adults. For a more substantial dessert, they make a playful topping for homemade cream puffs or can be served as a side to a citrusy chocolate dipped orange shortbread.
Frequently Asked Questions
Agar-agar is a popular vegan alternative, but it has a different setting point and texture (more firm/brittle). You cannot swap them 1:1; agar-agar requires boiling to activate, whereas animal gelatin should never be boiled.
No, high-quality silicone molds are naturally non-stick for gelatin. Once fully set in the refrigerator, the gummies should pop out easily when you press on the back of the mold.
The best way to achieve a glowing emerald green is by using a mix of green apple juice and a tiny splash of fresh spinach juice or a pinch of spirulina. Ensure the liquid is strained twice for maximum clarity.
Cloudiness is usually caused by pulp in the juice or foam that wasn’t skimmed off during heating. Always strain your juice through a fine-mesh sieve and skim the white foam from the top of the pot before filling your molds.
This usually happens if you used fresh pineapple, kiwi, or mango, which contain enzymes that prevent gelatin from setting. Additionally, make sure you used enough gelatin and allowed it to bloom in cold liquid first.
The Ultimate Fruit Juice Gummy Bear Recipe
Fruit Juice Gummy Bears: The Ultimate Guide to Jewel-Toned Healthy Snacks
Ingredients
Equipment
Method
- Pour the cold fruit juice into a small saucepan. Sprinkle the gelatin evenly over the top and let sit for 5-7 minutes until it resembles wet sand.
- Place the pan over low heat. Whisk gently until the gelatin is fully dissolved and translucent. Stir in the raw honey and lemon juice until incorporated.
- Use a spoon to skim any white foam off the surface to ensure jewel-like clarity. Remove from heat.
- Use a dropper to fill the silicone molds. Refrigerate for at least 30-60 minutes until firm. Pop out of the molds and serve on a marble surface.
Notes
Do not boil the mixture as it weakens the gelatin.
Final Thoughts on These Jewel-Like Treats
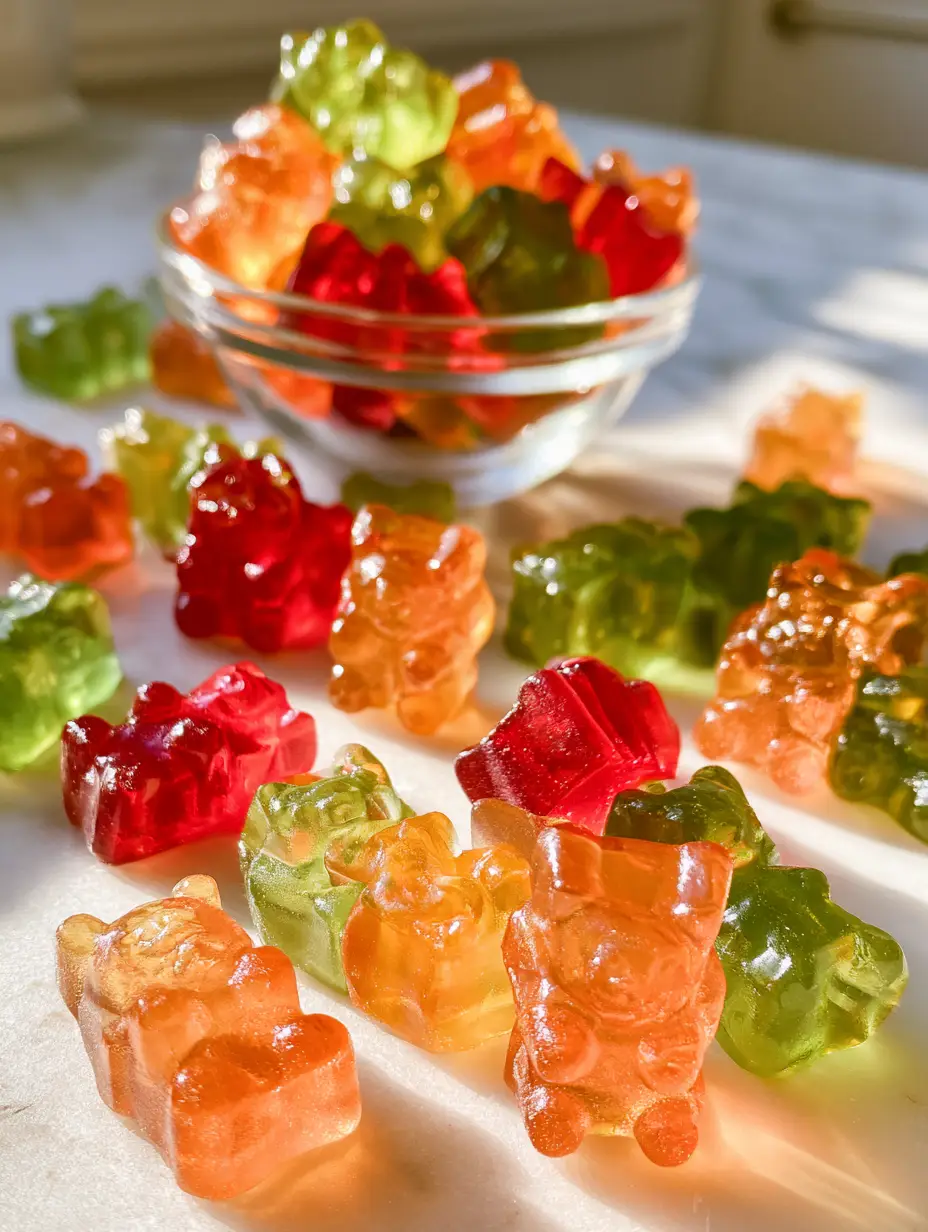
Creating your own fruit juice gummy bears is a rewarding culinary project that brings both health and beauty to your snack game. The way they catch the light on a marble counter makes them a favorite for both kids and photographers alike.
If you enjoyed this recipe, please leave a comment below and let us know which color was your favorite! Don’t forget to share your creations and follow us on Pinterest for more vibrant recipe inspiration.