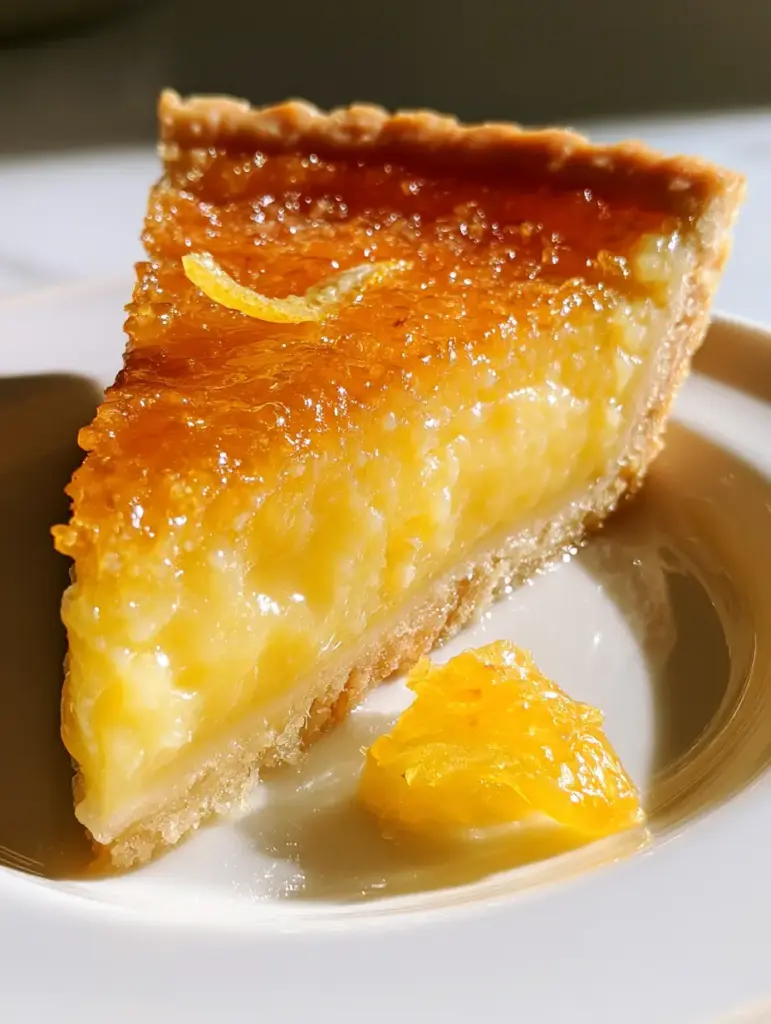
The lemon dream pie is more than just a dessert; it is a masterclass in the delicate balance of tart acidity and velvet-like sweetness. When you first witness a slice, you are immediately struck by the vibrant yellow hue of the custard, a color so intense it feels like bottled sunshine. The visual contrast between the deeply caramelized, shattered-sugar topping and the pale, buttery layers of the flaky crust creates a sensory anticipation that few other treats can match.
This particular rendition focuses on achieving the hyperrealistic textures found in high-end patisseries. We are moving beyond the standard lemon meringue to something more sophisticated: a dense, creamy custard that holds its shape perfectly on a clean white plate. The addition of a glossy candied lemon peel and a fine dusting of zest provides both a visual pop and a concentrated burst of citrus oils that awaken the palate before the first bite.
Why This Vibrant Citrus Masterpiece Works
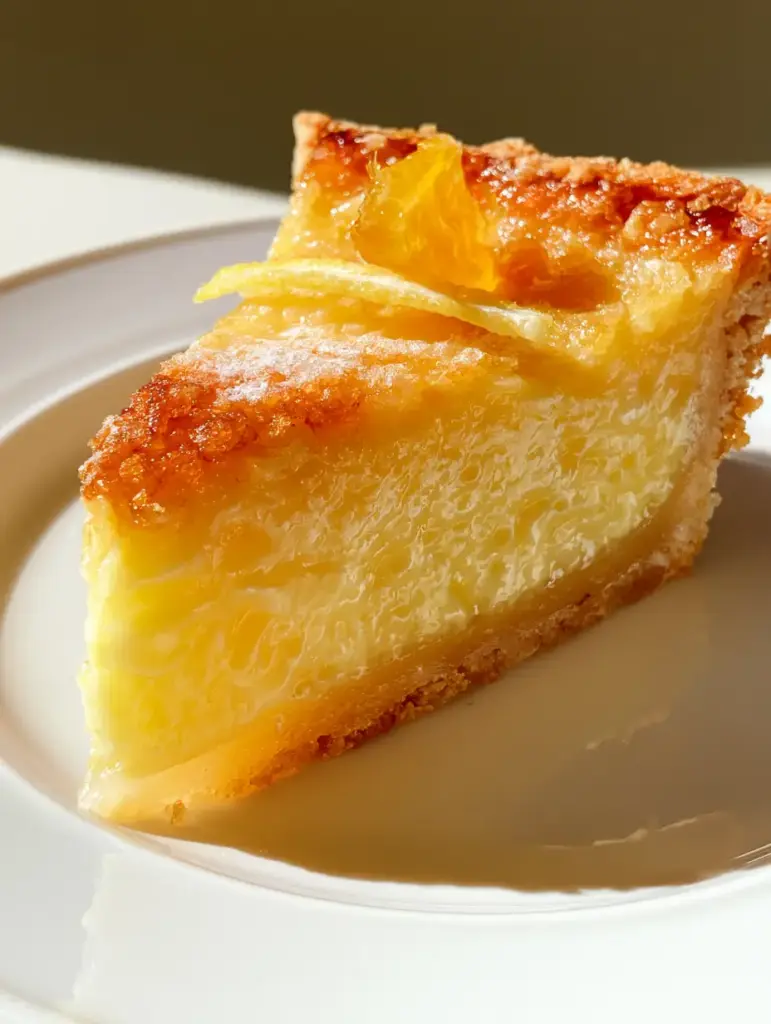
- Structural Integrity: The custard is engineered to be thick and creamy, ensuring each slice showcases distinct, clean layers without weeping or sagging.
- Textural Contrast: You get the crunch of the golden flaky bottom crust, the silkiness of the filling, and the brittle snap of the lightly caramelized topping.
- Visual Brilliance: The vibrant yellow lemon custard filling is achieved naturally through high-quality egg yolks and fresh-squeezed juice, matching the “dreamy” aesthetic perfectly.
- Garnish Elevation: Using both fresh zest and a translucent candied lemon peel adds professional-grade detail that makes this dish centerpiece-worthy.
Essential Components for a Vibrant Citrus Custard
To achieve the specific results of this lemon dream pie, every ingredient must serve a structural and flavor-driven purpose. We do not use fillers; we use culinary science to build a better pie.
High-Fat Unsalted Butter: You will need 1 cup (226g) of cold, cubed butter to create the steam pockets necessary for a perfect flaky pie crust recipe. The butter must remain cold until it hits the oven to ensure those distinct layers visible in the visual blueprint.
Fresh Lemon Juice and Zest: Use 3/4 cup (180ml) of juice and 2 tablespoons (12g) of zest. The acidity is vital for denaturing the egg proteins, which helps the custard set into that thick, creamy consistency we desire.
Large Egg Yolks: You will need 6 large yolks (approx. 110g) to achieve the vibrant yellow color. Yolks provide the lecithin needed to emulsify the fat and liquid into a seamless, dream-like filling.
Granulated Sugar: 1 1/4 cups (250g) for the filling and an additional 2 tablespoons (25g) for the caramelized topping. Sugar is hygroscopic, meaning it holds onto moisture to keep the filling lush and hyperrealistic in texture.
Heavy Cream: 1/2 cup (120ml) of high-fat cream (36%+) is the secret to the “dreamy” mouthfeel. It tempers the sharp acidity of the lemon, creating a rounded, professional flavor profile.
Cornstarch: 3 tablespoons (24g) act as a secondary stabilizer. This ensures that when you slice the pie, the edges remain sharp and the filling doesn’t run across the plate.
Fine Sea Salt: A mere 1/2 tsp (3g) is required to sharpen the citrus notes. Without salt, the lemon dream pie would taste one-dimensional and overly sweet.
Professional Tools for the Perfect Slice
Achieving a photo-ready result requires the right kit. You will need a 9-inch (23cm) ceramic pie dish, which provides even heat distribution for the crust. A fine-mesh sieve is non-negotiable for straining the custard to ensure it is perfectly smooth and free of any stray cooked egg bits. For the topping, a kitchen torch is preferred to get that “lightly caramelized” finish without overcooking the delicate lemon filling. Finally, a Microplane zester is essential for those gossamer-thin strands of garnish described in our visual prompt.
Forging the Foundation: The Flaky Bottom Crust
Phase 1: Cutting the Fat
Start by combining your flour and salt in a large bowl. Add the cold, cubed butter and use a pastry cutter or your fingertips to press the butter into the flour until you have pieces ranging from the size of peas to walnut halves. This variety in fat size is what creates the “golden flaky” texture mentioned in the recipe blueprint.
Phase 2: Hydration and Resting
Slowly drizzle in 4-6 tablespoons (60-90ml) of ice water. Mix until the dough just barely holds together when squeezed. Wrap the dough tightly and chill for at least one hour; this allows the gluten to relax and the flour to fully hydrate, preventing the crust from shrinking in the oven.
Phase 3: The Blind Bake
Roll the dough to 1/8 inch (3mm) thickness and fit it into your pie dish. Prick the bottom with a fork, line with parchment paper, and fill with pie weights. Bake at 375°F (190°C) for 15 minutes, then remove the weights and bake for another 10 minutes until the crust is a deep golden brown. This “blind bake” prevents a soggy bottom and ensures the crust stays crisp under the moist lemon custard.
Creating the Vibrant Yellow Lemon Filling
Phase 4: Tempering the Eggs
In a medium saucepan, whisk together your sugar, cornstarch, and salt. Gradually stir in the lemon juice and heavy cream. Cook over medium heat, whisking constantly until the mixture begins to thicken and bubble. In a separate bowl, lightly beat your egg yolks. Slowly pour about half a cup of the hot lemon mixture into the yolks while whisking vigorously—this is called tempering, and it prevents the eggs from scrambling.
Phase 5: Achieving the Dreamy Consistency
Pour the tempered egg mixture back into the saucepan. Continue to cook for 2-3 minutes, whisking constantly, until the custard is thick and glossy. You should see large bubbles popping slowly on the surface. Remove from heat and stir in the lemon zest and a tablespoon of butter for extra shine. Strain the mixture through a fine-mesh sieve directly into your pre-baked crust for a hyper-smooth finish.
The Finishing Touches: Caramelization and Garnish
Phase 6: The Caramelized Topping
Allow the pie to cool completely at room temperature, then refrigerate for at least 4 hours to fully set the custard layers. Just before serving, sprinkle a thin, even layer of granulated sugar over the top. Use a kitchen torch to move in circular motions until the sugar melts and turns a delicate, light amber color. This creates that “lightly caramelized topping” that shatters when your fork hits it.
Phase 7: Artful Garnishing
To match the visual blueprint, prepare candied lemon peels by simmering thin strips of lemon rind in a simple syrup (equal parts sugar and water) for 15 minutes until translucent. Pat dry and roll in sugar. Place one glossy candied peel and a few fresh curls of zest on each slice. The result is a vibrant, clean presentation that looks like a handheld smartphone photo from a luxury food blog.
Expert Tips for a Flawless Lemon Dream Pie
- Prevent Weeping: Ensure your custard reaches a full boil for at least 30 seconds. This deactivates the alpha-amylase enzyme in egg yolks, which can otherwise break down the starch and turn your pie watery.
- Cooling is Key: Never torch the sugar topping while the pie is warm. The heat from the torch combined with a warm filling will cause the custard to collapse.
- Zest First, Juice Second: Always remove the zest from your lemons before cutting them to juice. It is nearly impossible to zest a squeezed lemon half!
- Butter Temperature: If your kitchen is hot, put your flour and bowl in the freezer for 10 minutes before making the crust. Cold ingredients are the only way to get that flaky, layered bottom.
Storage and Make-Ahead Advice
The lemon dream pie is best enjoyed within 24 hours of assembly to maintain the crispness of the caramelized top. However, you can store leftovers in the refrigerator for up to 3 days. Note that the caramelized sugar will eventually liquefy due to the moisture in the custard, losing its crunch. If you are making this ahead of time, wait to torch the top until immediately before you serve it to your guests.
Do not freeze the completed pie, as the custard emulsion may break upon thawing, leading to a grainy texture. You can, however, freeze the unbaked pie crust disc for up to 3 months.
What to Serve With This Citrus Dream
This pie is a rich, palate-cleansing finale. It pairs beautifully with a dollop of unsweetened whipped cream to balance the tartness. If you are hosting a brunch, consider serving this alongside savory sausage stuffed french toast rolls for a perfect sweet-and-salty balance. For a summer afternoon tea, a slice of this pie alongside a zesty lemon glazed loaf creates a wonderful citrus-themed spread. If you prefer a no-bake option for your next event, you might also enjoy our refreshing no-bake lemon cheesecake pie.
Frequently Asked Questions
While possible, fresh lemon juice is highly recommended. Bottled juice often lacks the complex citrus oils and bright acidity necessary for a vibrant yellow, ‘dreamy’ flavor profile.
Blind baking the crust is essential. By baking the crust with weights first, you seal the pastry surface, creating a barrier that prevents the moist custard from soaking into the dough.
For clean, photo-ready slices, the pie needs to chill in the refrigerator for at least 4 hours, though overnight is best for the flavors to fully develop and the custard to firm up.
If you don’t have a torch, you can place the chilled pie under a very hot broiler for 1-2 minutes. Watch it constantly, as the sugar can burn and the custard can melt very quickly.
Runny filling usually occurs if the custard wasn’t cooked long enough to activate the cornstarch or if the egg yolks weren’t tempered correctly. Ensure the mixture reaches a full boil for at least 30 seconds.
The Complete Lemon Dream Pie Recipe
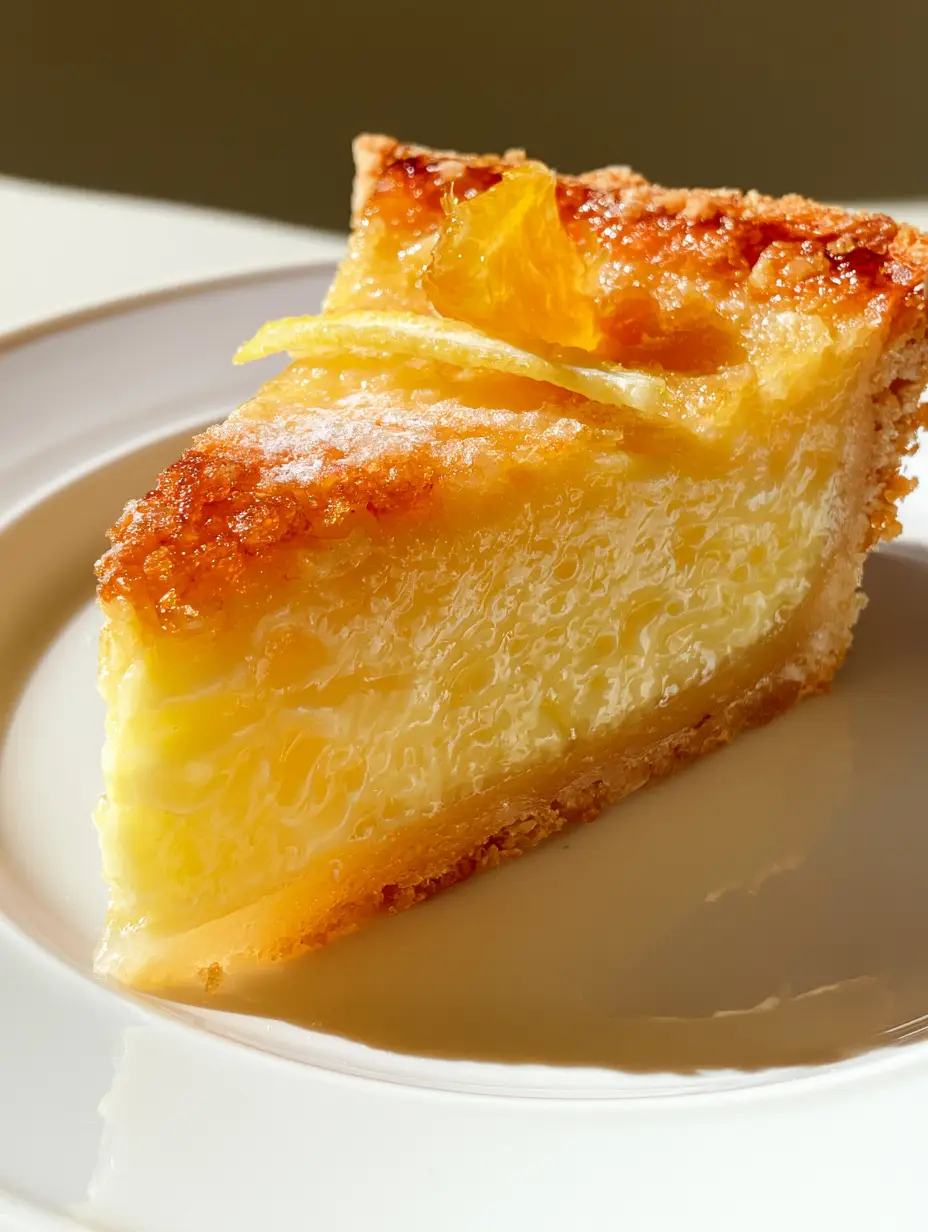
Lemon Dream Pie: The Ultimate Vibrant Citrus Custard with a Golden Flaky Crust
Ingredients
Equipment
Method
- Combine flour and salt. Cut cold butter into the flour until pea-sized chunks remain.
- Add ice water 1 tablespoon at a time until dough forms. Chill for 1 hour.
- Roll out, place in dish, and blind bake with weights at 375°F (190°C) for 15 mins, then 10 mins without weights until golden.
- Whisk sugar, cornstarch, cream, and lemon juice over heat. Slowly whisk half into the egg yolks to temper.
- Return to pan and cook until thick and bubbling. Strain through a sieve into the crust.
- Cool at room temperature, then chill for 4 hours until the custard is firm.
- Sprinkle sugar over the set pie and torch until lightly caramelized.
- Top with candied lemon peels and fresh zest before serving.
Notes
Wait until serving to torch the sugar to ensure maximum crunch.

Closing & Call to Action
Mastering the lemon dream pie is a rewarding journey into the heart of citrus desserts. By focusing on the visual cues—the vibrant yellow filling and the golden flaky crust—you create an experience that is as beautiful as it is delicious. If you enjoyed this deep dive into lemon custard science, please leave a comment below and let us know how your caramelization turned out! Don’t forget to share your creations and follow us on Pinterest for more hyperrealistic recipe inspiration.