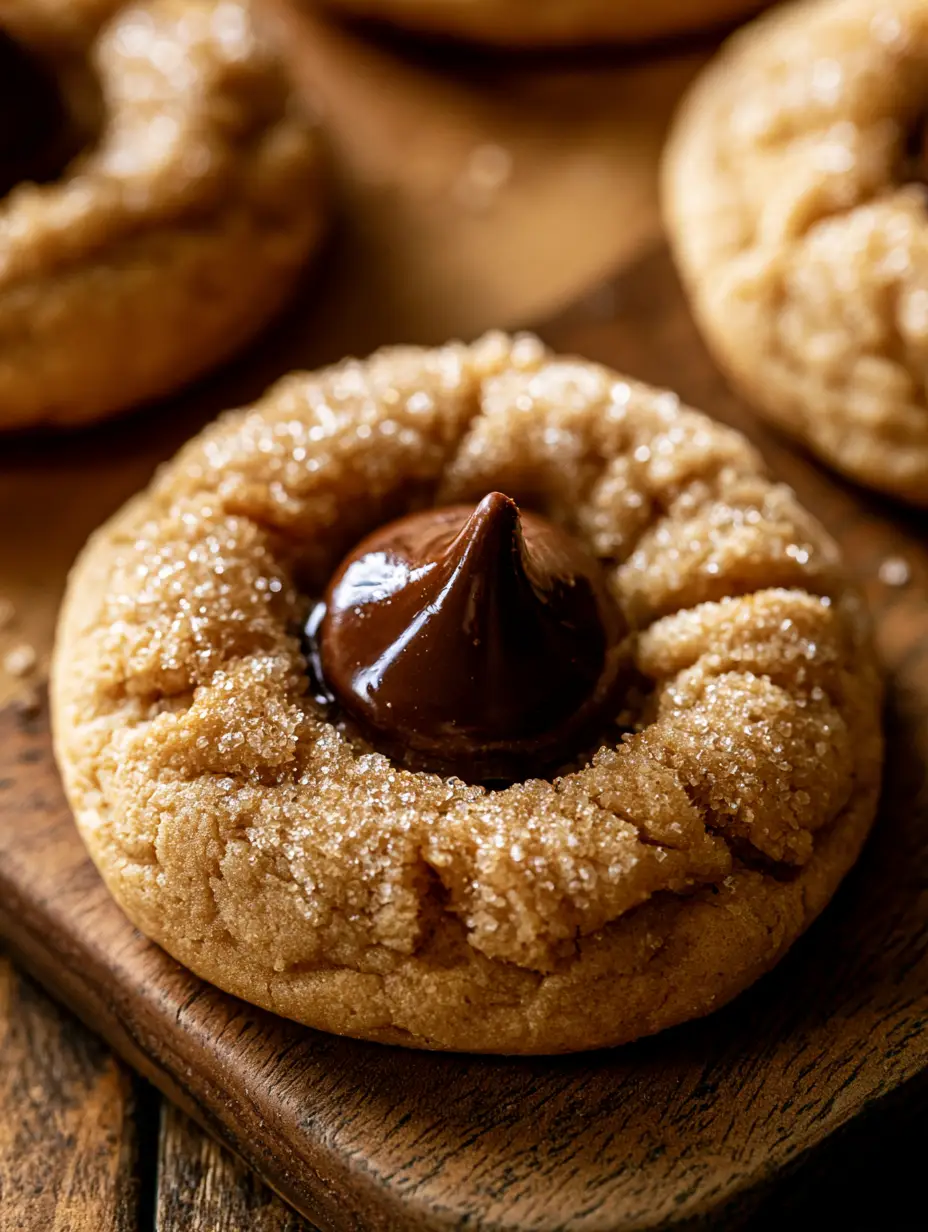
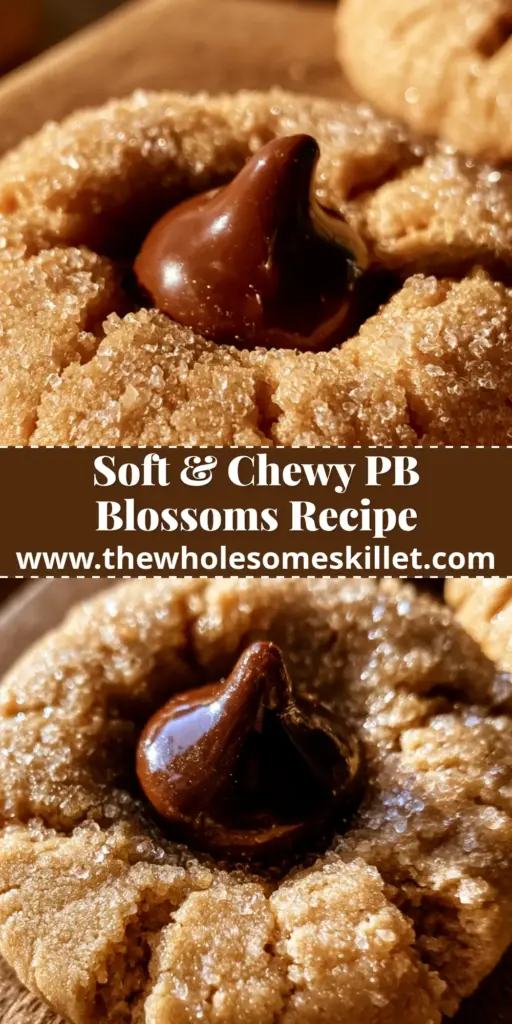
There is something inherently nostalgic about a tray of freshly baked peanut butter kiss cookies. The way the warm, nutty aroma fills the kitchen, combined with the sight of a glossy chocolate center nestled in a golden, sugar-dusted mound, is enough to transport anyone back to holiday exchanges or Grandma’s kitchen. These cookies, often called Peanut Butter Blossoms, are the perfect marriage of salty and sweet, offering a sensory experience that begins with a crunch of sparkling sugar and ends with a melt-in-your-mouth chocolate finish.
Achieving the perfect peanut butter kiss cookies is an art form that balances culinary science with visual precision. We aren’t just looking for any cookie; we are aiming for that iconic crinkled texture and a soft, tender crumb that holds its shape under the weight of a dark chocolate kiss. Whether you are preparing these for a festive cookie swap or a cozy weekend treat, this guide will ensure your results look exactly like a professional food photograph every single time.
Why You Will Fall in Love With These Sparkling Peanut Butter Treats
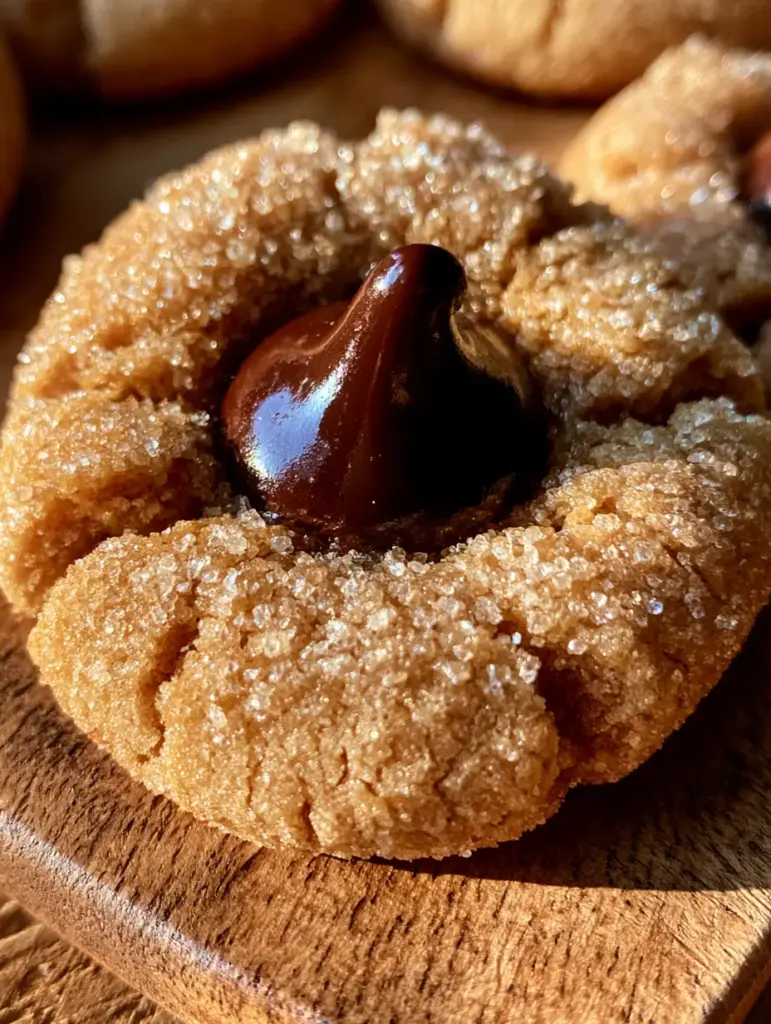
- Visually Stunning Contrast: The deep, glossy dark chocolate kiss sits perfectly against the golden-brown, sugar-encrusted cookie base.
- Perfectly Engineered Texture: These cookies feature a soft, crinkled exterior with a dense, fudge-like center that never feels dry or crumbly.
- Scientifically Balanced Flavor: The saltiness of the peanut butter is expertly heightened by a touch of sea salt, cutting through the sweetness of the sparkling sugar coating.
- Foolproof Results: By following our sensory cues, you will know exactly when to pull these from the oven to maintain that professional “smartphone-shot” aesthetic.
The Anatomy of a Perfect Peanut Butter Cookie: Ingredients and Substitutions
To achieve the specific golden-brown hue and soft texture described in our visual blueprint, every ingredient serves a structural and chemical purpose. We avoid “natural” oily peanut butters here, as they lack the stabilizers needed to keep the cookie from spreading into a flat puddle.
Unsalted Butter (1/2 cup / 115g): Ensure your butter is softened to room temperature (about 65°F or 18°C). This allows for proper aeration during the creaming process, which creates the lift needed for the chocolate kiss to nestle into an indentation rather than sinking through.
Creamy Peanut Butter (3/4 cup / 185g): Use a standard commercial brand (like Jif or Skippy) for the best results. These brands provide the emulsifiers that ensure a consistent, crinkled texture without the grit of homemade varieties.
Granulated Sugar (1/2 cup / 100g) plus extra for rolling: The sugar in the dough provides sweetness, while the coating provides that essential “sparkling” visual. The crystals caramelize slightly in the oven, giving the cookie its signature golden-brown glow.
Light Brown Sugar (1/2 cup / 100g, packed): Brown sugar is the secret to a soft cookie. The molasses content keeps the dough moist and contributes to the “chewy” factor found in our chewy peanut butter cookies.
Large Egg (1 unit): The egg acts as the primary binder and provides moisture. Make sure it is at room temperature so it emulsifies perfectly with the fats.
All-Purpose Flour (1 & 1/2 cups / 190g): This provides the skeletal structure of the cookie. Be sure to measure using the “spoon and level” method to avoid a heavy, dry dough.
Baking Soda (1 tsp / 5g): This leavening agent reacts with the acidic brown sugar to create carbon dioxide bubbles, leading to the beautiful crinkles on the surface.
Fine Sea Salt (1/2 tsp / 3g): A crucial “invisible” ingredient that awakens the peanut flavors and prevents the chocolate from tasting cloying.
Dark Chocolate Kisses (approx. 24-30 units): While milk chocolate is traditional, a dark chocolate kiss offers a sophisticated, glossy finish that contrasts beautifully with the sugar crystals.
Essential Equipment for Professional Baking Results
To recreate the shallow depth of field and sharp focus of high-end food photography, your cookies must be uniform in size and shape. Using a 1-tablespoon cookie scoop ensures each peanut butter kiss cookies dough ball is exactly the same weight, leading to even baking.
You will also need heavy-duty rimmed baking sheets and parchment paper or silicone mats. These prevent the bottoms from browning too quickly before the centers are set. A wire cooling rack is also essential; if the cookies stay on the hot pan too long, the residual heat will fully melt the chocolate kiss, losing that “partially melted” look we desire.
Step-by-Step Mastery: Crafting the Perfect Blossom
1. The Creaming Phase for Ultimate Softness
In a large bowl or the bowl of a stand mixer, combine your softened butter, creamy peanut butter, granulated sugar, and brown sugar. Beat on medium-high for at least 3 minutes until the mixture is pale and fluffy. You are looking for a texture that looks like light mousse; this air incorporation is what prevents the cookies from becoming dense bricks.
2. Incorporating the Bind and Dry Bases
Add the egg and vanilla extract, beating until just combined. In a separate bowl, whisk together the flour, baking soda, and sea salt. Slowly add the dry ingredients to the wet, mixing on low speed until no streaks of white remain. If you enjoy a variety of textures, you might notice this dough feels similar to our loaded peanut butter cookies, though it is slightly firmer to support the chocolate.
3. The Sparkling Sugar Transformation
Scoop the dough into 1-inch (2.5cm) balls. Roll each ball between your palms until smooth, then immediately drop it into a small bowl of granulated sugar. Roll it around until it is generously coated in “sparkling sugar crystals.” This coating is what creates the high-end, appetizing look described in the photography prompt.
4. Baking to Golden-Brown Perfection
Place the balls 2 inches (5cm) apart on your prepared baking sheet. Bake at 375°F (190°C) for 8 to 10 minutes. Watch for the visual cues: the edges should be set and a light golden-brown, while the tops will have developed small crinkles. Do not wait for the center to look “done”—it will firm up as it cools.
5. The Strategic Chocolate Indentation
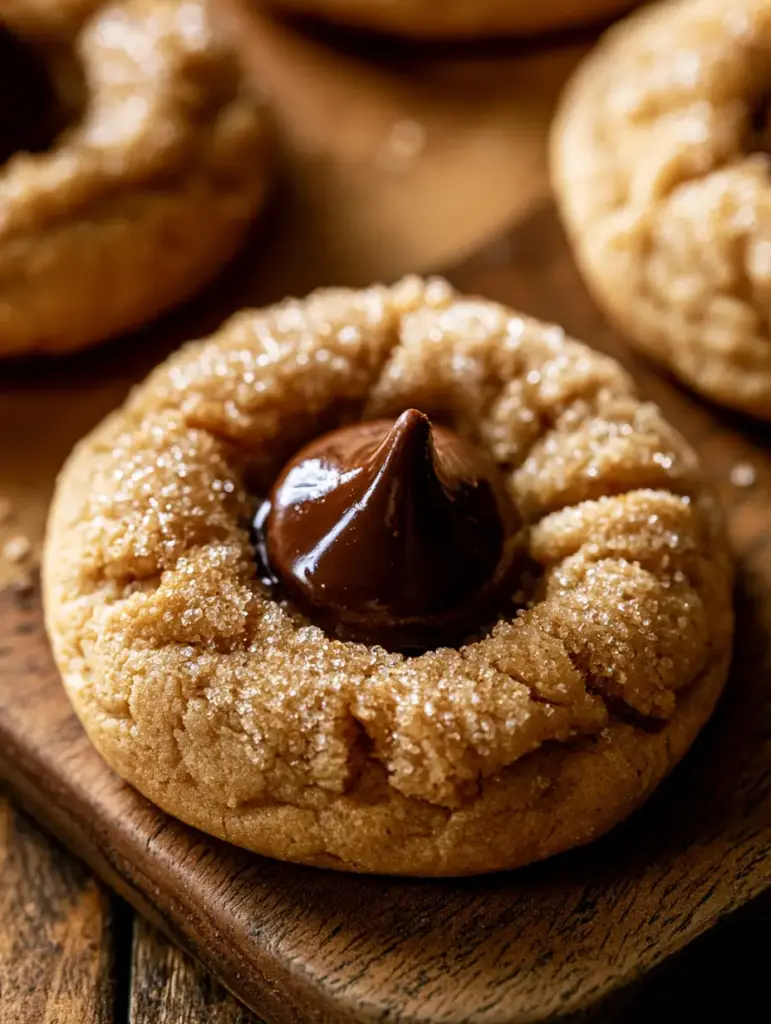
Immediately upon removing the cookies from the oven, press a dark chocolate kiss firmly into the center of each cookie. The cookie will crack slightly around the edges—this is the desired “crinkled texture.” Let the cookies sit on the hot pan for 2-3 minutes; the heat will soften the base of the chocolate, creating that “glossy, partially melted” appearance without the kiss losing its iconic shape.
Expert Tips for Bakery-Quality Peanut Butter Kiss Cookies
- Chill the Kisses: If your kitchen is very warm, pop the unwrapped chocolate kisses in the freezer for 10 minutes before baking. This ensures they don’t turn into a puddle when they hit the hot cookie.
- The “Tap” Method: If your cookies aren’t crinkling enough, gently tap the baking sheet against the oven rack halfway through baking to deflate the air bubbles.
- Avoid Over-Mixing: Once the flour goes in, stop mixing as soon as it’s incorporated. Over-mixing develops gluten, which leads to a tough, bready cookie instead of a soft one.
- Sugar Choice: For a more dramatic “sparkle,” use sanding sugar or coarse sparkling sugar for the rolling phase instead of standard granulated sugar.
Storage, Freshness, and Freezing Techniques
These peanut butter kiss cookies are best enjoyed within 3 days of baking for maximum softness. Store them in an airtight container at room temperature. To keep them extra soft, place a single slice of white bread in the container; the cookies will absorb the moisture from the bread.
For long-term storage, these cookies freeze beautifully. However, it is best to freeze the dough balls (rolled in sugar) and bake them fresh. If you must freeze the finished cookies, ensure the chocolate is completely set and hardened before stacking them with parchment paper between layers to prevent the kisses from smudging.
What to Serve With These Iconic Treats
These cookies are a standout on any dessert platter, but they pair excellently with other rich textures. Consider serving them alongside a peanut butter chocolate dip for an ultra-indulgent experience. If you are building a holiday spread, they contrast beautifully with the spice of peppermint sugar cookies or the rustic charm of peanut glazed oatmeal cookies.
For a truly decadent “cookie monster” afternoon, serve these warm with a glass of cold milk or a cup of coffee. The dark chocolate kiss acts as a built-in ganache that complements the roasted notes of a good medium-roast brew.
Frequently Asked Questions
Absolutely! You can roll the balls in sugar and freeze them on a tray. Once solid, transfer to a freezer bag. Bake directly from frozen, adding 1-2 minutes to the total baking time.
Yes, you can use chunky peanut butter if you prefer bits of peanuts in your cookies. However, the ‘crinkled’ look will be less uniform, and the cookie may be slightly more fragile.
Roll the dough balls in sugar immediately after shaping them while the surface is still slightly tacky. If the dough has dried out, the sugar crystals won’t adhere properly during baking.
Add the chocolate kiss immediately after taking the cookies out of the oven. The residual heat will melt the bottom of the kiss just enough to stick to the cookie, creating a glossy finish without losing its shape.
This usually happens if the butter was too warm or if you used a ‘natural’ style peanut butter. Ensure your butter is cool room temperature and use a stabilized commercial brand of creamy peanut butter for the best structure.
The Ultimate Recipe for Sparkling Peanut Butter Kiss Cookies
Peanut butter kiss cookies: The Ultimate Soft and Sparkling Recipe
Ingredients
Equipment
Method
- In a large bowl, cream together the softened butter, peanut butter, 1/2 cup granulated sugar, and brown sugar until light and fluffy, about 3 minutes.
- Beat in the egg and vanilla extract until well combined.
- Whisk together flour, baking soda, and salt. Gradually add to the peanut butter mixture, mixing until just combined.
- Shape dough into 1-inch balls. Roll each ball in the extra granulated sugar until thickly coated with sparkling crystals.
- Place balls 2 inches apart on parchment-lined baking sheets. Bake at 375°F (190°C) for 8-10 minutes until edges are set and light golden-brown.
- Immediately press a chocolate kiss into the center of each warm cookie. Transfer to a wire rack to cool so the chocolate sets glossy and partially melted.
Notes
Press the chocolate kiss in immediately after removing from the oven for the perfect indentation.
Closing & Call to Action
Mastering the peanut butter kiss cookies is a rite of passage for every home baker. With their sparkling sugar coating, soft crinkled edges, and that iconic glossy chocolate center, they are as much a delight to look at as they are to eat. This recipe ensures that every batch you bake looks like it belongs on a rustic wooden board in a professional food shoot.
Did you try this recipe? We would love to see your results! Leave a comment below and let us know if you used dark or milk chocolate. Don’t forget to follow us and share your creations on Pinterest to inspire other bakers in our community!