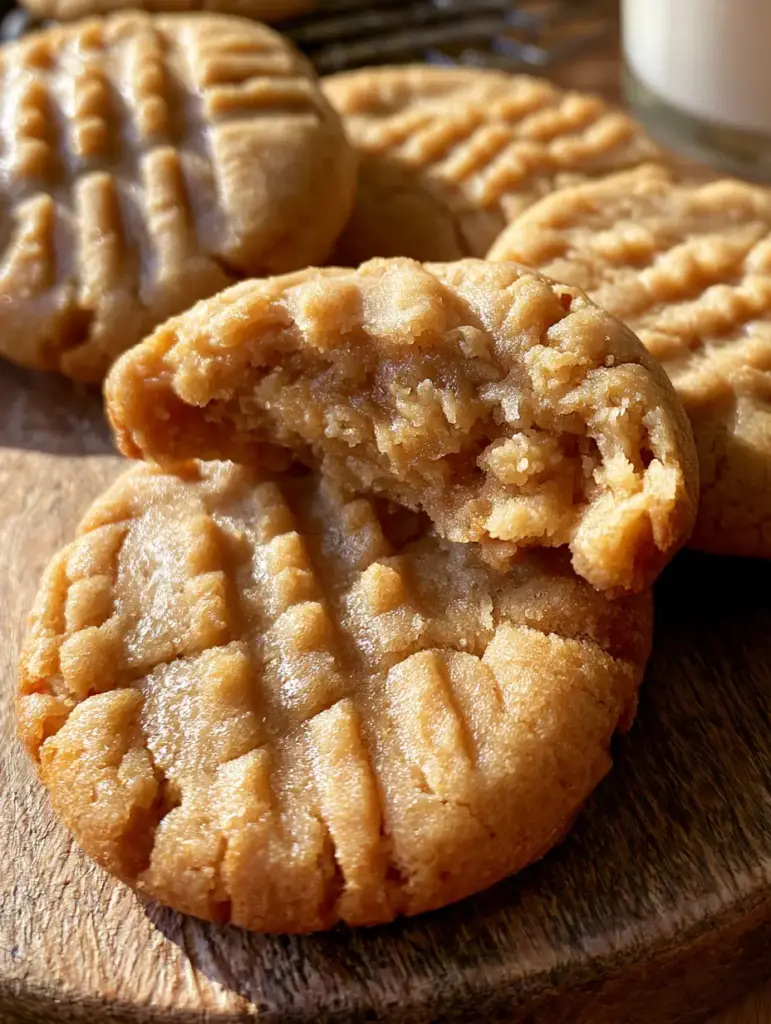
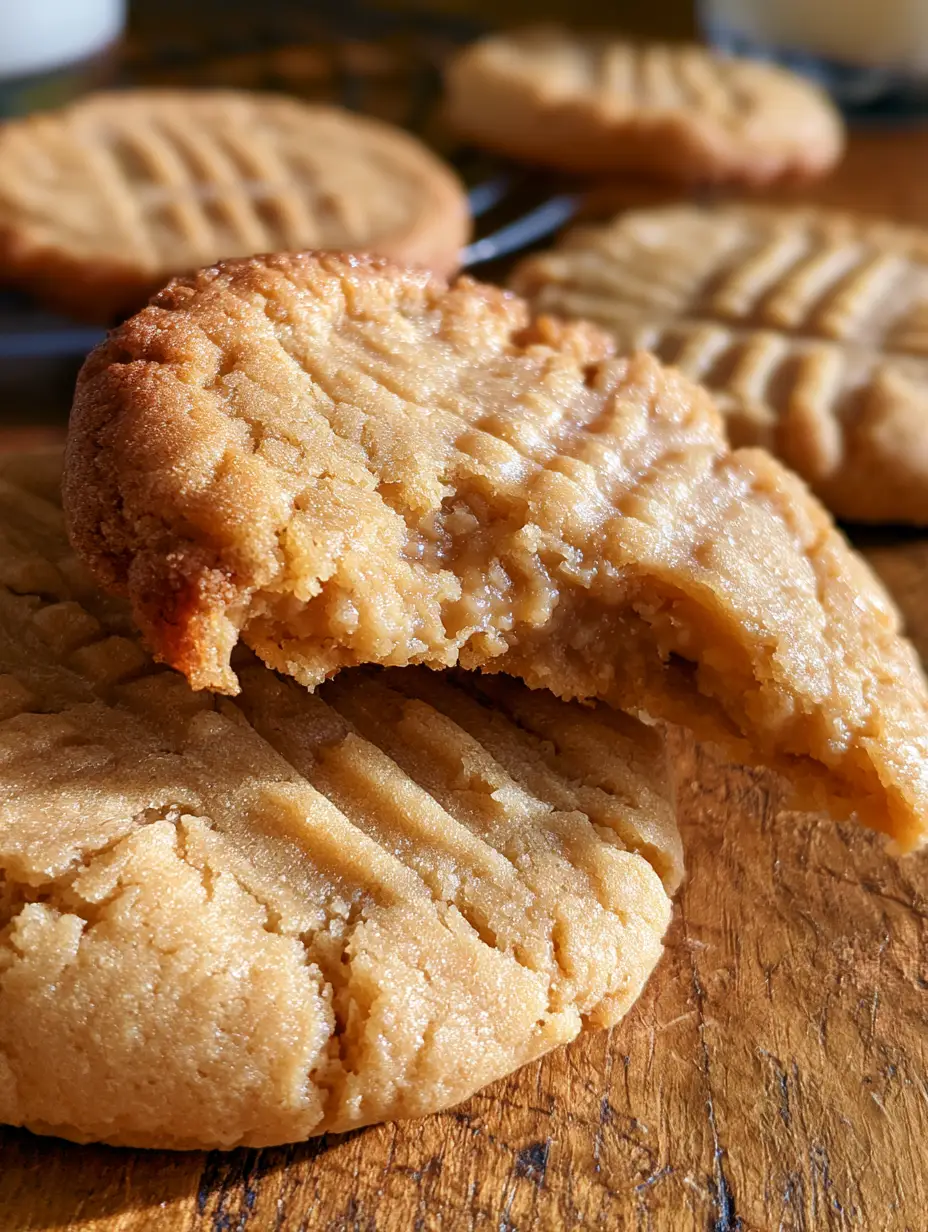
There is nothing quite like the aroma of freshly baked peanut butter cookies wafting through a kitchen during the golden hour. Imagine a cookie that boasts a perfectly golden-brown exterior with a delicate crispness, giving way to an irresistibly soft, thick, and chewy core.
These are not your average, crumbly store-bought treats; these are professional-grade peanut butter cookies designed to satisfy every textural craving. With their iconic crisscross fork pattern and a subtle shimmer of sugar crystals, they are as visually stunning as they are delicious.
Whether you are serving them on a rustic wooden surface next to a cold glass of milk or packing them for a neighbor, these cookies represent the pinnacle of home baking. Every bite offers a rich depth of flavor, highlighted by visible peanut butter flecks and a hint of salt that balances the sweetness perfectly.
Why This Is The Only Peanut Butter Cookie Recipe You Will Ever Need
- Textural Contrast: You get a satisfying snap from the golden-brown edges while the center remains moist and tender, just like the broken cookie in our visual blueprint.
- Iconic Visuals: The sharply defined crisscross pattern is not just for looks; it ensures the thick dough bakes evenly for that perfect mouthfeel.
- Balanced Sweetness: A combination of dark brown sugar and a rolling of granulated sugar crystals provides a complex, caramelized flavor profile.
- Reliable Structure: Thanks to a precise ratio of fats and leavening agents, these cookies hold their shape without becoming rock-hard or overly flat.
The Anatomy of a Perfect Cookie: Essential Ingredients
To achieve the visual and textural goals of our blueprint, every ingredient serves a specific culinary purpose. We aren’t just mixing things together; we are building a structural masterpiece of flavor.
Creamy Peanut Butter (with flecks): 1 cup (250g) provides the primary flavor and fat. We recommend a high-quality commercial brand for stability, ensuring those visible peanut butter flecks appear in the final bake.
Unsalted Butter: ½ cup (113g/1 stick), softened to room temperature. Butter provides the moisture needed for the “irresistibly soft” core and contributes to the golden-brown edges through the Maillard reaction.
Light Brown Sugar: ¾ cup (150g), firmly packed. The molasses in brown sugar is the secret to a chewy, moist interior that resists drying out, even a day after baking.
Granulated Sugar: ½ cup (100g) for the dough, plus extra for rolling. This creates the “subtle sugar crystals” on the surface and helps the edges crisp up beautifully.
Large Egg: 1 (50g) at room temperature. The egg acts as a binder, providing the protein structure necessary to keep these cookies thick and soft rather than spreading too thin.
Pure Vanilla Extract: 1 tsp (5ml). This enhances the nutty notes of the peanut butter, adding a layer of aromatic depth to every bite.
All-Purpose Flour: 1 ½ cups (190g). This is the foundation of our cookie; it provides enough gluten to hold the crisscross pattern without making the cookie tough.
Baking Soda: 1 tsp (5g). As an alkaline leavener, it reacts with the acidity in the peanut butter and brown sugar to create a soft, lifted rise.
Baking Powder: ½ tsp (2.5g). This adds an extra insurance policy for thickness, ensuring the cookies stay plump and chewy.
Sea Salt: ½ tsp (3g). A critical “invisible” ingredient that cuts through the richness of the fats and makes the peanut flavor pop.
Essential Kitchen Tools for Professional Results
To recreate the rustic, handheld smartphone photo aesthetic, you need the right tools to handle the dough properly. A heavy-duty stand mixer or hand mixer is vital for the creaming process, which incorporates air into the fats.
You will also need a standard cookie scoop (about 2 tablespoons capacity) to ensure every cookie is uniform in size. For that “classic fork-pressed crisscross pattern,” a sturdy dinner fork is your best friend.
Finally, a wire cooling rack is essential. It prevents the bottoms from becoming soggy by allowing air to circulate, maintaining that “delicate crispness” on the golden-brown edges described in our prompt.
Step-by-Step Instructions for the Perfect Peanut Butter Cookies
Mastering the Creaming Method
In a large bowl, combine your softened unsalted butter, creamy peanut butter, brown sugar, and ½ cup of granulated sugar. Beat these together on medium-high speed for at least 3 minutes until the mixture looks pale and fluffy.
This step is crucial because it aerates the fat, which helps the cookies rise and stay soft. Add the egg and vanilla extract, beating for another minute until the mixture is completely emulsified and smooth.
Integrating the Dry Foundations
In a separate medium bowl, whisk together the all-purpose flour, baking soda, baking powder, and sea salt. Slowly add the dry ingredients to the wet mixture while the mixer is on low speed.
Stop mixing the moment no more streaks of flour are visible. Over-mixing at this stage will develop too much gluten, which would ruin the “soft and chewy” interior we are aiming for.
Chilling for Depth and Texture
Cover the dough and chill it in the refrigerator for at least 30 minutes. Chilling the dough solidifies the fats, which prevents the cookies from spreading too quickly in the oven and ensures they stay thick.
While the dough chills, preheat your oven to 350°F (175°C). Line two large baking sheets with parchment paper or silicone baking mats to ensure the golden-brown edges don’t stick.
The Art of the Crisscross Pattern
Scoop rounded tablespoons of dough and roll them between your palms into 1-inch (2.5cm) balls. Roll each ball in a small bowl of extra granulated sugar to create that beautiful shimmer on the cookie surface.
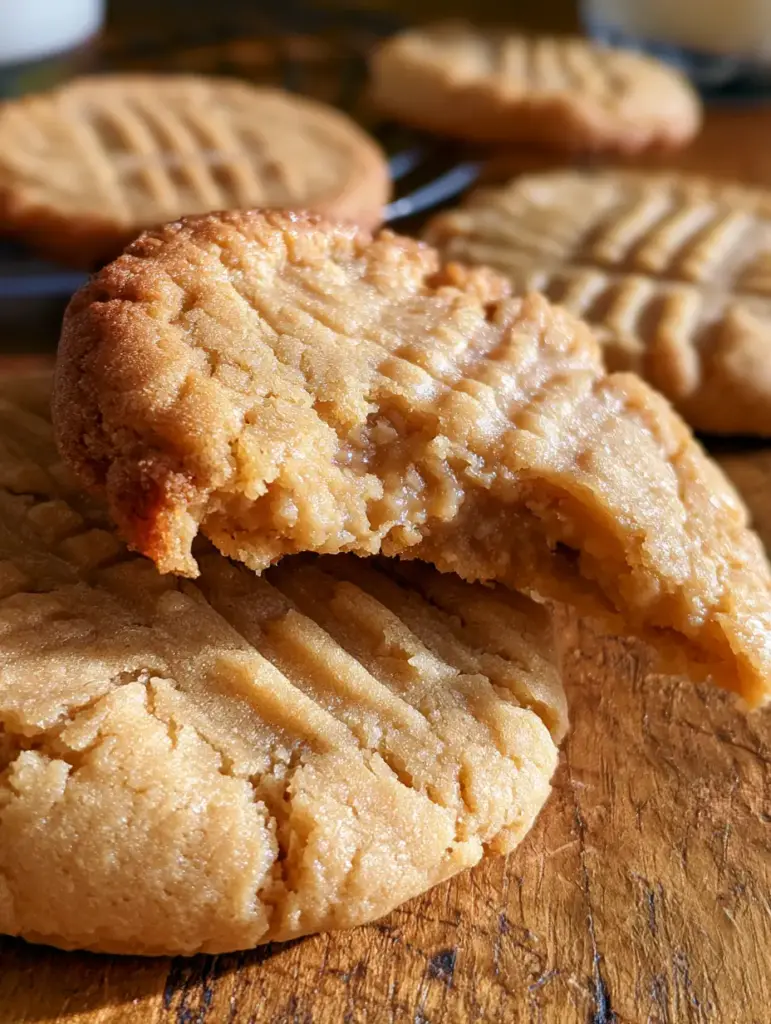
Place the balls 2 inches apart on the baking sheets. Use a fork to press a crisscross pattern into each ball, flattening it to about ½ inch thickness. This creates the “sharply defined” ridges seen in the background of our visual prompt.
Baking to Golden Perfection
Bake for 9 to 11 minutes. You are looking for a specific sensory cue: the edges should be a light golden-brown and set, but the centers should still look slightly underdone and soft.
Do not overbake! The cookies will continue to firm up on the hot baking sheet for 5 minutes after being removed from the oven, which is the secret to achieving that “irresistibly soft, thick, and chewy core.”
Expert Tips for Bakery-Style Success
- Use Room Temperature Ingredients: Ensure your egg and butter are at room temperature to create a seamless emulsion during mixing.
- Measure by Weight: For the most consistent results, use a kitchen scale for the flour (190g). Too much flour leads to dry, crumbly cookies.
- The Fork Trick: If the fork sticks to the dough while making the crisscross, dip the tines into the granulated sugar between each cookie.
- Freshness Matters: Ensure your baking soda is fresh (less than 6 months old) to get the proper lift and softness.
Creative Pairings and Serving Suggestions
These cookies are best enjoyed warm, ideally on a rustic wooden surface as described in our blueprint. A tall glass of cold milk with condensation on the glass provides the perfect refreshing contrast to the rich peanut butter.
If you are looking to build a dessert spread, these cookies pair beautifully with our homemade peanut butter kiss cookies. For those who love a bit of variety, consider serving them alongside fudgy chocolate cookies for a dark-and-light contrast.
If you have leftover peanut butter, you can even whip up some 3-ingredient peanut butter fudge for a full-on peanut butter extravaganza. These cookies also make a fantastic addition to a holiday cookie exchange recipe box.
Frequently Asked Questions
Absolutely! You can add 1/2 cup of chocolate chips or peanut butter chips for an even more decadent treat, similar to a loaded holiday cookie exchange recipe.
It is best to use a standard creamy peanut butter (like Jif or Skippy). Natural peanut butters that require stirring can be too oily and may cause the cookies to spread too much or become crumbly.
Yes, chilling for at least 30 minutes prevents the butter and peanut butter fats from melting too quickly in the oven, ensuring your cookies stay thick and chewy.
The key is a high brown sugar ratio and underbaking. Pull the cookies out when the edges are set but the centers still look slightly wet; they will finish cooking on the warm tray.
Peanut butter cookie dough is much denser than other cookie doughs. The fork-pressed crisscross pattern flattens the ball so it bakes evenly through the center while creating crispy ridges on top.
The Ultimate Peanut Butter Cookie Recipe Card
Peanut Butter Cookies: The Ultimate Chewy and Soft Fork-Pressed Recipe
Ingredients
Equipment
Method
- In a large bowl, beat peanut butter, butter, brown sugar, and 1/2 cup granulated sugar until pale and fluffy (about 3 minutes).
- Beat in the egg and vanilla extract until fully combined and smooth.
- In a separate bowl, whisk together flour, baking soda, baking powder, and salt.
- Slowly add dry ingredients to wet, mixing just until streaks of flour disappear. Chill dough for 30 minutes.
- Preheat oven to 350°F (175°C). Roll dough into 1-inch balls, roll in sugar, and press with a fork in a crisscross pattern.
- Bake for 9-11 minutes until edges are golden-brown but centers are still soft. Cool on the sheet for 5 minutes before moving to a rack.
Notes
For extra crunch, use extra-crunchy peanut butter for more visible peanut flecks.
Preserving Your Cookies: Storage and Freezing Tips
To keep that “moist interior” fresh, store your cooled cookies in an airtight container at room temperature for up to 5 days. Adding a slice of white bread to the container can help maintain their softness by providing a source of humidity.
For longer storage, these cookies freeze exceptionally well. You can freeze the baked cookies for up to 3 months, or freeze the raw dough balls (after the fork press) and bake them directly from the freezer, adding 2 minutes to the cook time.
Join the Community and Share Your Bake
We hope you enjoy these peanut butter cookies as much as we do! The combination of the golden-brown baked exterior and the soft core is truly a match made in heaven. If you make these, we would love to see your results.
Please leave a comment below telling us how your crisscross patterns turned out, and don’t forget to follow us on Pinterest for more mouthwatering inspiration. Happy baking!