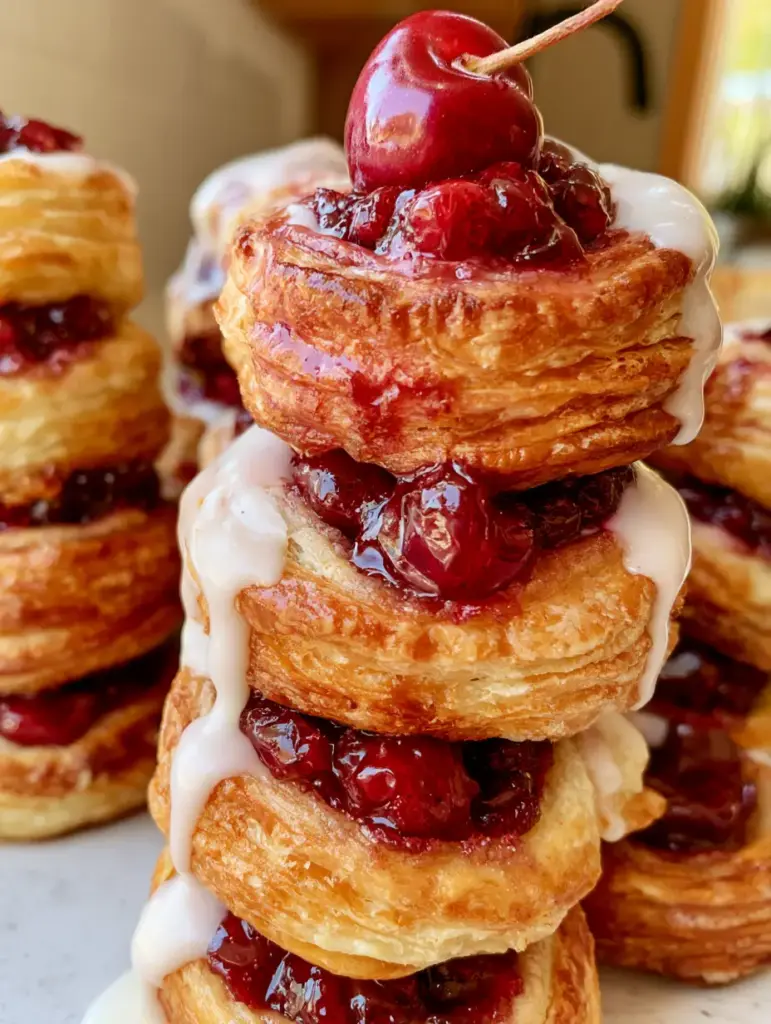
There is something undeniably captivating about a towering stack of cherry dessert bites, their golden-brown layers shimmering under soft light. These mini danishes are designed to be the centerpiece of your brunch table or a sophisticated end to a dinner party. With a glossy, ruby-red center and a thick, snow-white drizzle, they offer a professional bakery aesthetic right from your home kitchen.
If you have ever craved that perfect balance between a shatteringly crisp crust and a tart, jammy center, this is the recipe for you. We are capturing the essence of a classic cherry pie but distilling it into a handheld, two-bite format that is as fun to look at as it is to eat. The secret lies in the temperature of the pastry and the specific thickening of the fruit filling.
Every bite delivers a symphony of textures: the initial crunch of the buttery pastry, the smooth silkiness of the vanilla glaze, and the vibrant burst of cooked cherries. Garnished with a single fresh cherry, stem intact, these treats look like they were plucked straight from a high-end patisserie window. Let’s dive into the science of creating these perfect dessert morsels.
Why These Golden Cherry Pastries Are a Total Showstopper
- Shatter-Crisp Texture: By using high-heat techniques, we ensure the pastry achieves visible, paper-thin layers that flake away the moment you take a bite.
- Vibrant Visual Contrast: The ruby-red filling against the stark white vanilla glaze creates a color palette that is naturally appetizing and photogenic.
- Scientifically Balanced Sweetness: We utilize a hint of lemon juice and salt to ensure the cherry flavor remains bright and tart, preventing the dessert from becoming cloying.
- Versatile Elegance: Whether served warm or at room temperature, these bites maintain their structural integrity, making them perfect for “towering stack” presentations.
Essential Components for the Ultimate Flaky Result
High-Quality Puff Pastry: You will need 2 sheets (approximately 17.3 oz / 490g) of all-butter puff pastry. The butter content is vital for creating the steam required to lift those layers into a towering stack of flaky goodness.
Ruby-Red Cherry Filling: We use 2 cups (340g) of pitted sour cherries mixed with 1/2 cup (100g) of granulated sugar. This combination provides the authentic “ruby-red” hue and glossiness described in our visual blueprint.
Cornstarch (Thickening Agent): Use 1.5 tbsp (12g) of cornstarch dissolved in a little water. This is the “invisible” foundational ingredient that ensures the filling stays inside the pastry well rather than running out during the bake.
Pure Vanilla Extract and Almond Extract: Use 1 tsp (5ml) of vanilla and 1/4 tsp (1.25ml) of almond extract. Cherry and almond are botanical cousins; the almond extract intensifies the cherry flavor exponentially without being overpowering.
The Egg Wash: One large egg beaten with 1 tbsp (15ml) of water. This is non-negotiable for achieving that specific “golden brown” finish that characterizes professional cherry dessert bites.
Thick White Glaze: 1 cup (120g) of sifted powdered sugar mixed with 2 tbsp (30ml) of heavy cream. Heavy cream provides a more opaque, “thick white” appearance than milk, allowing for those beautiful drips down the sides.
Fresh Garnish Cherries: Select 12-15 perfectly ripe cherries with stems intact. These provide the final textural contrast and a signal to the eater of the fresh flavors within.
The Tools You Need for Pastry Perfection
To achieve the professional look seen in our reference photos, a few specific tools are required. A sharp pastry wheel or pizza cutter is essential for clean edges; dull blades compress the pastry layers and prevent them from rising. You will also need a standard baking sheet lined with parchment paper to prevent sticking and ensure even heat distribution.
A small offset spatula is helpful for transferring the delicate bites, and a cooling rack is mandatory. Cooling the pastries on a flat surface can lead to “soggy bottoms” as steam gets trapped. For the filling, a small heavy-bottomed saucepan will allow you to simmer the cherries until they reach that perfect glossy consistency.
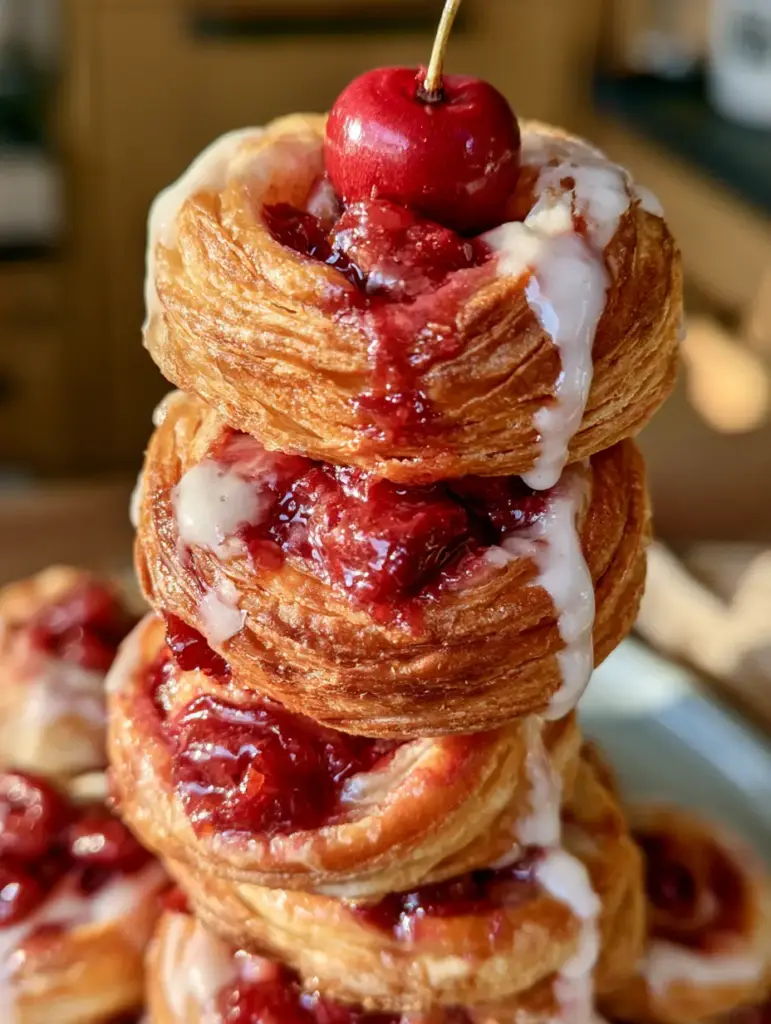
Mastering the Cherry Compote: The Secret to Glossy Filling
Preparing the Fruit Base
In your saucepan, combine the pitted cherries, sugar, and a splash of lemon juice. Stir over medium heat until the sugar dissolves and the cherries begin to release their juices, turning the liquid into a vibrant red syrup.
Listen for a gentle bubbling sound; this indicates the fruit is softening. You want the cherries to remain somewhat intact so they are “overflowing” and visible in the final pastry, rather than becoming a smooth jam.
Achieving the Ruby-Red Gloss
Whisk the cornstarch into a small amount of cold water to create a slurry, then pour it into the simmering cherries. Stir constantly for 1-2 minutes until the mixture transforms from a cloudy pink to a translucent, glossy ruby-red.
Remove from heat immediately once thickened. The filling will continue to firm up as it cools, which is essential for ensuring it doesn’t soak into the dough and make the cherry dessert bites soggy.
Constructing the Flaky Pastry Layers
Cutting and Scoring the Dough
Work with your puff pastry while it is still chilled but pliable. Cut each sheet into 6 or 9 even squares depending on your preferred size for these cherry dessert bites.
Use a sharp knife to lightly score a smaller square inside each piece, being careful not to cut all the way through. This creates a “border” that will rise high, while the center stays weighted down by the cherry filling.
The Golden Brown Transformation
Brush the borders generously with your egg wash. This is what provides the deep, burnished gold color. Place a generous tablespoon of the cooled cherry filling into the center of each square.
Bake at 400°F (200°C) for 15-18 minutes. Watch for the visual cue: the pastry should have visibly separated into many thin, crisp layers and the edges should be a dark golden brown.
The Finishing Touches: Glazing and Garnishing
Drizzling the Vanilla Glaze
Once the pastries have cooled for at least 10 minutes, whisk together your powdered sugar, heavy cream, and vanilla. The glaze should be thick enough to hold its shape but fluid enough to drip.
Use a spoon to drizzle the glaze in a zig-zag motion over the stack. For that “towering stack” look, glaze them individually first, then add a few extra drips once they are piled high to create a cohesive look.
The Signature Fresh Cherry Garnish
Just before serving, place a single fresh cherry with its stem intact on the topmost pastry. This adds a “handheld smartphone photo” realism to the dish, emphasizing freshness and quality.
The contrast between the cooked, jammy filling and the firm, snappy skin of the fresh cherry provides an excellent sensory experience for your guests.
Pro Tips for Bakery-Quality Cherry Bites
- Keep it Cold: If the pastry gets too warm while you are working, pop it back in the fridge for 10 minutes. Cold butter equals maximum flake.
- Sift the Sugar: Always sift your powdered sugar for the glaze to avoid tiny white lumps that ruin the “thick white” aesthetic.
- Don’t Overfill: It is tempting to pile on the cherries, but too much moisture will prevent the center of the pastry from cooking through.
- Check the Bottom: Use a spatula to lift one bite; the bottom should be just as golden and crisp as the sides.
Storage and Make-Ahead Instructions
These cherry dessert bites are best enjoyed the day they are made to preserve the crispness of the flaky pastry. However, you can store leftovers in an airtight container at room temperature for up to 24 hours. If they soften, a quick 3-minute blast in a 350°F (175°C) oven will help recrisp the edges.
You can prepare the cherry filling up to 3 days in advance and keep it refrigerated. For long-term prep, you can assemble the unbaked pastries and freeze them on a tray. Once solid, transfer to a bag and bake directly from frozen, adding 3-5 minutes to the total cooking time.
What to Serve with Cherry Dessert Bites
These sweet treats are the perfect centerpiece for a dessert spread or a heavy appetizer party. If you are hosting a brunch, consider pairing them with something savory like these festive brie cranberry bites to balance the flavors.
For a full “bite-sized” themed party, you could serve these alongside sweet and smoky kielbasa bites or even some zucchini parmesan bites. The contrast between the fruit-forward sweetness and savory appetizers makes for a dynamic menu.
If you love the flavor profile of cherries but want something even easier, you might enjoy our decadent no-bake cherry dream dessert, which offers all the flavor with none of the oven time.
Frequently Asked Questions
Yes, you can! To match the visual blueprint, look for a ‘premium’ filling with whole fruit and add a squeeze of lemon juice to brighten the flavor and color.
Absolutely! Air fry at 375°F for 8-10 minutes. Just ensure you don’t overcrowd the basket so the air can circulate and create those flaky layers.
The secret is using heavy cream instead of milk. Use a 6:1 ratio of powdered sugar to cream and whisk until very smooth. If it’s too thin, add more sugar one tablespoon at a time.
Ensure your cherry filling is completely cooled before adding it to the pastry. Additionally, baking at a high temperature (400°F) helps the pastry set quickly before the moisture can soak in.
The most common reason is that the dough became too warm before baking. The butter must be cold to create steam. Try chilling the assembled bites for 15 minutes before putting them in the oven.
The Ultimate Recipe for Flaky Cherry Dessert Bites
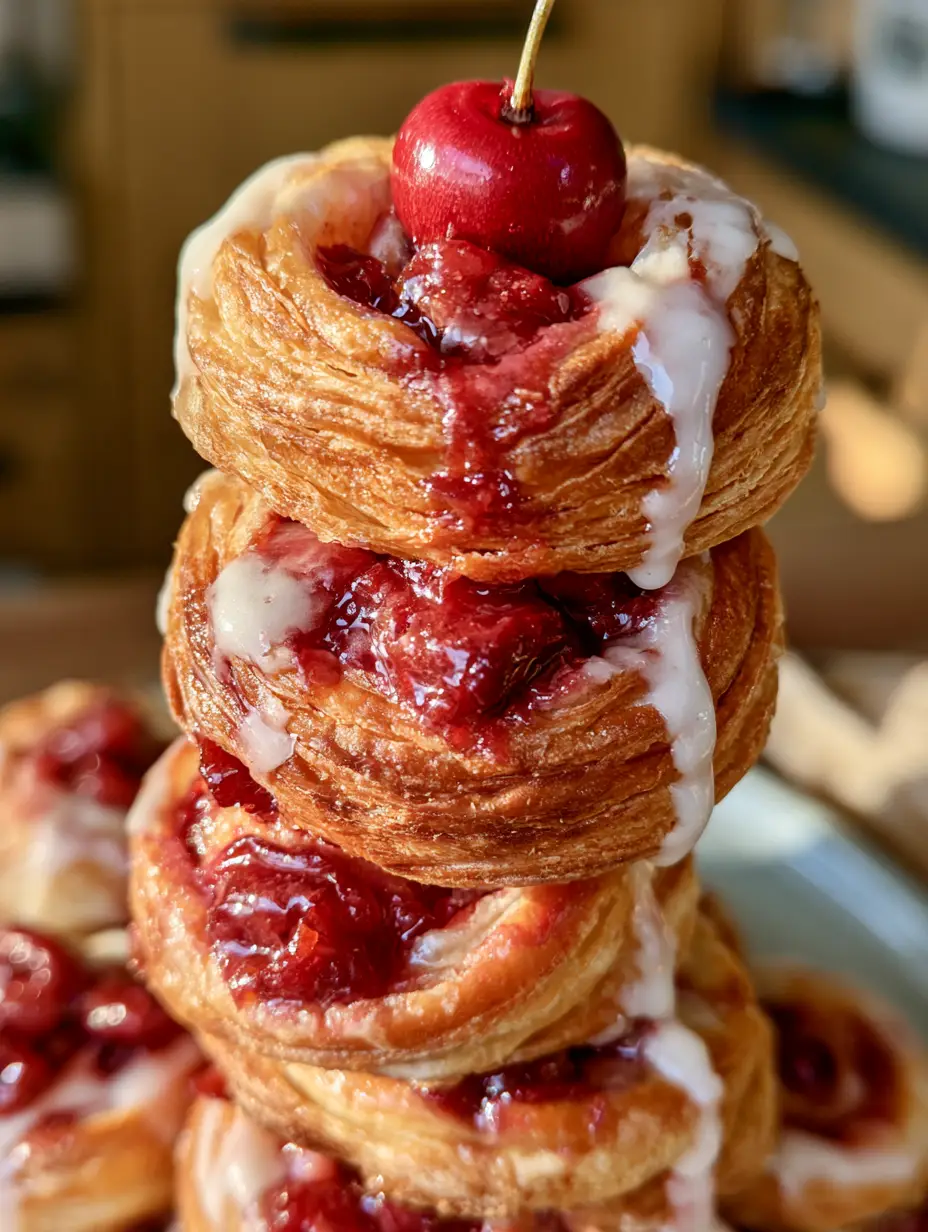
Cherry Dessert Bites with Flaky Pastry and Vanilla Glaze
Ingredients
Equipment
Method
- In a saucepan, combine cherries and sugar. Simmer until juices release.
- Stir in cornstarch slurry and cook until glossy and ruby-red. Stir in vanilla and cool.
- Cut puff pastry into squares and score a border inside each.
- Add cherry filling to the center and brush edges with egg wash.
- Bake at 400°F (200°C) for 15-20 minutes until golden brown and flaky.
Notes
Use heavy cream in the glaze for a professional, opaque white finish.
Join the Wholesome Skillet Community!
We hope these cherry dessert bites become a new favorite in your household! There is nothing quite like the smell of buttery pastry and simmering cherries wafting through the kitchen. If you enjoyed this recipe, please leave a comment below and let us know how your towering stack turned out!
Don’t forget to follow us on Pinterest for more visual recipe inspiration. Sharing a photo of your creation? Tag us so we can see those beautiful flaky layers! For more dessert hacks, check out our easy Samoa brownie hack. Happy baking!