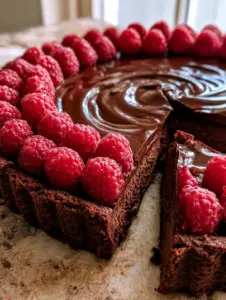
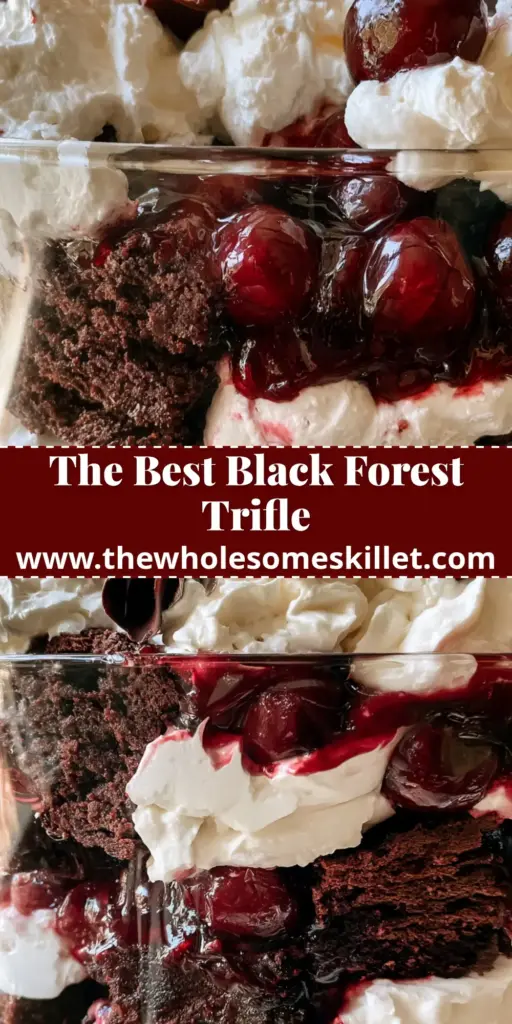
There is a specific kind of magic that happens when you set a towering black forest trifle in the center of a sun-drenched kitchen. As the soft natural light hits the glass, the glistening ruby-red cherry filling and the thick, fluffy clouds of real whipped cream create a visual symphony that demands a photo before the first spoonful is even served. This isn’t just a dessert; it is a structural marvel of moist, crumbly dark chocolate cake and sophisticated flavors.
Inspired by the traditional German Schwarzwälder Kirschtorte, this trifle version simplifies the process without sacrificing the decadent textures. By layering deep, cocoa-rich cake chunks with vibrant fruit and airy cream, you create a dessert that is as beautiful from the side view as it is delicious. Whether you are hosting a formal dinner or a casual Sunday brunch, this recipe delivers a high-impact aesthetic with minimal stress.
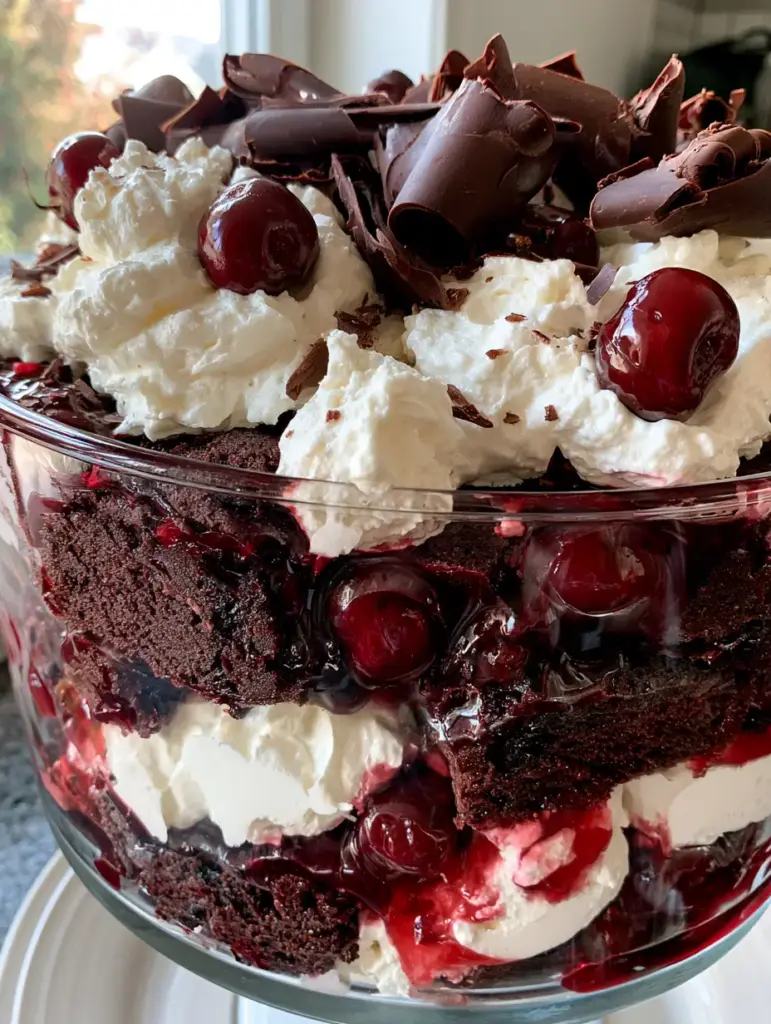
Why This Black Forest Trifle is the Ultimate Showstopper
The beauty of a black forest trifle lies in its contrasting textures and bold colors. When you assemble this dish, you are looking for specific sensory cues that signal a job well done.
- Visual Depth: The clear glass trifle bowl reveals the distinct, messy-yet-intentional mounds of cream and dark chocolate.
- Textural Contrast: You get the bite of moist dark chocolate cake chunks paired with the silkiness of heavy whipped cream.
- Flavor Balance: The tartness of the cherry pie filling cuts through the richness of the dark chocolate curls.
- Effortless Elegance: It provides the “wow factor” of a layer cake but is far more forgiving to assemble.
The Anatomy of a Perfect Dark Chocolate Trifle: Ingredients
To achieve the “extreme food detail” seen in professional food photography, every ingredient must serve a purpose. Here is what you will need for your black forest trifle, including the foundational elements for structural integrity.
For the Moist Dark Chocolate Cake:
- 2 cups (250g) All-purpose flour: Provides the structure for the crumbly cake chunks.
- 2 cups (400g) Granulated sugar: Essential for moisture retention and a tender crumb.
- ¾ cup (75g) Dark cocoa powder: Look for Dutch-processed cocoa to get that deep, near-black color.
- 2 tsp (10g) Baking powder & 1.5 tsp (7g) Baking soda: These chemical leaveners ensure the cake is airy enough to soak up cherry juices.
- 1 cup (240ml) Whole milk & ½ cup (120ml) Vegetable oil: The fats required for a “moist, crumbly” texture that doesn’t turn into mush.
- 2 Large eggs: The protein binder that holds the cake chunks together.
- 1 cup (240ml) Boiling water: The secret to blooming the cocoa for an intense chocolate flavor.
For the Luscious Layers:
- 2 cans (21 oz / 600g each) Cherry pie filling: Provides the “ruby-red glistening” sauce and fruit base.
- 3 cups (720ml) Heavy whipping cream: Must be very cold to achieve “thick, fluffy clouds.”
- ½ cup (60g) Powdered sugar: Stabilizes the cream so the layers don’t collapse.
- 1 tsp (5ml) Vanilla extract: Adds a foundational aromatic note to the whipped cream.
For the Iconic Garnish:
- 4 oz (115g) Dark chocolate bar: Used to create those large, dramatic dark chocolate curls.
- 12-15 Whole glazed cherries: These glossy fresh cherries sit atop the final layer for a professional finish.
The Toolkit: Equipment for Success
To replicate the vertical, handheld smartphone photo aesthetic, you need the right vessels. A large, straight-sided glass trifle bowl is non-negotiable, as it showcases the layers without distortion. You will also need a handheld or stand mixer to whip the cream to stiff peaks—essential for those “thick clouds.” A vegetable peeler is the best tool for shaving the chocolate bar into large, impressive curls. If you enjoy making layered treats, you might also find a use for these tools when crafting mixed berry trifles or even cranberry mousse parfaits.
Mastering the Layers: Step-by-Step Instructions
Phase 1: Baking the Dark Chocolate Foundation
Preheat your oven to 350°F (175°C). Whisk the dry ingredients together in a large bowl. Add the eggs, milk, and oil, mixing until smooth. Carefully pour in the boiling water—the batter will be thin, but this is exactly what creates that moist texture. Pour into a 9×13 inch pan and bake for 30-35 minutes. Once cooled completely, cut or tear the cake into 1-inch (2.5cm) chunks. This creates the “crumbly” aesthetic described in the visual blueprint.
Phase 2: Whipping the Thick Cream Clouds
In a chilled bowl, combine the heavy whipping cream, powdered sugar, and vanilla. Whip on high speed until stiff peaks form. You are looking for a texture that holds its shape—thick enough to be described as “messy mounds” rather than a liquid sauce. Do not over-beat, or the cream will become grainy and lose its glossy highlights.
Phase 3: The Art of Layering
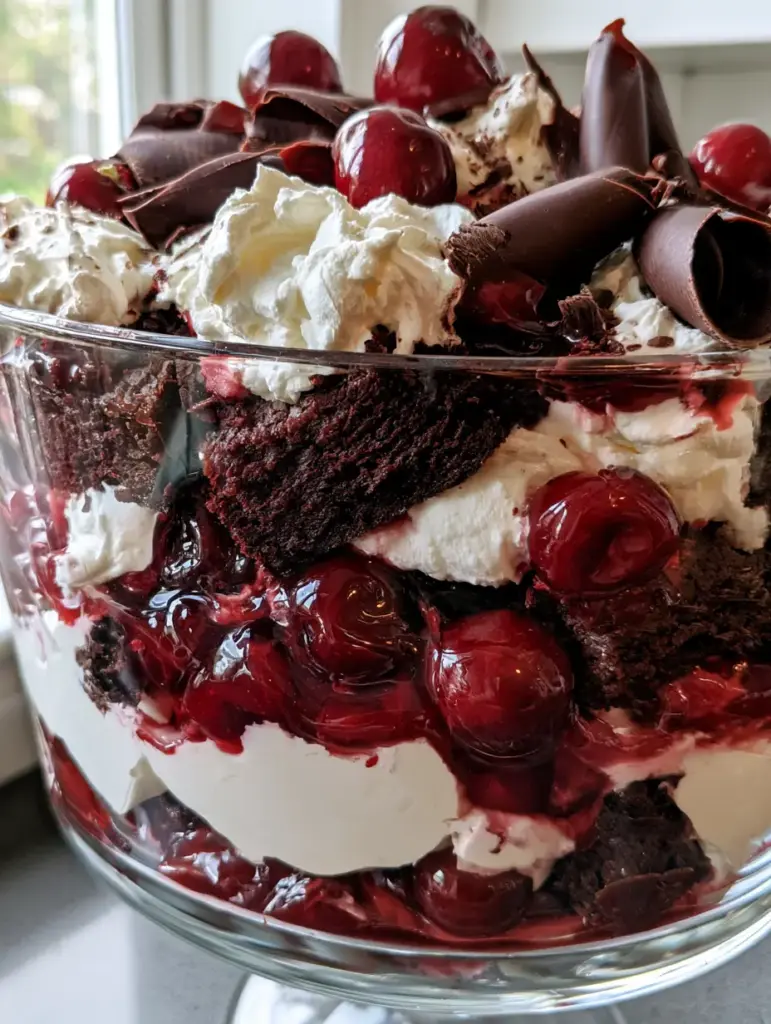
Begin by placing a dense layer of dark chocolate cake chunks at the bottom of the glass bowl. Spoon half of the cherry pie filling over the cake, ensuring some of the ruby-red syrup drips down the sides of the glass. Next, spread a thick layer of the whipped cream. Repeat these layers until you reach the top of the bowl. For a gourmet look, make sure the final layer of cream is piled high in “messy mounds” to catch the light.
Phase 4: The Finishing Forensic Details
Using a vegetable peeler, shave the dark chocolate bar directly over the top of the cream. The curls should be varied in size—some large and dramatic, some small and delicate. Finally, nestle the whole glazed cherries into the cream. The contrast between the matte chocolate curls and the glossy cherries is the key to that “mouth-watering aesthetic.”
Pro Secrets for the Perfect Glass Bowl Presentation
To keep your black forest trifle looking like a professional photo, avoid smearing the cream against the glass as you layer. Use a large spoon to drop the cream into the center and gently push it toward the edges. If you find the cake is too dry, you can lightly brush the chunks with a bit of cherry juice or even a splash of Kirsch for a traditional touch. This technique is similar to how one might handle the layers in a German chocolate poke cake.
For the best “vertical height,” ensure your cake chunks are not packed too tightly. The air gaps between the cake pieces allow the cherry filling to seep in, creating those beautiful glistening highlights. If you have extra cake scraps, they are delicious when served with a buttery crumble topping for a quick snack the next day.
Storage and Make-Ahead Strategies
A black forest trifle actually benefits from a bit of “resting” time. Ideally, assemble the trifle 4-6 hours before serving. This allows the cake to soften slightly as it absorbs the cherry juices. Keep the bowl refrigerated until the very moment you are ready to serve to ensure the whipped cream stays stiff and fluffy.
Leftovers can be stored in the refrigerator for up to 3 days. While the cake will become softer, the flavors actually deepen over time. We do not recommend freezing the assembled trifle, as the whipped cream will lose its structure and the cherries will release too much moisture upon thawing.
Pairing Suggestions for a Gourmet Dessert Table
This rich dessert pairs beautifully with a variety of other treats. Consider serving it alongside classic cream puffs for a variety of textures. If you are hosting a larger party, adding smaller, individual portions like Biscoff mini cheesecakes can provide a nice flavor contrast to the dark chocolate. For a lighter, tea-time vibe, an Earl Grey panna cotta offers a sophisticated botanical note that cleanses the palate after the heavy chocolate and cream.
Answers to Your Most Pressing Trifle Questions
Yes, assembling it 12-24 hours in advance allows the cake to absorb the cherry juices, making it even more delicious. Just add the fresh cherry garnish right before serving.
Yes, you can use a store-bought chocolate pound cake or devil’s food cake to save time. Just ensure it is moist and crumbly to maintain the proper texture.
Use a room-temperature bar of dark chocolate and a vegetable peeler. Long, steady strokes will create the large, dramatic curls seen in the photos.
This recipe is naturally alcohol-free as it uses cherry pie filling. For a traditional Kirsch flavor without the alcohol, you can add a drop of almond extract to the cherry filling.
Ensure your heavy cream is very cold and use powdered sugar as a stabilizer. For extra hold, you can add a tablespoon of instant vanilla pudding mix to the cream while whipping.
The Ultimate Black Forest Trifle Recipe
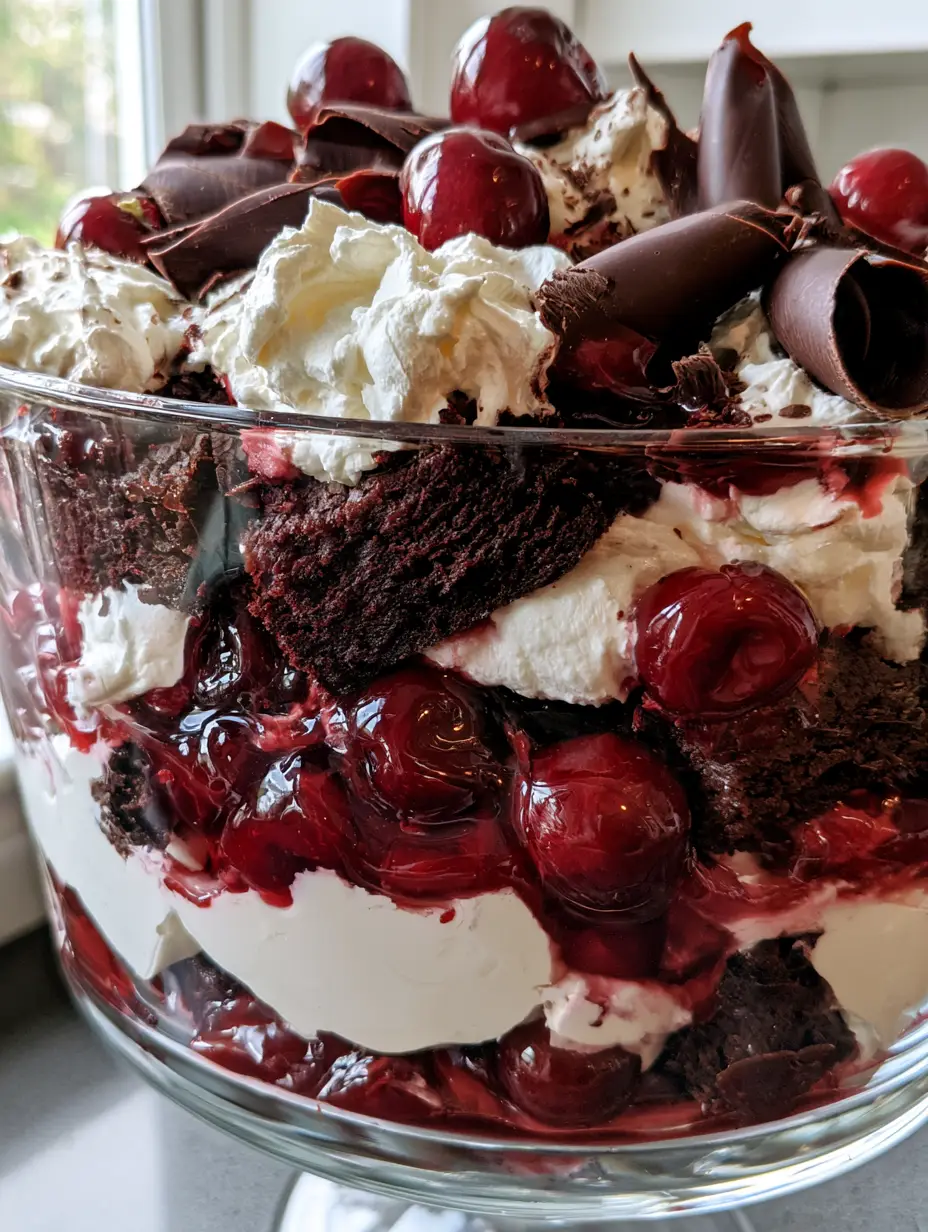
Black Forest Trifle: An Indulgent Dark Chocolate and Cherry Layered Masterpiece
Ingredients
Equipment
Method
- Whisk dry ingredients, add eggs, milk, and oil. Stir in boiling water. Bake at 350°F (175°C) for 30-35 mins in a 9x13 pan.
- Cool completely, then tear into 1-inch (2.5cm) crumbly chunks.
- Whip heavy cream, powdered sugar, and vanilla to stiff peaks.
- Use a vegetable peeler to create large curls from the chocolate bar.
- Layer cake chunks, then cherry filling, then whipped cream. Repeat layers until bowl is full.
- Finish with messy mounds of cream, dark chocolate curls, and glossy whole cherries.
Notes
Use cold heavy cream and a cold bowl for the best whipped cream stability.
Closing & Call to Action
The black forest trifle is more than just a dessert; it is a celebration of classic flavors and stunning visual presentation. With its deep ruby hues and snowy peaks of cream, it is guaranteed to be the star of your next gathering. If you enjoyed this recipe, please leave a comment below and share your photos with us! Don’t forget to follow thewholesomeskillet on Pinterest for more mouth-watering inspiration.