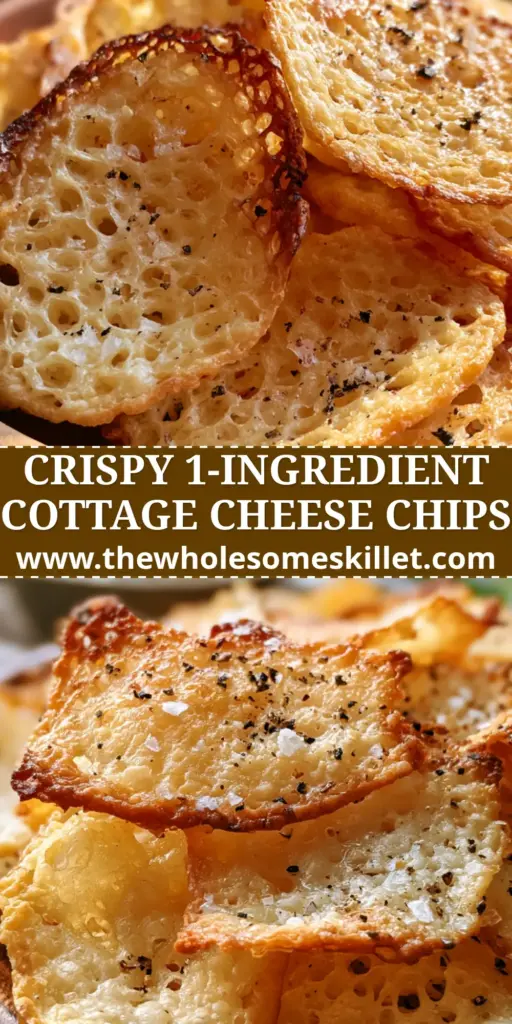
If you have been searching for the holy grail of low-carb snacking, these cottage cheese chips are about to change your life. Forget the soggy, bland healthy snacks of the past; we are diving into a world of ultra-crispy, golden-brown perfections that boast a delicate lacy honeycomb texture.
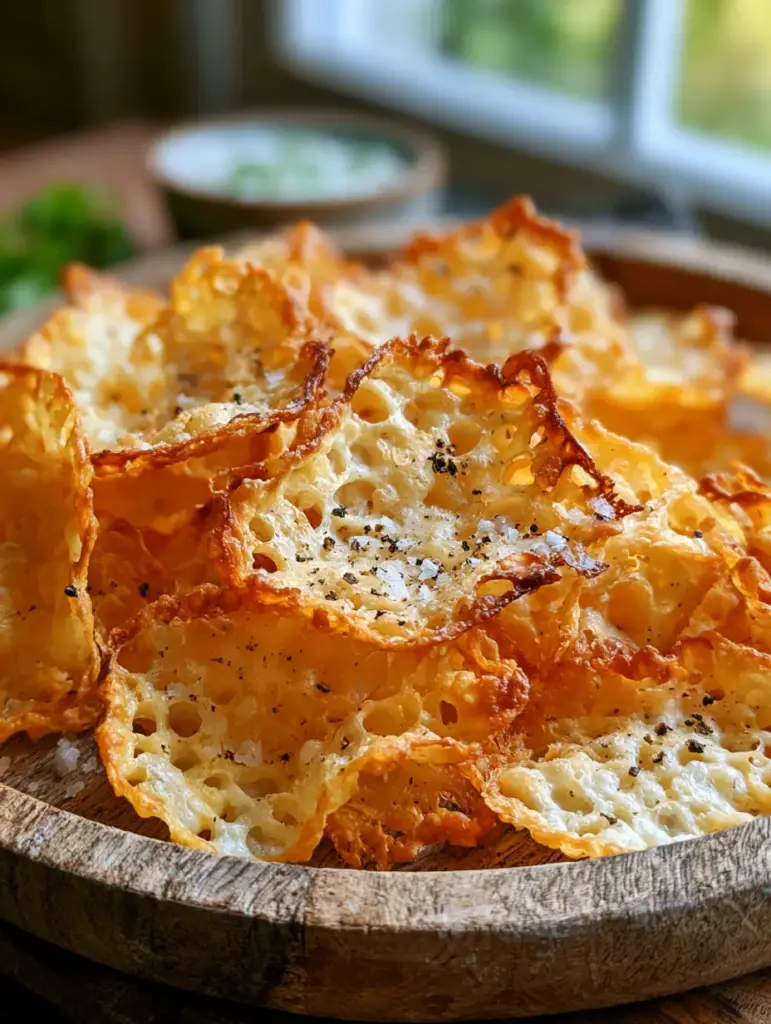
These chips are not just a trend—they are a culinary revelation for anyone craving a salty, satisfying crunch without the carb heavy-lifting. Each bite delivers a symphony of visible air bubbles and browned edges that shatter delightfully upon impact, seasoned perfectly with coarse sea salt and cracked black pepper.
Imagine a snack that looks as good as it tastes, served on a rustic wooden plate under the glow of natural sunlight, paired with a creamy ranch dip and a sprig of fresh dill. Whether you are looking for a quick lunch side or a post-workout protein boost, these cottage cheese chips are the crunchy solution you have been waiting for.
The Science of the Lacy Honeycomb Texture
To achieve that specific visual recipe blueprint—the one with the golden edges and translucent air pockets—we have to understand the culinary logic behind the protein. Unlike traditional potato chips, these rely on the evaporation of moisture from the cheese curds to create a structural “lace.”
- Unmatched Crunch: The high protein content in cottage cheese, when subjected to consistent dry heat, undergoes a Maillard reaction that creates a deep, nutty flavor profile.
- High-Protein Profile: Each serving provides a significant protein punch, making it much more satiating than processed corn or potato alternatives.
- Visually Stunning: The natural oils in the cheese create those iconic air bubbles and “honeycomb” holes that look professional and artisanal.
- Versatile Seasoning: While we lead with sea salt and black pepper, the base is a blank canvas for any flavor profile you desire.
Essential Elements for Ultra-Crispy Rounds
Creating the perfect cottage cheese chips requires a balance of high-moisture cheese and structural dry ingredients. Do not skip the foundational elements, as they ensure your chips don’t stick to the pan and maintain their shape.
Full-Fat Cottage Cheese (1 cup / 225g): You must use 4% milkfat cottage cheese for the best results. The fat is what allows the chips to fry in their own oils, creating those beautiful browned edges and lacy textures.
Grated Parmesan Cheese (1/2 cup / 50g): This is our secret structural “glue.” Parmesan has a low moisture content and high melt-point, which helps hold the cottage cheese curds together into a cohesive round.
Garlic Powder (1/2 tsp / 2.5g): This provides a foundational savory note that bridges the gap between the tangy cottage cheese and the salty sea salt topping. It adds depth without burning like fresh garlic would.
Coarse Sea Salt and Black Pepper: These are the finishing touches that define the visual appeal. Use freshly cracked peppercorns for those distinct black flecks and large salt flakes for a professional finish.
Fresh Dill Sprigs: These are not just a garnish; the aromatic oils in the dill provide a fresh contrast to the rich, salty chips. If you enjoy fresh herbs, you might also love the bright flavors in my almond ricotta cookies.
Must-Have Equipment for Perfect Results
To replicate the rustic wooden plate presentation and the delicate textures, you need the right tools. A standard baking sheet is fine, but the lining is where the magic happens.
A high-quality silicone baking mat or premium parchment paper is non-negotiable. Without a non-stick surface, the delicate lacy edges will tear when you try to lift them. You will also need a small offset spatula to gently release the chips once they have cooled and hardened.
For the serving aesthetic described in our blueprint, a rustic wooden board and a small ceramic bowl for the ranch dip are essential. Natural lighting, preferably from a nearby window, will highlight the golden-brown highlights and the intricate honeycomb patterns of your cottage cheese chips.
Mastering the Art of the Lacy Crunch
Follow these steps closely to transform humble cheese curds into gourmet crisps. Pay attention to the sensory cues—the sound of the sizzle and the specific shade of gold—to know exactly when they are done.
Prepping the Cheese Base
Start by preheating your oven to 375°F (190°C). While the oven warms, place your cottage cheese in a fine-mesh strainer for about 5 minutes to remove excess whey; this ensures the chips crisp up rather than steam.
In a medium bowl, fold together the drained cottage cheese, grated parmesan, and garlic powder. The mixture should be thick and slightly tacky, ensuring the curds are well-coated in the parmesan “binding agent.”
Forming and Baking the Rounds
Line your baking sheet and drop small tablespoons of the mixture onto the surface, spacing them at least 2 inches (5cm) apart. Use the back of the spoon to flatten each dollop into a thin, even circle about 3 inches (7.5cm) in diameter.
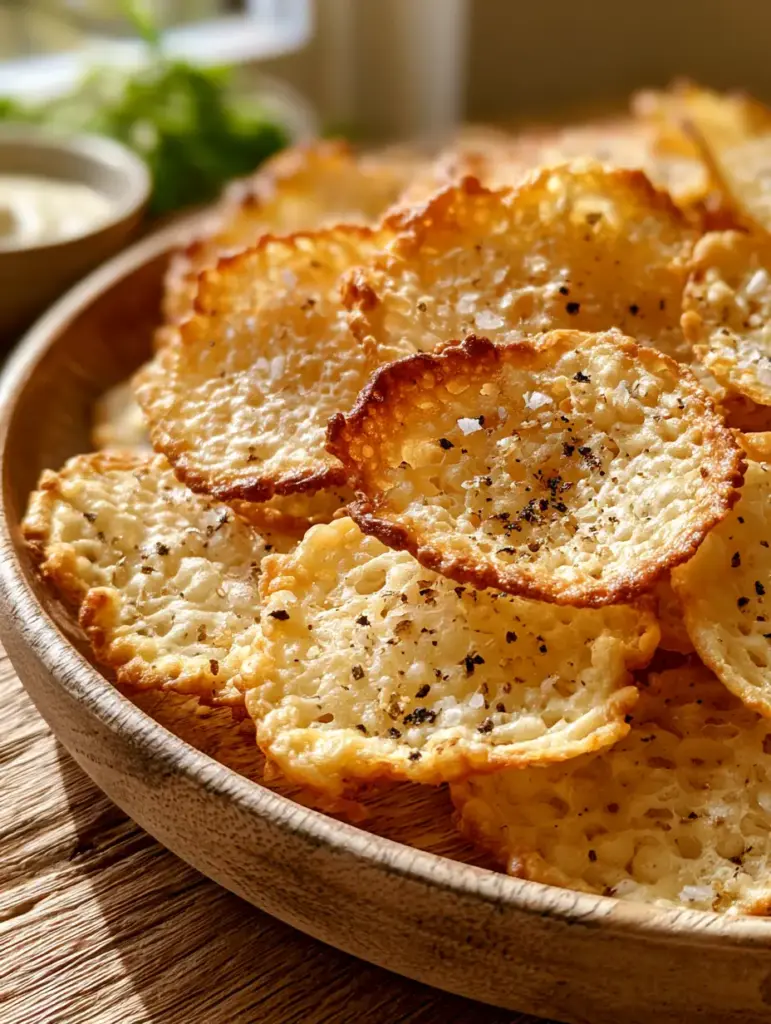
Slide the tray into the center rack of the oven. Bake for 18-22 minutes. You are looking for a specific visual cue: the edges should be a deep, chestnut brown while the centers are golden and bubbling vigorously.
The Cooling and Finishing Touch
This is the most critical step: do not touch the chips immediately. As they sit on the hot tray for 5-10 minutes, the melted fats will solidify, creating the rigid, lacy texture. If you try to move them too soon, they will be soft and pliable.
Once cooled, sprinkle generously with the coarse sea salt and cracked black pepper. Arrange them on your wooden plate with the ranch dip and fresh dill. For a different kind of snack, you might consider trying air fryer bananas for a sweet contrast.
Expert Tips for Snack Success
- Drain Thoroughly: If your chips are coming out chewy, there was too much moisture. Press the cottage cheese against the strainer to remove all liquid whey.
- Even Thickness: Use a flat-bottomed glass to press the rounds even thinner for a true “chip” experience, though be careful not to make them transparent.
- Avoid Low-Fat: Fat-free cottage cheese lacks the lipids necessary to create the lacy honeycomb effect; it will simply dry out and become rubbery.
- Watch the Edges: The transition from golden-brown to burnt happens in seconds. Stay near the oven during the last 3 minutes of baking.
Preserving the Crunch: Storage Advice
These cottage cheese chips are best enjoyed within an hour of baking to maintain their peak lacy texture. However, if you have leftovers, store them in an airtight container with a piece of parchment paper between layers to prevent sticking.
Do not refrigerate them, as the humidity in the fridge will turn them soft. To revive their crunch the next day, pop them back into a 350°F (175°C) oven for 2-3 minutes. If you’re looking for other snacks that store well, check out my gut-healing jello recipe.
What to Serve With These Protein Crisps
While the ranch dip and dill are the classic pairings in our visual blueprint, these chips are incredibly versatile. They make a fantastic crunchy topping for soups or a unique side for a light lunch.
Pair them with a refreshing beverage or follow them up with a decadent dessert like my german chocolate poke cake. The salty-sweet combination is a crowd-pleaser for any gathering. If you want something more fruit-forward, these chips are a great palate cleanser before cranberry mousse parfaits.
Frequently Asked Questions
Absolutely. These chips are very low in carbohydrates and high in protein and healthy fats, making them an excellent choice for a ketogenic or low-carb lifestyle.
Yes! You can air fry them at 375°F (190°C) for about 8-12 minutes. However, be sure to use a piece of parchment paper to prevent the lacy batter from falling through the basket.
While you can experiment with other hard cheeses like Pecorino Romano, Parmesan is recommended because its low moisture content provides the structural ‘glue’ needed for the lacy honeycomb texture.
These chips are best eaten fresh. They will stay crispy for about 1-2 hours at room temperature. If they soften, a quick blast in a hot oven for 2 minutes will restore the crunch.
This usually happens due to excess moisture. Make sure to drain your cottage cheese thoroughly in a fine-mesh strainer and ensure you are using full-fat cheese, which helps ‘fry’ the chip in its own fats.
The Ultimate Cottage Cheese Chips Recipe
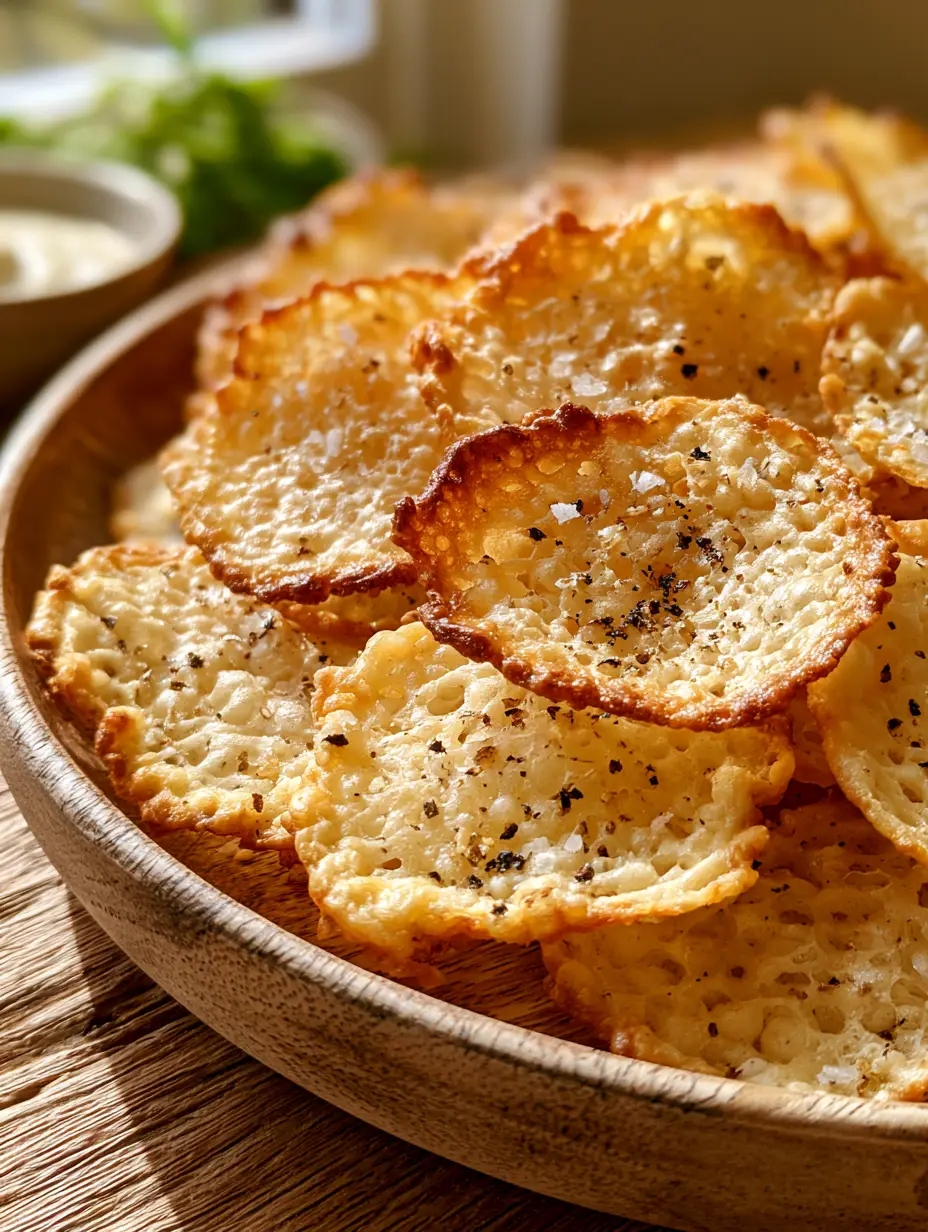
Cottage Cheese Chips: The Ultimate Crispy High-Protein Snack Secret
Ingredients
Equipment
Method
- Preheat your oven to 375°F (190°C). Place the cottage cheese in a fine-mesh strainer over a bowl and let sit for 5-10 minutes to remove excess moisture.
- In a medium mixing bowl, combine the drained cottage cheese, grated parmesan, and garlic powder. Stir until the curds are evenly coated.
- Line a baking sheet with a silicone mat or parchment paper. Drop tablespoons of the mixture onto the sheet and flatten into 3-inch circles.
- Bake for 18-22 minutes. Watch for the edges to turn a deep golden-brown and for the centers to become bubbly and lacy.
- Let the chips cool completely on the tray for at least 10 minutes to allow the honeycomb texture to harden. Sprinkle with sea salt and black pepper.
- Carefully lift the chips and arrange on a wooden plate. Serve with ranch dip and fresh dill sprigs.
Notes
Do not use fat-free cheese as it will not achieve the lacy texture.
Join the Wholesome Skillet Community!
We hope you love the incredible crunch and lacy texture of these cottage cheese chips as much as we do! They are the perfect evidence that healthy eating never has to be boring or soft. If you make this recipe, please leave a comment below and let us know how your honeycomb texture turned out.
Don’t forget to follow us on Pinterest and save this recipe to your “Healthy Snacks” board. Sharing your creations helps our community grow, and we love seeing your rustic wooden plate setups!