There is something inherently celebratory about the striking contrast of a deep crimson dessert topped with a cloud-like layer of white frosting. These red velvet cookie bars are designed to be the ultimate showstopper, combining the chewy, dense texture of a gourmet cookie with the sophisticated flavor profile of a classic red velvet cake. Unlike a traditional cake that can sometimes feel too airy, these bars offer a satisfying, fudgy bite that anchors the tangy sweetness of the cream cheese topping.
Every element of this recipe has been calibrated to match the visual perfection of a professional bakery. From the precise amount of cocoa powder required to achieve that signature “velvet” undertone to the specific type of red gel coloring needed for a vibrant, deep red base, we are leaving nothing to chance. Whether you are prepping for a holiday exchange or simply craving a decadent handheld treat, these bars deliver on every sensory promise.
Drawing inspiration from the richness of ultra-fudgy chewy brookie cookies, this recipe prioritizes a moist crumb that doesn’t crumble under the weight of a generous frosting layer. By the time you pull these out of the oven, your kitchen will be filled with the intoxicating aroma of vanilla and toasted cocoa, signaling that something truly special is about to be served.
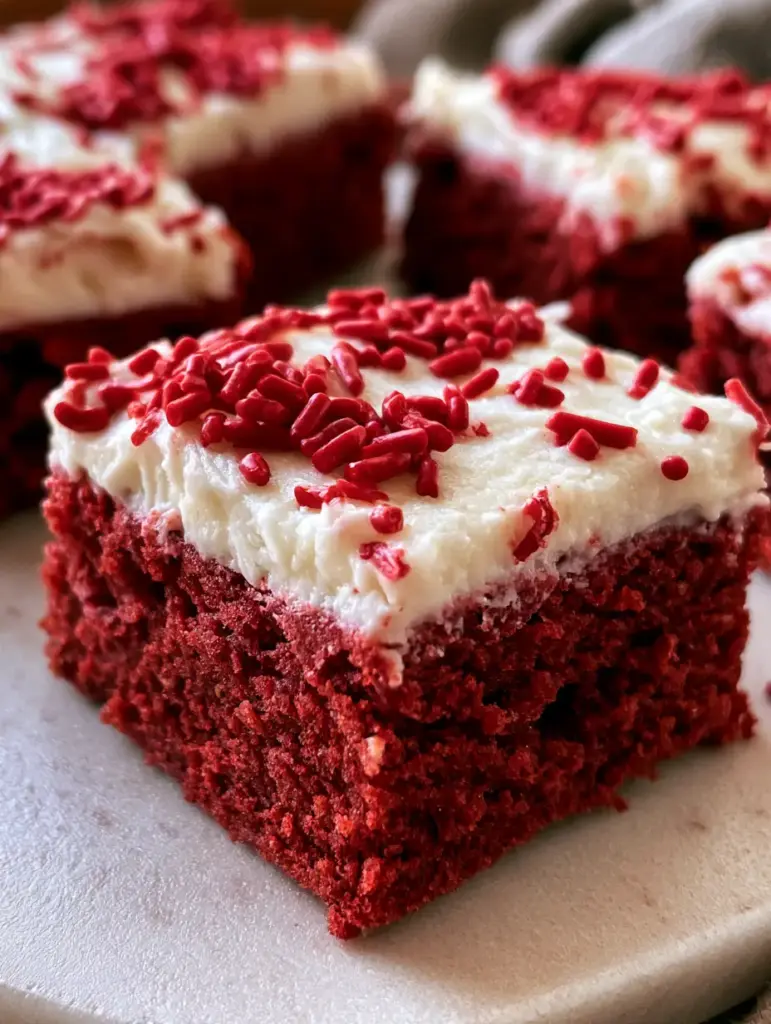
Why These Chewy Red Velvet Dessert Squares Stand Out
- Perfect Textural Contrast: The base is engineered to be dense and chewy, providing a sturdy foundation for the thick, whipped cream cheese frosting that sits atop it.
- Visually Stunning Layers: The distinct transition from the deep ruby red cookie to the brilliant white frosting creates a professional, high-end look that is perfect for social media photography.
- Balanced Flavor Palette: We use a specific ratio of Dutch-processed cocoa and distilled vinegar to ensure the flavor isn’t just “sweet,” but has that authentic, slightly tangy red velvet soul.
- Professional Finish: The addition of tiny ruby red nonpareil sprinkles adds a delicate crunch and a pop of color that reinforces the “velvet” theme.
The Anatomy of a Perfect Red Velvet Cookie Base
To achieve the visual result of a thick, rich red cookie base, we must select ingredients that provide both structure and pigment stability. Ordinary liquid food coloring often fades or turns brown during the baking process; therefore, we utilize high-quality gel paste to maintain that “deep red” hue described in our visual blueprint.
Unsalted Butter (1 cup / 225g): We melt the butter slightly and then cool it to room temperature. This technique ensures the red velvet cookie bars have a fudgy, dense interior rather than a cake-like texture. Butter also provides the fat necessary to carry the red pigment evenly throughout the batter.
Granulated Sugar (1 cup / 200g) & Light Brown Sugar (1/2 cup / 100g): The white sugar helps the edges crisp up slightly, while the molasses in the brown sugar keeps the center moist and chewy for days. This combination is the secret to a bar that feels substantial yet soft.
Large Eggs (2): Acting as the primary emulsifier, eggs bind the fats and sugars together. Ensure they are at room temperature to prevent the cold eggs from seizing the melted butter, which could result in an uneven bake.
Red Gel Food Coloring (1-2 tsp / 5-10ml): Unlike liquid coloring, gel is concentrated. It provides the “bright red” intensity seen in the Midjourney prompt without adding excess moisture that would ruin the dough’s consistency.
Pure Vanilla Extract (2 tsp / 10ml): Vanilla is the unsung hero of red velvet. It rounds out the sharp notes of the cocoa and acid, providing a floral aroma that pairs perfectly with the cream cheese.
Distilled White Vinegar (1 tsp / 5ml): This is scientifically required. The vinegar reacts with the cocoa and baking soda to brighten the red color and tenderize the gluten, creating that “velvety” mouthfeel.
All-Purpose Flour (2.5 cups / 315g): This provides the structural framework. Be careful to measure by weight or use the spoon-and-level method to avoid dry, crumbly bars.
Unsweetened Cocoa Powder (1/4 cup / 25g): We use just enough to provide a hint of chocolate flavor without turning the dough brown. This small amount is crucial for the authentic red velvet taste.
Baking Soda (1/2 tsp / 3g) & Salt (1/2 tsp / 3g): The soda provides a slight lift, while the salt balances the sugar, preventing the dessert from being cloyingly sweet.
Essential Tools for Bakery-Quality Bars
Achieving the clean, distinct layers shown in the visual prompt requires more than just a good recipe; it requires the right equipment. To ensure your red velvet cookie bars look as good as they taste, gather these items before you begin.
A 9×9 inch (23x23cm) square baking pan is the ideal size for this volume of dough. Using a smaller pan will result in bars that are too thick to cook through evenly, while a larger pan will make them too thin and prone to drying out. For even easier removal and perfectly straight edges, line your pan with parchment paper, leaving an overhang on two sides to act as a “sling.”
You will also need a hand mixer or a stand mixer fitted with the paddle attachment. While the cookie base can be mixed by hand, the cream cheese frosting requires high-speed aeration to become “thick and generous” as described in the blueprint. A flat offset spatula is your best friend here, allowing you to smooth the frosting into a perfectly level layer from edge to edge.
Step-by-Step Guide to Crafting Deep Red Cookie Perfection
Preparing the Crimson Dough
Start by preheating your oven to 350°F (175°C). In a large mixing bowl, whisk together your melted and cooled butter with both sugars. You aren’t looking to aerate the mixture excessively; just whisk until the sugar is fully incorporated and the mixture looks like wet sand. Add the eggs one at a time, followed by the vanilla, vinegar, and the red gel coloring. Visual Cue: The batter should be a deep, vibrant magenta at this stage, significantly darker than you want the final product to be, as the flour will lighten the color.
Incorporating the Dry Elements
Sift the flour, cocoa powder, baking soda, and salt directly into the wet ingredients. Using a large rubber spatula, fold the dry ingredients in by hand. Stop the moment you no longer see streaks of white flour. Over-mixing at this stage will develop too much gluten, turning your chewy red velvet cookie bars into tough, bread-like squares. The dough should be thick, tacky, and intensely red.
Baking for Optimal Chewiness
Transfer the dough to your prepared pan and press it into an even layer using the back of a spoon or your fingers (lightly greased). Bake for 20-25 minutes. Sensory Cue: You are looking for the edges to be set and beginning to pull away from the sides of the pan, while the center should still look slightly soft. Do not overbake! The bars will continue to set as they cool. The top should have a dull, matte red finish.
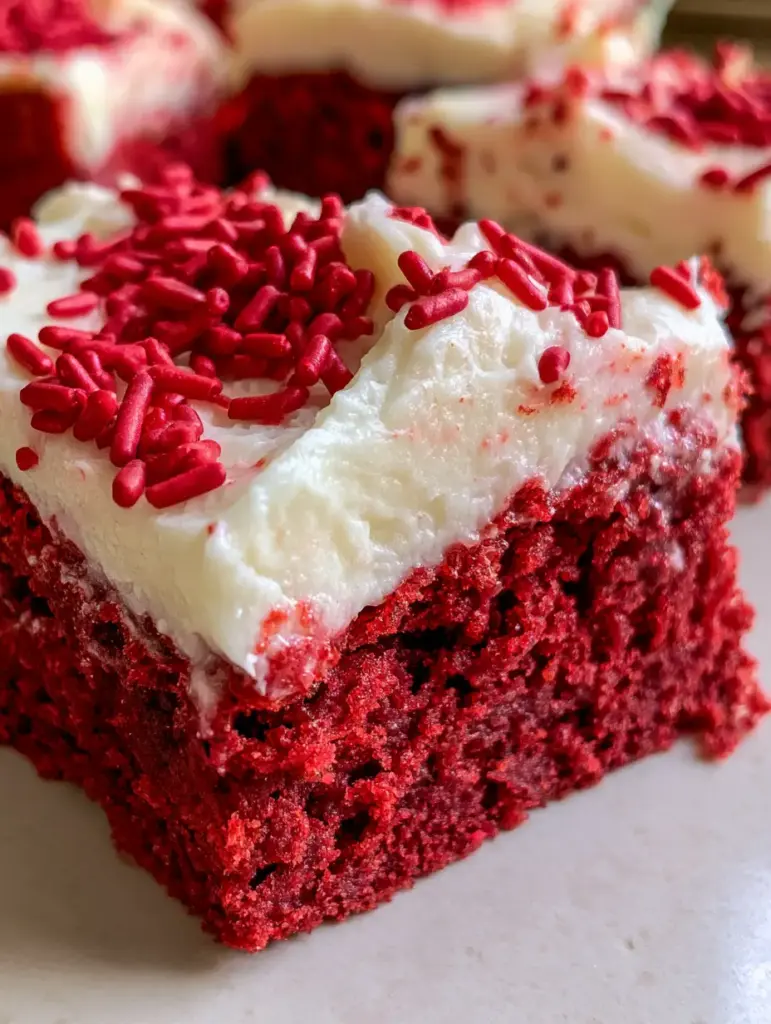
Mastering the Thick Cream Cheese Frosting
While the base cools completely (this is vital, otherwise your frosting will melt!), prepare the topping. Beat 8oz (225g) of cold cream cheese and 1/2 cup (115g) of room temperature butter together until smooth. Gradually add 3 cups (375g) of powdered sugar and a splash of heavy cream (1 tbsp / 15ml). Whip on high speed for 3 minutes until it is bright white and holds stiff peaks. This creates the “generous layer” specified in the visual prompt.
Expert Tips for Success with Red Velvet Bars
- The Cooling Rule: Never frost a warm bar. If the base is even slightly warm, the fat in the cream cheese will liquify, and you will lose that beautiful distinct layer between the red base and white top.
- Clean Cuts: For those professional-looking squares, chill the frosted bars in the fridge for 30 minutes before slicing. Use a sharp knife and wipe it clean with a warm, damp cloth between every single cut.
- Vibrant Pigment: If your bars look brown instead of red, you likely used too much cocoa powder or a “natural” cocoa that reacted poorly with the leavening. Stick to the measurements for that ruby glow.
- Sprinkle Timing: Apply the tiny ruby red nonpareil sprinkles immediately after frosting while the cream cheese is still “tacky” so they adhere properly and don’t roll off when sliced.
Storage, Reheating, and Make-Ahead Advice
Because of the cream cheese frosting, these red velvet cookie bars must be stored in the refrigerator. Place them in an airtight container in a single layer to prevent the frosting from smudging. They will remain fresh and moist for up to 5 days. For the best flavor, let a bar sit at room temperature for 10-15 minutes before eating to allow the butter in the base to soften slightly.
If you wish to freeze them, it is best to freeze the un-frosted cookie base. Wrap the cooled base tightly in plastic wrap and foil; it will last for up to 3 months. When ready to serve, thaw overnight in the fridge and apply fresh frosting. If you must freeze them frosted, flash-freeze the individual squares on a tray for an hour before bagging them to keep the frosting intact.
What to Serve With These Decadent Bars
These bars are incredibly rich, so they pair best with beverages or sides that offer a bit of contrast. A cold glass of milk is a classic choice, but a sharp espresso or a tart hibiscus tea also cuts through the sweetness beautifully. If you are building a dessert platter for a party, consider adding some fruit-forward options to balance the chocolate notes.
For a complete dessert spread, try pairing these with our zesty lemon bars for a citrusy punch, or perhaps some decadent banana blondie squares for a variety of textures. If you’re looking for something with a bit of crunch to contrast the soft frosting, our easy no-bake salted caramel pretzel dessert bars are a fantastic companion.
Frequently Asked Questions
While you can, liquid coloring is less concentrated and adds extra moisture. You would need a large amount to get a deep red, which can affect the bake. Gel is highly recommended for visual accuracy.
Yes! Vinegar is a staple in red velvet recipes. It reacts with the cocoa to brighten the color and breaks down gluten for that signature tender, velvety texture.
Yes, because the frosting contains dairy (cream cheese and butter), the bars should be stored in an airtight container in the refrigerator to stay fresh and safe.
Chill the frosted bars in the refrigerator for at least 30 minutes. Use a sharp, warm knife and wipe it clean between every single cut to prevent the frosting from dragging into the red base.
This usually happens if you use too much cocoa powder or a natural cocoa that reacts with the leavening. Use exactly 1/4 cup of Dutch-processed cocoa and high-quality red gel food coloring to ensure a deep crimson hue.
The Ultimate Red Velvet Cookie Bars Recipe
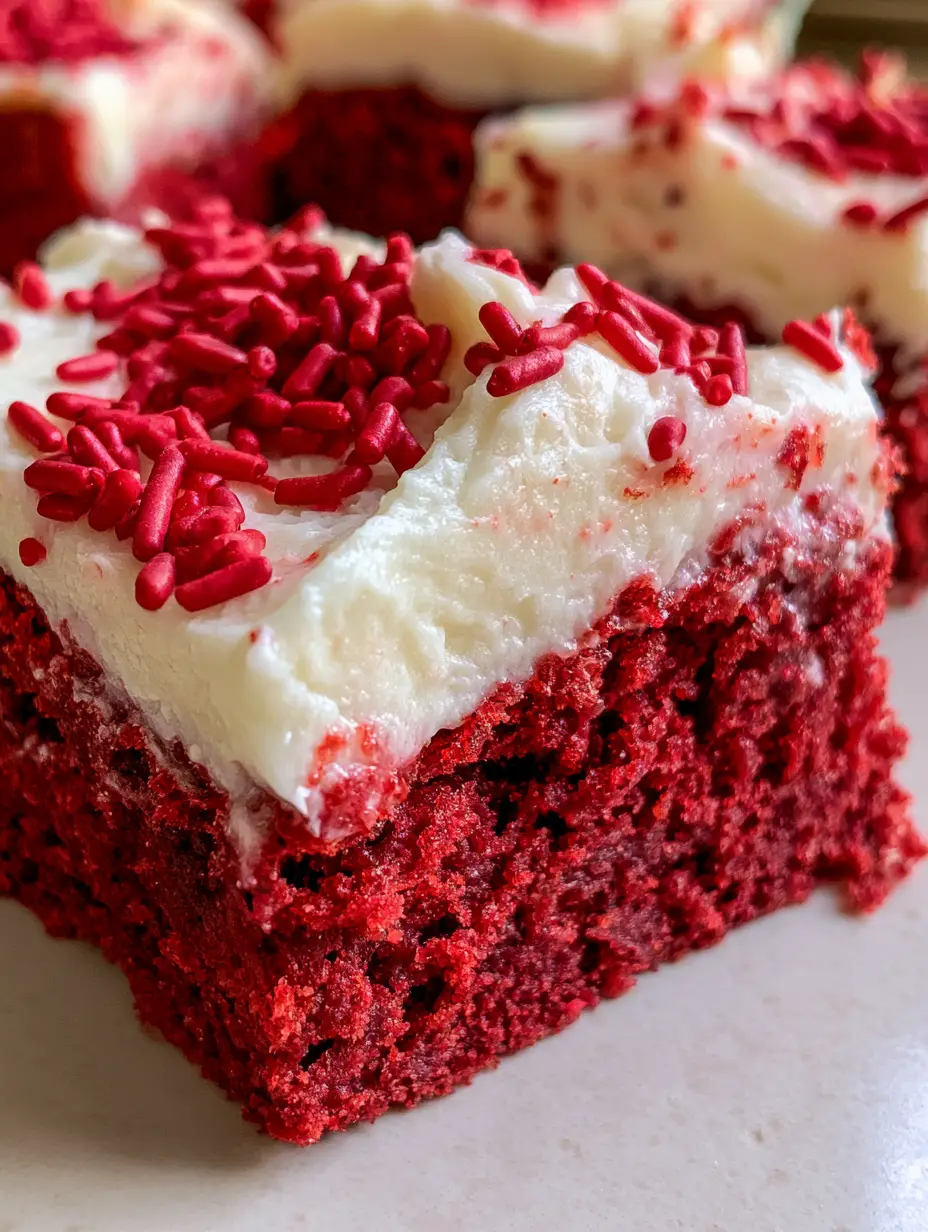
Red Velvet Cookie Bars with Thick Cream Cheese Frosting and Ruby Sprinkles
Ingredients
Equipment
Method
- Preheat oven to 350°F (175°C) and line a 9x9 inch pan with parchment. Whisk melted butter, granulated sugar, and brown sugar until combined.
- Mix in eggs, vanilla, vinegar, and red gel food coloring until a deep magenta color is achieved.
- Sift in flour, cocoa powder, baking soda, and salt. Fold gently until no white streaks remain.
- Spread dough into the pan and bake for 20-25 minutes until edges are set but center remains soft. Cool completely.
- Beat cream cheese and butter until smooth. Add powdered sugar and heavy cream, then whip on high for 3 minutes until thick and bright white.
- Spread the frosting generously over the cooled cookie base using an offset spatula for a level finish.
- Top with ruby red nonpareils. Chill for 30 minutes before slicing into 16 squares.
Notes
Ensure the bars are 100% cool before frosting to prevent the cream cheese from melting.
Closing & Call to Action
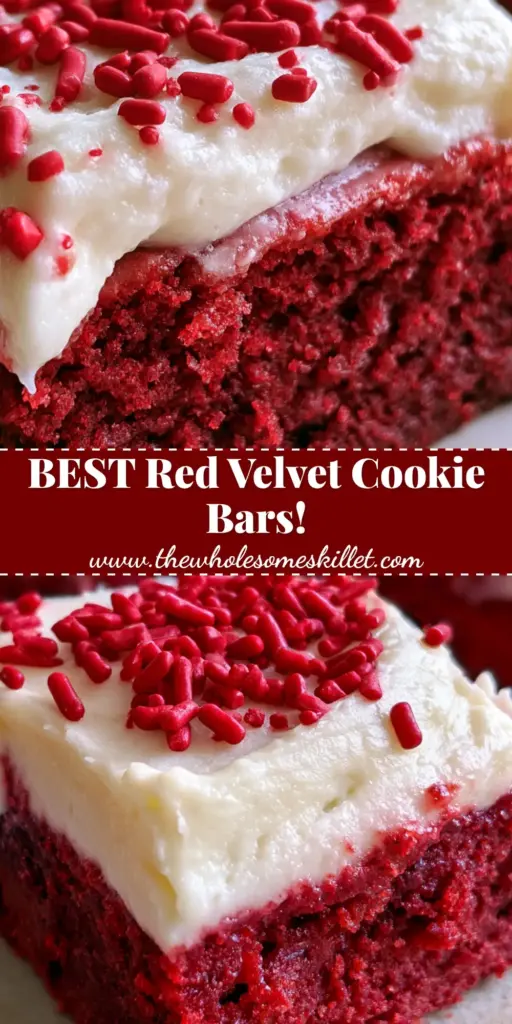
These red velvet cookie bars are more than just a dessert; they are a decadent experience that brings the elegance of a classic cake into a convenient, chewy bar form. With their deep red base and luxurious cream cheese frosting, they are guaranteed to be the star of any gathering. The addition of the ruby red nonpareils provides that final touch of forensic visual accuracy that makes them look as if they stepped right out of a professional food shoot.
If you enjoyed this recipe, please leave a comment below and let us know how yours turned out! Don’t forget to follow us on Pinterest for more visually stunning and scientifically sound recipes. If you’re in the mood for more bar-style treats, check out our seasonal sweet potato swirl cheesecake bars for a warm, spiced alternative!