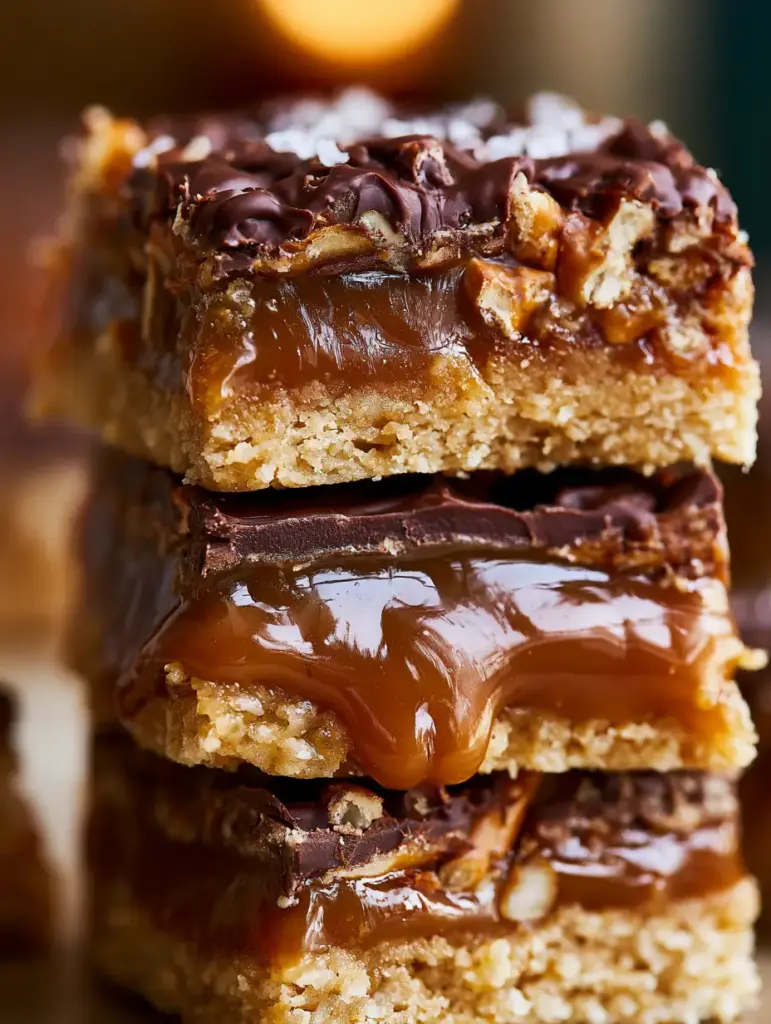
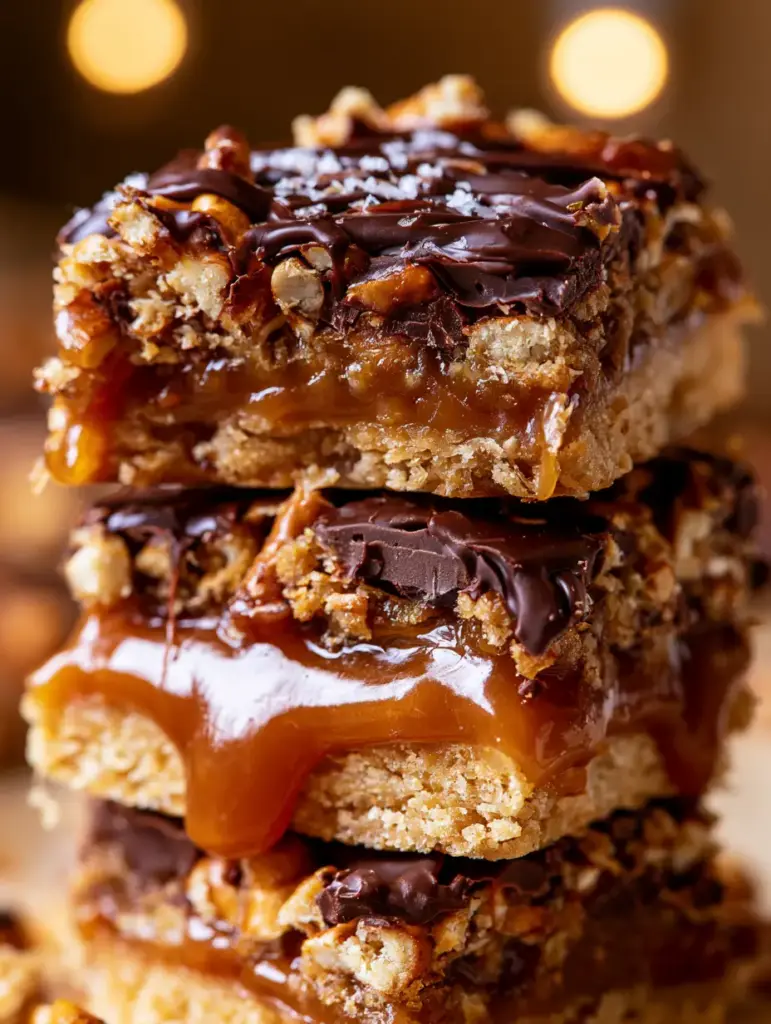
If you are searching for the perfect balance of crunch, silkiness, and that addictive salty-sweet contrast, look no further than these salted caramel pretzel bars. This recipe is designed for those who want a show-stopping dessert without ever turning on the oven. We have meticulously crafted this treat to feature a buttery, golden pretzel crust that supports a thick, glossy layer of homemade salted caramel that is just firm enough to hold its shape but soft enough to ooze slightly when bitten.
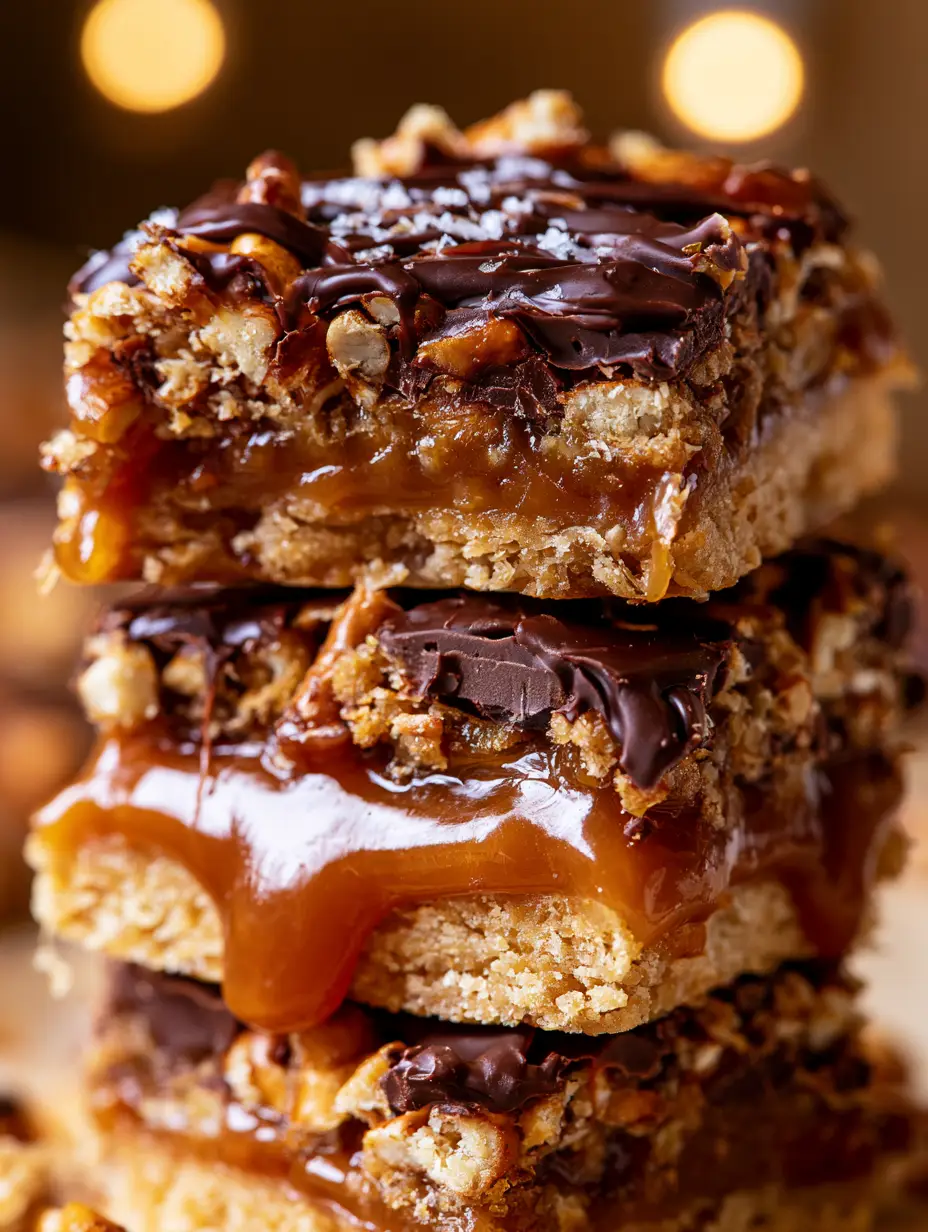
Visually, these bars are a masterpiece. Imagine a stack of three perfectly cut squares, where the dark chocolate drizzle catches the light and the flaky sea salt glitters against the amber caramel. Whether you are a seasoned baker or a kitchen novice, the sensory experience of the snap of the chocolate followed by the chew of the caramel is unparalleled. It is the kind of dessert that looks like it came from a high-end patisserie but can be whipped up in your own kitchen.
Why These Decadent Layers Work So Perfectly
- The Textural Contrast: The foundation is a crunchy, buttery pretzel crust that provides a sturdy base for the gooey center.
- The “Ooze” Factor: Our caramel recipe is calibrated to be thick and glossy, ensuring it stays put while providing that mouth-watering visual appeal.
- The Rich Finish: A generous drizzle of dark melted chocolate cuts through the sweetness, while embedded pretzel pieces add a secondary layer of crunch.
- Sharp Professional Edges: By using specific chilling techniques, you can achieve clean, sharp edges that make these bars look hyper-realistic and professional.
The Anatomy of Ingredients for Salted Caramel Pretzel Bars
Creating the ultimate salted caramel pretzel bars requires a mix of pantry staples and foundational ingredients that ensure structural integrity and flavor depth.
Salted Pretzel Twists: 3 cups (approx. 225g) of crushed pretzels serve as the backbone of the recipe, providing both the salt and the crunch. You want to crush them into a mix of fine crumbs and small pea-sized pieces for the best texture.
Unsalted Butter: 1 cup (226g) of melted butter acts as the glue for your crust. Using unsalted allows you to control the seasoning precisely, especially since the pretzels already carry significant salt.
Granulated Sugar: 1/4 cup (50g) added to the crust helps bind the pretzels together when chilled, creating a firm base that won’t crumble under the weight of the caramel.
Heavy Cream: 1 cup (240ml) is essential for a rich, velvety caramel. It provides the fat necessary to keep the caramel soft at room temperature.
Light Corn Syrup: 1/2 cup (120ml) prevents crystallization in your caramel, ensuring that “glossy and gooey” finish described in our visual blueprint.
Dark Chocolate Chips: 1.5 cups (255g) create the rich drizzle. Dark chocolate is preferred here to balance the intense sweetness of the caramel layer.
Coconut Oil: 1 tbsp (15ml) mixed into the melted chocolate ensures the drizzle remains slightly soft, preventing it from cracking when you bite into the bars.
Flaky Sea Salt: A generous sprinkle (approx. 1 tsp) of Maldon or similar salt is the finishing touch that makes the caramel flavors pop.
Essential Tools for Dessert Success
To achieve the clean edges and perfect layers seen in the no-bake oreo peanut butter delights, you will need a few specific tools. An 8×8 inch (20x20cm) square baking pan is the standard for height. You should always line this with parchment paper, leaving an overhang on the sides to “sling” the bars out after chilling. A heavy-bottomed saucepan is non-negotiable for the caramel to prevent scorching, and a digital candy thermometer will help you hit that perfect “soft ball” stage for the ideal ooze.
Mastering the Layers: Step-by-Step Instructions
Creating the Golden Pretzel Base
Begin by pulsing your pretzel twists in a food processor until you have a coarse meal. Combine the crumbs with your melted butter and sugar in a large bowl. Press the mixture firmly into the bottom of your lined pan—use the bottom of a flat measuring cup to pack it down hard. This density is what allows for the “golden, crunchy pretzel crust” to remain intact when sliced. Chill this base for at least 30 minutes before adding the next layer.
Cooking the Glossy Salted Caramel
In your heavy-bottomed saucepan, combine the sugar, corn syrup, and butter over medium heat. Stir until melted, then slowly pour in the heavy cream. Attach your thermometer and cook until the mixture reaches 240°F (115°C). Remove from heat and stir in a pinch of sea salt and vanilla. Pour this amber liquid over your chilled crust. You will see the caramel glistening as it levels out; let it cool at room temperature for 20 minutes before moving it to the fridge to set for 2 hours.
The Art of the Chocolate Drizzle
Melt your dark chocolate and coconut oil together in 30-second bursts in the microwave, stirring until perfectly smooth. Using a spoon or a piping bag, create a generous drizzle across the top of the set caramel. While the chocolate is still wet, press in your extra crushed pretzel pieces. This ensures they are “embedded” just like the visual prompt suggests. Finally, sprinkle the flaky sea salt over the top while the highlights on the chocolate are still wet and shiny.
Expert Secrets for Clean Slices and Better Texture
- The Hot Knife Trick: To get those clean, sharp edges, run a sharp chef’s knife under hot water and wipe it dry between every single cut.
- Don’t Rush the Chill: If the caramel is too warm, it will run rather than ooze. Ensure the bars have spent at least 4 hours in the refrigerator.
- Salt Quality Matters: Use flaky sea salt, not table salt. The large crystals provide a beautiful visual highlight and a concentrated burst of flavor.
- Control the Crunch: If you prefer a more cohesive crust, pulse half the pretzels into a fine powder and leave the other half as small chunks.
Pairing Your Salted Caramel Pretzel Bars
These bars are incredibly rich, making them the perfect companion to a strong cup of coffee or a glass of cold milk. If you are hosting a dessert party, they look stunning next to a tray of zesty lemon bars for a color and flavor contrast. For those who can’t get enough of the amber-colored sweetness, consider serving these alongside a slice of decadent caramel pecan upside down cake. If you’re looking for something even more indulgent, a small square of these bars paired with ultra fudgy chewy brookie cookies creates the ultimate dessert sampler plate.
Frequently Asked Questions
While corn syrup helps ensure a glossy, smooth texture by preventing sugar crystallization, you can substitute it with honey or brown rice syrup, though the flavor profile will change slightly.
No, this is a strictly no-bake recipe. The melted butter and sugar bind the crushed pretzels together firmly once chilled in the refrigerator.
The secret is to chill the bars thoroughly for at least 4 hours and use a large chef’s knife dipped in hot water and wiped dry between every cut.
Stored in an airtight container in the refrigerator, these bars will maintain their perfect texture for up to one week.
If the caramel is too hard to bite, it was likely cooked past the ‘soft ball’ stage (240°F). Ensure you use a calibrated candy thermometer for the perfect ‘ooze’.
The Full Recipe Card
Salted Caramel Pretzel Bars: The Ultimate No-Bake Sweet and Salty Dessert
Ingredients
Equipment
Method
- Combine crushed pretzels, melted butter, and sugar. Press firmly into a lined 8x8 pan.
- Place the pan in the refrigerator for 30 minutes to set the buttery base.
- Combine sugar, corn syrup, and cream in a saucepan. Cook until the thermometer reads 240°F (115°C).
- Pour the hot caramel over the chilled pretzel crust. Chill for 2-4 hours until firm.
- Melt chocolate chips with coconut oil until glossy. Drizzle over the caramel layer.
- Top with extra crushed pretzels and flaky sea salt. Chill until the chocolate is set.
Notes
Do not over-crush the pretzels; some larger chunks provide better texture.
Closing Thoughts: A Sweet and Salty Masterpiece
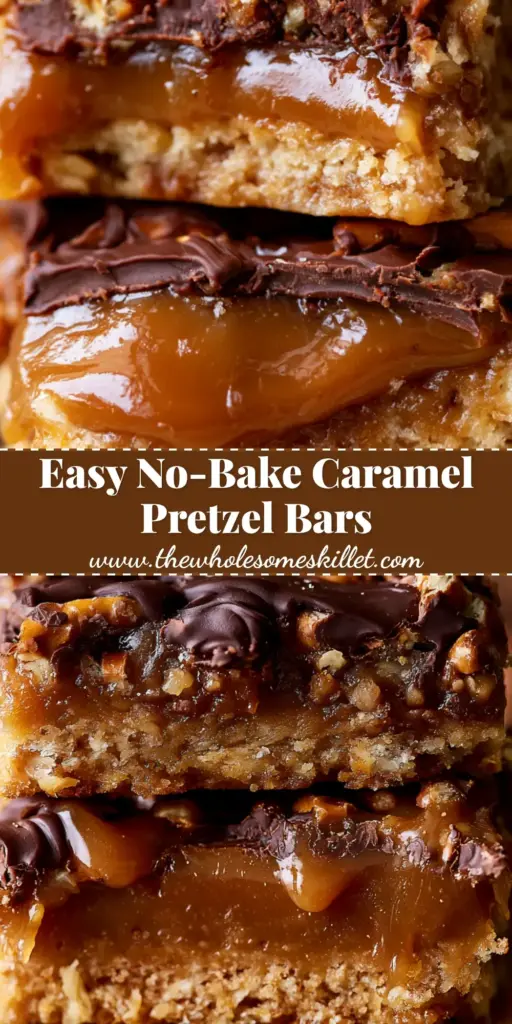
These salted caramel pretzel bars are more than just a dessert; they are a study in culinary balance. With the crunchy crust, the gooey caramel, and the snap of dark chocolate, they satisfy every craving in a single bite. Don’t forget to take a photo of your perfect layers and tag us! For more decadent inspirations, follow thewholesomeskillet on Pinterest and share this recipe with your fellow dessert lovers.