Roasted cauliflower is often the unsung hero of the vegetable kingdom. When prepared correctly, it undergoes a magical transformation in the high heat of the oven, turning from a crunchy, somewhat bland floret into a caramelized masterpiece with a nutty, savory depth of flavor.
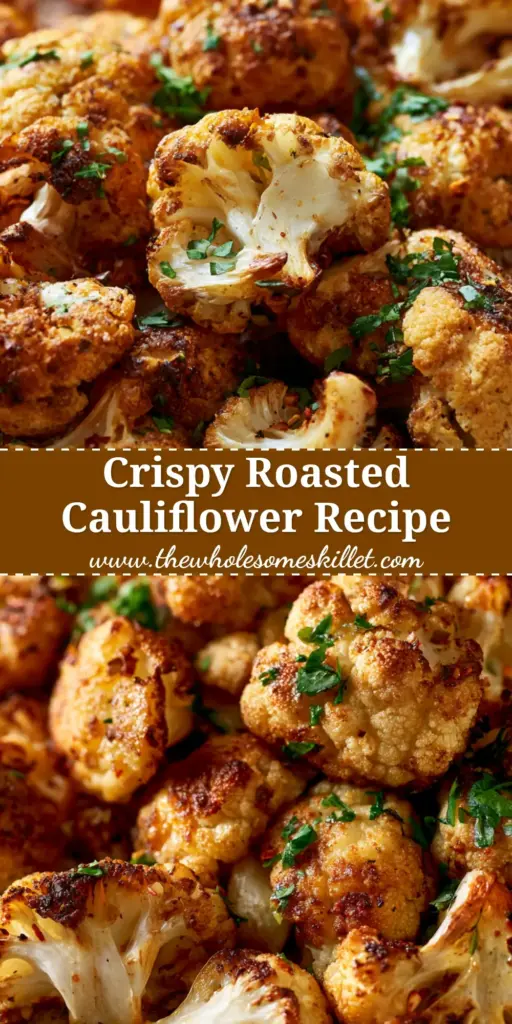
This recipe focuses on achieving that elusive contrast described in professional culinary circles: a deeply bronzed, crispy exterior that shatters slightly upon biting, giving way to a buttery, tender white interior. It is the perfect side dish for those who value both nutrition and intense flavor.
By following this method, you will learn how to harness the Maillard reaction to ensure your roasted cauliflower never turns out mushy or gray. We are aiming for a rustic, vibrant presentation that looks as good as it tastes, finished with a pop of herbal freshness and a lingering heat.
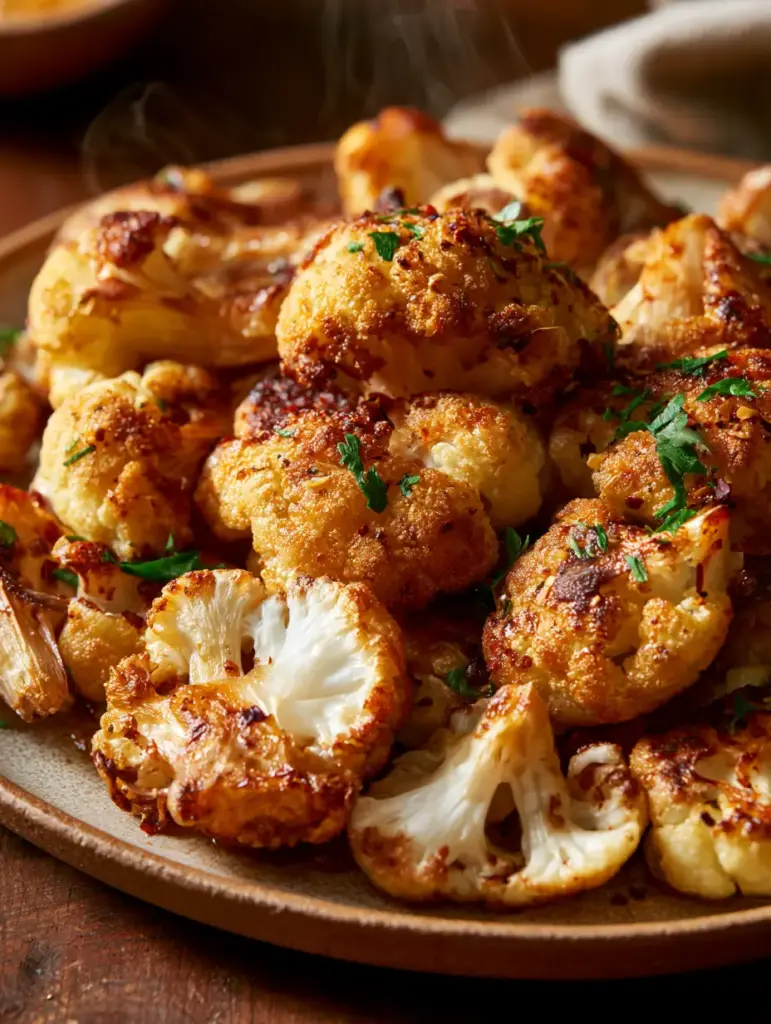
The Secret to Visual and Textural Contrast in Every Bite
- High-Heat Caramelization: We use an exact temperature threshold to ensure the exterior develops a golden-brown crust before the interior overcooks.
- Dual-Texture Experience: The florets are cut to a specific size to guarantee a tender white core that contrasts beautifully with the crispy edges.
- Vibrant Finishing Touches: Freshly chopped parsley and red pepper flakes aren’t just for flavor; they provide the visual “pop” that elevates this from a simple side to a centerpiece.
- Uniform Roasting: By managing the surface area and oil distribution, every single floret achieves that sought-after “burnt edge” aesthetic.
Essential Components for The Perfect Roast
Large Head of Cauliflower: Choose a head that feels heavy for its size with tightly packed florets. The density of the vegetable determines how well it will hold up to the intense roasting process.
Extra Virgin Olive Oil: You need approximately 3 tbsp (45ml) to coat the florets thoroughly. The oil acts as the heat conductor, ensuring the heat is evenly distributed across the irregular surfaces of the cauliflower.
Kosher Salt and Cracked Black Pepper: Salt is foundational for drawing out moisture, which allows the natural sugars to concentrate and caramelize. 1 tsp (6g) of kosher salt is usually sufficient for a medium head.
Garlic Powder: Unlike fresh garlic which can burn at 425°F (220°C), garlic powder provides a consistent savory baseline without the risk of bitter, blackened bits.
Red Pepper Flakes: These provide a “hint of red” that cuts through the earthy tones of the roasted vegetable. They add a subtle, warming heat that lingers on the palate.
Fresh Flat-Leaf Parsley: Always use fresh, never dried, for the garnish. The bright green color and clean, peppery aroma provide the necessary acidic lift to the rich, roasted flavors.
The Culinary Toolkit: Equipment for Success
To achieve the result seen in professional food photography, your choice of equipment is just as important as your ingredients. A heavy-duty, rimmed baking sheet is non-negotiable; thin pans warp and distribute heat unevenly, leading to “hot spots” where the cauliflower might burn.
You will also need a sharp chef’s knife to ensure clean cuts. A clean cut creates a flat surface area on the floret, which is the secret to getting that wide, golden-brown sear when it makes contact with the hot pan. Finally, a large stainless steel mixing bowl is preferred over tossing the vegetables directly on the tray to ensure every crevice is coated in oil.
Mastering the Roast: Step-by-Step Instructions
Preparation and The Art of the Cut
Begin by preheating your oven to 425°F (220°C). This high temperature is critical for roasting cauliflower. While the oven heats, place your empty baking sheet inside. Preheating the pan ensures that the moment the cauliflower hits the surface, the searing process begins.
Remove the outer leaves of the cauliflower and cut the head into bite-sized florets. Try to ensure at least one side of each floret has a flat, sheared edge. This flat surface will act as the primary contact point for caramelization.
The Emulsion and Coating Process
In your large mixing bowl, whisk together the olive oil, salt, black pepper, and garlic powder. Add the florets and use your hands or a large spatula to toss them vigorously. You want the oil to penetrate the “curds” of the cauliflower, not just sit on the surface.
Carefully remove the hot baking sheet from the oven. Spread the cauliflower in a single layer. You must hear a distinct sizzle—this is the sound of the moisture evaporating and the crust forming. Ensure there is space between the florets; if they are crowded, they will steam instead of roast, losing that crispy edge.
The Roasting Cycle and Sensory Cues
Slide the tray into the center rack of the oven. Roast for 20-25 minutes. At the 15-minute mark, use a metal spatula to flip the florets. You are looking for a deep, golden-brown color on the side that was touching the pan.
The visual cue for readiness is when the edges look slightly charred and the white stems have turned a translucent, creamy off-white. You should see gentle wisps of steam rising from the tray as you pull it out of the oven. The aroma should be nutty and sweet, rather than sulfurous.
The Final Garnish and Presentation
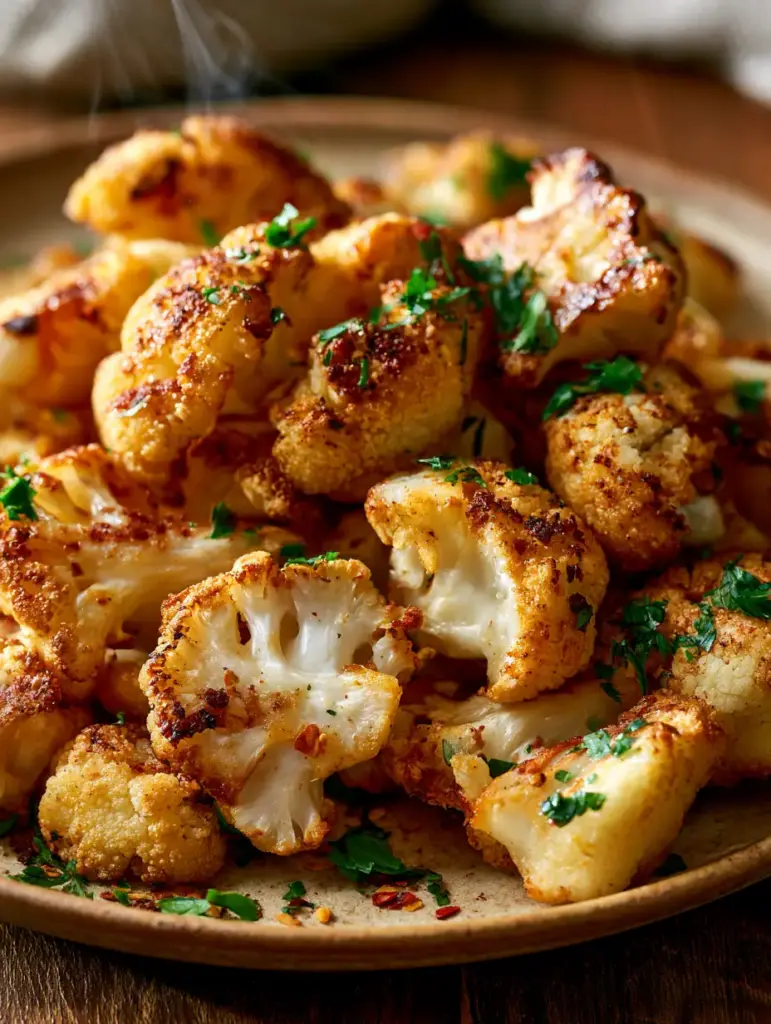
While the cauliflower is still hot on the tray, sprinkle the red pepper flakes and the freshly chopped parsley over the top. The residual heat will wake up the oils in the pepper and slightly wilt the parsley, releasing its aroma.
Transfer the roasted cauliflower to a rustic ceramic plate, piling the florets high to maintain heat. The contrast between the vibrant green herbs, the red flakes, and the golden-brown crust creates a professional, appetizing display.
Expert Tips for Golden Perfection
- Dry the Cauliflower: If you wash your cauliflower, ensure it is bone-dry before adding oil. Water is the enemy of the Maillard reaction.
- Don’t Be Afraid of Color: Most home cooks pull the vegetables out too early. Wait for those dark brown, almost blackened edges; that is where the flavor lives.
- Use Enough Oil: Cauliflower is porous. If it looks dry on the tray, it won’t brown. It should have a glossy sheen before entering the oven.
- Uniformity Matters: Cut your florets to a similar size so they all finish cooking at the exact same time.
Flavor Pairings and What to Serve With This
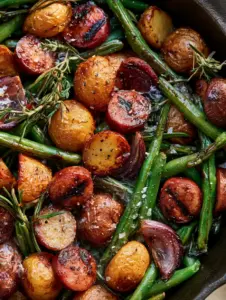
This roasted cauliflower is incredibly versatile. It pairs beautifully with hearty proteins like roast chicken or seared steak. If you are building a vegetable-forward spread, consider serving it alongside irresistibly tender roasted potatoes for a mix of textures.
For those who love a bit of variety in their roasted greens, this dish complements perfectly crispy roasted brussels sprouts quite well. If you are looking for a more breakfast-inspired side, it even works next to savory sausage stuffed french toast rolls for a brunch spread that hits every flavor note.
If you enjoy bold seasonings, you might also like the flavors found in zesty roasted baby potatoes with tangy mustard glaze, which share that signature high-heat crust and tender interior.
Storage, Reheating & Freezing
Storage: Keep leftovers in an airtight container in the refrigerator for up to 4 days. Note that the cauliflower will lose its crispness as it sits.
Reheating: Avoid the microwave, which will make the cauliflower rubbery. Reheat in a 400°F (200°C) oven or an air fryer for 5 minutes to restore the crispy texture.
Freezing: While you can freeze roasted cauliflower for up to 3 months, the texture will change significantly upon thawing. It is best used in soups or purees after being frozen.
Frequently Asked Questions
You can, but it will not be as crispy as fresh cauliflower. To roast frozen florets, do not thaw them first; toss them in oil and spices while frozen and roast at a slightly higher temperature, like 450°F (230°C).
You can wash it, but it must be completely dry before you add the oil. Any residual water will create steam in the oven, preventing the Maillard reaction that creates the golden-brown crust.
Always toss your cauliflower in a large mixing bowl with the oil and spices before putting them on the tray. This ensures the oil acts as a glue, distributing the salt and garlic powder into every crevice of the floret.
A high temperature of 425°F (220°C) is ideal. This allows the exterior to brown and crisp up quickly while the interior remains tender without becoming overcooked and sulfurous.
Mushy cauliflower is usually caused by overcrowding the baking sheet. If the florets are too close, they release steam that gets trapped, boiling the vegetable rather than roasting it. Ensure there is plenty of space between each piece.
The Golden Roasted Cauliflower Recipe
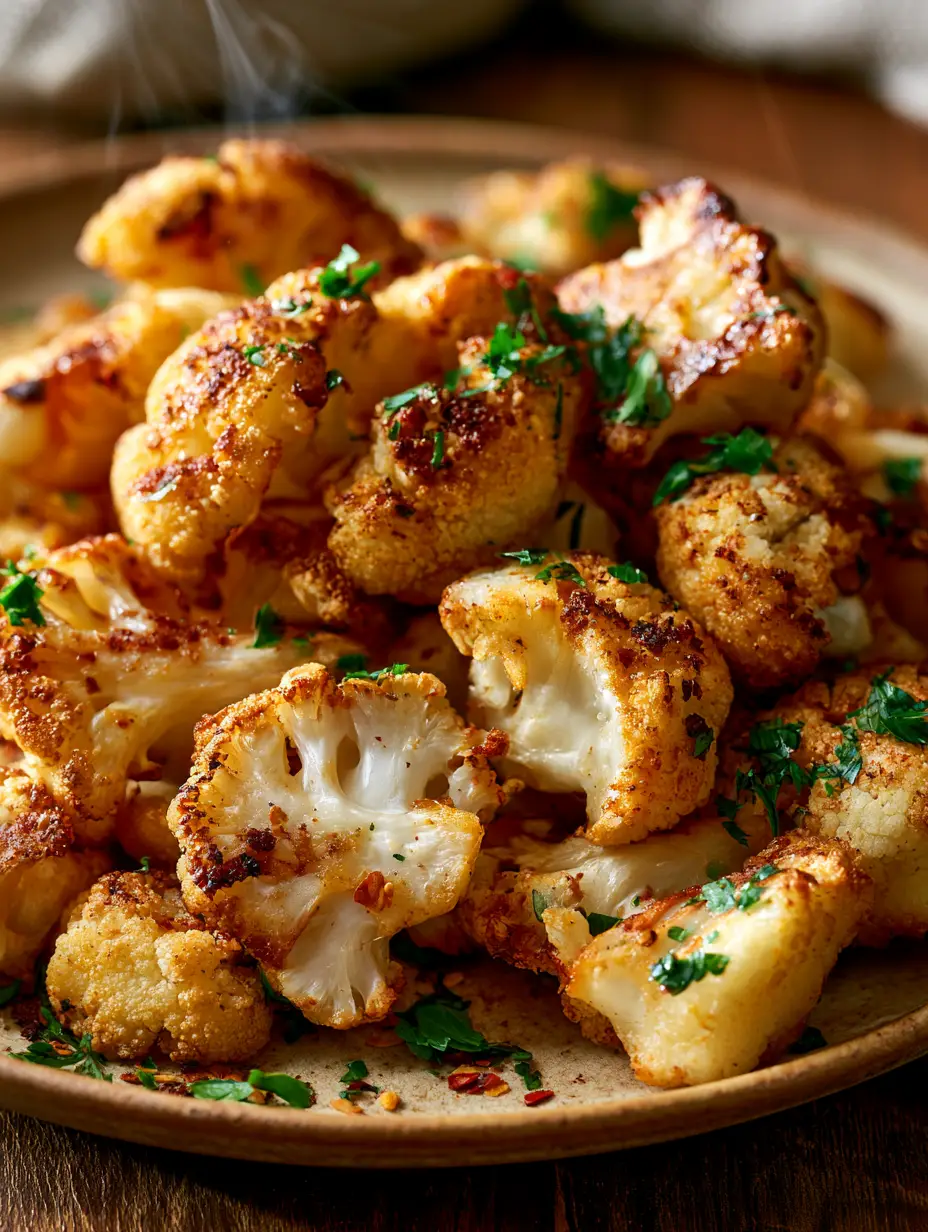
Roasted Cauliflower: The Ultimate Guide to Golden-Brown Perfection
Ingredients
Equipment
Method
- Preheat your oven to 425°F (220°C). Place a rimmed baking sheet inside to get hot while the oven preheats.
- Cut the cauliflower head into uniform florets, ensuring each piece has at least one flat side for maximum surface contact.
- In a large bowl, toss the cauliflower florets with olive oil, salt, pepper, and garlic powder until every piece is glossy and evenly coated.
- Spread the florets in a single layer on the hot baking sheet. Roast for 25-30 minutes, flipping halfway through, until edges are deep golden-brown and the interior is tender.
- Remove from the oven and immediately sprinkle with red pepper flakes and chopped fresh parsley. Serve warm.
Notes
Do not overcrowd the pan or the cauliflower will steam instead of roast.
Closing & Call to Action
Mastering the art of the roasted cauliflower is a gateway to elevating your weeknight dinners. The combination of high-heat roasting and simple, fresh garnishes creates a side dish that is far more than the sum of its parts. The golden crust and tender center provide a satisfying mouthfeel that pairs with almost any main course.
If you enjoyed this recipe, please leave a comment below and let us know how your roast turned out! Don’t forget to share your photos and tag us, and be sure to follow The Wholesome Skillet on Pinterest for more culinary inspiration and foolproof techniques.